1/72 Matchbox Sdkfz 234/2 Puma

M

McIvan

Guest
This is the last of the models I'm presently building....if I've got a bit of time left in the day, I work on one and then switch to another when I need to wait for glue to set or paint to dry.

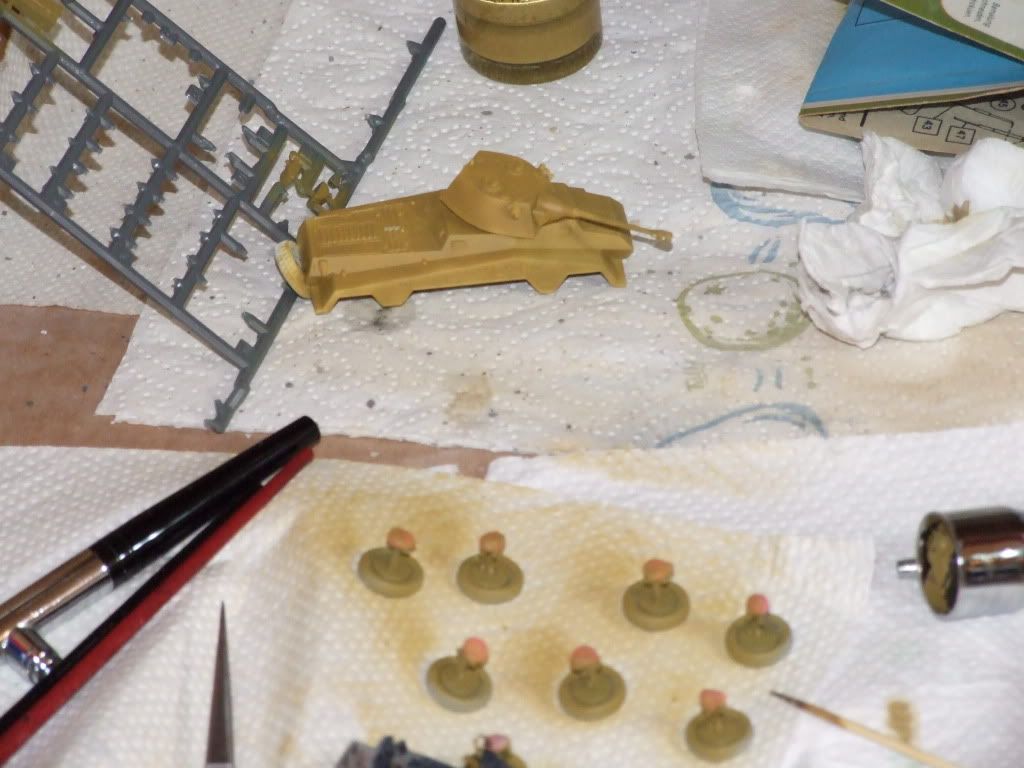
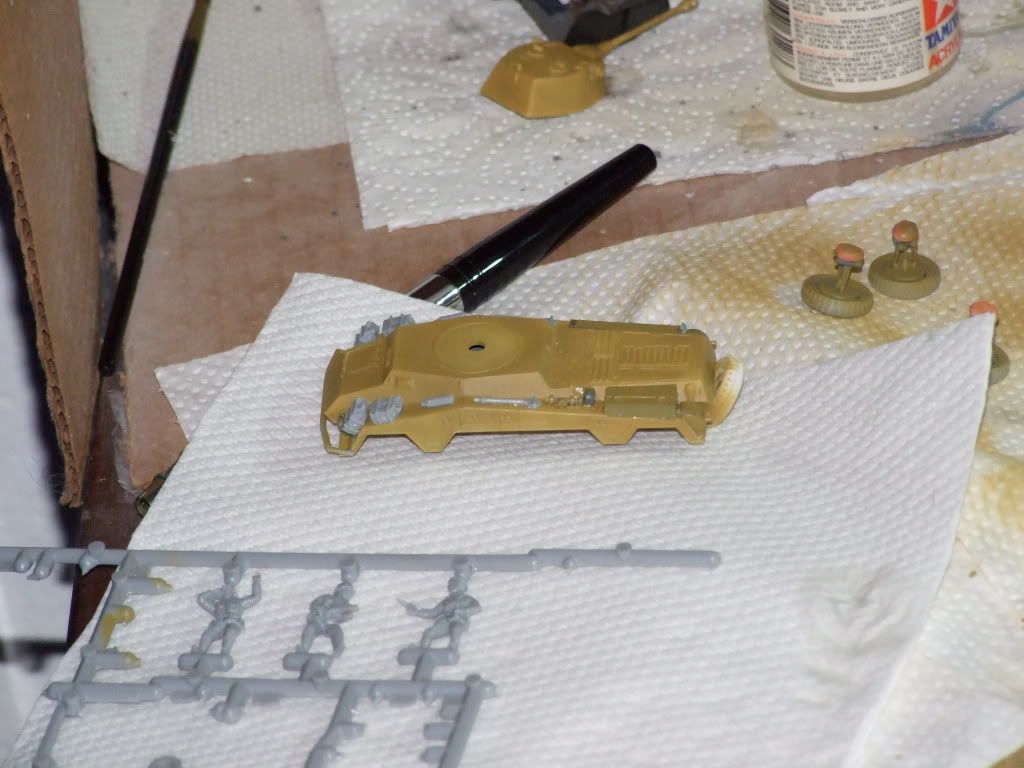
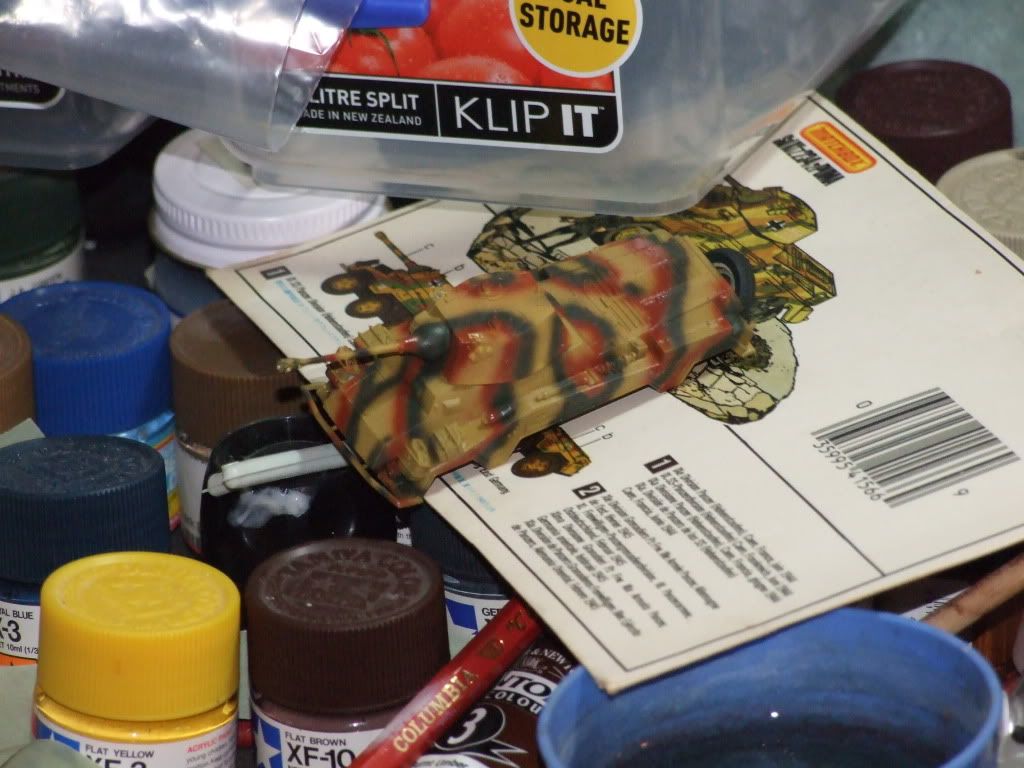
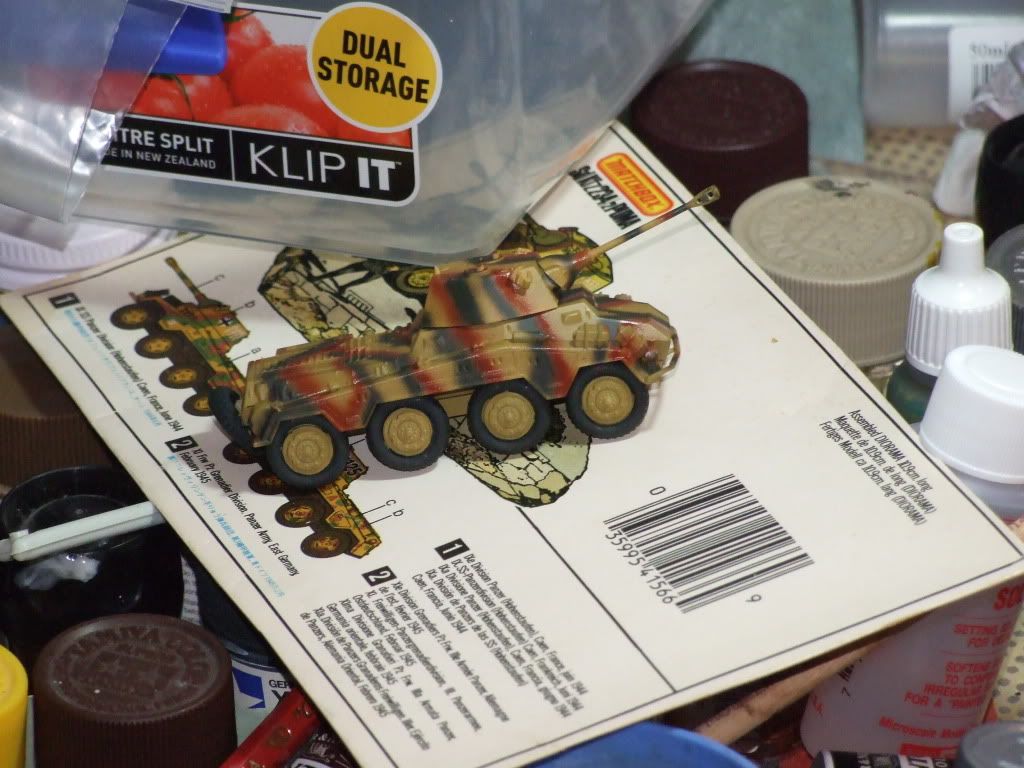
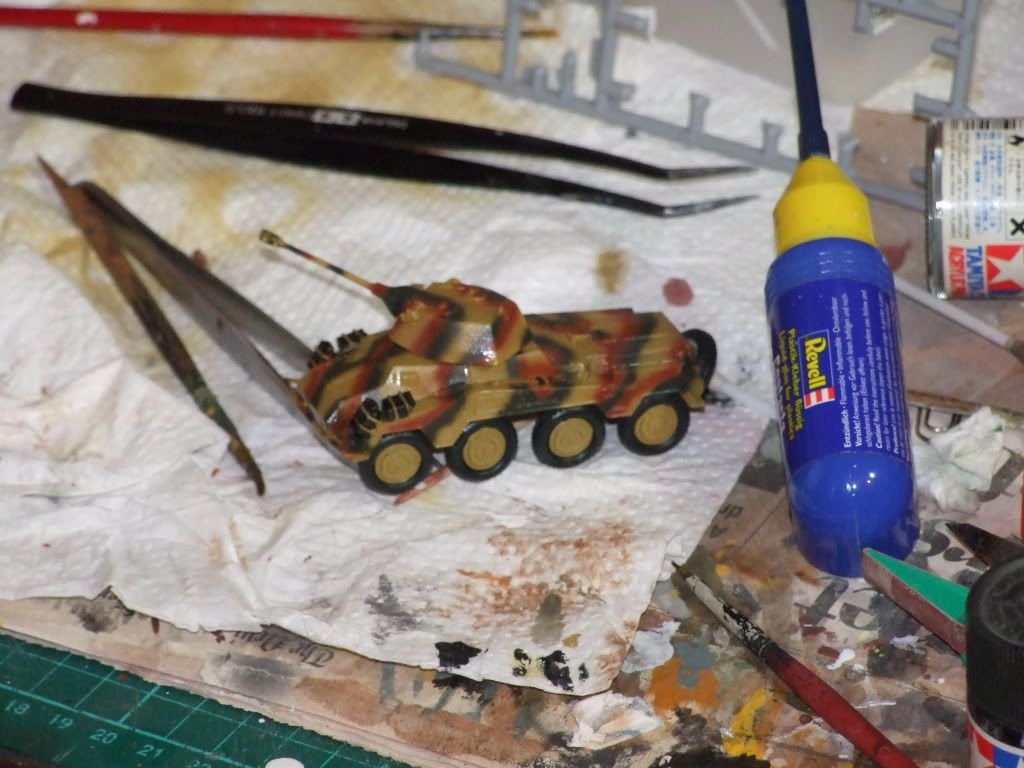
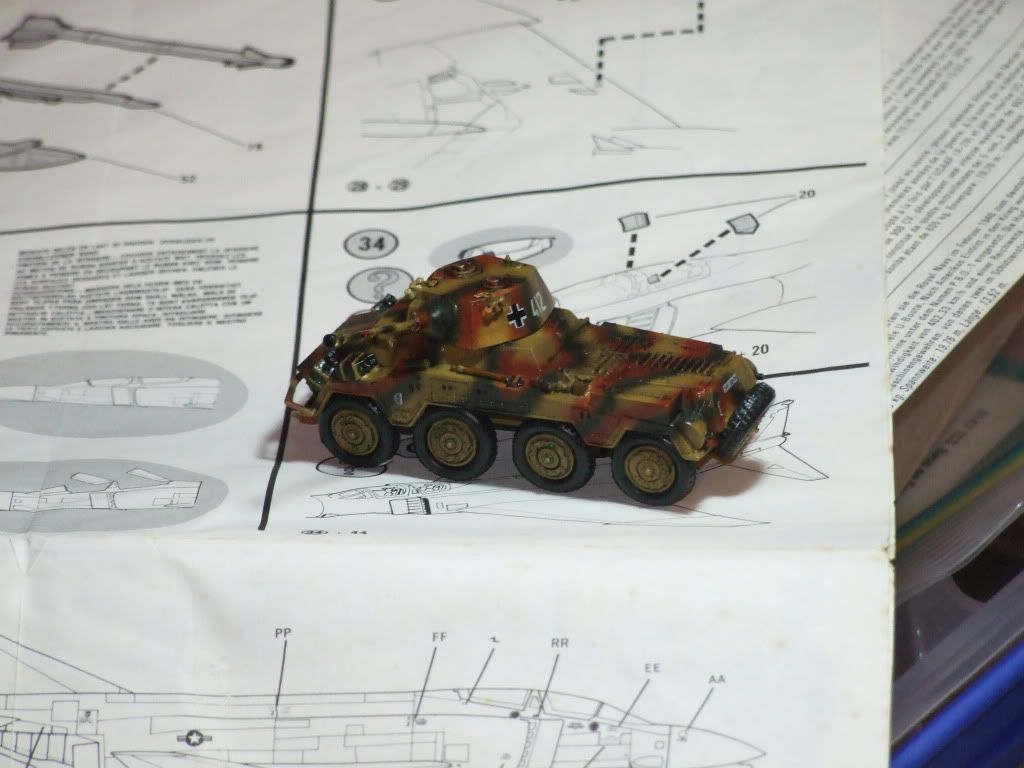
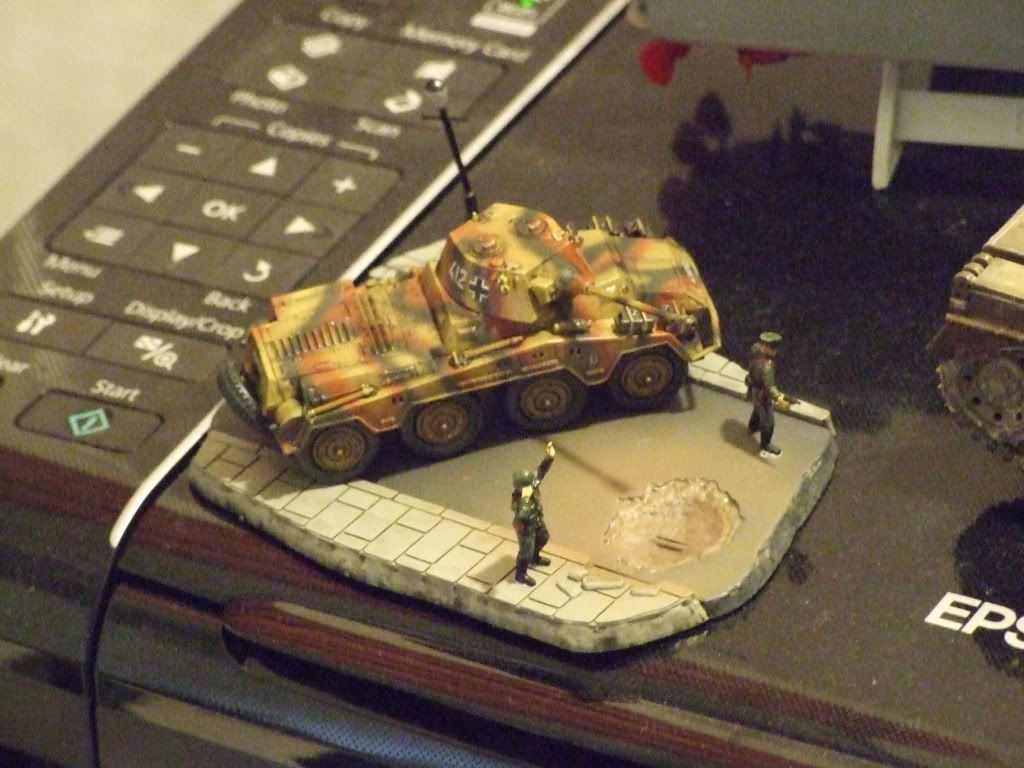
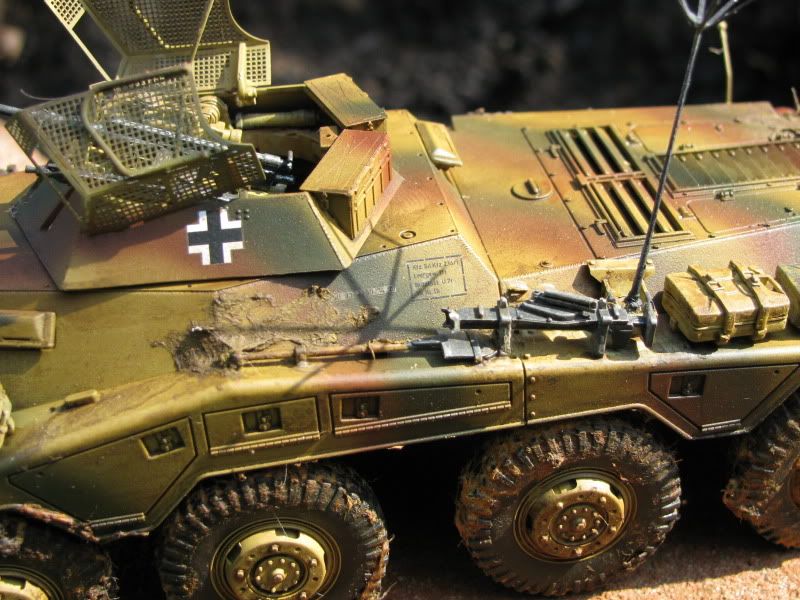
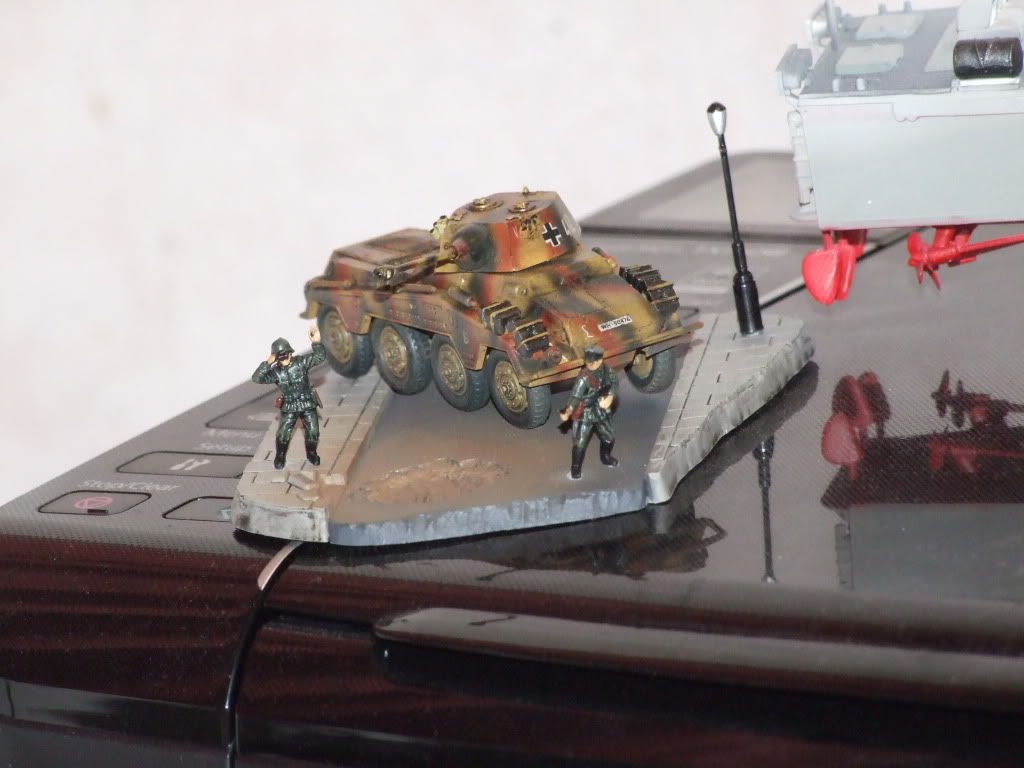
This is a Matchbox Puma, from an old stash of one of my brothers. It's probably over twenty years old. Goes together like a dream. I made one of these back in the day when I was around 12 or 13....still have it but unfortunately I tried weathering it with a turpentine thinner and paint wash that wrinkled the paint...put it in front of the fire to dry out, and the heat sunk in part of the front hull. Always remembered it as a nice kit.

2010_0618-RosehillBall0063.jpg


You can also see the Daimler at the top supporting the Puma turret while it dries, and the cockpit tub for the Phantom at the left...
 
Hey, once, in a time long gone by, I built that same model ! I remember the diarama with the lamppost (situated in Arnhem, if memory is correct) very well. I found the Matchbox models always a bit different: they come in two colours.
 
Looks like an interesting model, and the Daimler's coming on well. I'm looking forward to seeing how you paint the diorama base.
 
The bigger Matchbox kits come in THREE colours. Bonus!

That was always one of their charms, along with the patented Matchbox trench digger for the panel lines....but then again engraved lines, rather than raised lines, was rare back then.

Probly not Arnhem, since the decal options are for Normandy or East Germany, but hell, if your imagination wants Arnhem, then Arnhem it is....
 
Basecoat is on....but I clean forgot I still have some equipment containers, exhausts and tools/fuel cans to add, so that's a bit annoying....plastic cement doesn't grip to paint. Will either have to scrape the attachment points or use superglue. Bah!

2010_0623Models0064.jpg
 
Missing bits now all attached.....grrr!


2010_0627Models0072.jpg


Next we add some red-brown and dark green camou. There were two colour schemes offered...one using stripes and one using soft-edged splotches. Chose the stripes because I like the decals that go with it slightly better than the other.

2010_0627Models0073.jpg


....and next with half the wheels on...

2010_0627Models0074.jpg


The camou was applied freehand using the airbrush....didn't bother with masks. Wanted to see how fine a demarcation I could get. The edges are a little soft, but I'm pretty pleased with it.
 
I like the camo, the airbrush certainly gives a nice effect. What plans do you have for weathering?
 
Nothing major....I'm just enjoying building them without going overboard. Wash of black and brown, maybe some highlighting with a drybrush. The wheels look like they will benefit a great deal from a couple of washes. Use the airbrush to give some earthy residue particularly on the lower chassis and behind the tires.

Don't want to spend too long on it...so many models to make, and so little time.....

Still got to paint all the equipment before I get that far...the shovels, picks and fuel cans.
 
Looking forward to the rest. As I said, the airbrush gives a really nice effect for the camo.
 
Looking really good McIvan! Looking forward to seeing the end result.
rb
 
Slight problem with the Puma.....

I have now been caught out by this three times with kits from my brothers and my old stash from when we were teenagers, but when I came to put the decals on the Puma I found there aren't any.

So far I've built a PzJg I (one of my old kits from 17-18 yrs old) and found it has no more tracks or decals, started a PzJgIV/70 of my brother's and found it had no tracks either (or decals, now that I've had a quick look), and now the same with the Puma.....but at least it had no tracks to lack!

I'm not sure what I'm going to do here. I can either hand paint them...but this is 1/72 scale and it will be extremely difficuly to get a decent looking job. The other alternative is simply grabbing a secondary decal scheme from another German tank and using it, even though the numbers will be wrong. It will still LOOK like a Puma and only an expert would be able to purse their lips in disapproval.
 
Puma with the various implements on the sides painted, and all the wheels on.

2010_0710JuneJuly0085.jpg


Next is the Puma with decals! Also making a start on painting a couple of German soldiers that come with the little street dio. There was another, but he was partially broken and had a very weird looking weapon....so have discarded 'im.

2010_0710JuneJuly0089.jpg


Don't ask me about the decals and I'll tell you no lies.

Finally, the Puma after a wash of black oils....the photograph is overly dark here; it's lighter in the flesh so to speak. The oils have really brought out the details in the wheels well, and the grills on the back.

2010_0712JuneJuly0001.jpg
 
Righto...here we have the Puma in all its glory, on the simply painted diorama base, sitting on top of the printer.....

2010_0810Models0009.jpg


Still have to do a matt overcoat, paint the lines at the bottom of the shell hole...perhaps scatter some rubble debris around, maybe, maybe not....touch up a couple of things around the figures.
 
awsome job..love the weathering of that Puma..I have a 1/35 234-1:

IMG_0354.jpg
 
Back
Top Bottom