Tips for Making 'Lived In Houses.'
Houses with a fence border alone doesn't really give off that lived in feel. How many houses with back yards actually have no trees in real life? (Quiet you Europeans in your high density cities

). Currently with what's available in the scenario editor there are two main options to spruce up a back/front yard; on map options and doodads in 3D preview mode. Doodads especially can take a very long time to place and get right. In the examples below, this scenario they are taken from took all day for me to cover the entire map, then go back and touch up to help make it gel. Adding doodads and touching up details on the map to make it feel 'lived in' adding that extra layer to the game and can help avoid a CM battle feeling like it's being played on a bland on an old fashioned tabletop. (Not that there is anything wrong with table top wargames.

)
Map Options
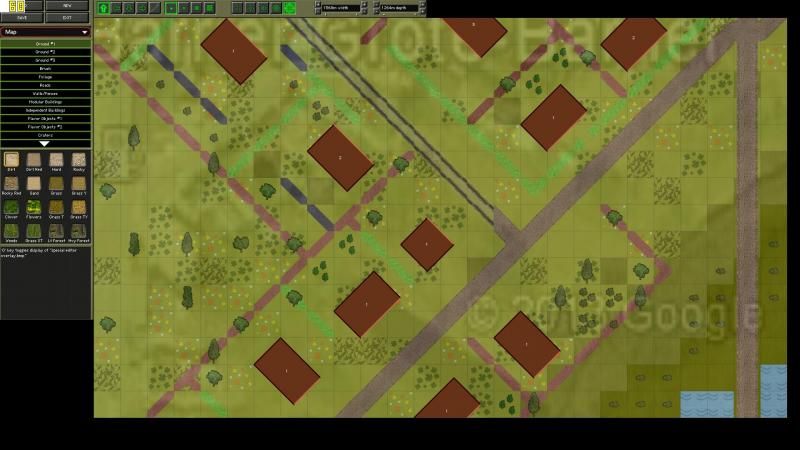
- Firstly when placing a house ensure it is a little off the road unless there is a specific reason. Usually this is due to you copying directly from a map or some regions having very strange building codes that don't take into account cars and Panzers.
- Add fences and walls around individual properties. Keep them consistent in more built up areas as walls especially are generally built along whole streets at a time by a developer. Regional areas can be a bit more ad hoc.
- Add a tree or two, or maybe some shrubs around the house. Keep it a little bit more organised as gardens are usually planned. (Think of the housewives with the green thumb).
- If building off a historical map or GoogleMaps don't be scared to ignore it and go a little creative within the immediate space.
Example
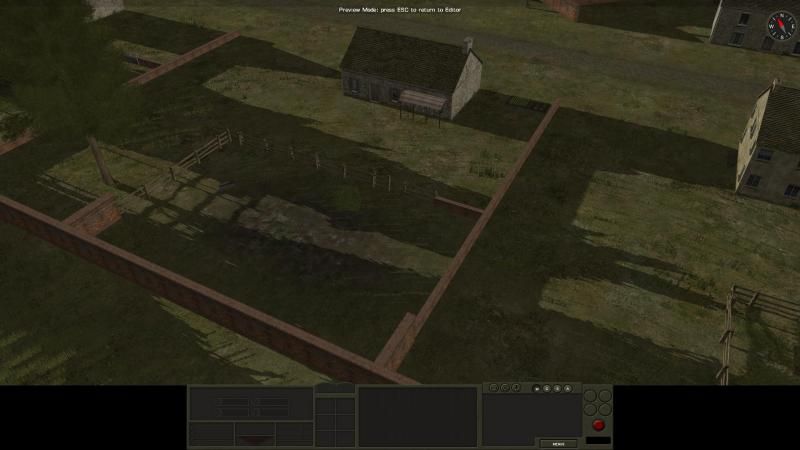
Simple back yard 'pig trough' using mud tiles and a fence. Just need dead pig doodad...
 Doodads
- Be creative and and find the doodads that 'go together.' Crates, barrels and sacks for instance used in volume make a good 'supply depot.' Back yard vege patches usually come in groups, especially in this era as some families tried to use their lands for crops as food was at risk of being scarce. Back yard vege patches probably aren't going to have mountains of hay stacks laying around though.
- Place them in realistic places and think about where the occupants of the house would place them. Outhouses generally don't go next to the back door and smell up the house.
- Doodads can cross over or blend in with existing terrain features. Look at the pic above, in particular the house overlooking the backyard.
Some other examples...
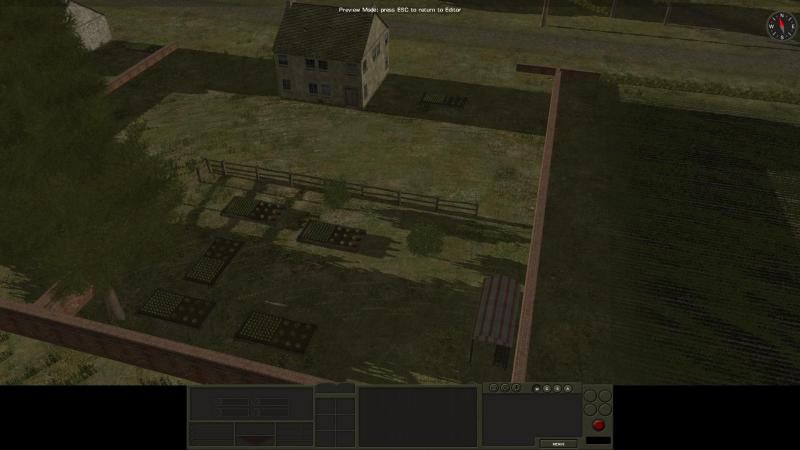
An organised garden and work area. Obviously home to a green thumb.
The abandoned and run down house. Looks to be abandoned for some time and been used as a dumping ground for neighbors rubbish. Also appears to have been ransacked by a desperate group. Firewood perhaps?
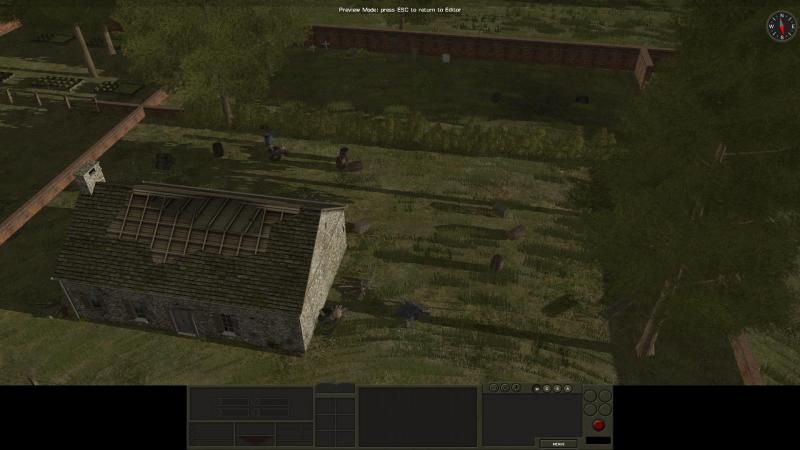
- Don't be scared to go back into the map and edit the tiles to suit. In this instance I went back and added in extra tall long grass tiles to help give it that overgrown feel.
- Let the player fill in the blanks. If you look closely you can see a couple of tombstones in the back yard. Perhaps someone in the household was killed earlier and the family moved away?
These examples are from an unreleased scenario of mine that will be finished once CMBN V3.0 is released. Need those AI triggers. Lets hope with the upgrade or some packs we get more terrain options and doodads to tell more stories.


