Operation Flashpoint - Baltic Command

Vartuoosi

FGM 2nd Lieutenant
FGM MEMBER
Joined
Nov 5, 2009
Messages
1,331
Reaction score
1,088
Age
34
Location
Finland
Welcome to another installment of Vartuoosi's tales of mild interest!

Alternate thread titles
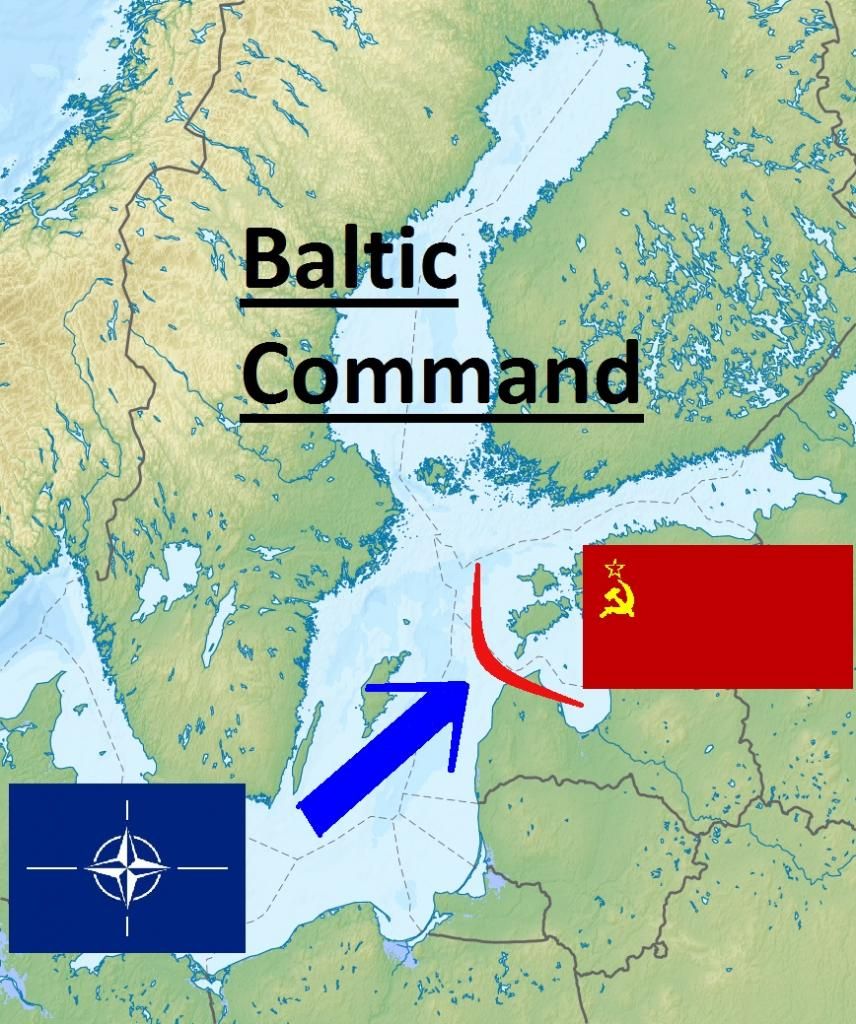
  • Task Force 'Aren't you glad you weren't assigned to this unit'
  • It's obvious that Vartuoosi didn't go through RUK
  • I know this great little pub in Tallinn...
  • Ebola-Estonia
Balticcommandtitle.jpg~original

(mad mspaint skillz yo)

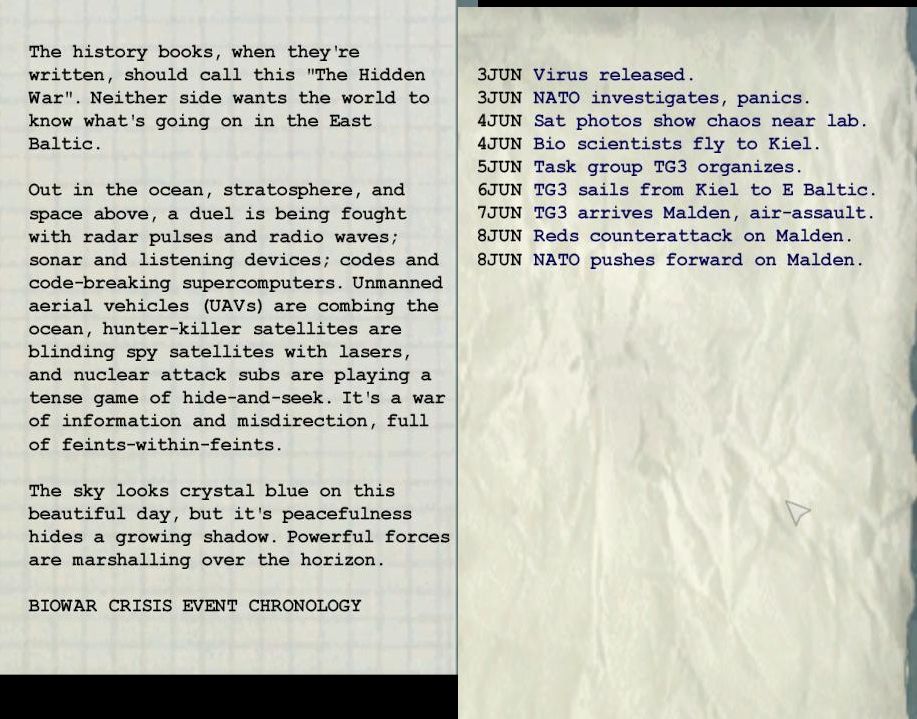
I will be playing a campaign consisting of 30ish missions, called Baltic Command.
It takes place on the vanilla Flashpoint and Resistance expansion islands; Malden, Kolgujev, Everon and Nogova. In this campaign's storyline these island are situated near the coast of Estonia/Latvia.

Story

Unfortunately I couldn't get the intro cutscene to play (missions seem to work fine so far) so I'm little fuzzy on the details.
The Soviets have been doing some really heavy biological weapons development in Nogova but the shit hits the fan when a terrorist group/rogue Red Army troops/rabid Doctor Who fans/whatever attack the bioweapons lab and seize control of it and take hostages.
While the Soviet leadership sits around with their thumbs up their asses, NATO finds out about the incident and decides to do something about it. So the Task Group 3 is formed with the objective to seize the bioweapons lab, neutralize PETA/rogue Red Army choir/rabid Manchester United fans/whatever and prevent the release/theft/narcotic abuse of any bioweapons.
But the Reds won't just let NATO to sail in their "backyard pool" so TG 3 must embark on a miniature island hopping campaign in order to reach the lab on Nogova.
Let's hope we aren't starting a WW 3 here.

Gameplay
In this campaign player takes takes control of the TG 3's ground element. That's right. Instead of commanding a squad as in normal OFP/ARMA gameplay, you command a mixed, about battalion sized task force. This is achieved with the Chain of Command team's Command Engine-mod, and as clunky as that mods UI is it still seems to work better than the High Command-module introduced in ARMA 2 (Where the troops just seem to ignore all the players commands).
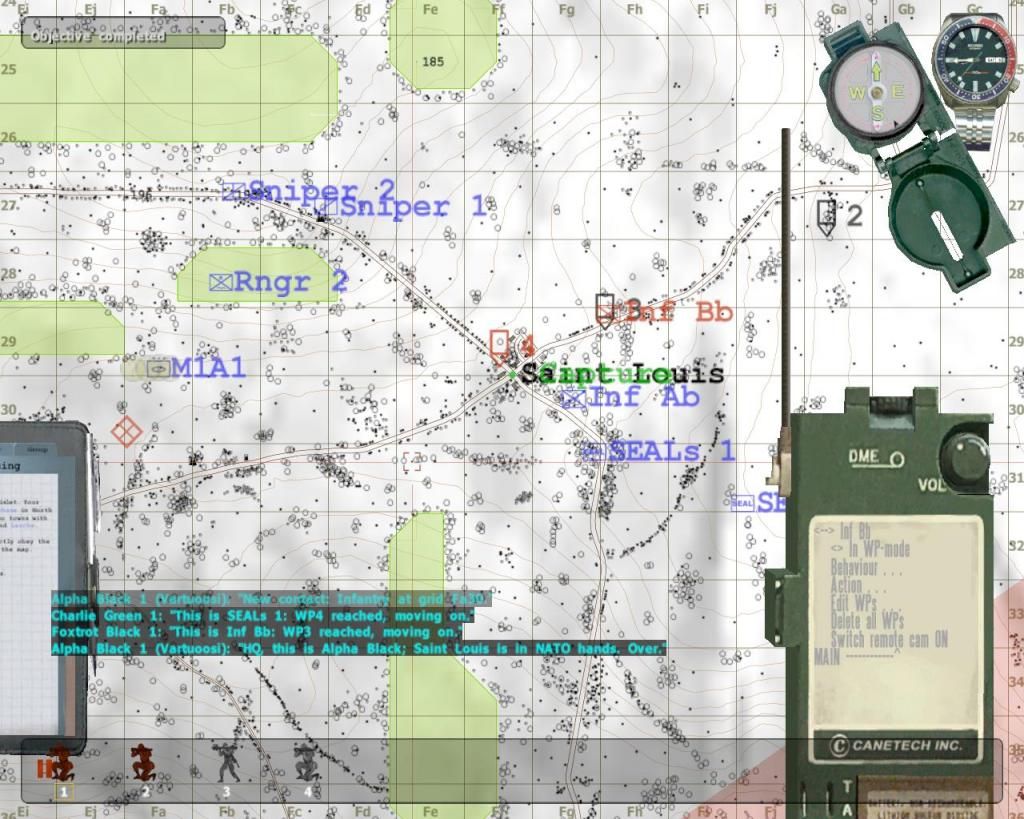
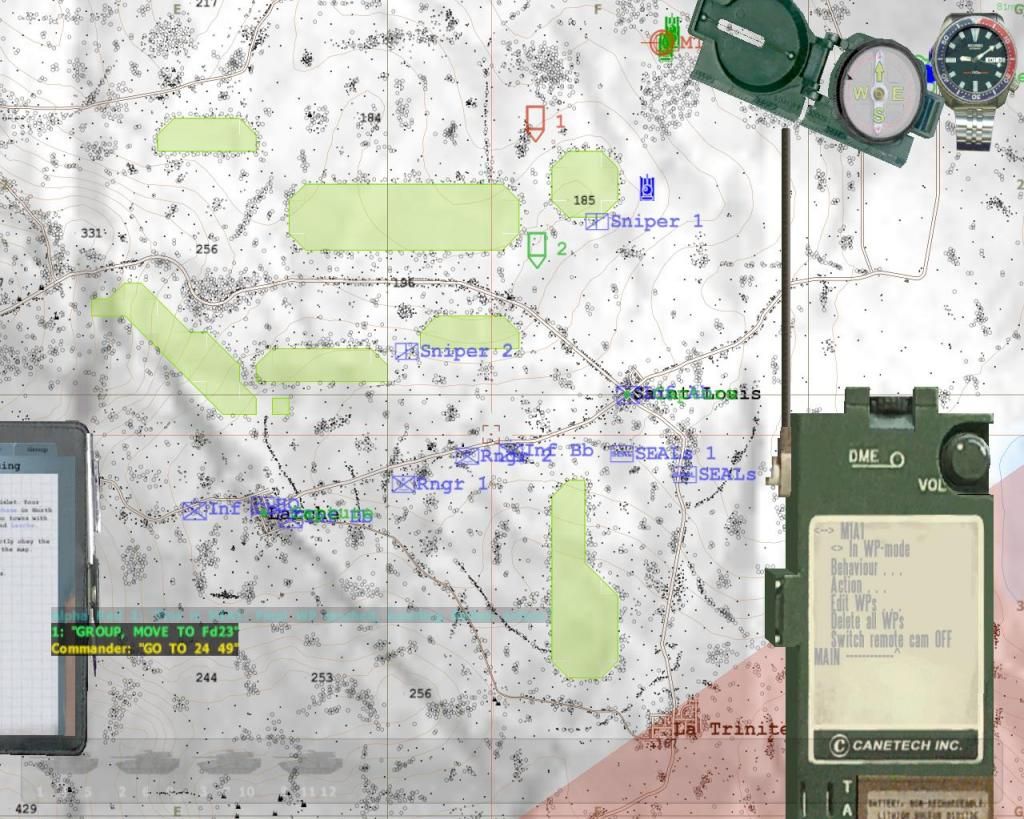
Units are marked on the map with NATO symbols. Friendly units are always visible on the map and OPFOR units will be marked on the map when a friendly unit spots them and reports their position.
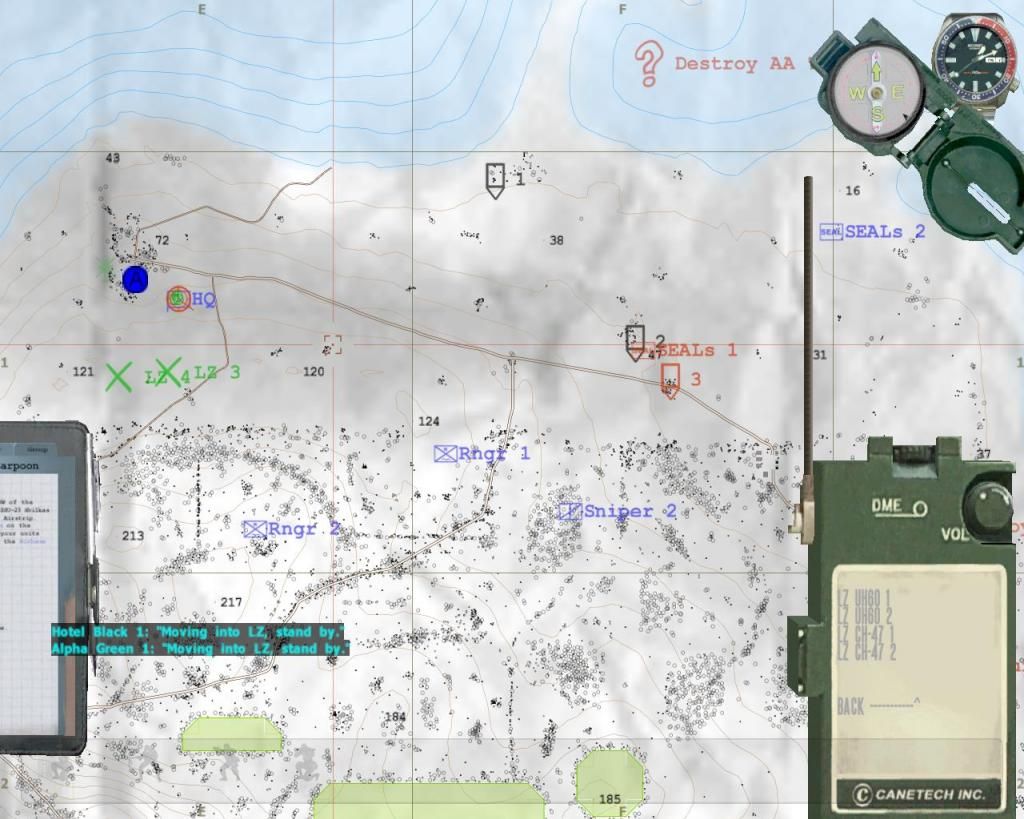
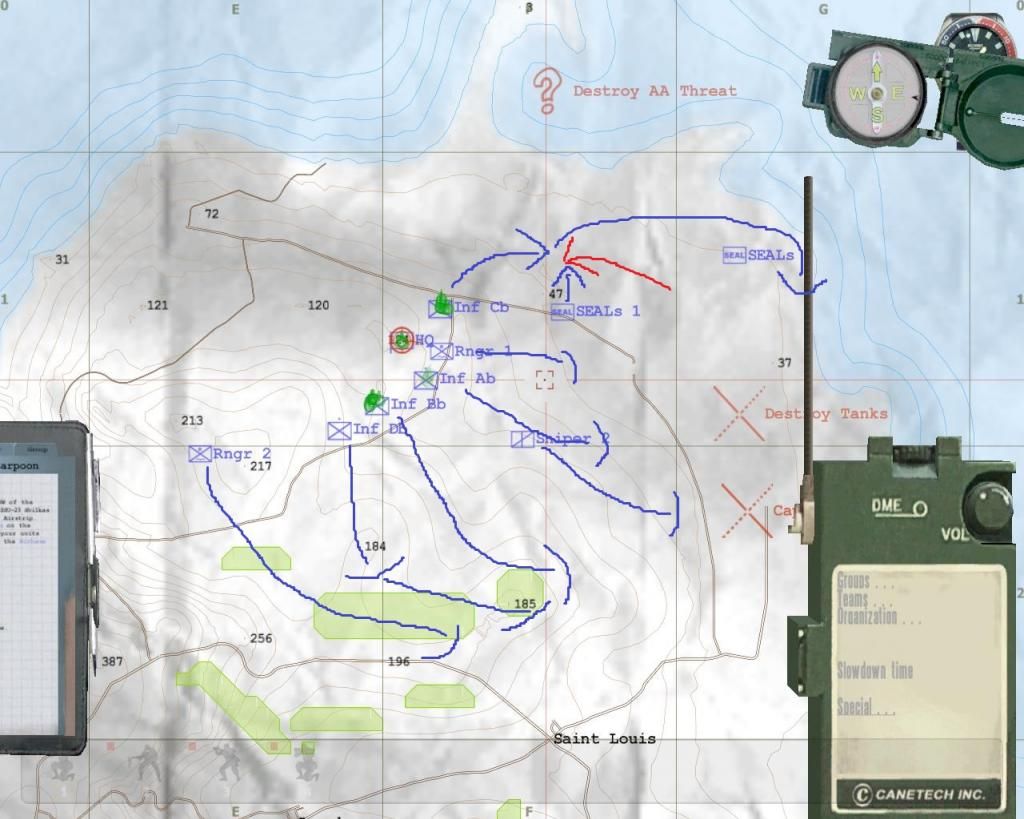
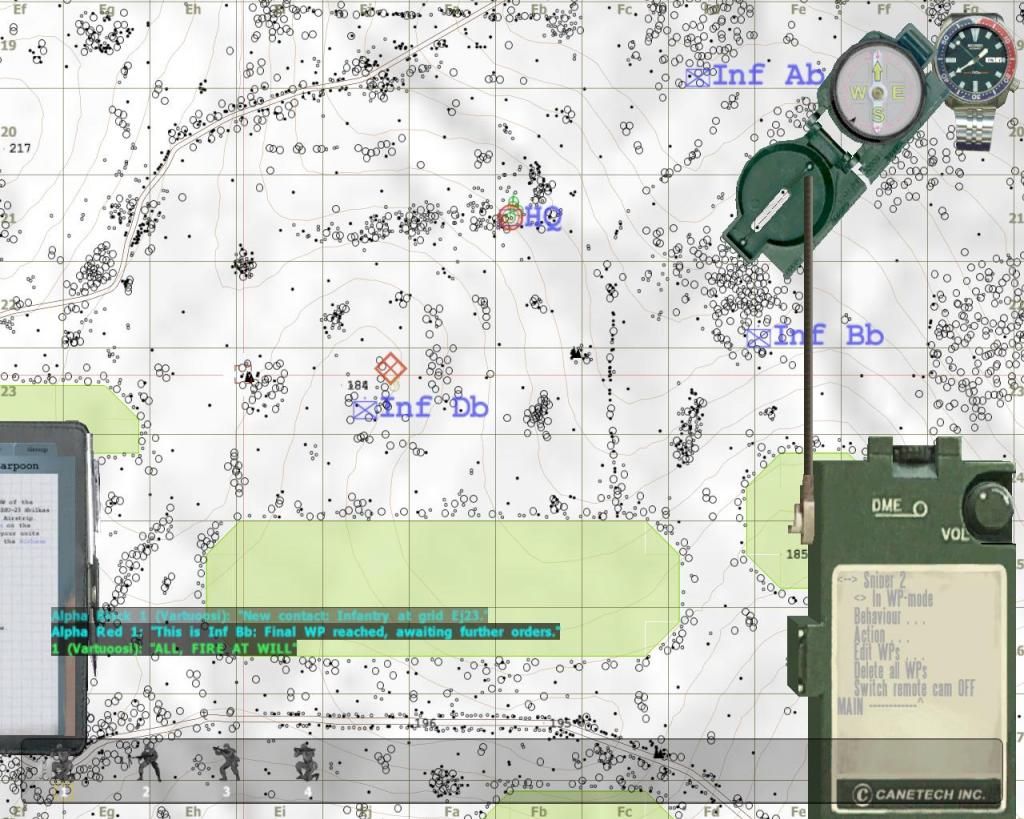
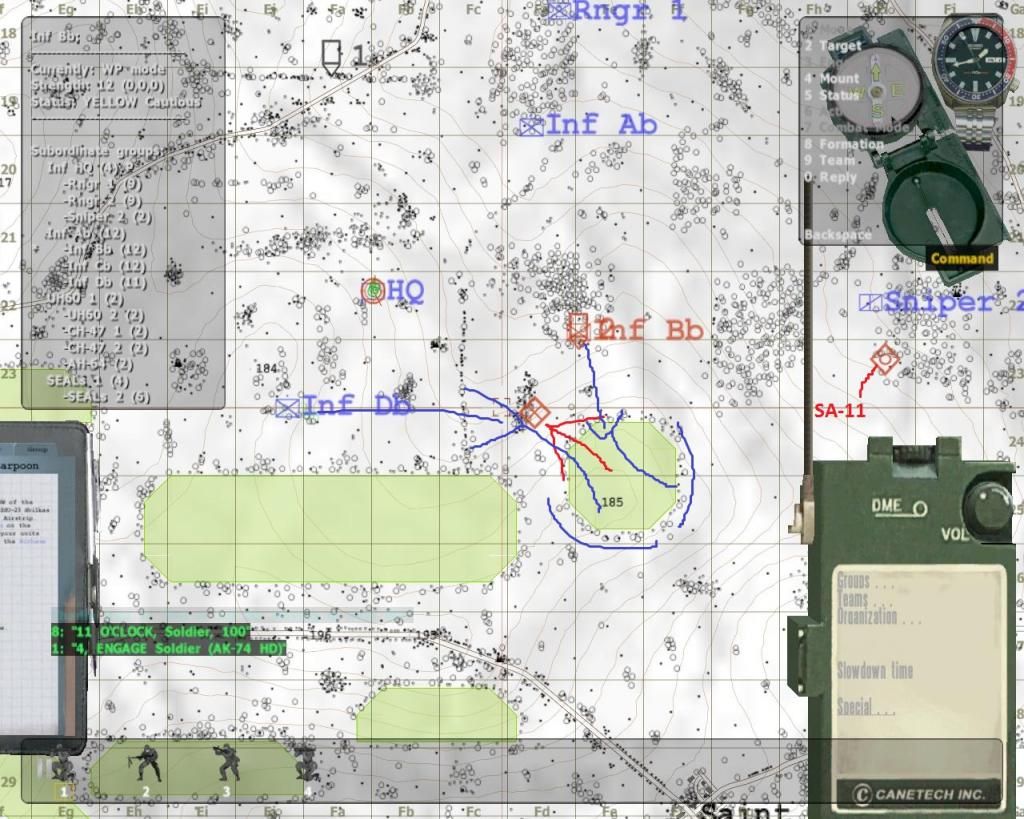
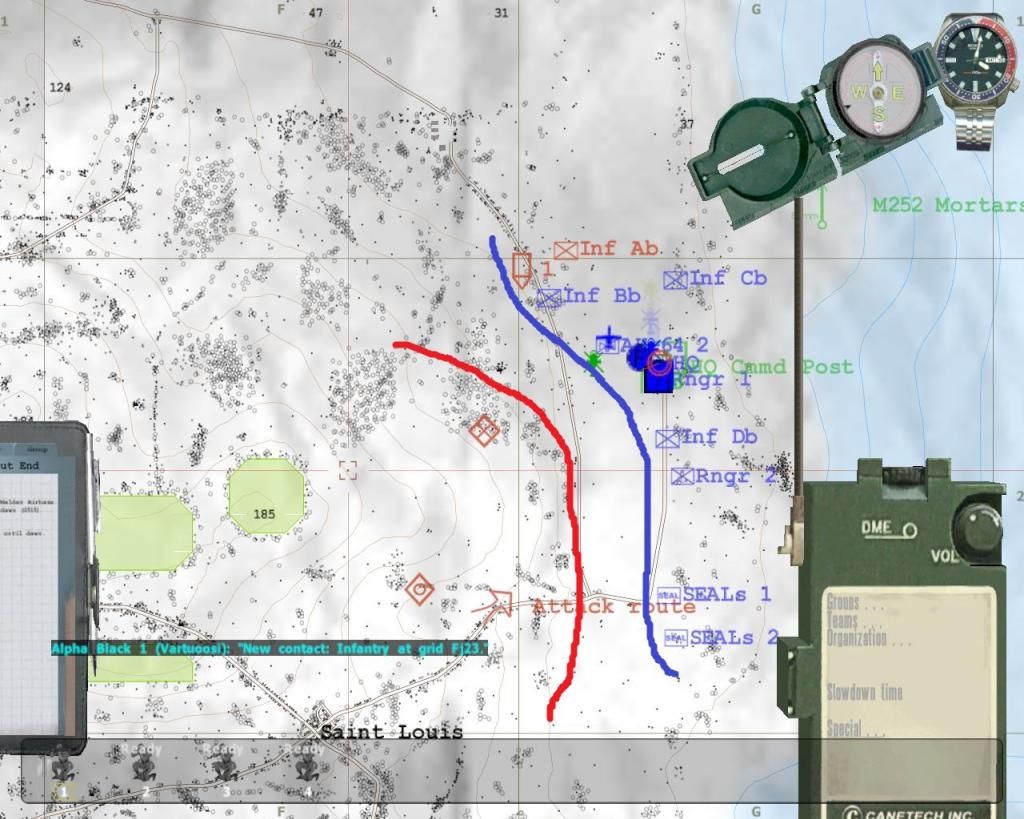
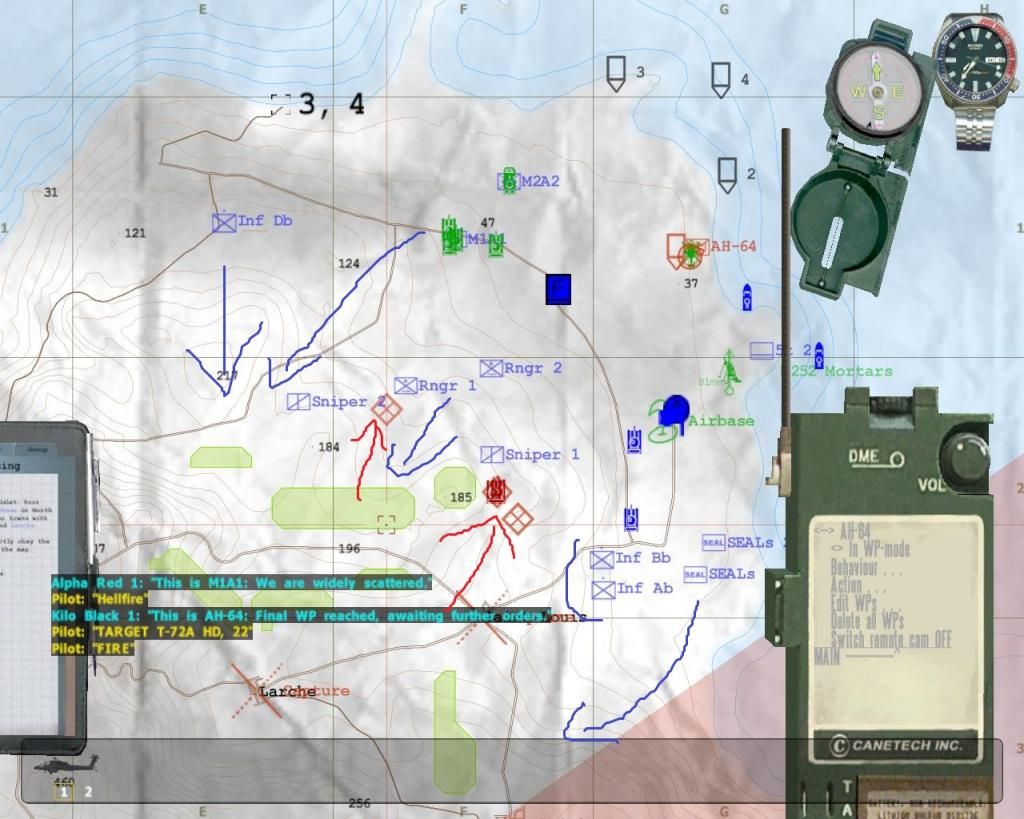
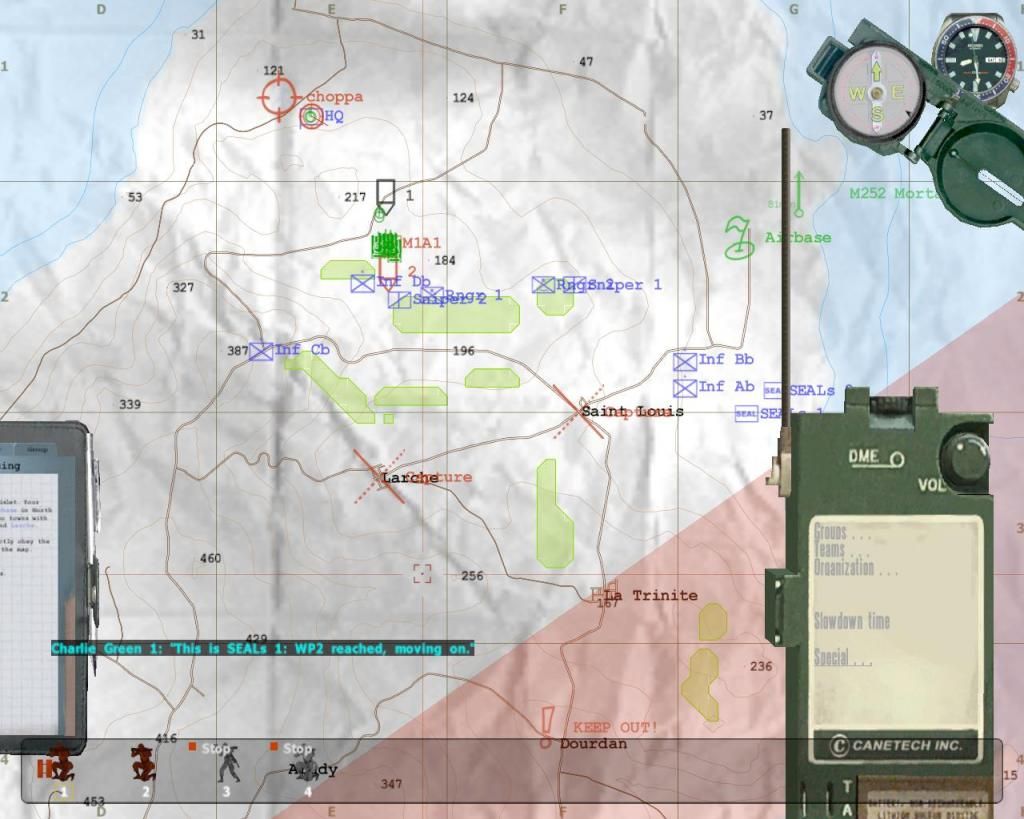
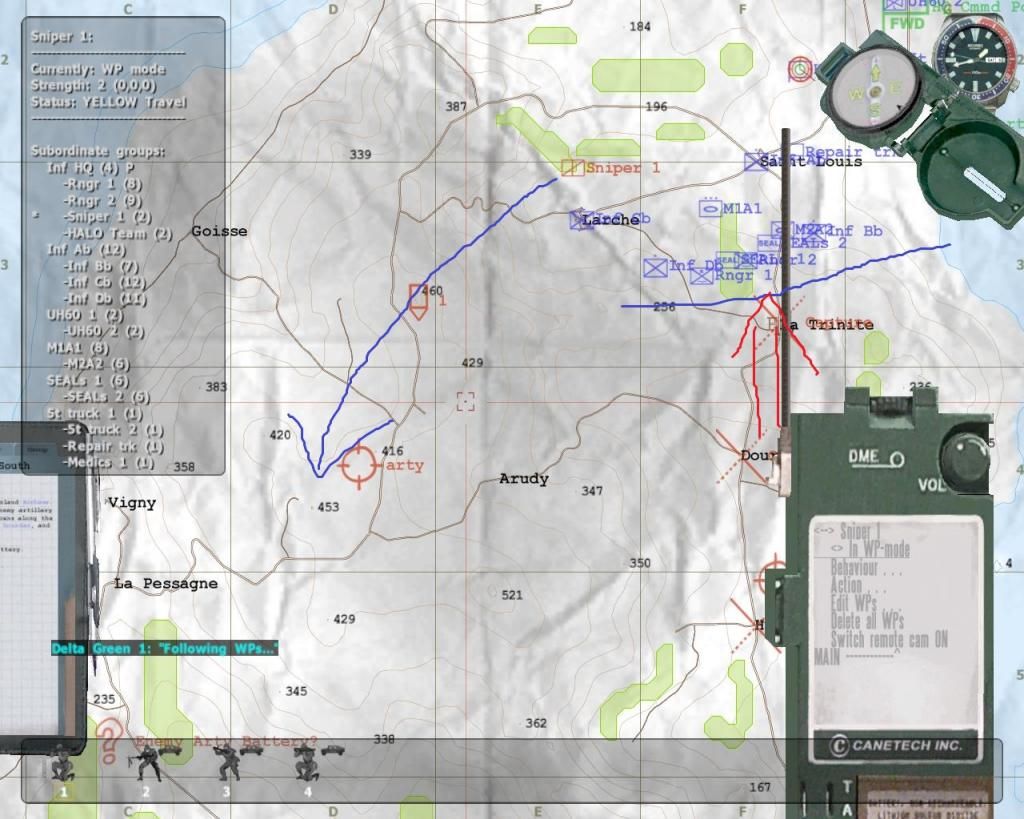
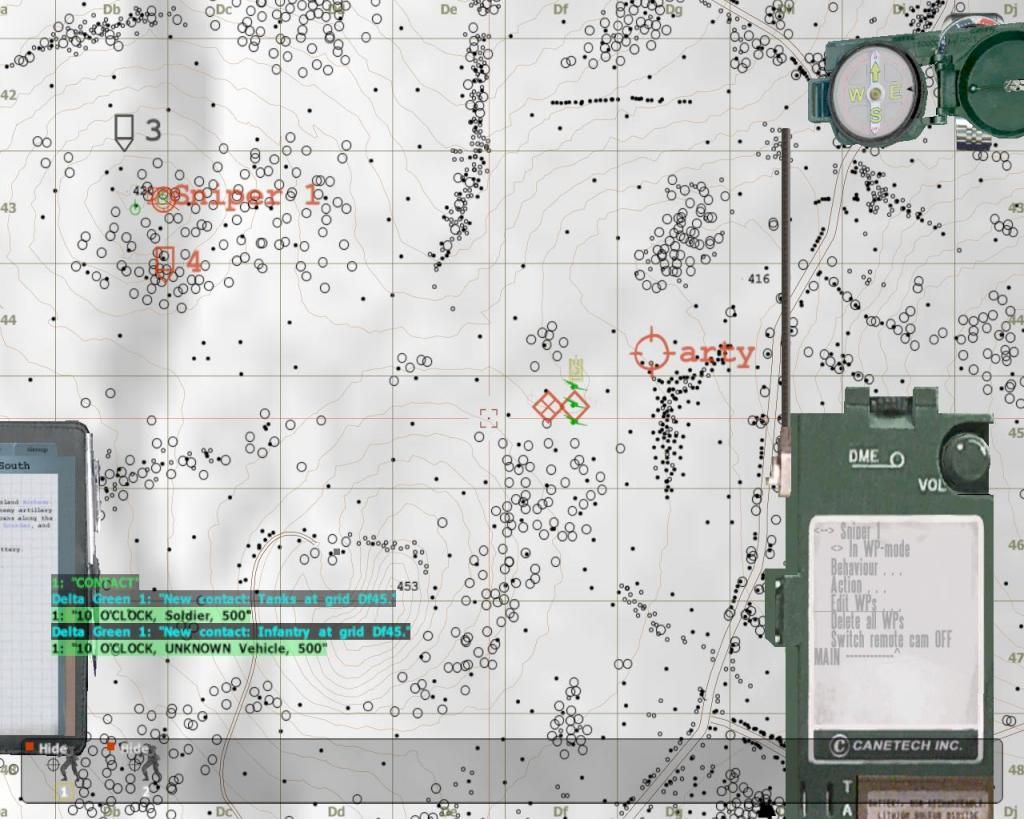
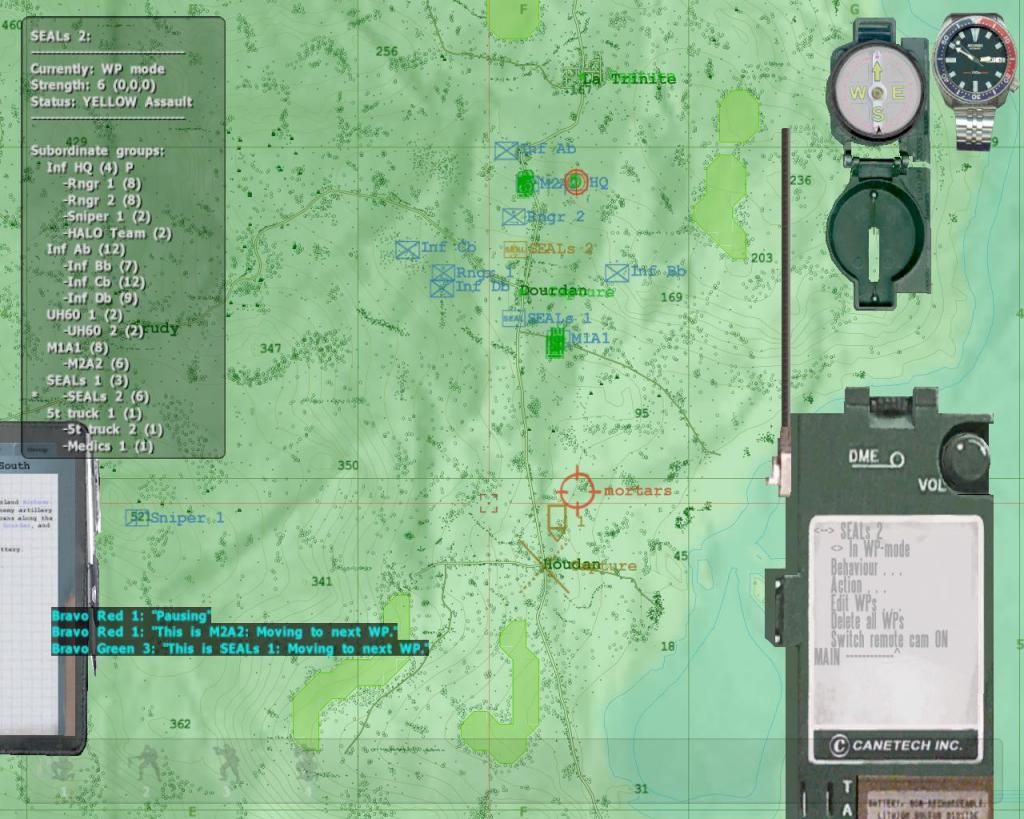
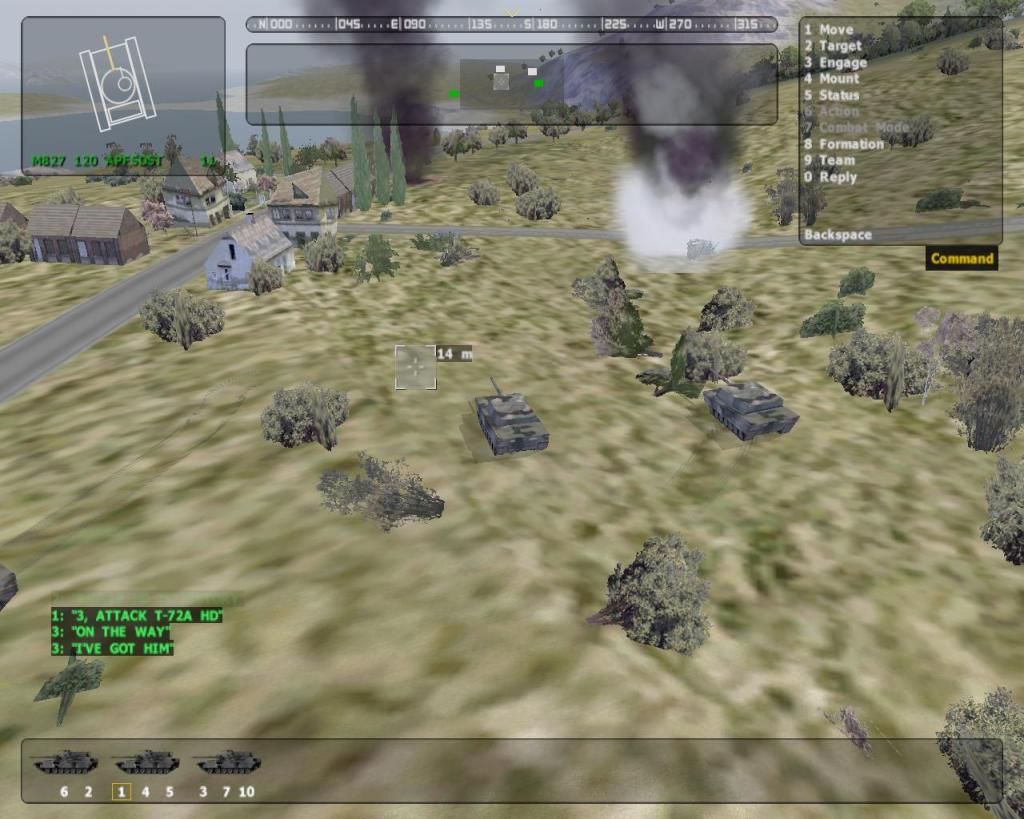
Commands to the units under players command are issued with the radio UI and the map (bottom right corner on the screenshot below). As you might guess this system is kinda clumsy but it get's the job done.
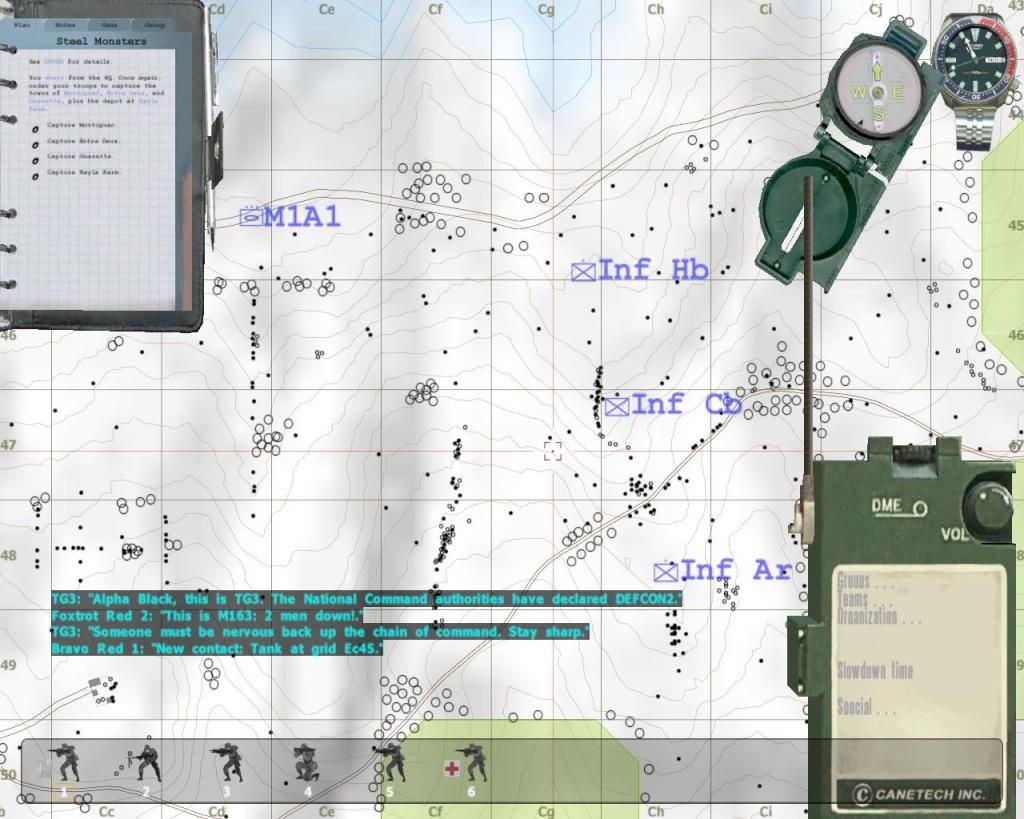
mapandradio.jpg~original


Depending on the mission all sort of different fire support might be available for the player. These include mortars, howitzers, SPG's, MLRS', Tomahawk cruise missiles and airstrikes by fixed wing aircraft. Many of these can use different kinds of ammunition or warheads.
Soviets also have this kind of stuff and one of the first things to do in any battle is to find and neutralise the enemy arty. The enemy will also do counter-battery strikes against your guns once they have opened fire, with brutal accuracy and speed.
The Soviets also can track down the players location via tracking your radio and call strikes against your position. The player is usually warned about these with a sound of a siren and the phrase "Code blue!" being yelled on the radio.
Unlike in Lumessakahlaajat the indirect fire support is extremely devastating.

Other type of useful stuff at the players disposal is counter-battery radar which allows the player to track arty rounds in-flight on the map screen. This way you can get an approximate location of enemy artillery positions.
Then there is electronic interference and radar jamming which renders enemy AA-radar ineffective for a little while. This means that the Soviet Shilkas and SA-11 launchers can't fire accurately at all. MANPADS are unaffected by this jamming since they use infrared targeting.
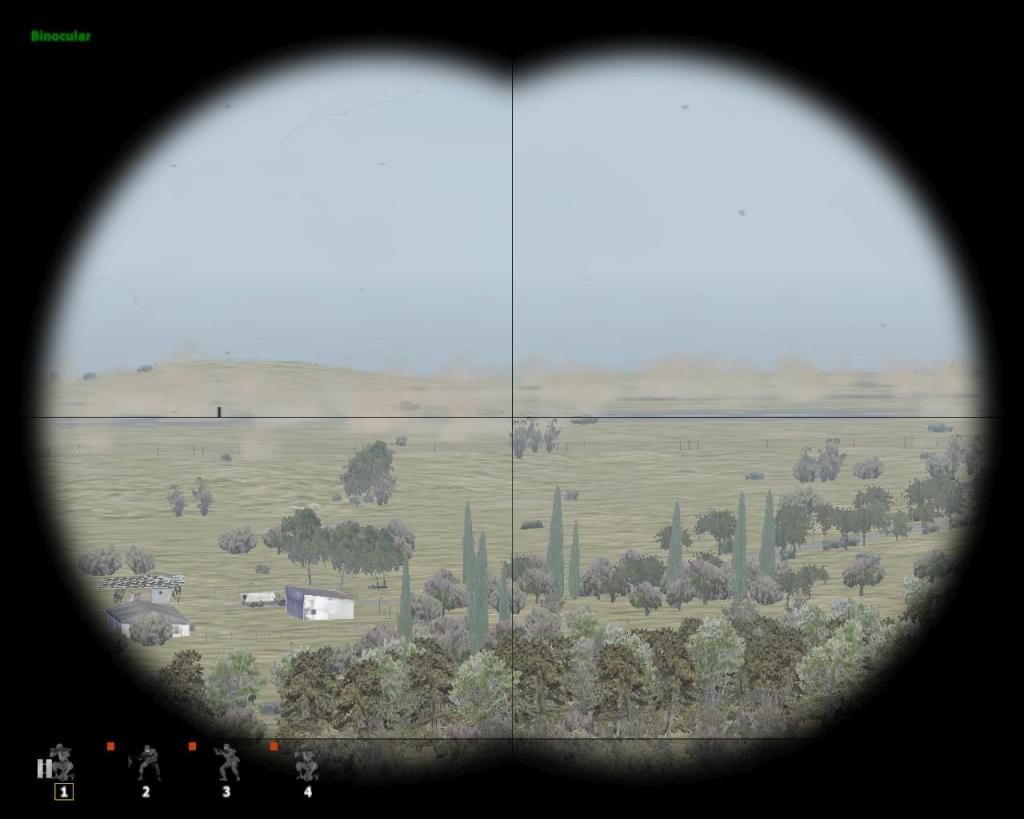
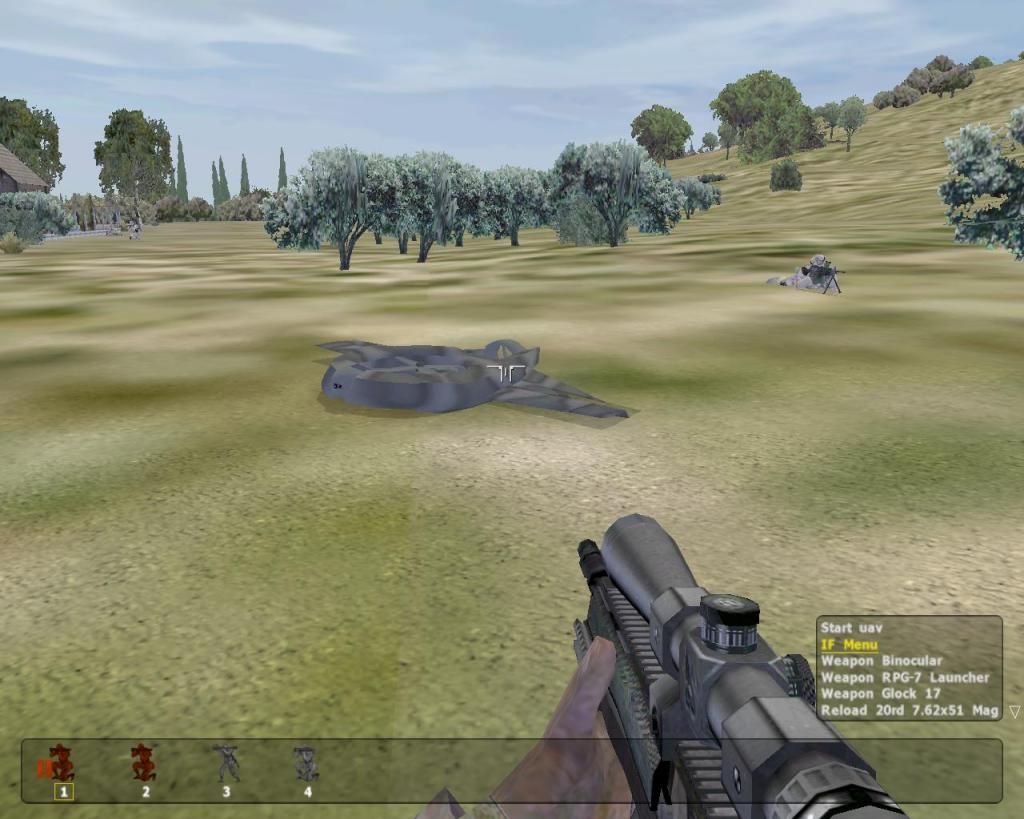
For recon you got a single use of a recon satellite per mission and a UAV. The UAV is of dubious value since it doesn't even have nightvision, the controls are absolutely horrendous and it has very short flight time(around 10-15 min.).
Judging from the floating, it does seem to feature some sort of anti-gravity tech.
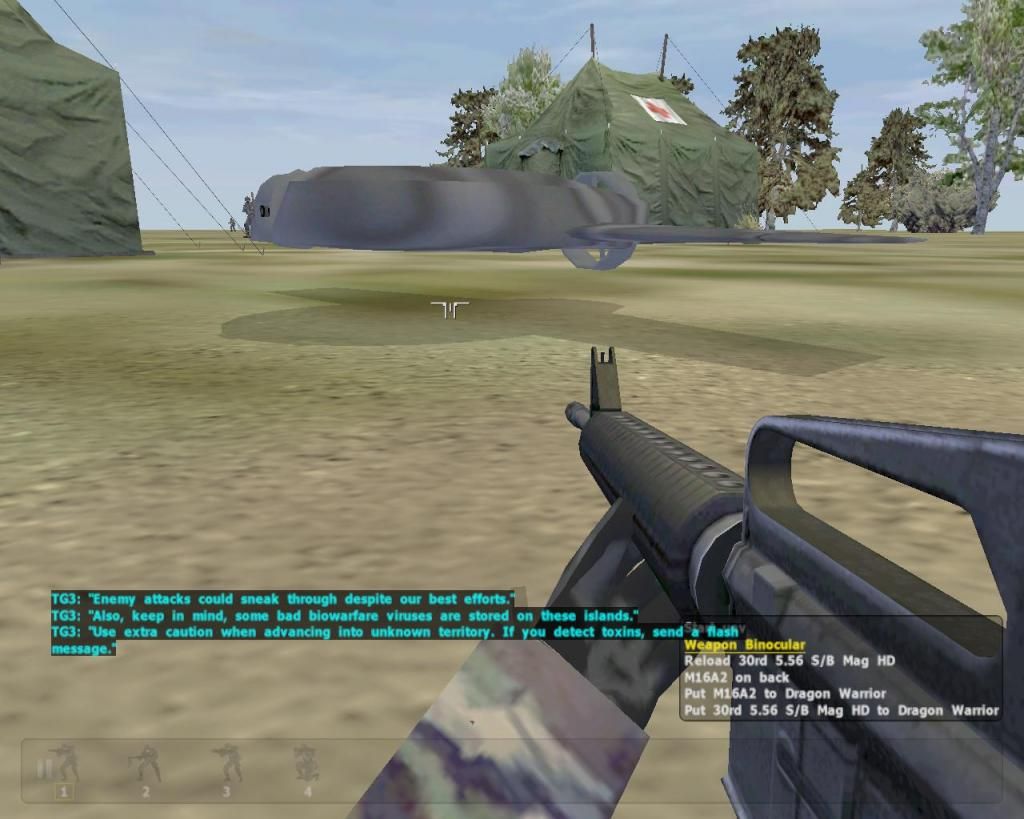
UAV.jpg~original


For personal transport the player has a OH-58 Kiowa armed with two rocket pods containing a total of 14 rockets. That thing is super fragile and can be downed with a LMG.
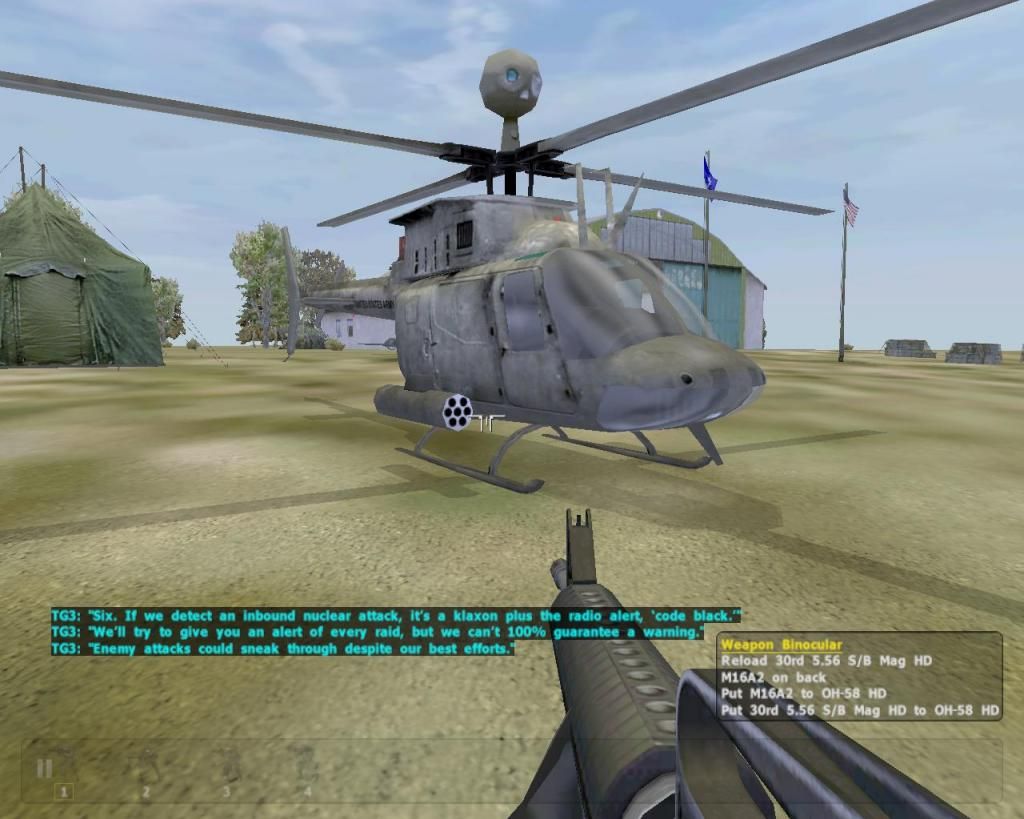
OH-58Kiowa.jpg~original


You can play this campaign just sitting in your command post and giving your orders from there but I'll try to get where the action is. More Desert Fox and less Dugout Doug.

The update schedule for this AAR/LP-thing is going to be whenever I feel like it.
The missions in this campaign are quite long so it'll propably take quite a while to finish this(assuming I am ever able to finish this).
So without further ado get HYPED!
 
I forgot to post this one screenshot yesterday.
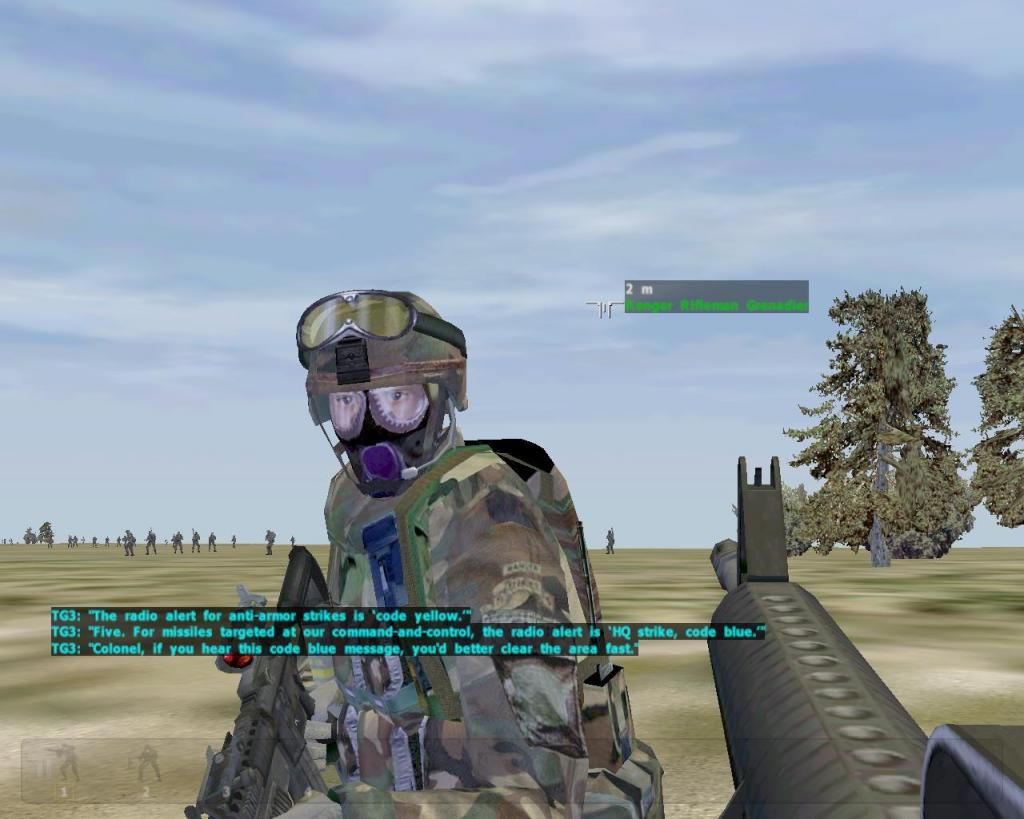
The player can order MOPP Level 4, which causes all your soldiers to put on their gasmasks.
But the "gasmasks" are just a texture applied on top of the soldiers head model. So it looks like the guys just painted their masks on their faces. It's kinda creepy.
gasmasks.jpg~original
 
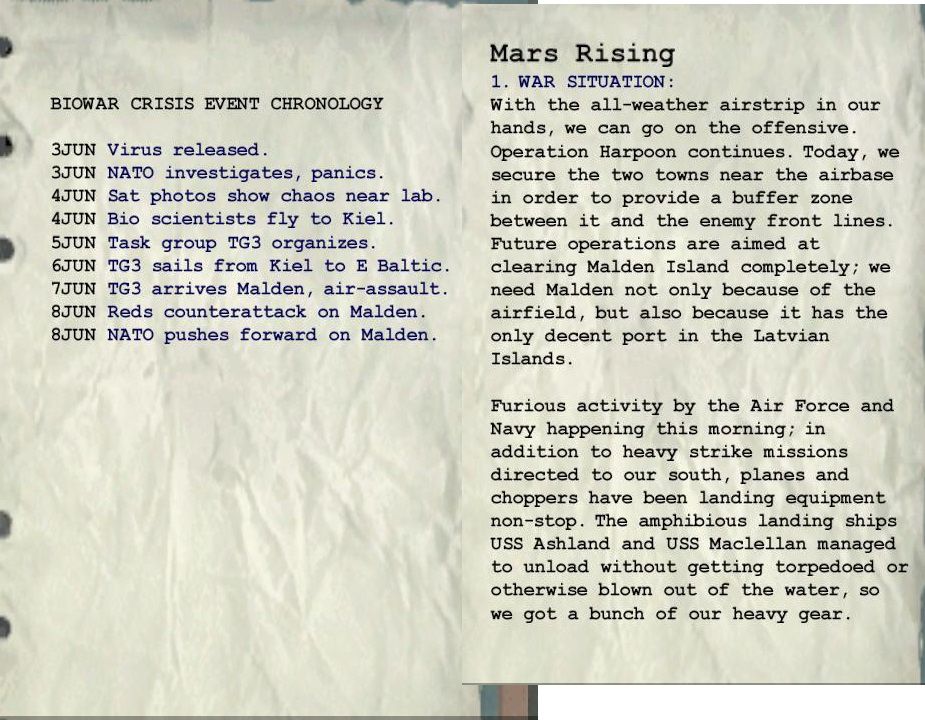
Mission 01 - Operation Harpoon
aka Colonel Vartuoosi's red whale

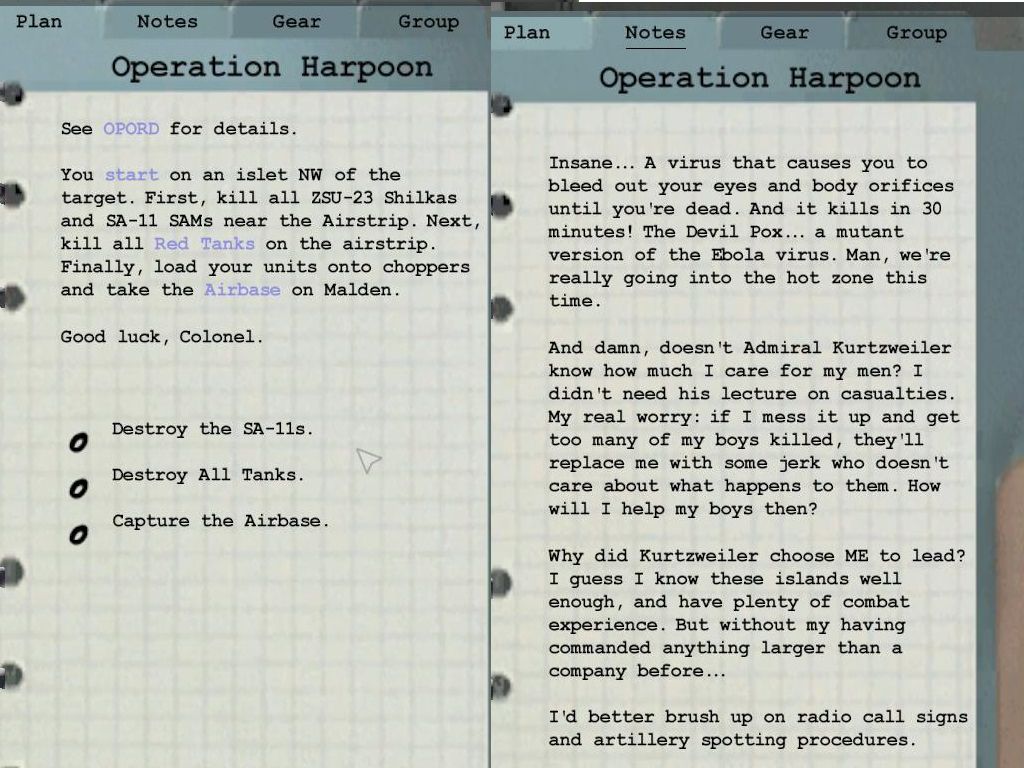
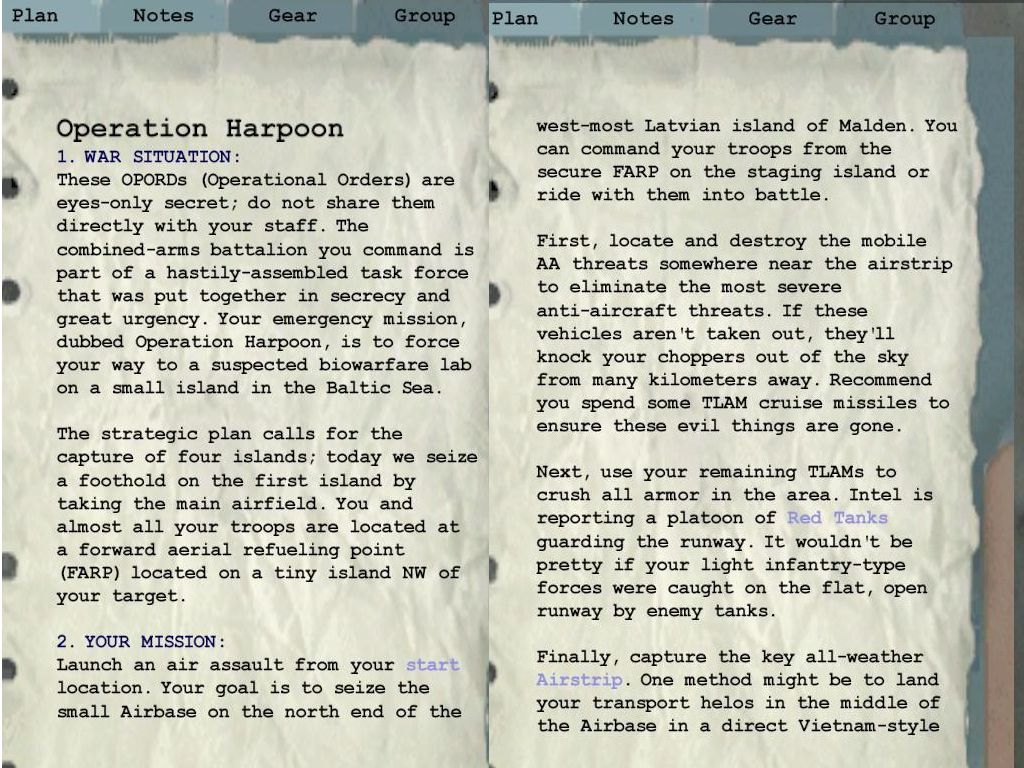
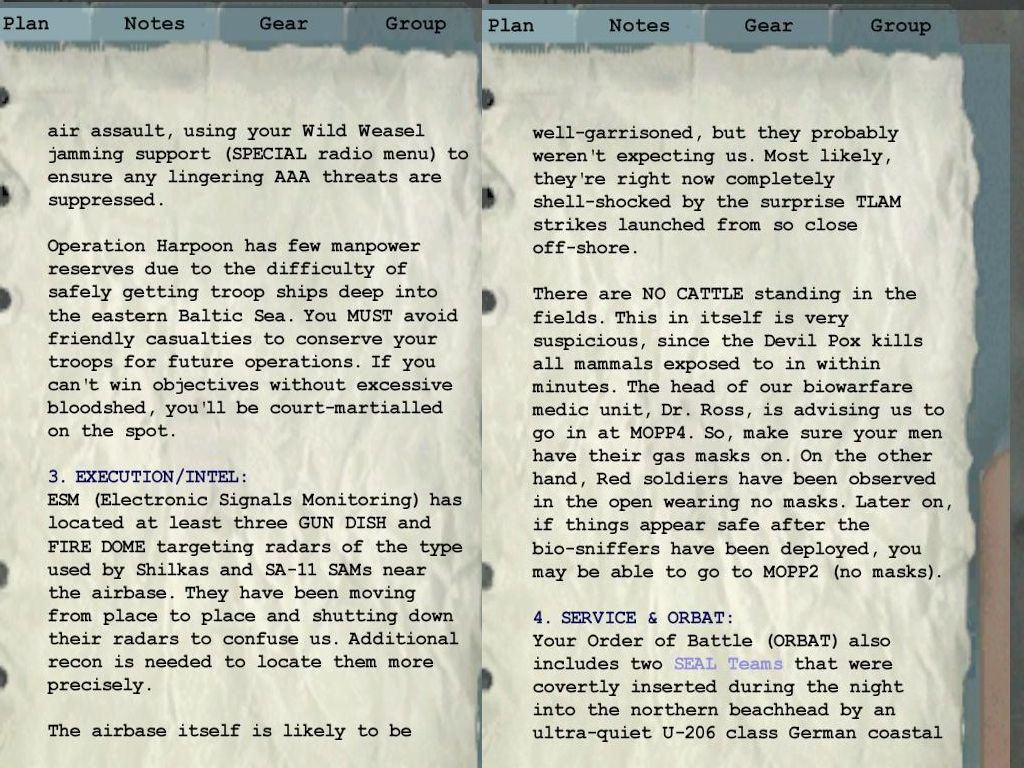
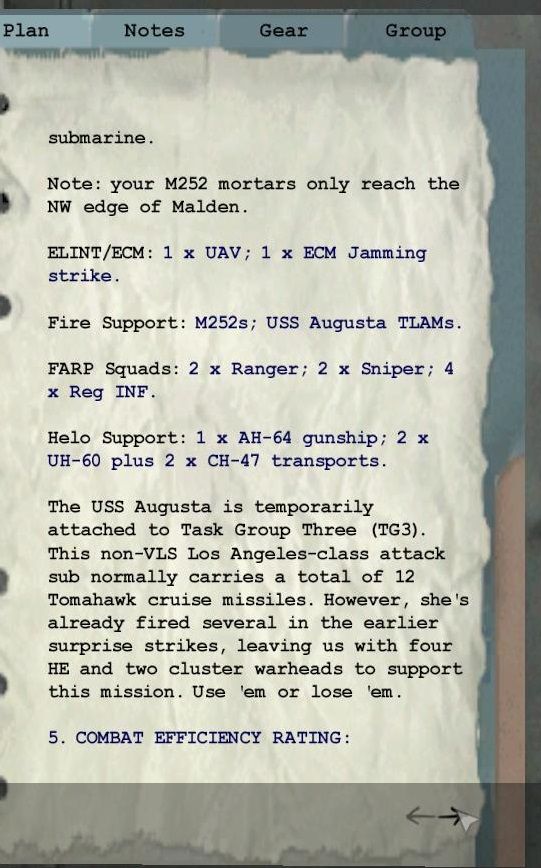
Time get this operation rolling. To begin with I'll post the briefing and intel stuff.
briefing1.jpg~original

briefing2.jpg~original

briefing3.jpg~original

briefing4.jpg~original


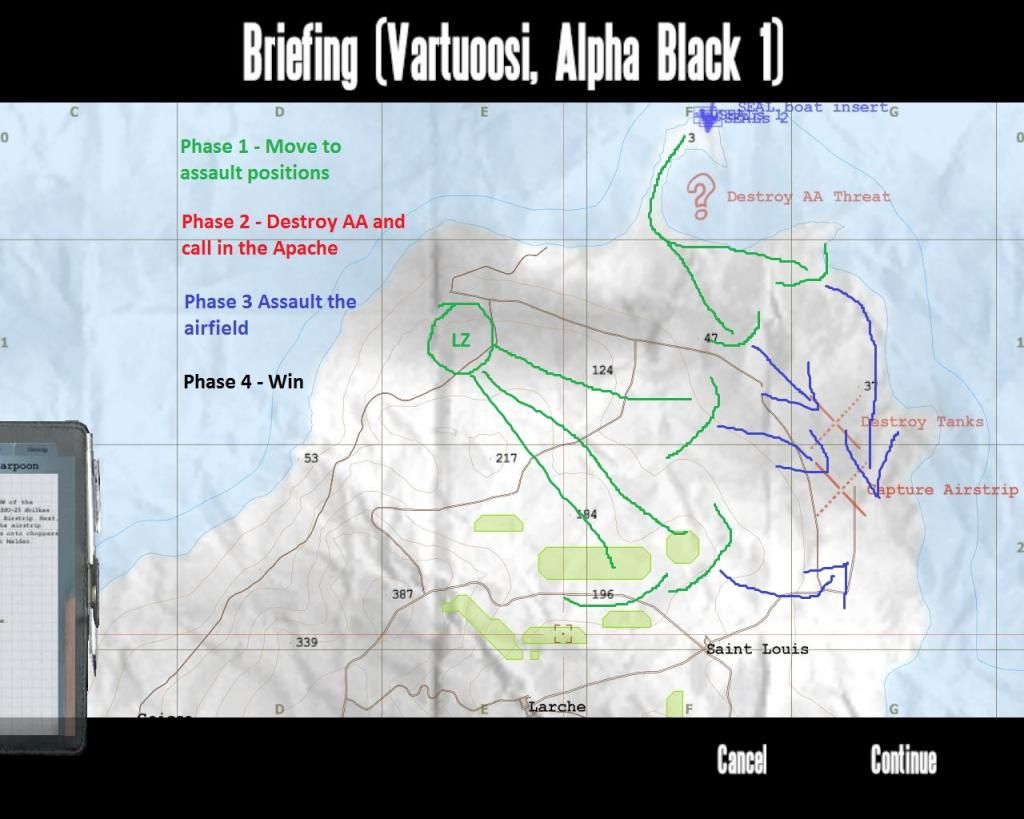
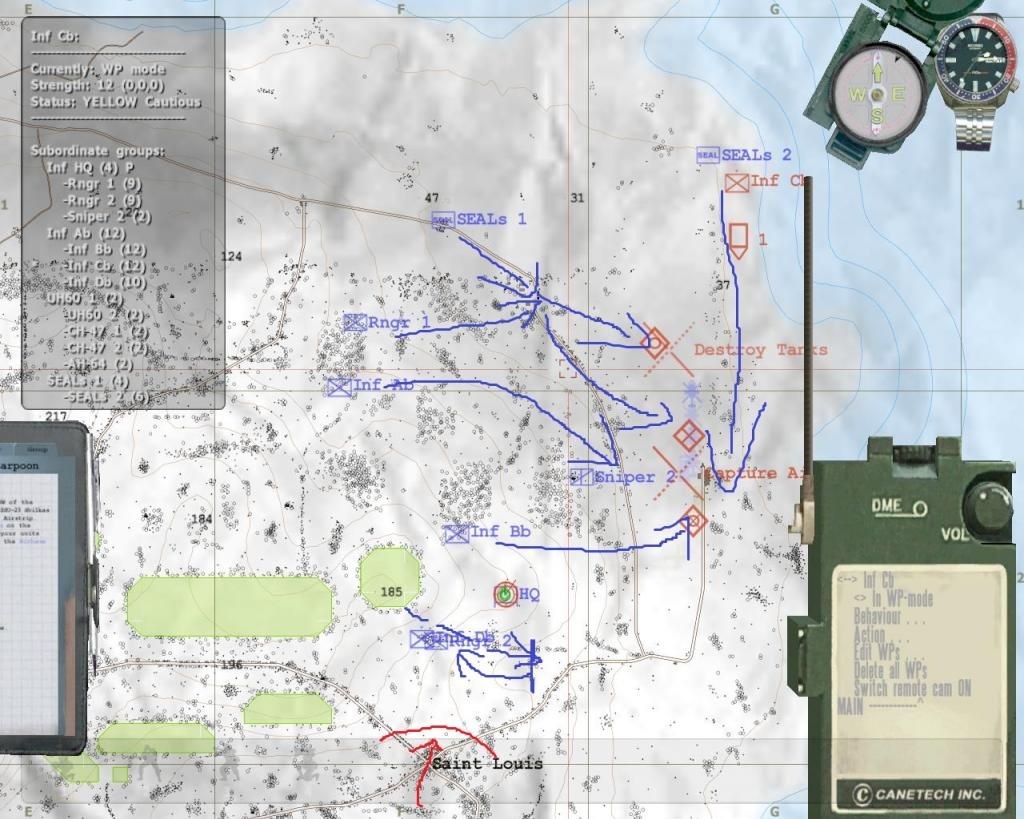
Next up is my cunning plan.
The Seals are already on Malden so their job initially is to move little bit south/south-east to keep an eye on the road leading from the airfield to west and cover the flank of the LZ. Later they'll join in on the assault to the airfield from north.
After some recon and possible fire missions, the Rangers and the rifle squads will be airlifted to the north-western most part of the island. There is enough flat and open ground to provide a safe LZ and is far enough from the airfields AA-defenses. Then these units will move to the hills/mountains that overlook the airfield and wait until the AA is dealt with and then assault the airfield once airsupport has dealt with any remaining Red armor.
Plan.jpg~original


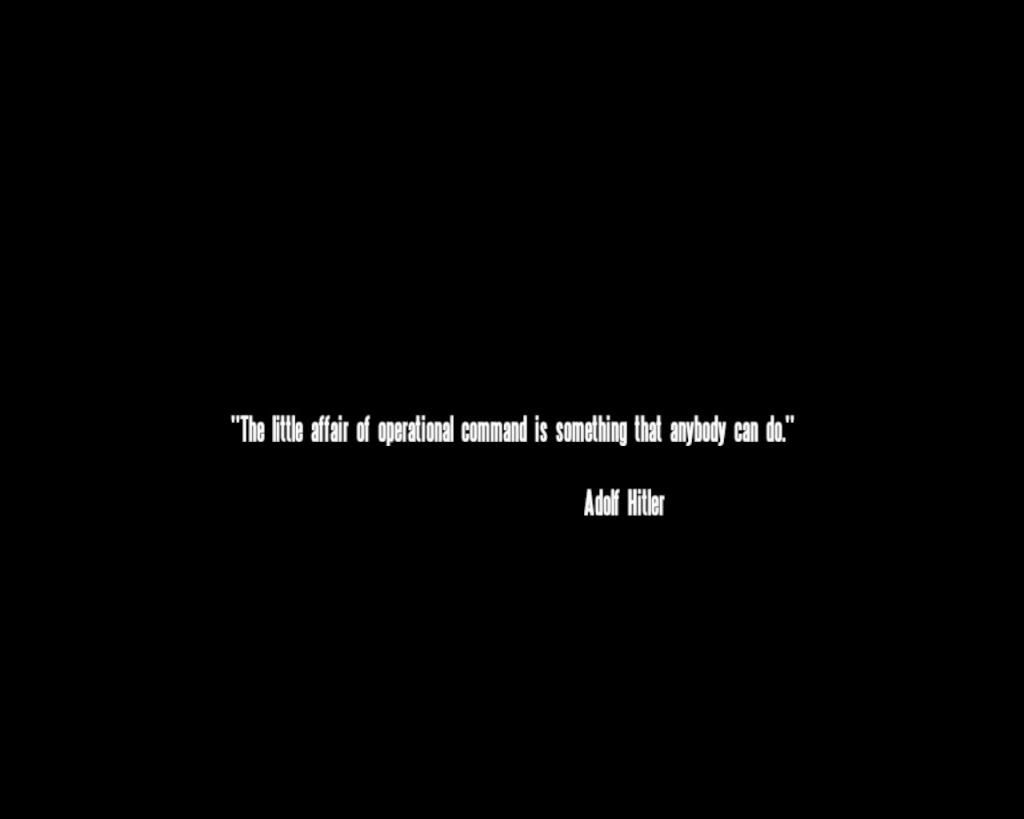
The mission proper opens up with a quote from Adolf Hitler.
Isn't this a cheery start?
FlashpointResistance2014-02-1821-41-42-32.jpg~original


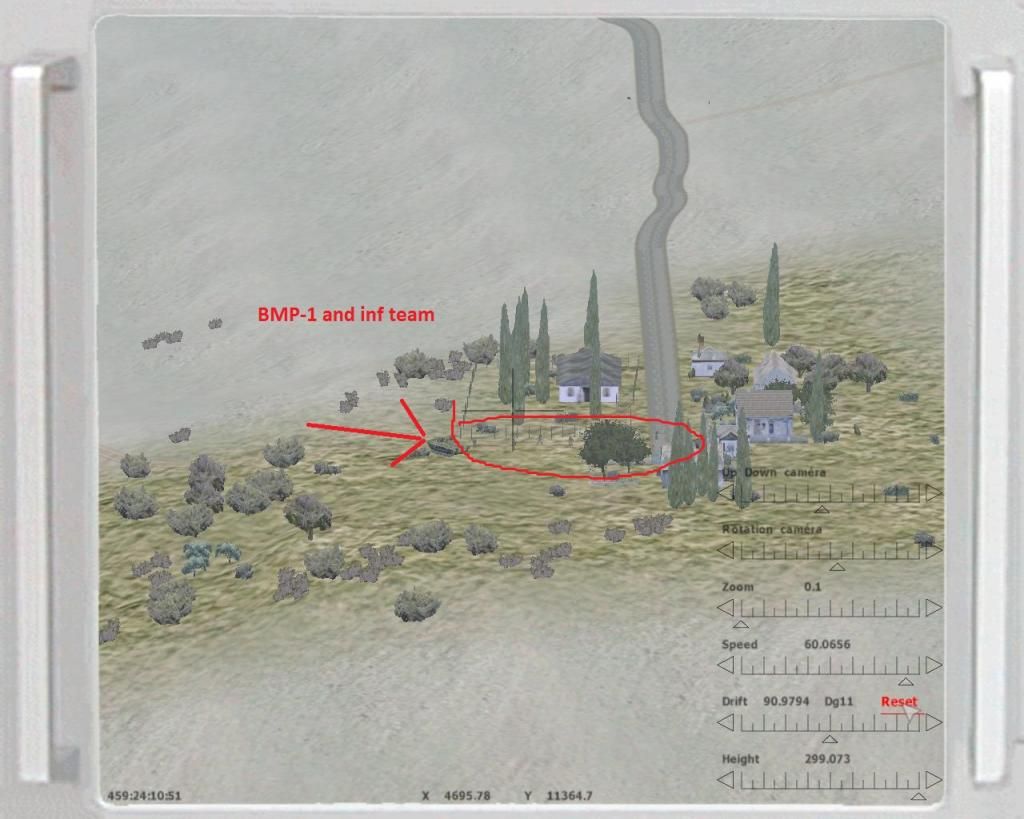
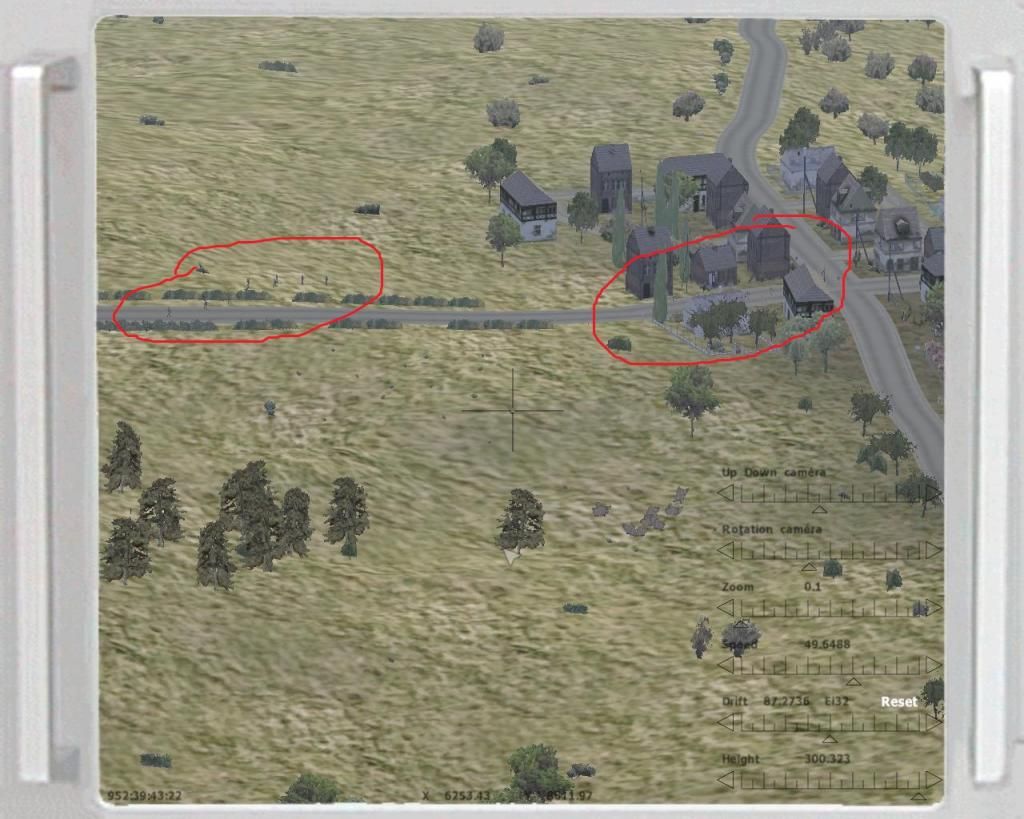
I begin with sending out the UAV to check out the LZ and the airfield.

There's a BMP and a infantry team close to the LZ. They need to be dealt with.
UAV1.jpg~original


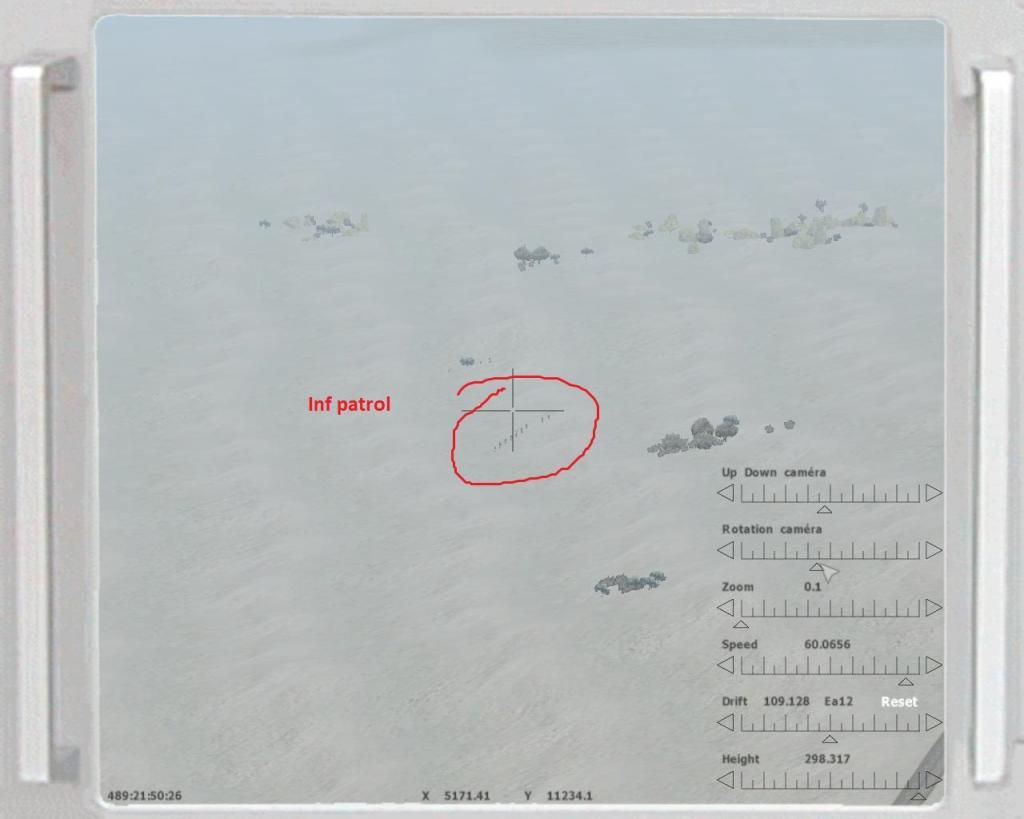
There is also a patrol moving around near the Seal's insertion point. The Seals come in contact with this patrol quite soon and are able to neutralise it but two of the Seals end up KIA.
UAV2.jpg~original


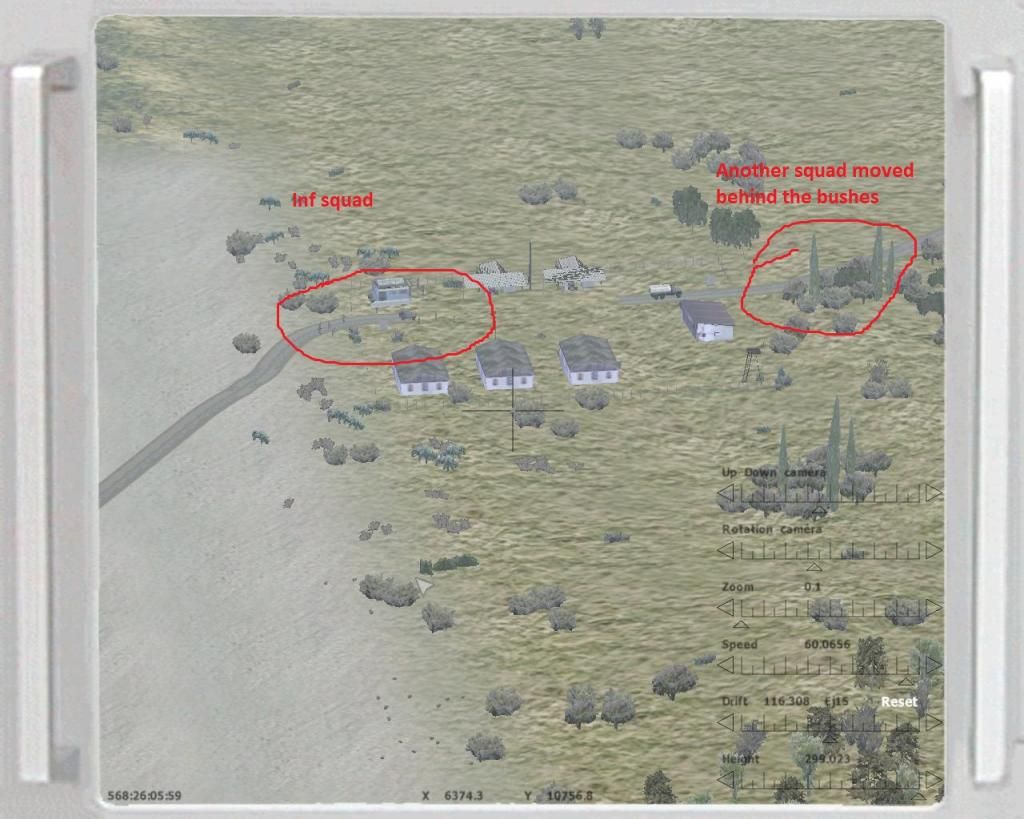
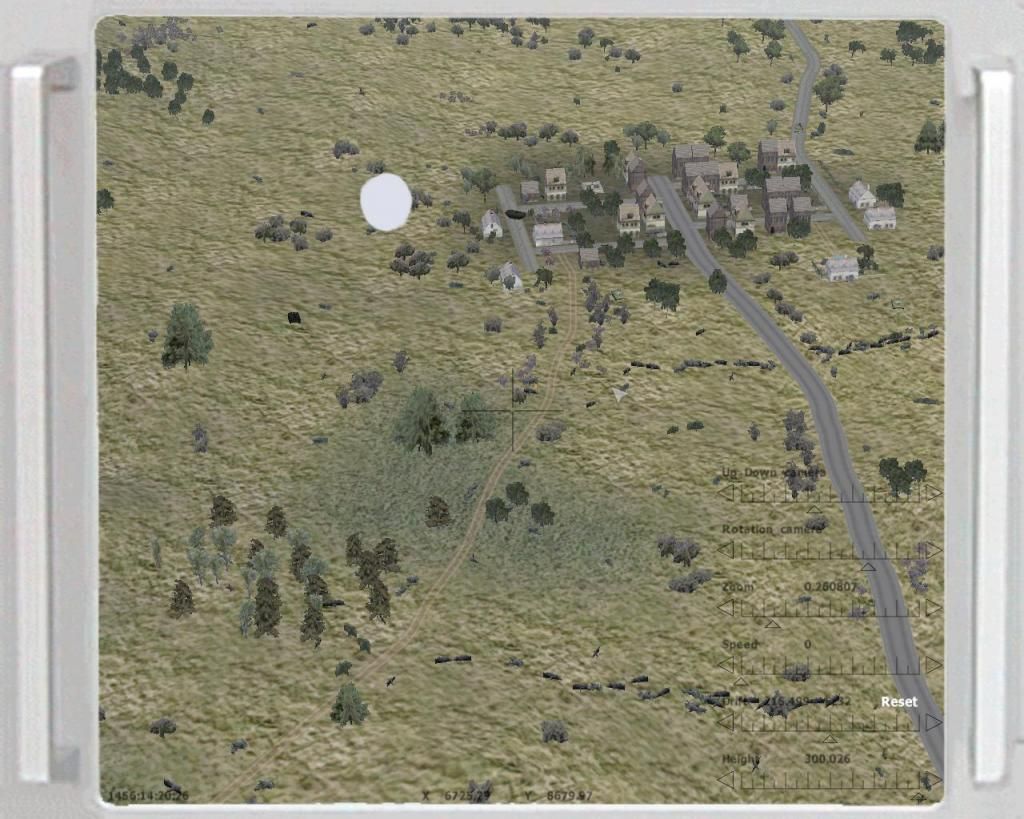
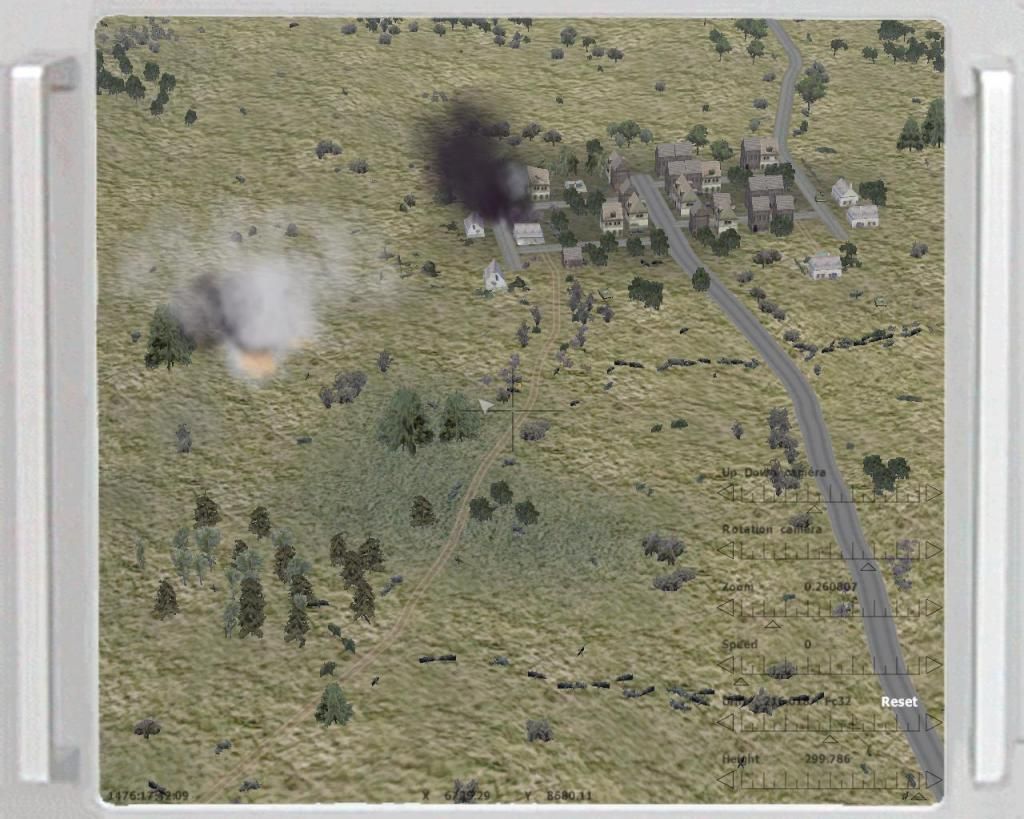
There seems to be plenty of infantry in and around this compound on the north-west part of the airfield. I order a cluster munition armed TLAM strike here.
UAV3.jpg~original


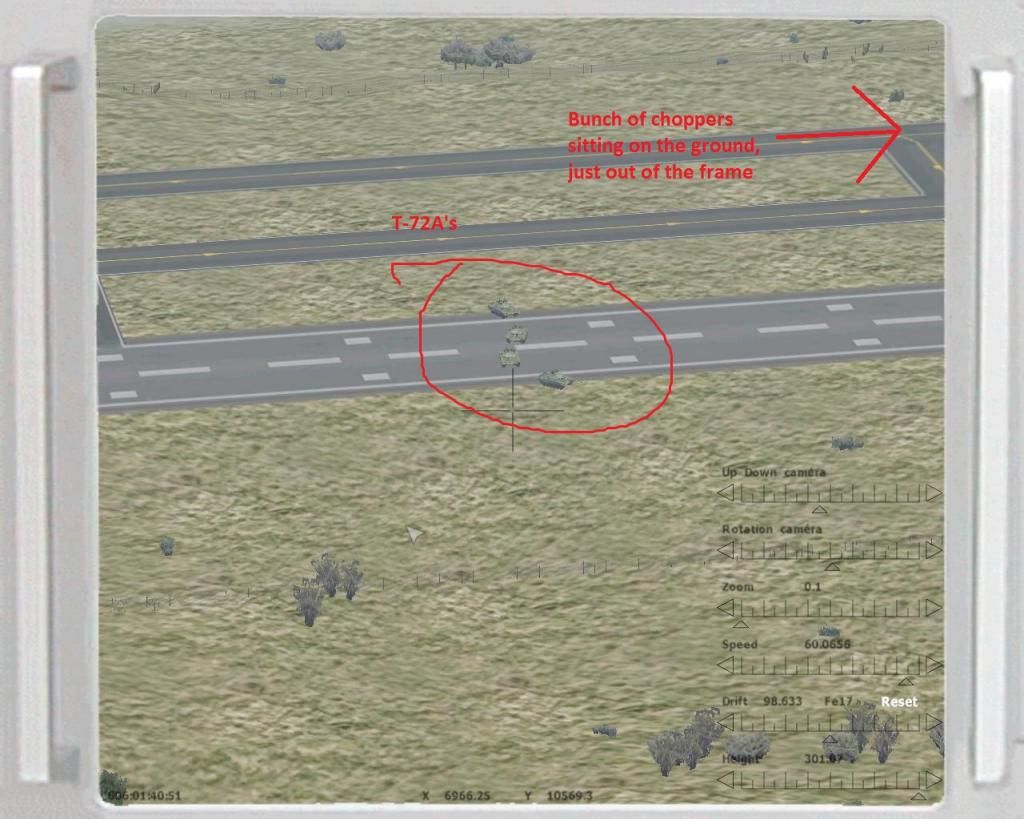
Next up, the airfield proper
UAV4.jpg~original

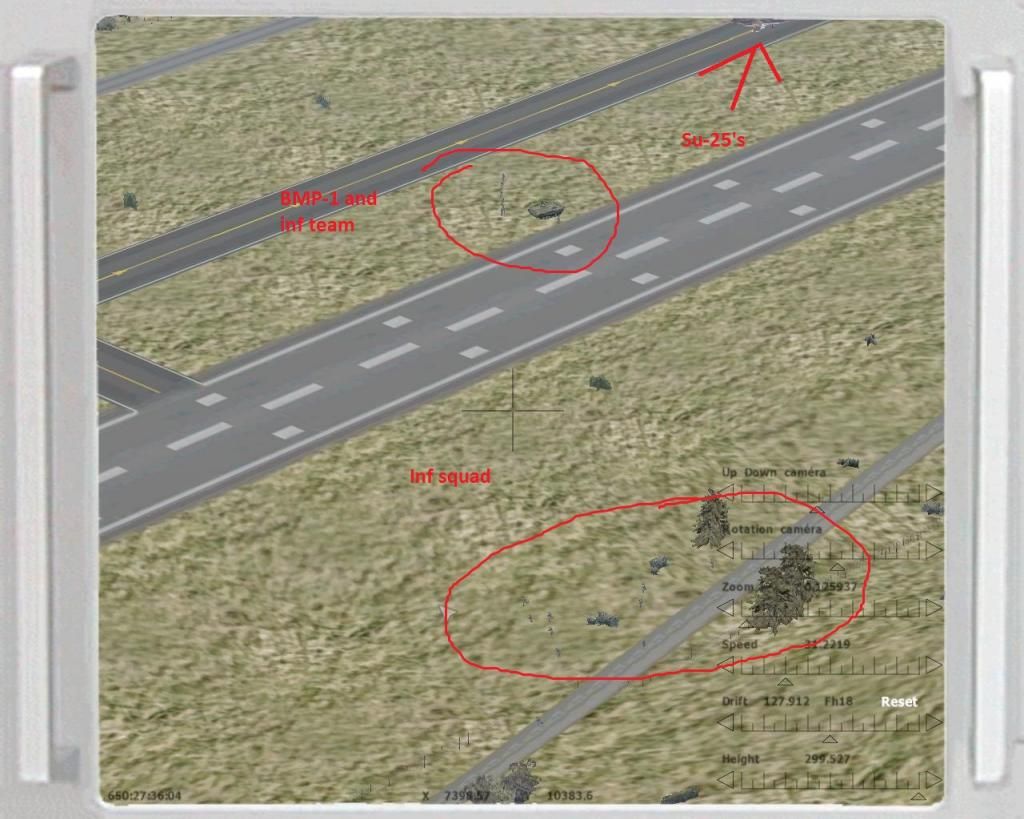
UAV5.jpg~original

UAV6.jpg~original


I sent the UAV away from the airfield and go look for the SA-11 AA-launchers. I don't find any of those but I still end up getting the jackpot. The UAV runs out of fuel literally seconds after I took this pic, so I didn't have time to figure out the exact position of those guns.
UAV7.jpg~original


I board my OH-58 and go look for those guns. It doesn't take long for me to find them.
I order another half a million funbucks to be blown at the Reds faces.
FlashpointResistance2014-02-1822-56-34-52.jpg~original


A spectacular series of secondaries follow, as the guns and their ammunition blow their loads as well.
FlashpointResistance2014-02-1822-56-51-71.jpg~original


No murderous deed goes unpunished, as I'm taking off my OH-58 gets buzzed by an AA-missile. Almost ending my career before it even began. I quickly land behind a hill and move to investigate on foot.
This must be the guilty party.
FlashpointResistance2014-02-1823-00-50-95.jpg~original


Good thing I brought a LAW with me.
FlashpointResistance2014-02-1823-01-33-91.jpg~original


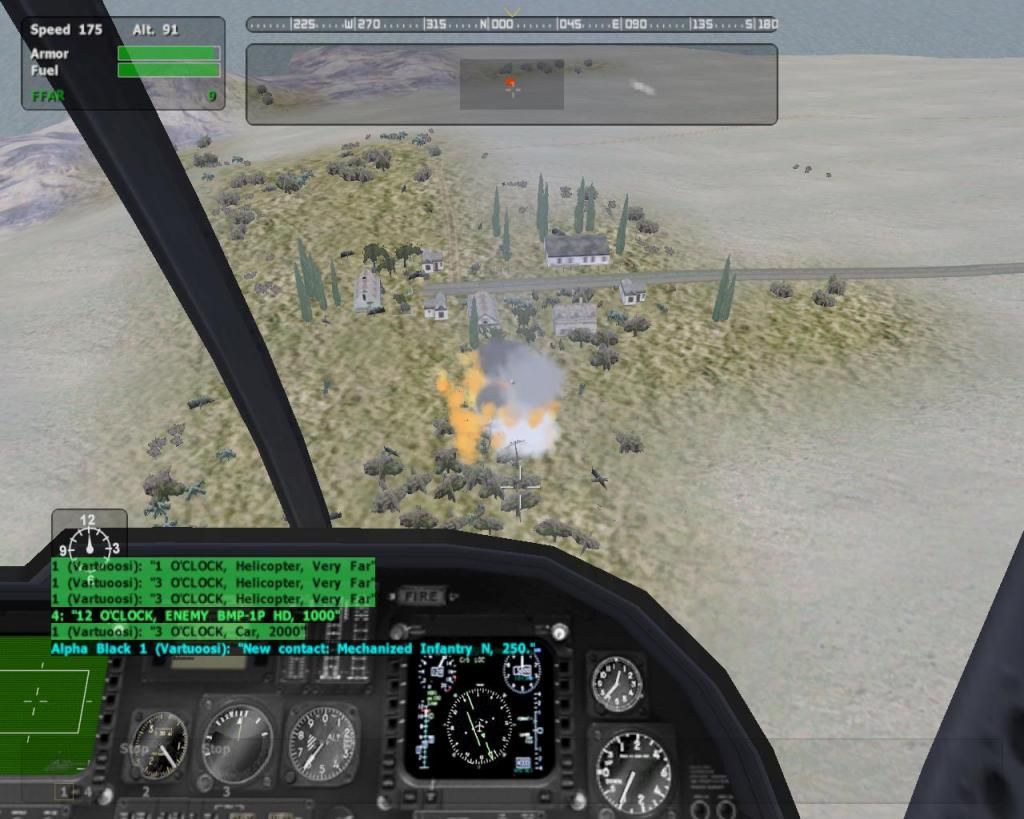
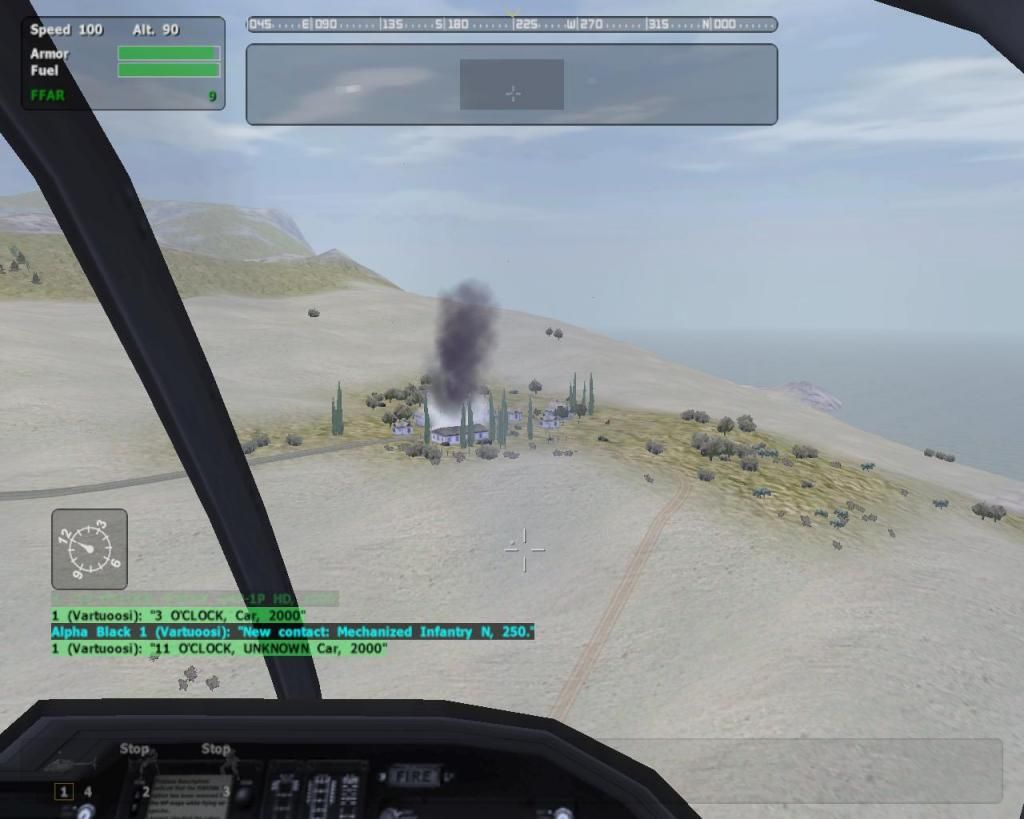
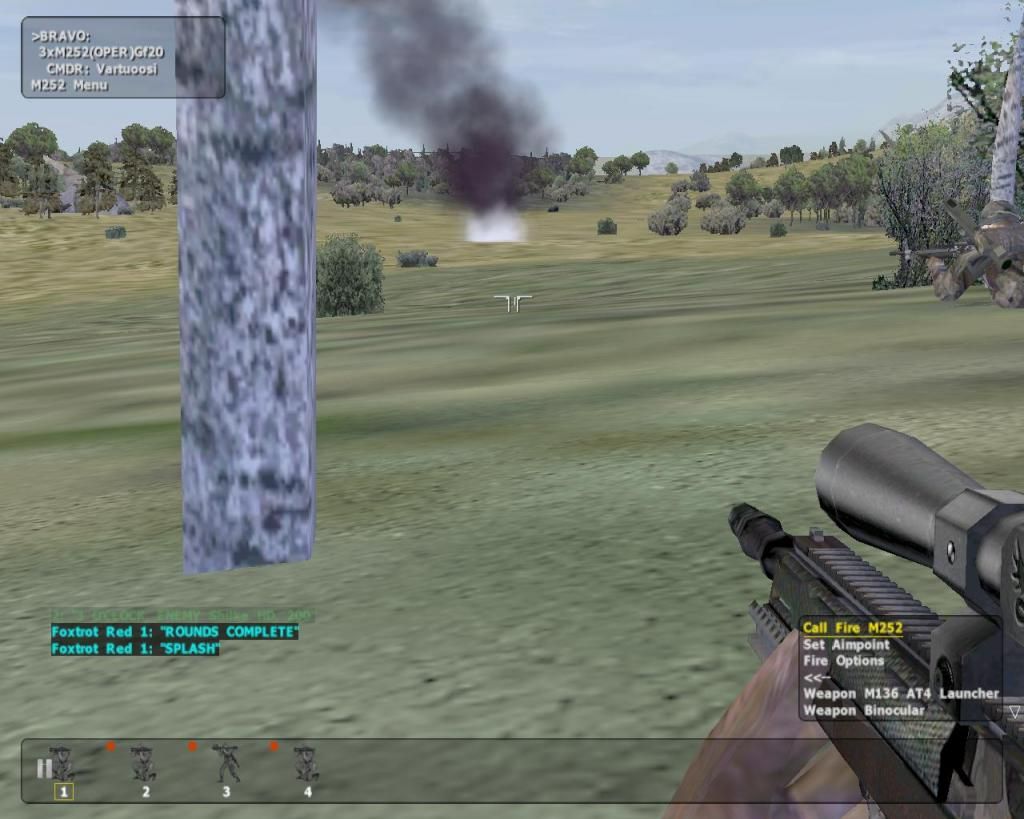
Before I head back to the FARP, I fly over the LZ and do a quick rocket run on the Reds there. I get a couple of direct hits on the BMP and see it explode.
I still order my mortars to fire a few rounds there just to be sure.
FlashpointResistance2014-02-1823-15-16-63.jpg~original

FlashpointResistance2014-02-1823-15-32-39.jpg~original


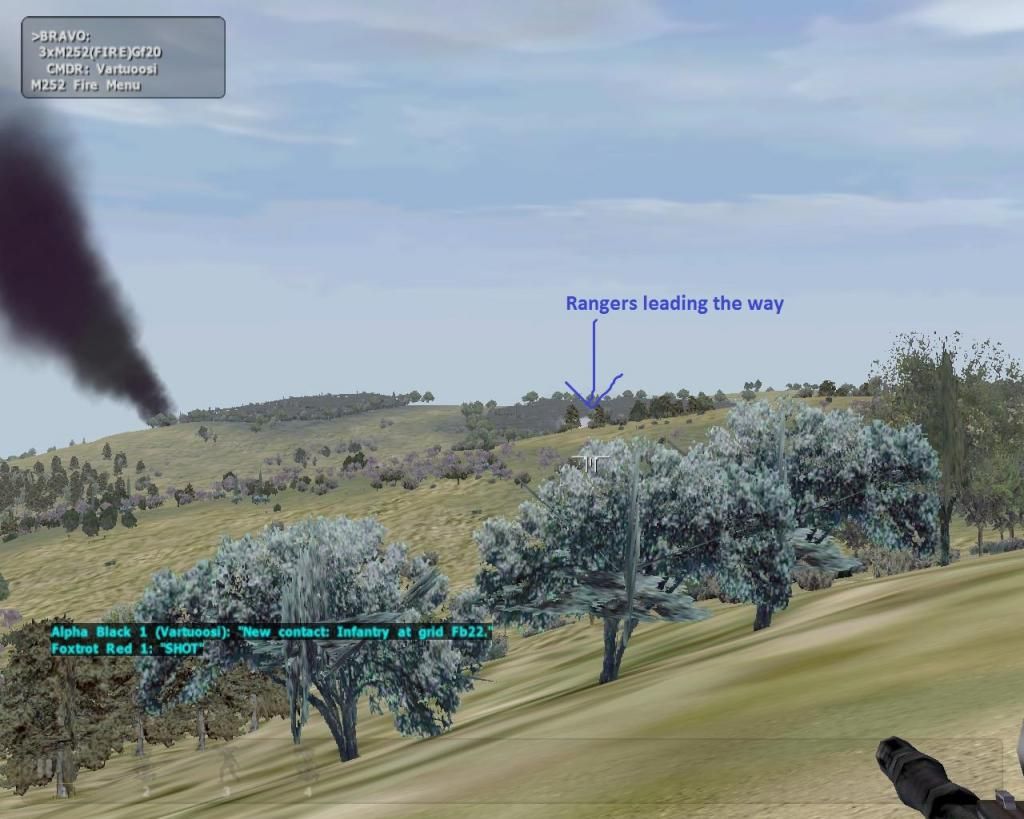
Now that the LZ is relatively clear, it's time for the Rangers to lead the way.
I send the two Ranger squads with both of the sniper teams to clear and secure the LZ for the Chinooks. There was only one Russian soldier still alive but that guy was a real champion and decided to go down fighting. He managed to take out one of the sniper teams and wound several Rangers before he was killed.
kartta2.jpg~original

(Continued.)
 
Last edited:
(Cont.)

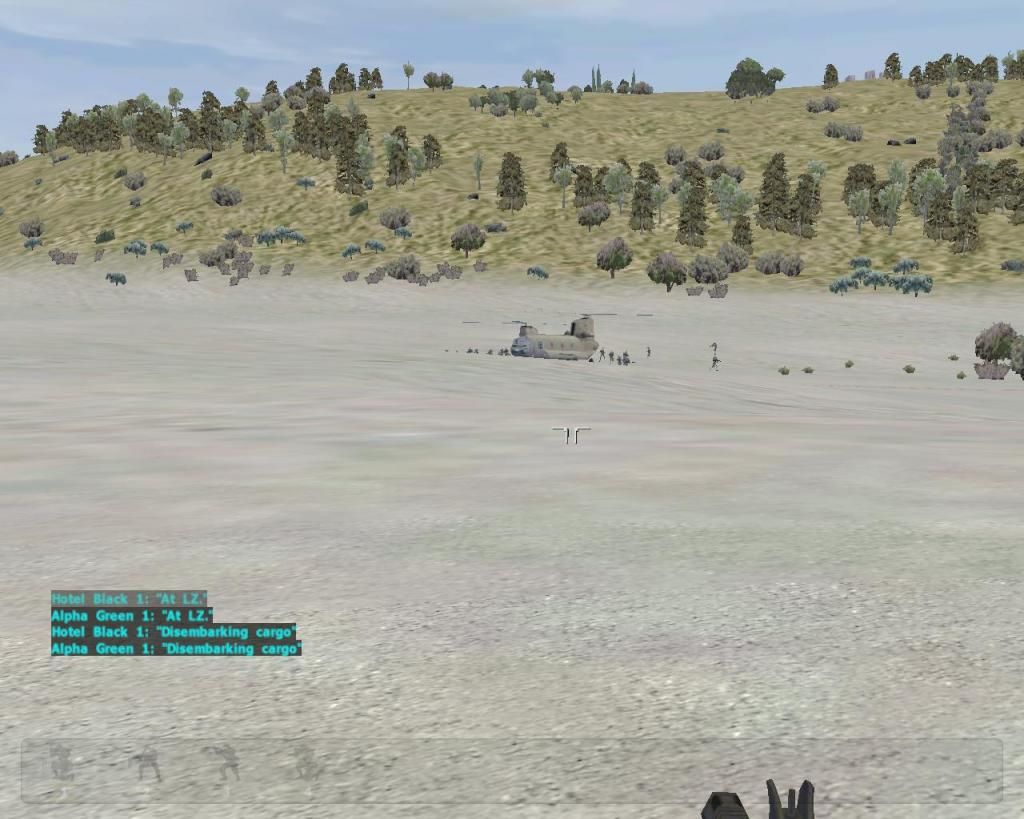
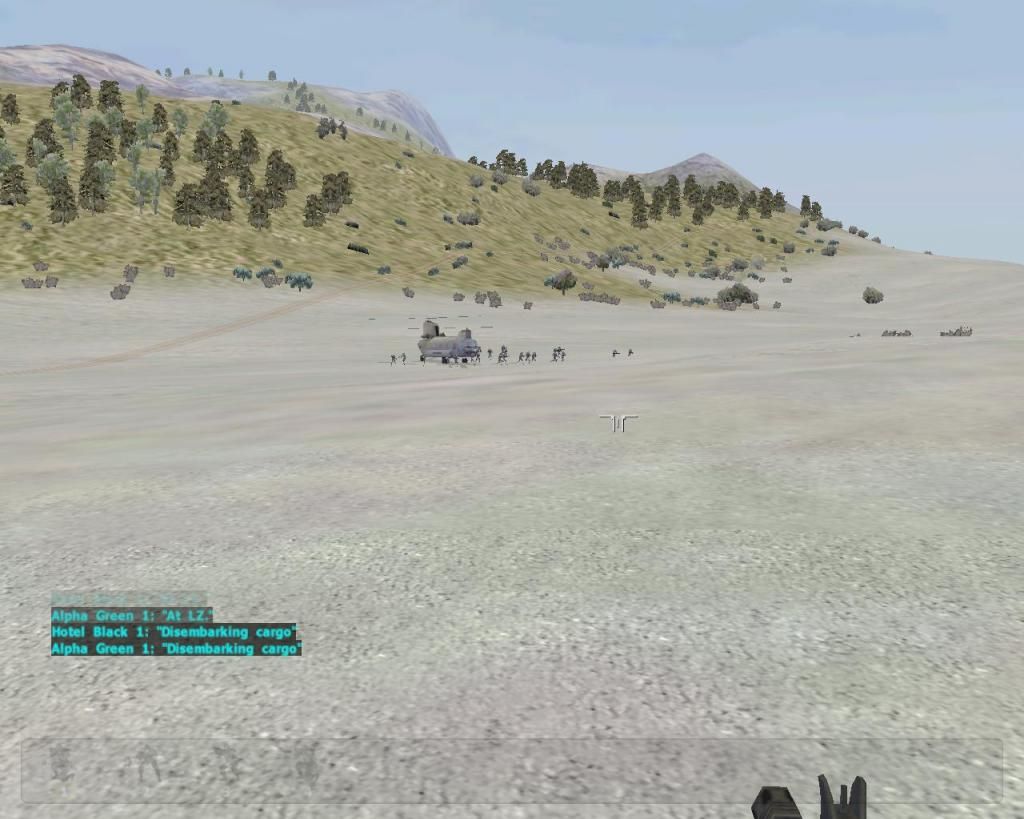
The Chinooks are able to safely unload the rifle squads.
FlashpointResistance2014-02-1823-51-02-20.jpg~original

FlashpointResistance2014-02-1823-51-04-66.jpg~original


I order all units to begin moving to positions overlooking the airfield and I myself move to a hill where I can observe the T-72's.
A Soviet patrol moves in from the north but the Seals are vigilant. I sent Charlie squad to flank the Ruskies and help out the Seals.
kartta3.jpg~original


Reds under fire from the Seals.
FlashpointResistance2014-02-1823-59-35-88.jpg~original


Since my guys have everything under control I turn my attention back to those T-72's.
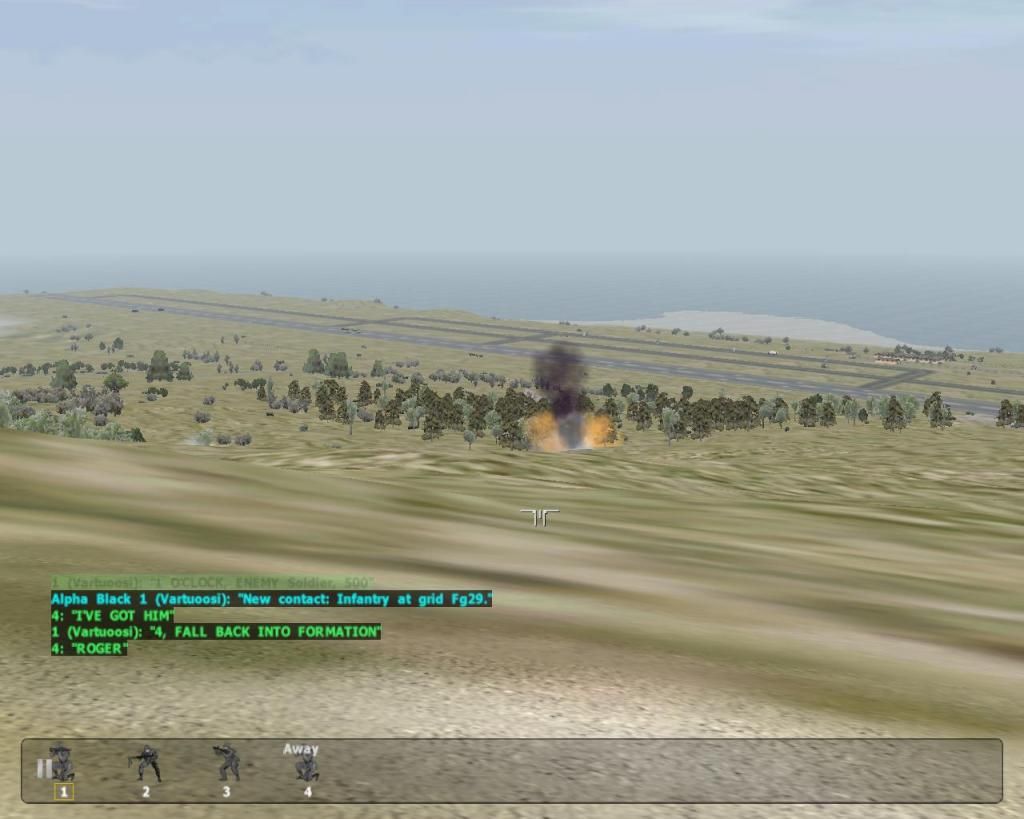
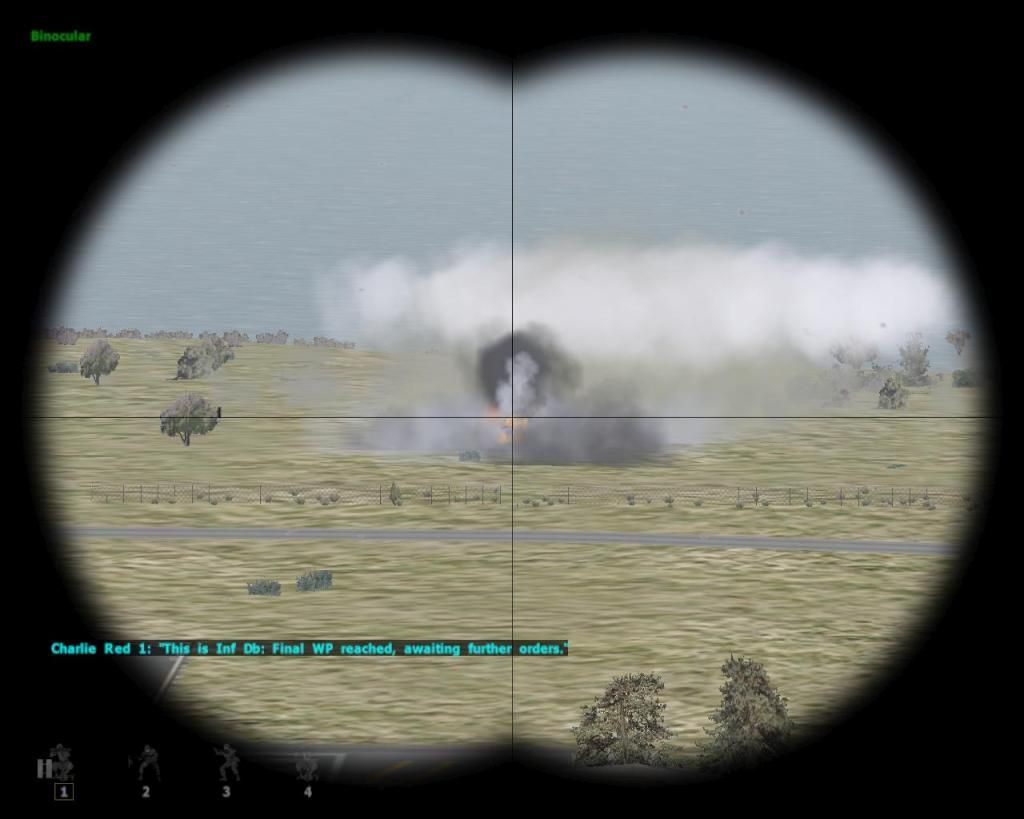
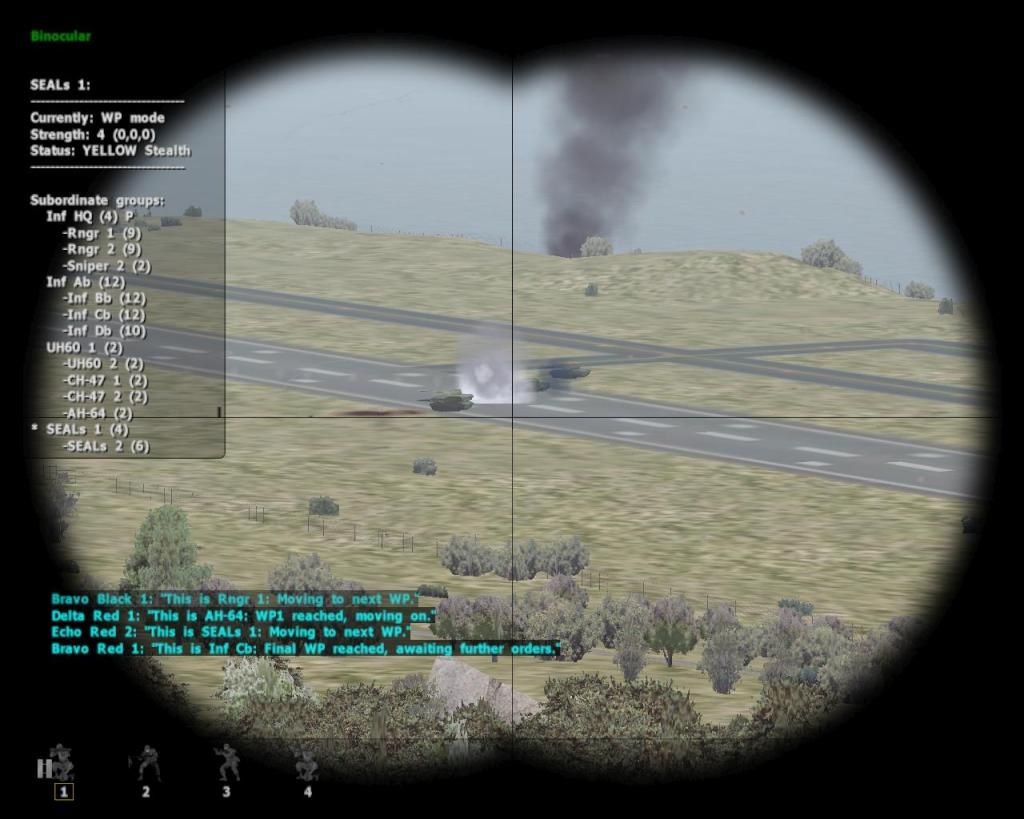
I order another TLAM launch except I screw up a little and accidently order the one missile with the cluster munitions to be used. Though the resulting explosions planketing the whole runway looks impressive, the tanks don't seem to be badly damaged.
Expect all of the tanks gunners and commanders were turned out and exposed. The cluster bombs tore those guys to shreds leaving only the drivers alive and helpless.
FlashpointResistance2014-02-1900-09-20-81.jpg~original


I move after the other teams to higher ground, when Delta squad is attacked from behind by a Soviet inf squad. I'm close to them with my command team and try to race to Delta's aid.
But the guys in Delta are really hardcore and won't let things like being outflanked and suprised get them down. Delta totally rips the Reds apart and by the time I get there I'm greeted by two fleeing Russians.
I promptly shoot them in the back.
kartta4.jpg~original

FlashpointResistance2014-02-1900-19-00-90.jpg~original


Before I get the chance to congratulate myself for bravely dispatching those two shellshocked guys, I come under heavy LMG fire. Luckily that shooter isn't any good and I'm able to get into cover.
Turns out another Soviet squad is pushing through a nearby patch of woods.
They don't last long since they are sandwiched between Delta and Bravo.
The remaining sniper team also found a Sa-11 hiding amongst a patch of trees and bushes.
kartta5.jpg~original


Remnants of the Red rifle squad attempt to disengage in vain.
FlashpointResistance2014-02-1900-20-59-42.jpg~original


I sent a guy from my command team to take out the Sa-11 and use a couple more Tomahawks to destroy the two Shilkas.
FlashpointResistance2014-02-1900-33-24-35.jpg~original

FlashpointResistance2014-02-1900-46-16-50.jpg~original


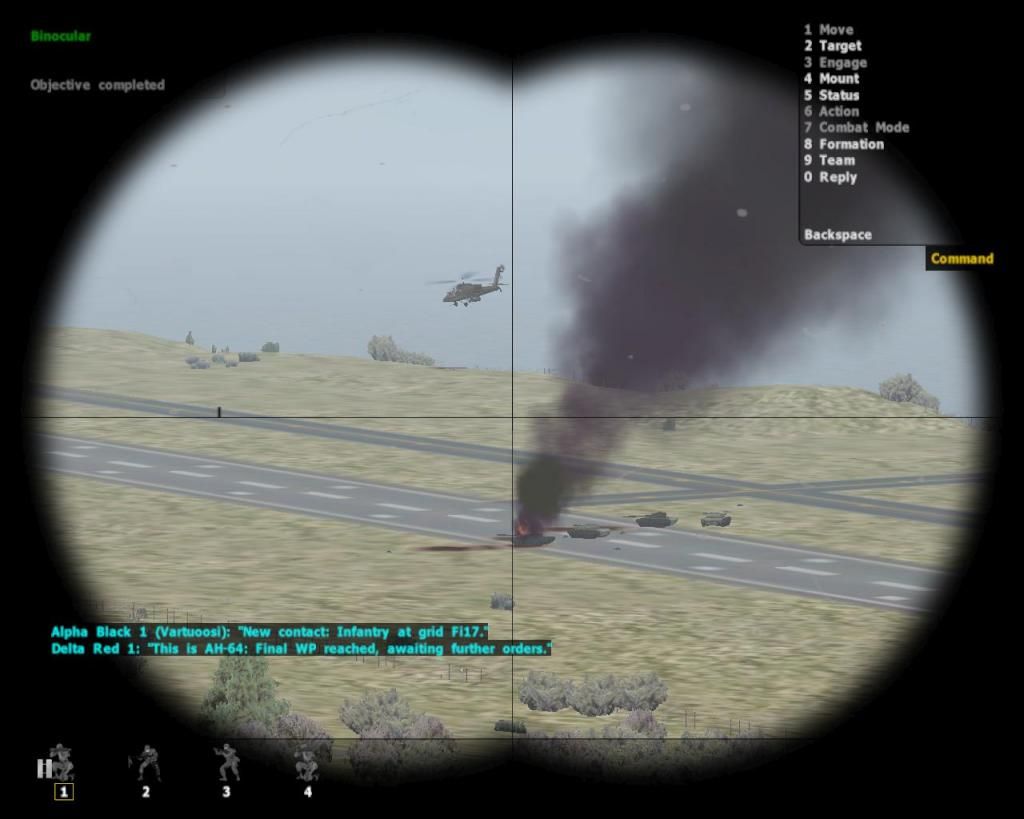
I call in the AH-64 to finish off any armor left and begin the assault once it's flown over the area couple of times.
There is an unfortunate friendly fire incident. The Apache attacks a BMP with unguided rockets and one of the rockets overshoots by a mile and happens to land in Charlie's position killing two soldiers.
FlashpointResistance2014-02-1900-54-39-84.jpg~original

FlashpointResistance2014-02-1900-55-32-79.jpg~original


The assault on the airfield goes well except for the southernmost part of the maneuver.
Red infantry moved in and occupied Saint Louis and opened fire on Delta causing two KIA's.
I order Delta to pull back since they aren't necessary for clearing the airfield.
kartta7.jpg~original


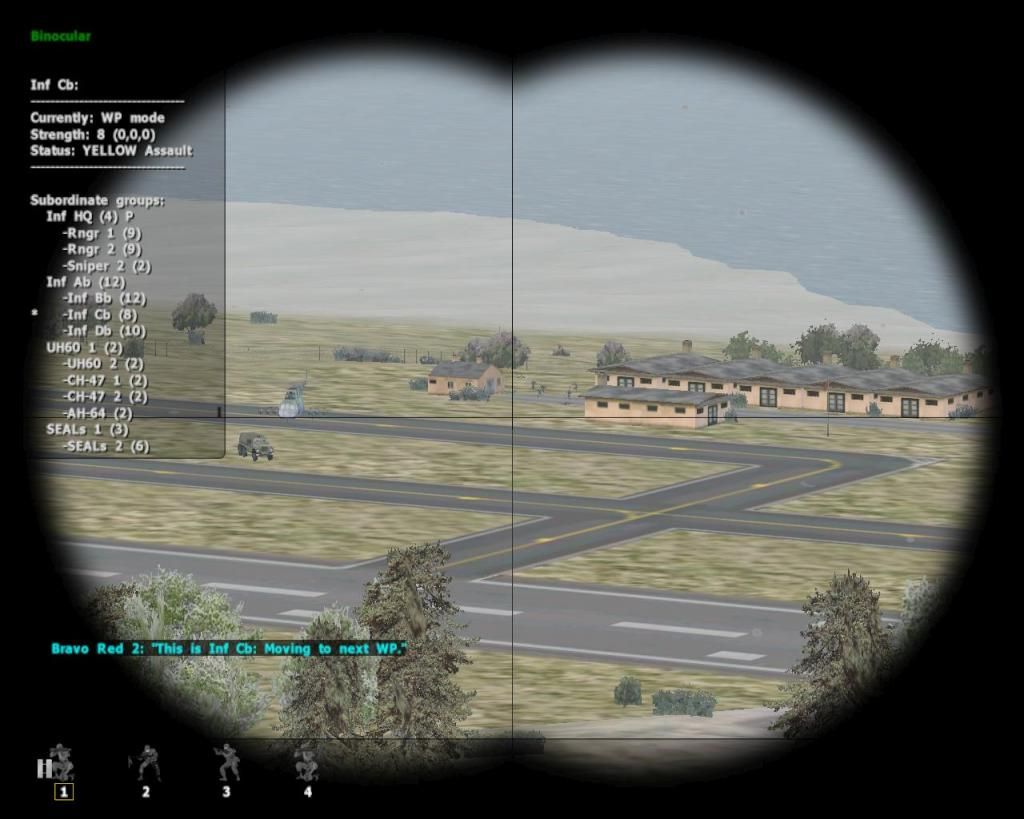
Charlie clearing the barracks in the airfield.
FlashpointResistance2014-02-1901-08-25-55.jpg~original


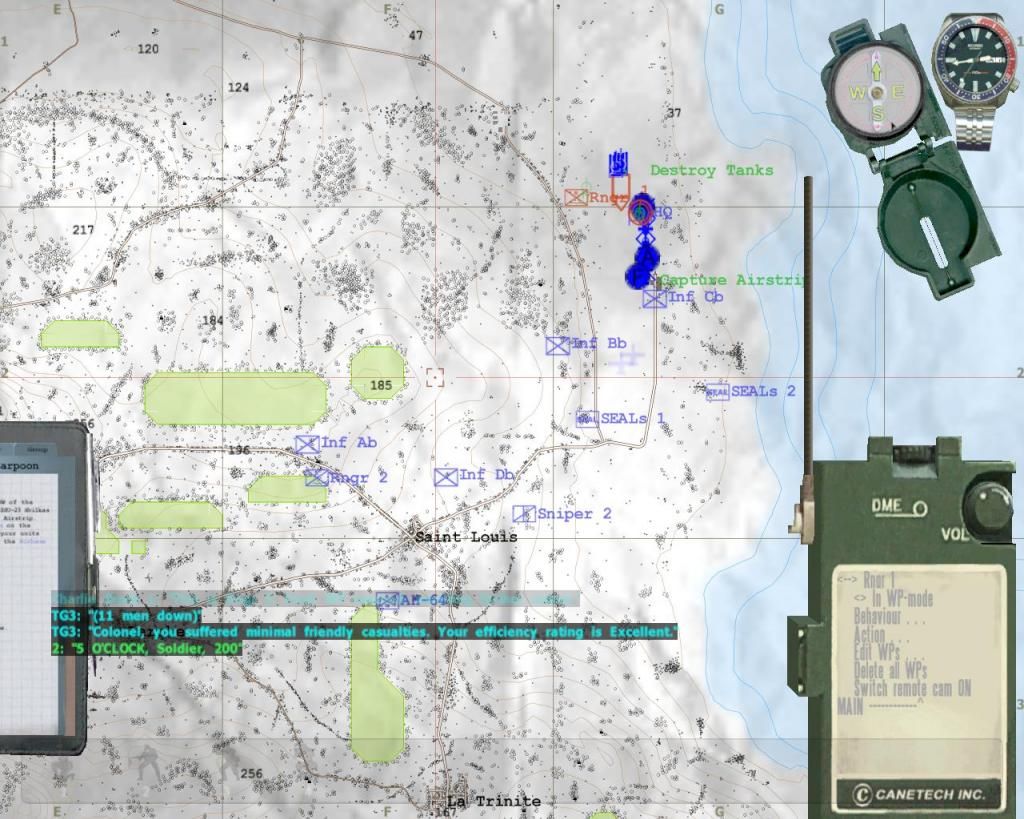
While the airfield is being mopped up, my guys are able to evict the reds from Saint Louis.
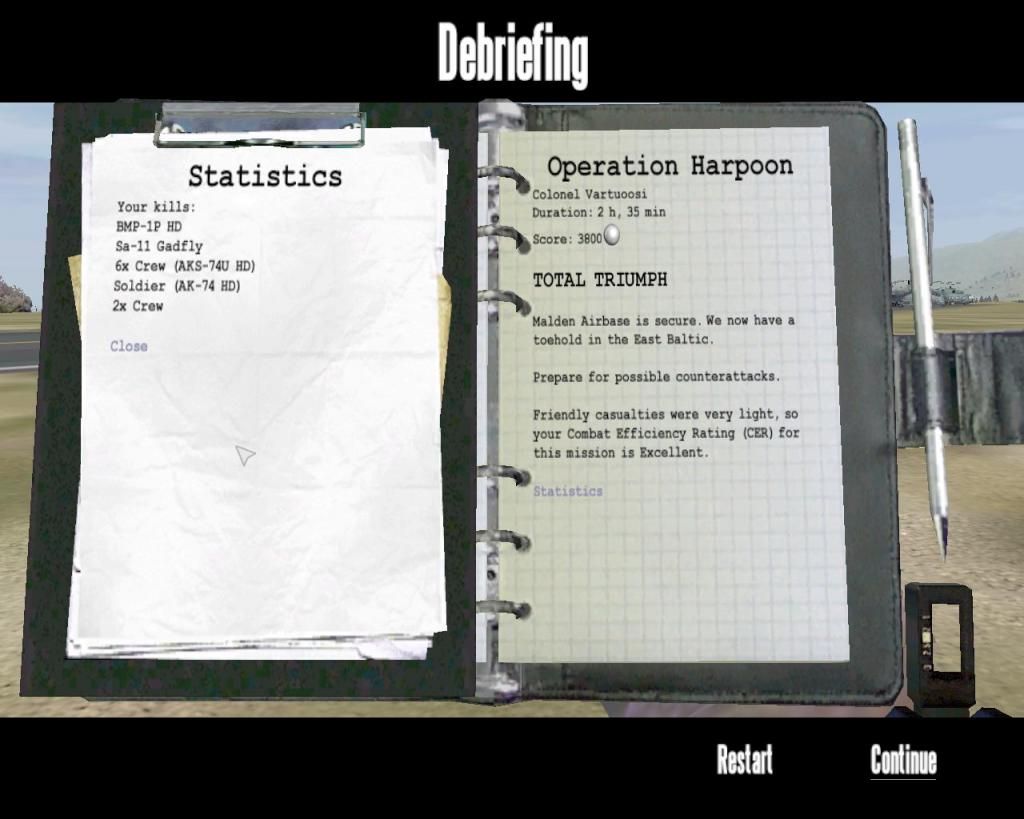
The Airfield is under NATO control and I lost only 11 men during this operation. A great success.
kartta8.jpg~original

FlashpointResistance2014-02-1901-23-18-34.jpg~original


Next time I'll have to hold this airfield against Soviet counterattack.
 
Awesome review!!! I alsways loved to play OP Flashpoint
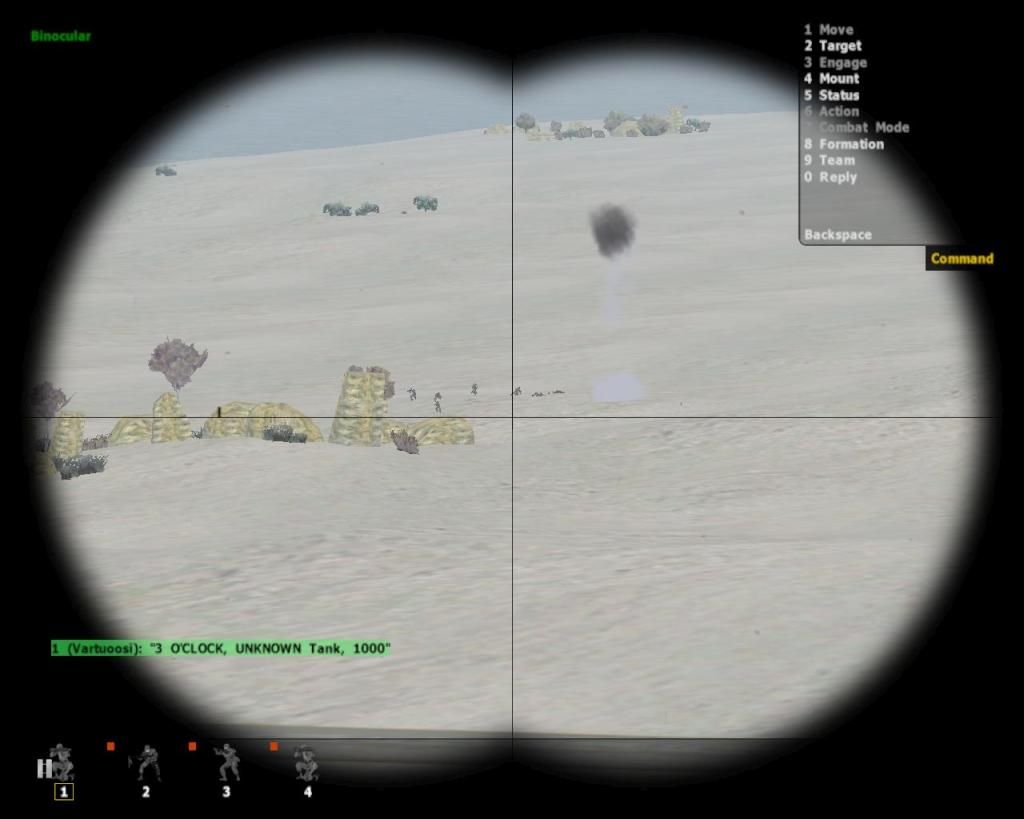
 
Mission 2 - Night Without End
aka The scenario designer is a cheating bastard

Took me forever to be able to finish this mission succesfully. It's really hard and what adds to that difficulty is the fact that due to a bug saving doesn't work properly with this campaign.
I also didn't take many screenshots since I was way too focused on getting through this one alive.
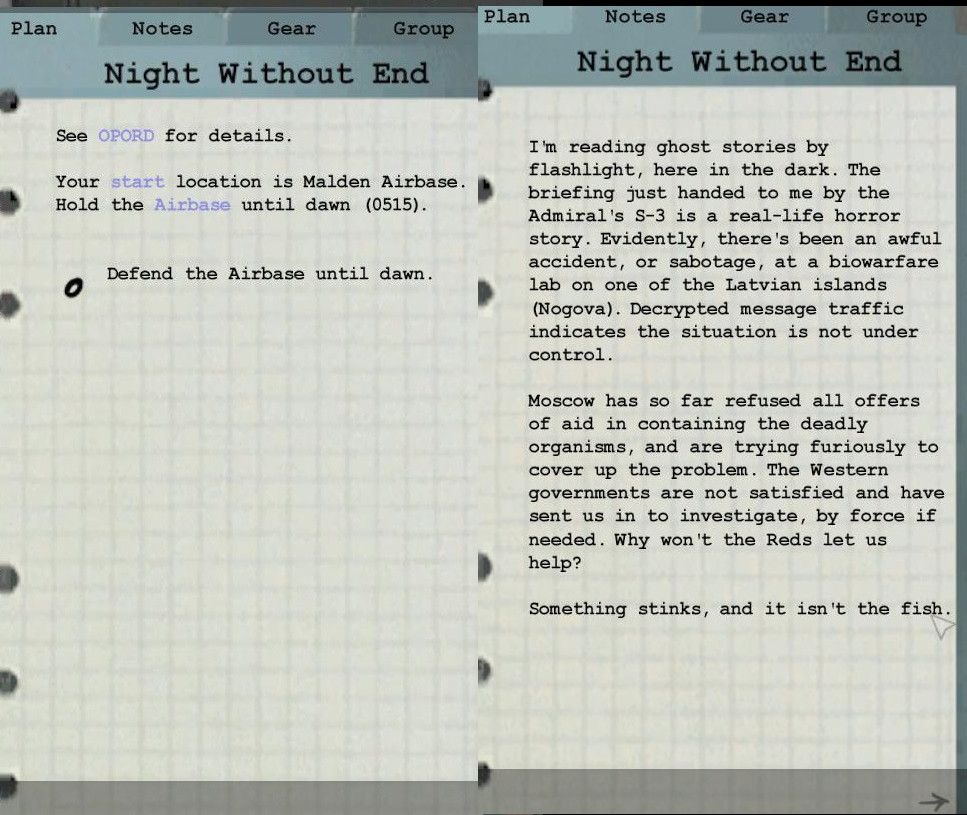
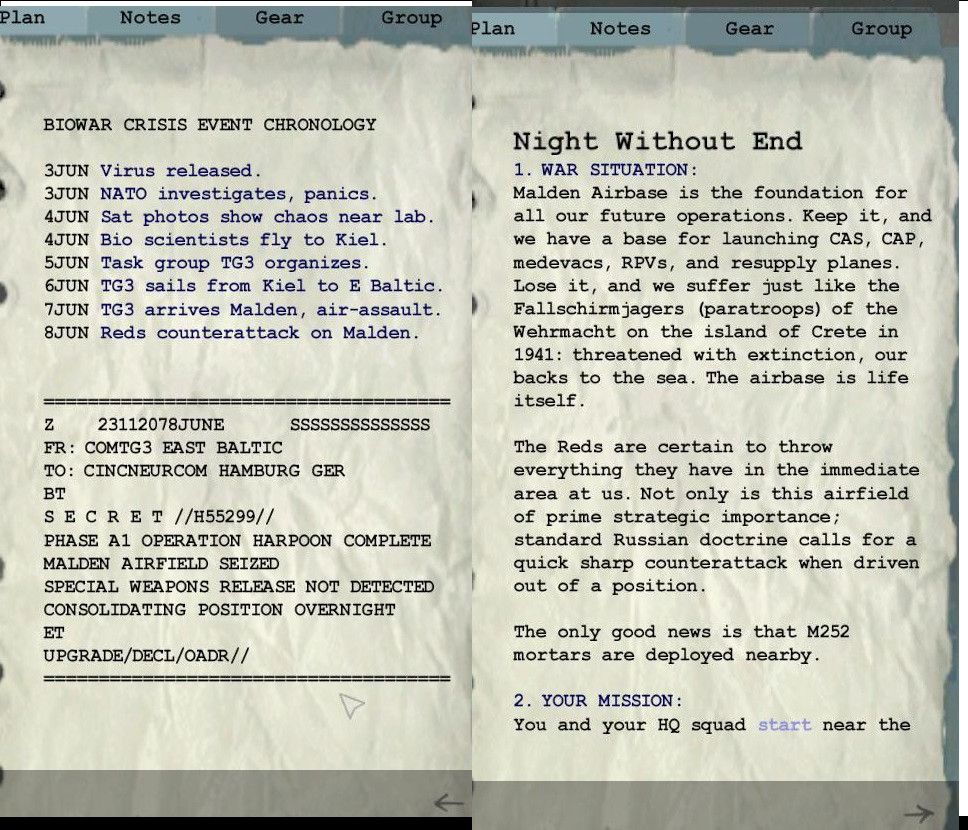
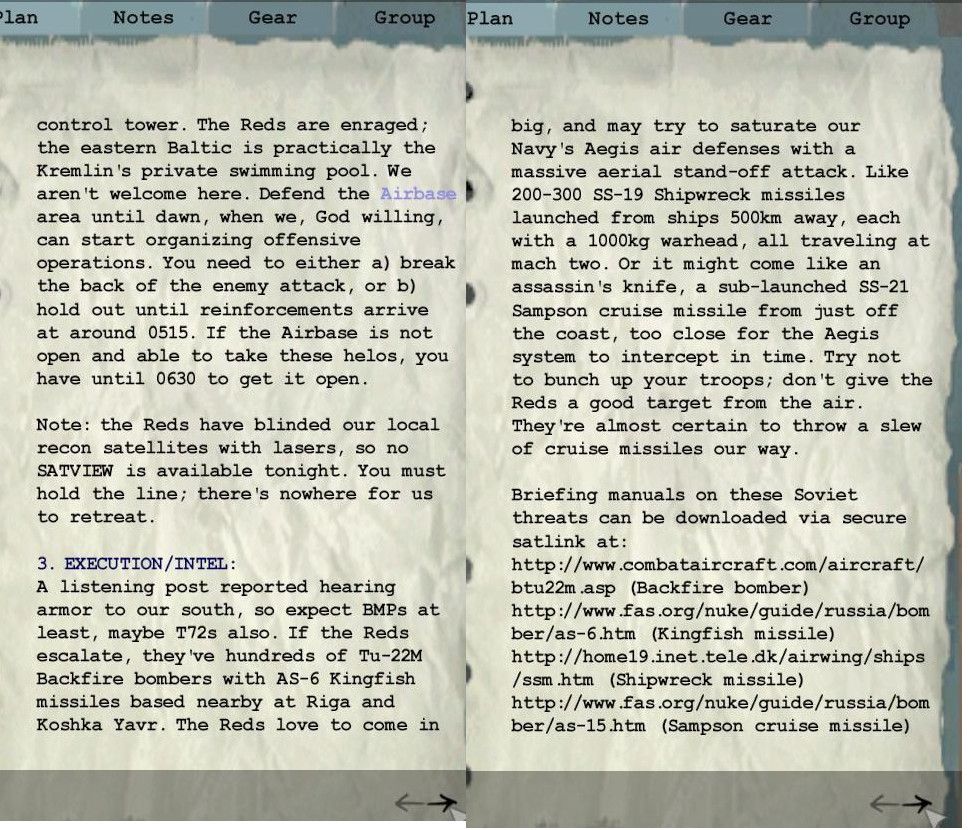
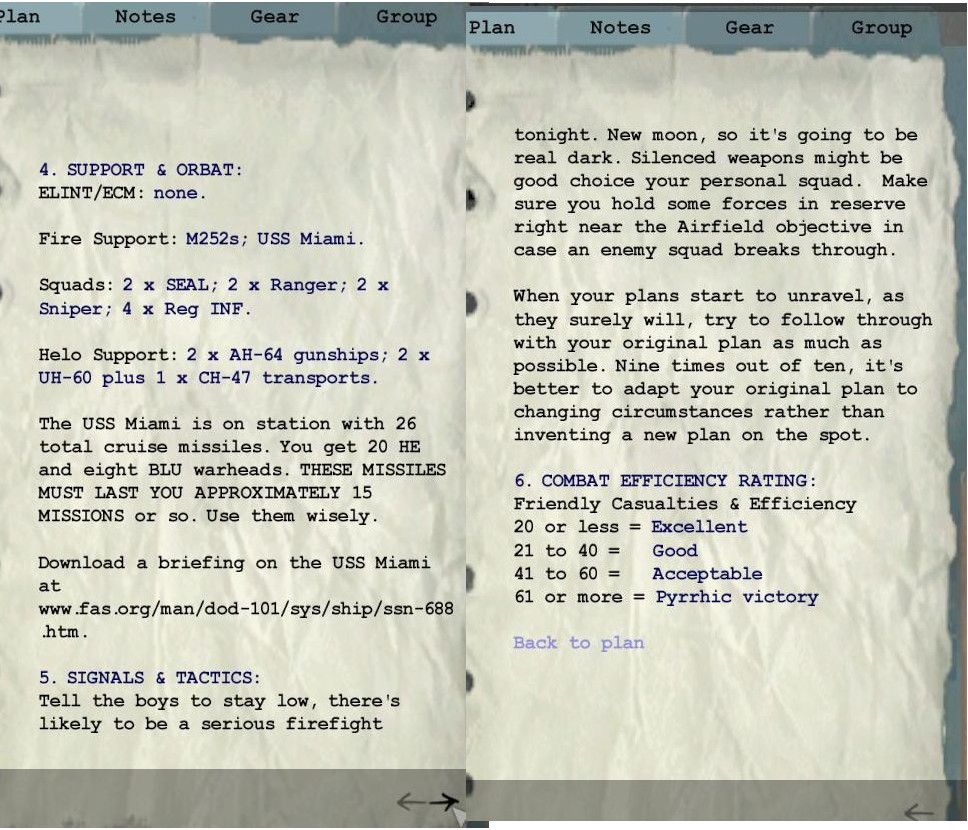
Anyway let's begin with briefing and intel.
briefing1.jpg~original

briefing2.jpg~original

briefing3.jpg~original

briefing4.jpg~original


What makes this mission a piece of shit can be seen on the map below.
As you can see all my guys begin the mission by just standing in the middle of the runway. Now this wouldn't be bad if the player would actually have time to issue some orders and prepare the defence, but you don't have that time.
The Soviet troops and their reinforcements spawn just around Saint Louis and the hills overlooking the airfield. This naturally means that they can get into great positions in just under a minute and within just a couple minutes into the mission the Soviet tanks will have mowed down majority of your troops.
There just isn't any time to order your troops to take cover and they won't do much on their own.
Also there aren't any long range AT-weapons available for this mission. Just those short range unguided single shot launchers. The Apaches sure pack a ton of punch but they have to fly in from the FARP, so they won't make it in time to save your guys.
FlashpointResistance2014-02-2320-50-37-05.jpg~original


So basically you have to metagame hard to be able to win this mission and that's just bad mission design.
What you do is you basically run away and hide until the time is close to 05:00 and then retake the airfield. You should take out the tanks and IFV's but don't kill too much of the infantry, since when the Soviet casualties reach a certain point the reinforcements will spawn in. You can stave that off by just not killing enough of the Reds.
Though the Soviet artillery positions are slightly randomised, they will always be around the same general area so you can just sent one of the Apaches to take out the enemy arty immediately. There's no need to fear AA since there won't be any until the first Soviet reinforcements spawn in.


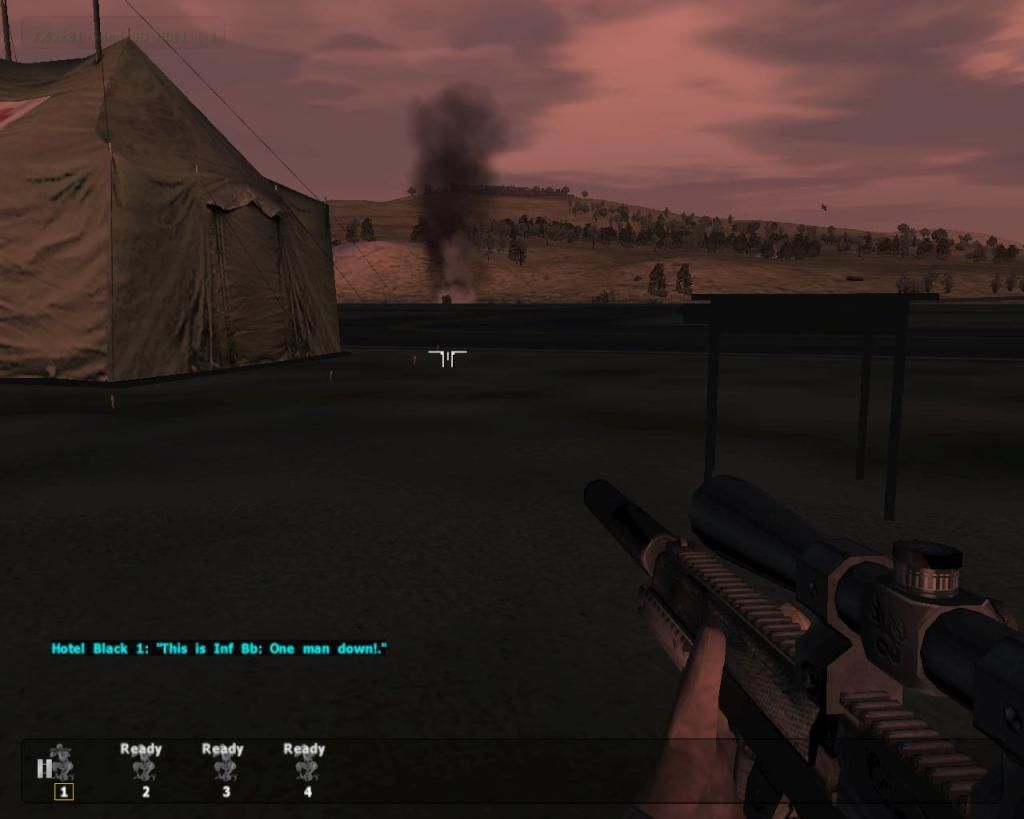
The mission opens up with another quote. Seems to be very accurate since the mortars were the Soviet's first target in all my tries. Not a single mortar ever survived the opening of the mission.
FlashpointResistance2014-02-2320-51-13-58.jpg~original


First thing I do is order one AH-64 to go search and destroy enemy arty and the other to come to the airfield for AT-duty. I order some of my guys hide to the woods west of the airfield while the rest are ordered to east, if the Soviet infantry come after them they'll have to cross the runway and make themselves easy targets.
Luckily for me the Soviets aren't in a hurry this time and some of my guys are able to get out of the killing zone.
But the enemy arrives still way too fast and casualties begin to pile up.
FlashpointResistance2014-02-2413-09-15-72.jpg~original


Soon there are some mystery explosions among the Soviets.
FlashpointResistance2014-02-2413-09-58-79.jpg~original


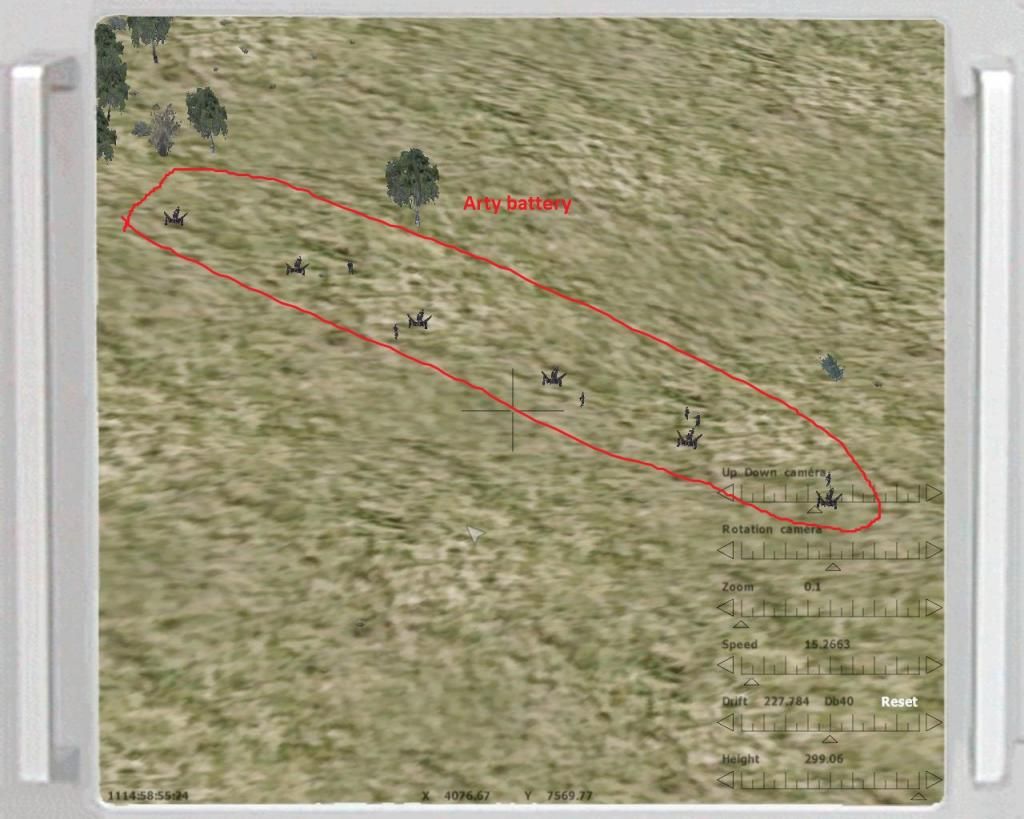
Turns out that's the Soviet artillery screwing up really badly. Those rounds cause heavy casualties among the attackers and scatter the survivors. This is really lucky for me since the Soviet attack grinds to a halt, buying me time and I'm able to pinpoint that artillery battery's position.
FlashpointResistance2014-02-2413-10-04-26.jpg~original

FlashpointResistance2014-02-2413-10-08-54.jpg~original


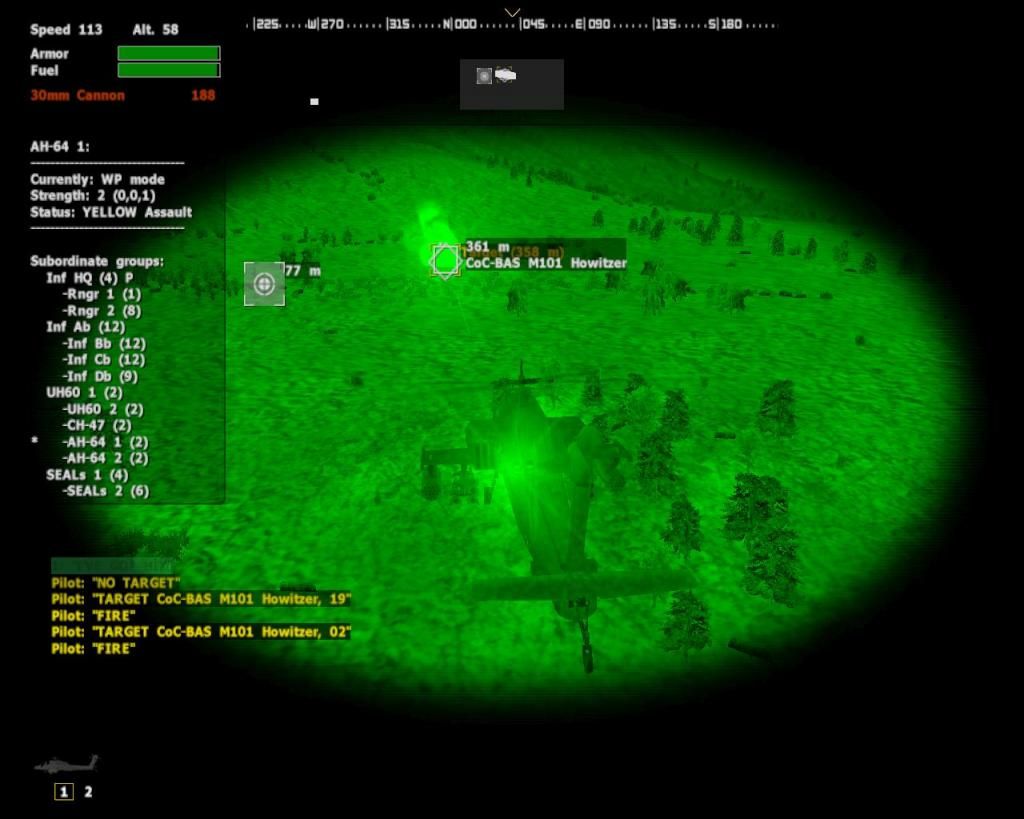
Here's the Soviet artillery under attack by an AH-64.
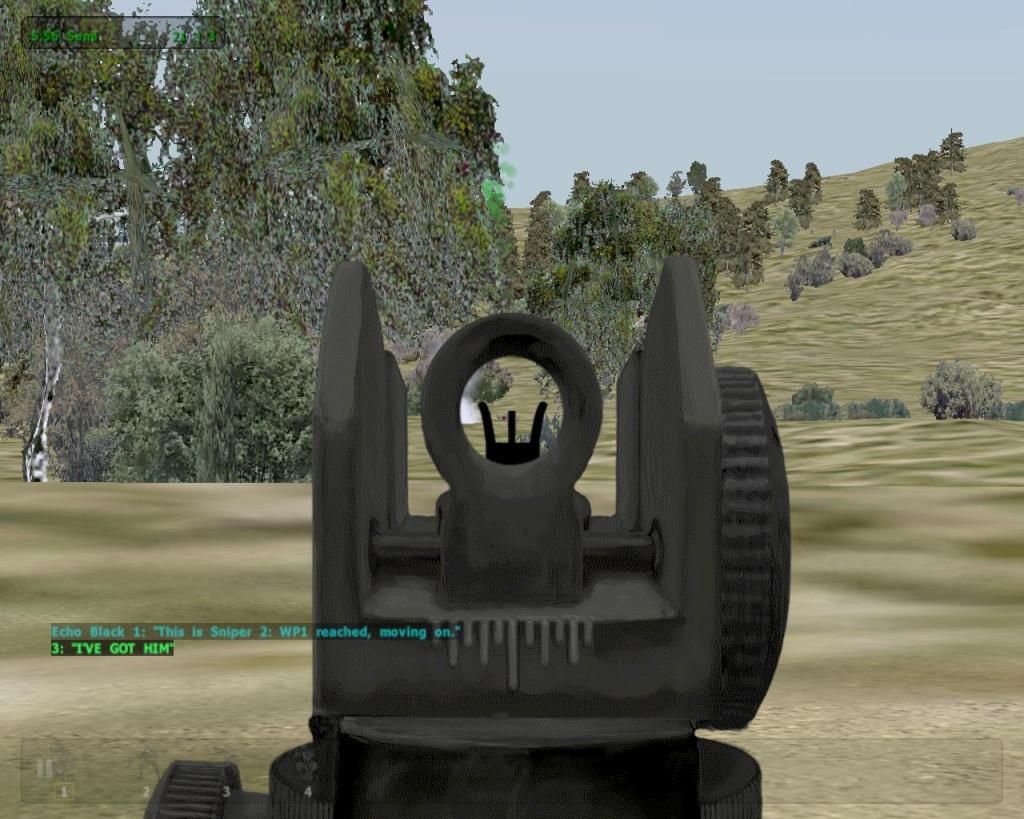
You can switch to a third person view of troops under you command, so you can check things from their perspective.
FlashpointResistance2014-02-2413-16-45-69.jpg~original


Here is the situation after the Red arty so graciously lent their aid for me. Still a little over an hour to go.
midway.jpg~original


Things are quiet for a while but eventually the Soviets get reorganised and push to the runway. The infantry is easily cut down and I personally take out a surviving T-72.
FlashpointResistance2014-02-2414-18-00-80.jpg~original


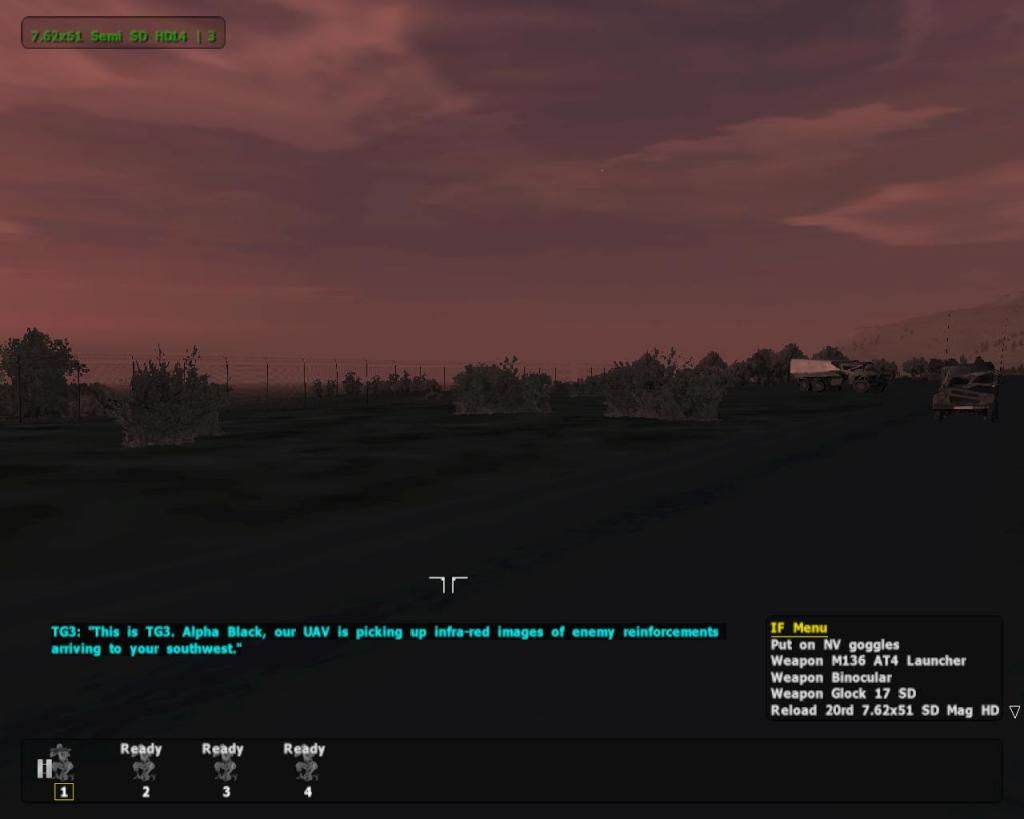
But dealing with that last push causes the enemy reinforcements to spawn in. Things aren't looking too good. There's still about half an hour till my reinforcements are supposed to show up and my troops are running low on ammo, especially AT-weapons are in high demand. Also the Apaches are running practically dry.
But I again get lucky. The Soviet AI just seems to be mostly sitting around Saint Louis and coming in one small team or a single vehicle at a time.
FlashpointResistance2014-02-2413-58-00-98.jpg~original


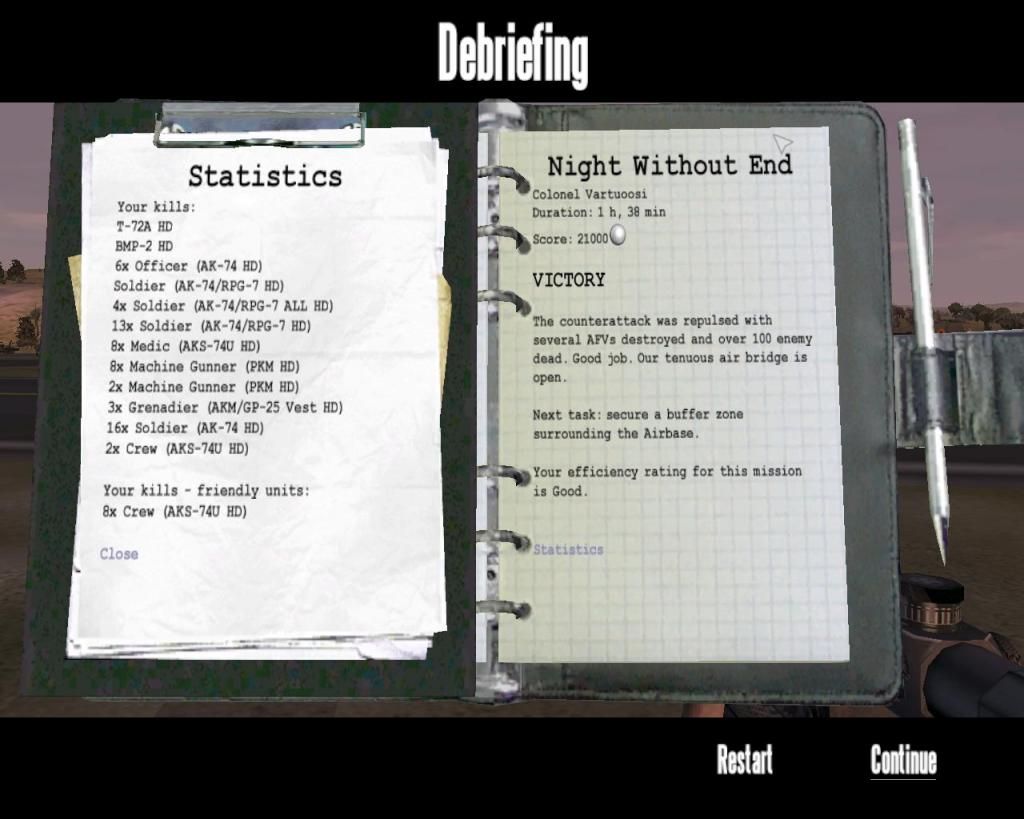
And finally I receive these messages. We've held the line!
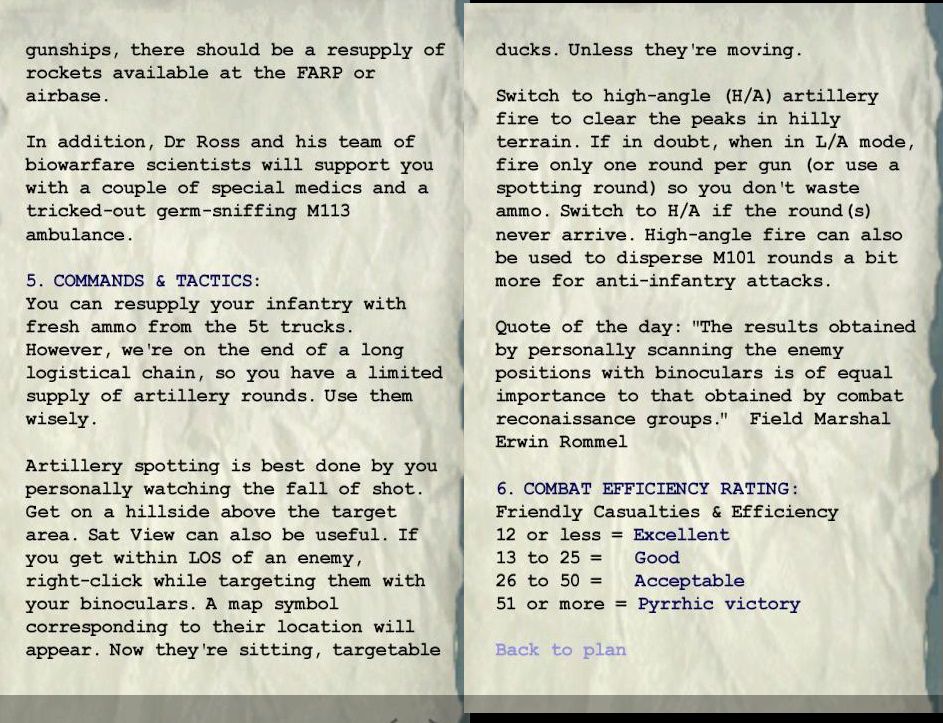
And only 23 men lost, it sure felt like a lot more were dying.
end.jpg~original


I have no idea why those eight Soviet crewmen are listed as friendly kills.
FlashpointResistance2014-02-2414-52-42-88.jpg~original


Next time we take back the initiative.
 
Last edited:
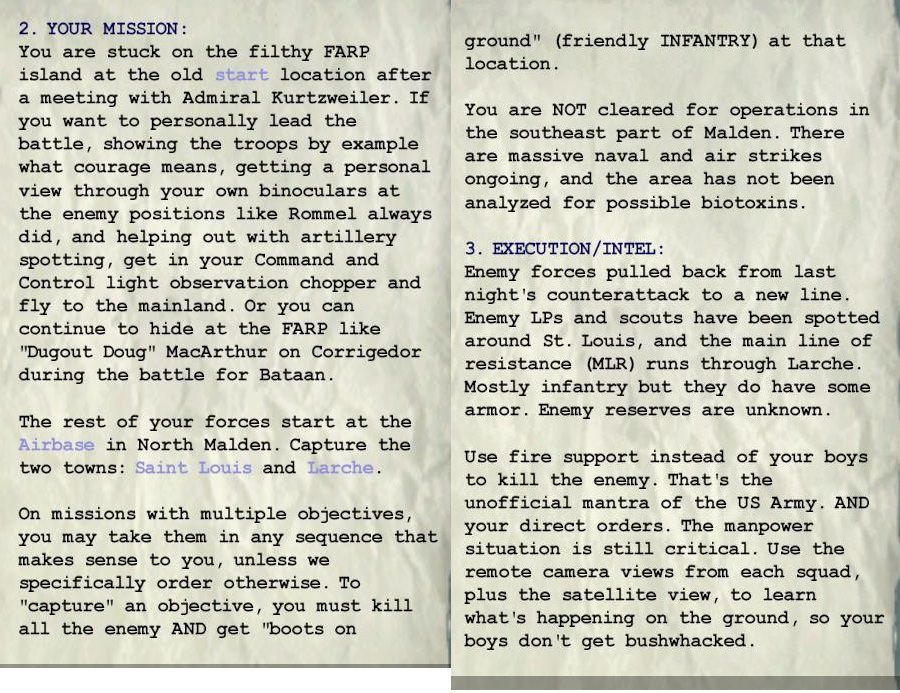
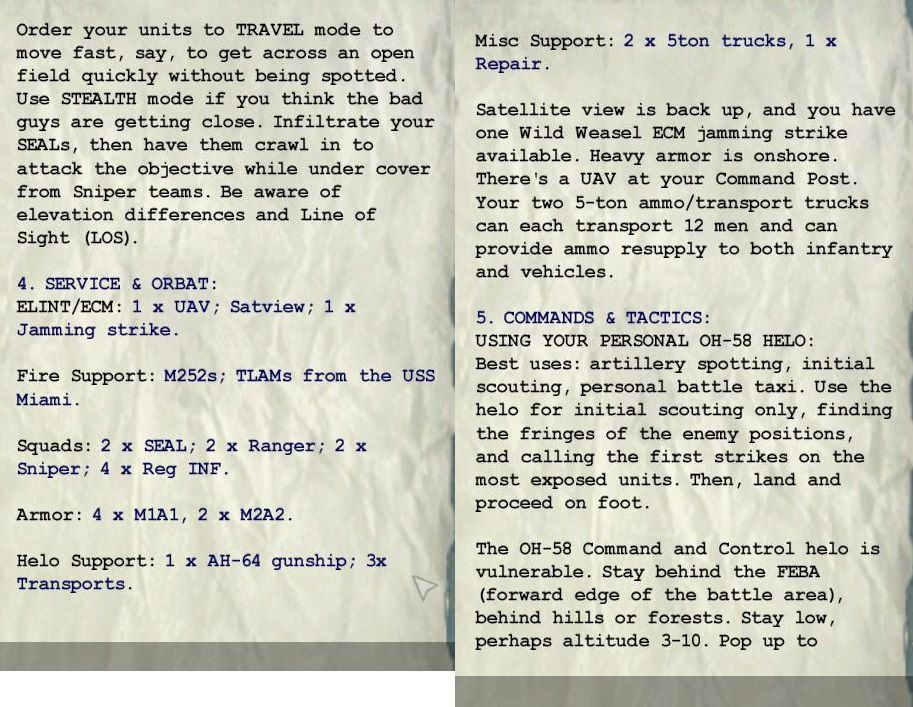
Mission 3 - Mars rising
AKA Vartuoosi and the masters of AI pathfinding

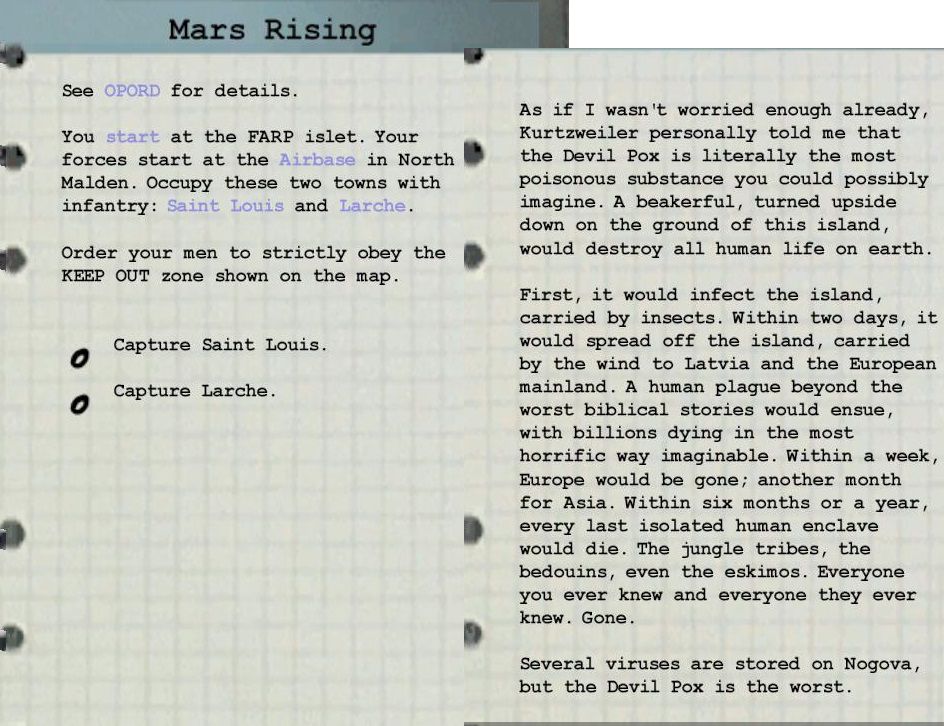
Briefing time!
briefing1.jpg~original

briefing2.jpg~original

briefing3.jpg~original

briefing4.jpg~original

briefing5.jpg~original


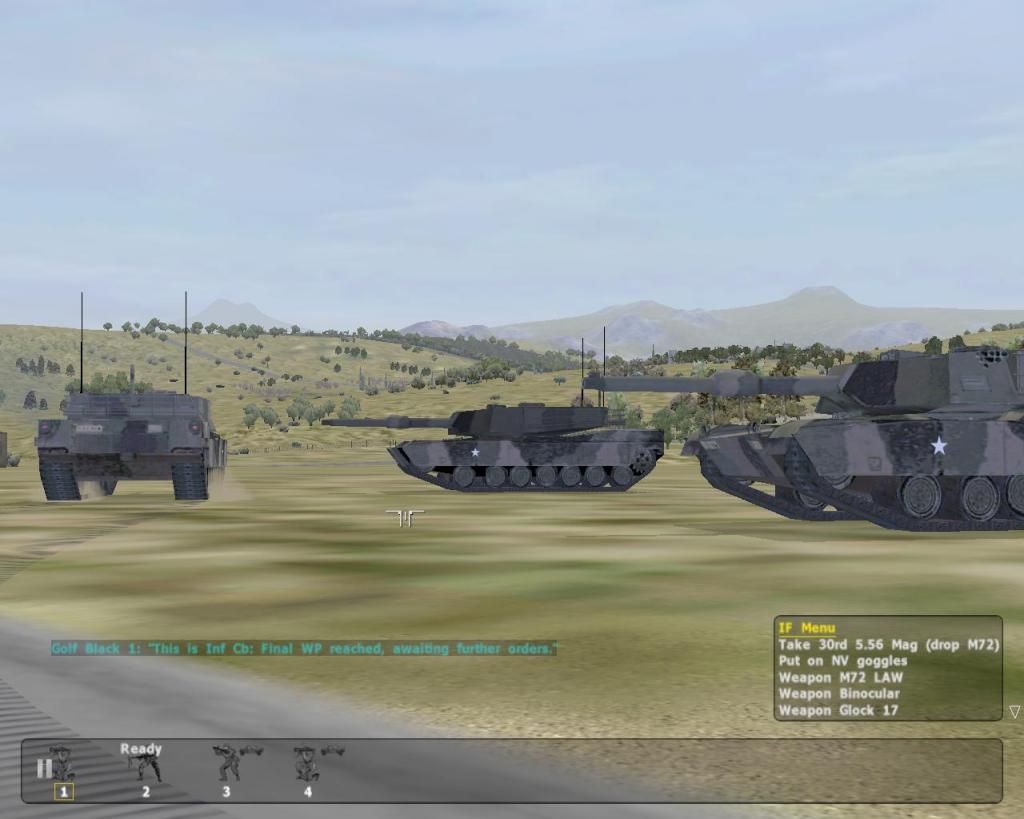
Oh yeah, we've finally some armor on the shore. Platoon of M1A1's and a section of M2A2 IFV's.
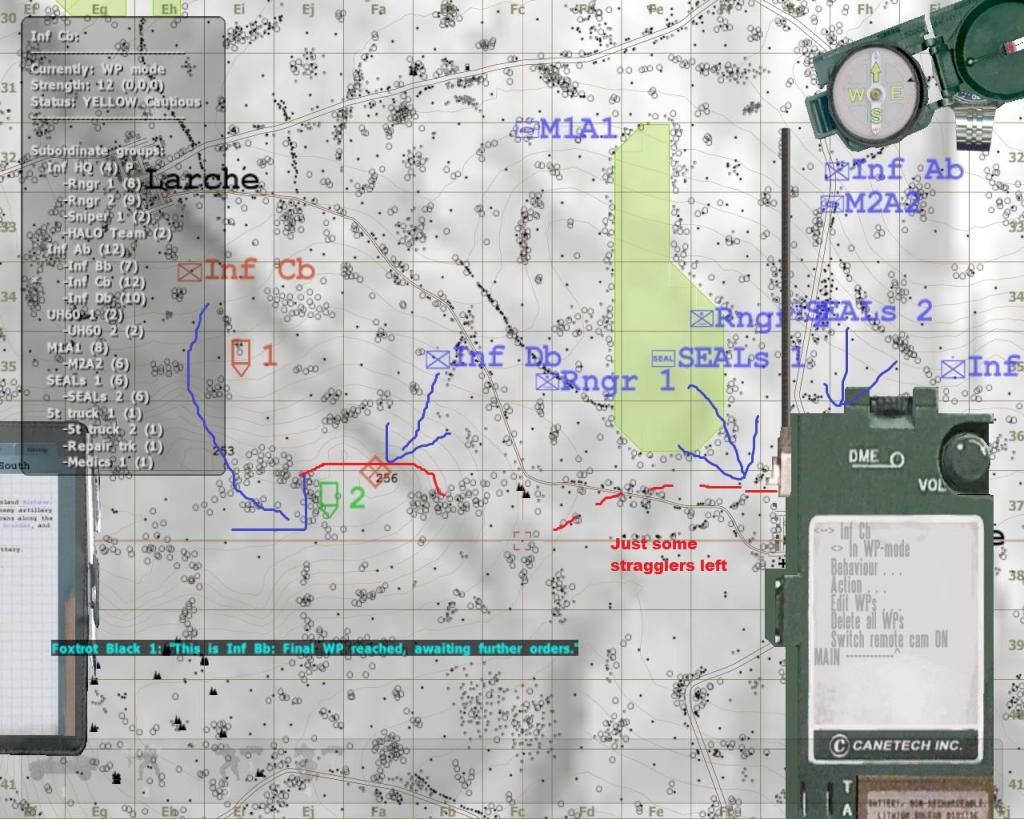
As told in the briefing I need to capture two towns at the opposite ends of a valley, Saint Louis and Larche. At a midpoint between the towns is a gas station, I marked it on the map.
The basic idea is to get troops in position and attack all targets simultaneously from the north, expect Saint Louis will be hit from east.
Charlie & Delta will hit Larche, the Rangers will hit the gas station and Alpha and Bravo will take Saint Louis. Armor will also attack from the north, I don't want them to move from the east incase that road is mined.
Snipers will cover the advance from the north side of the valley and Seals will be blocking the road south of Saint Louis. After Rangers have taken the gas station I'll use them to reinforce other units if that is needed.
plan.jpg~original


Next up, today's quote.
FlashpointResistance2014-03-2120-28-02-00.jpg~original


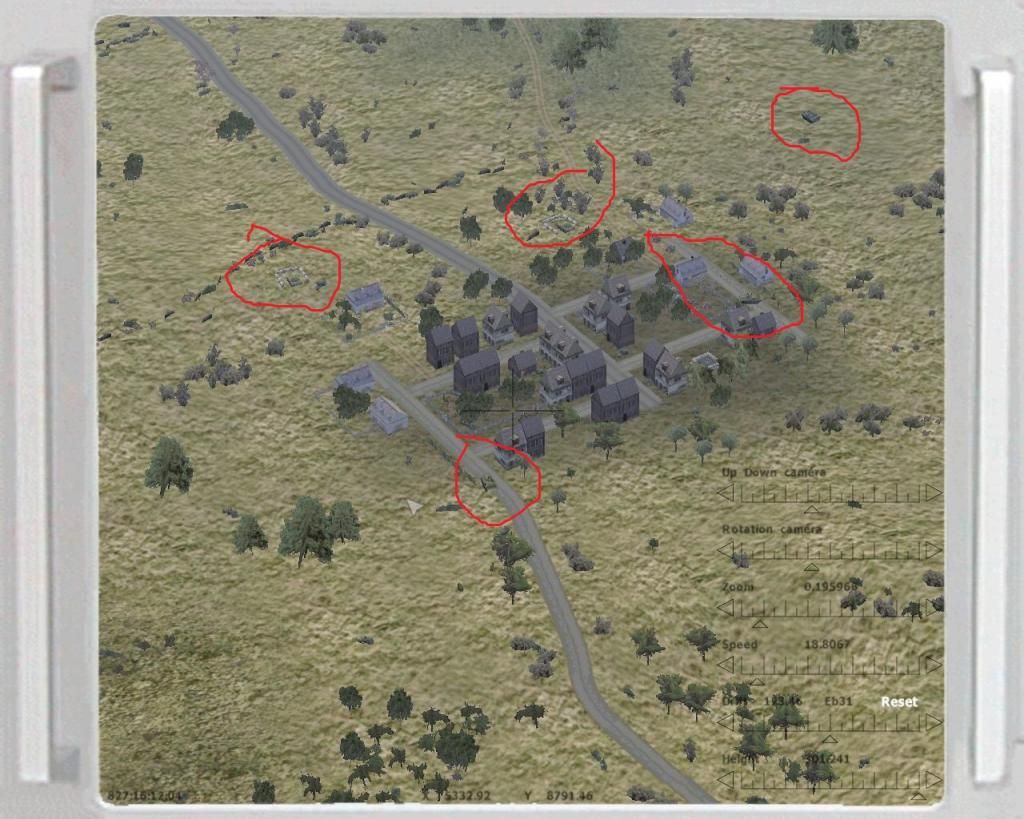
UAV recon next.
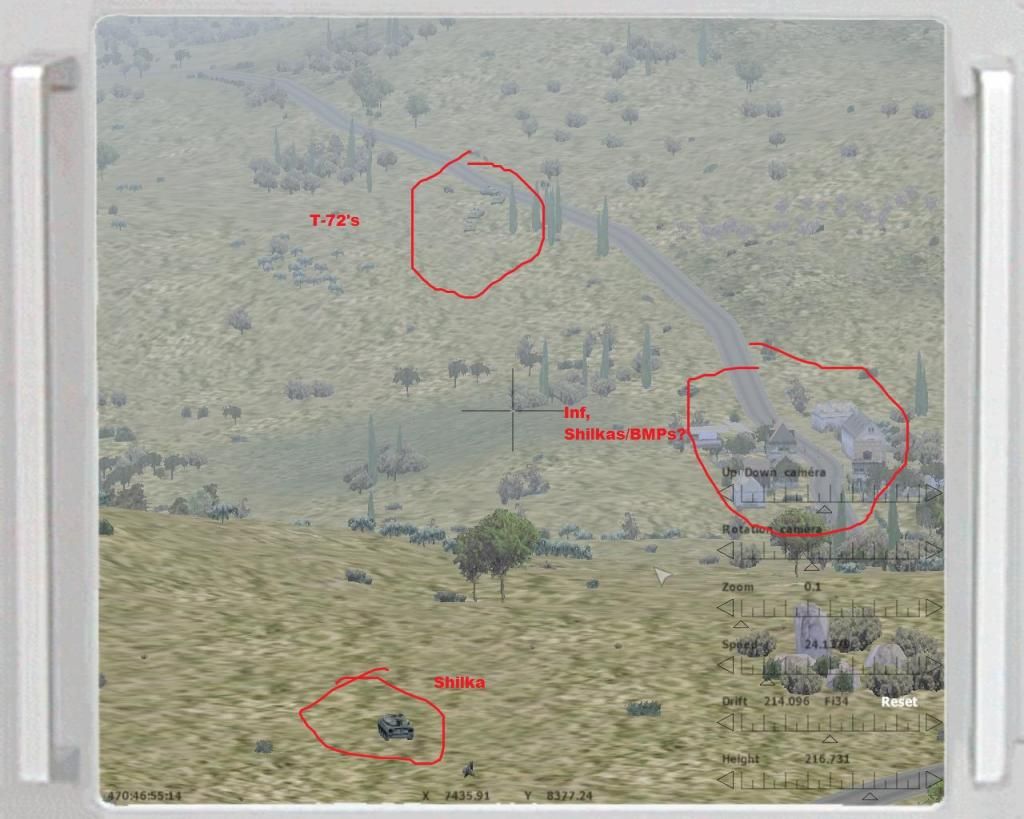
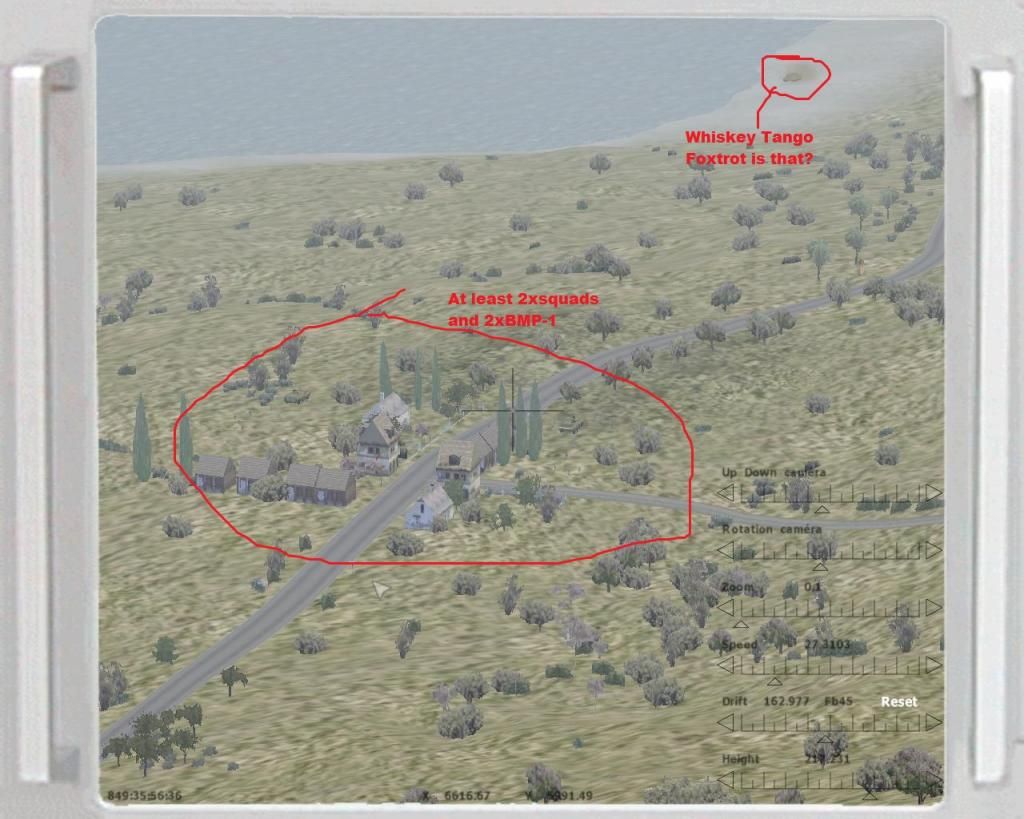
Larche is defended by at least an infantry squad, two BMP-1's, a Shilka and two dug in T-72's.
FlashpointResistance2014-04-0420-31-08-81.jpg~original


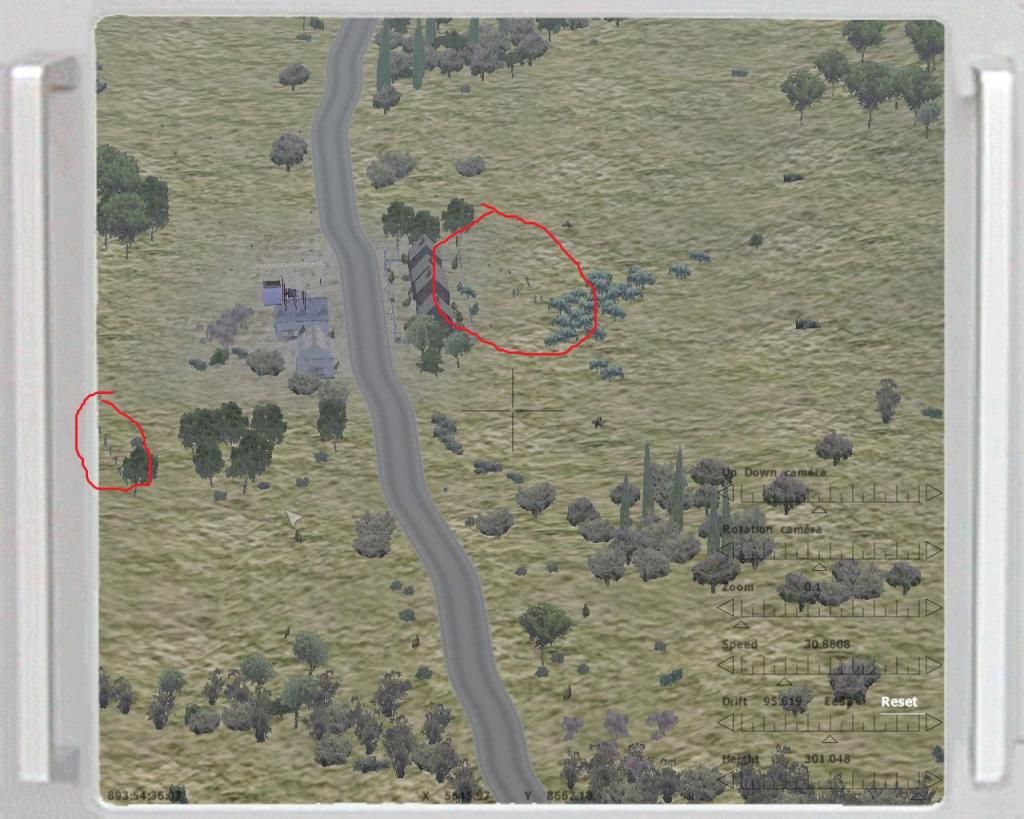
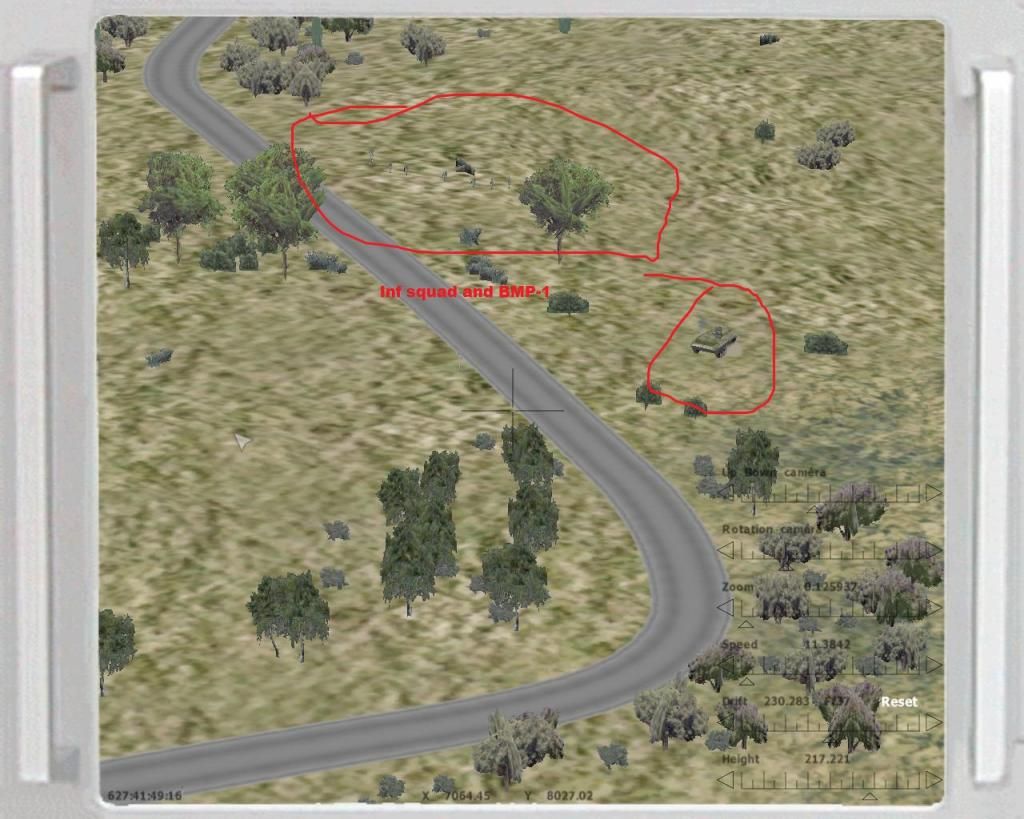
At the gas station I can see two squads.
FlashpointResistance2014-04-0420-32-15-43.jpg~original


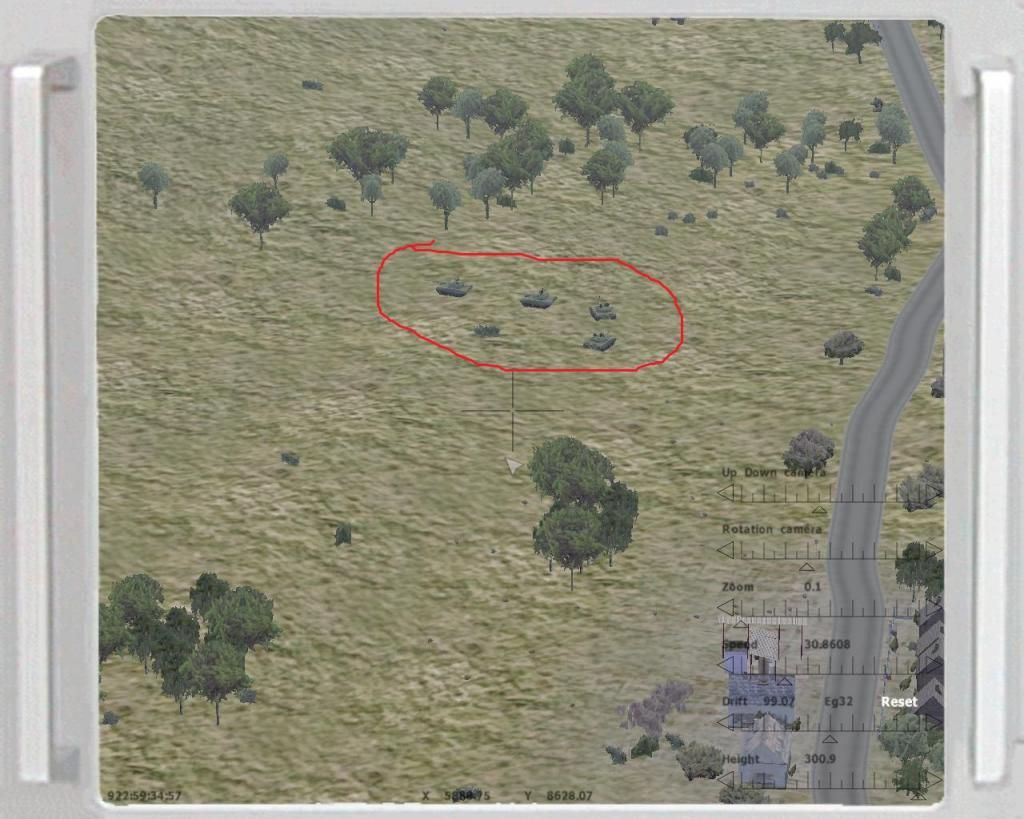
Platoon of T-72's patrol around the valley.
FlashpointResistance2014-04-0420-32-44-53.jpg~original


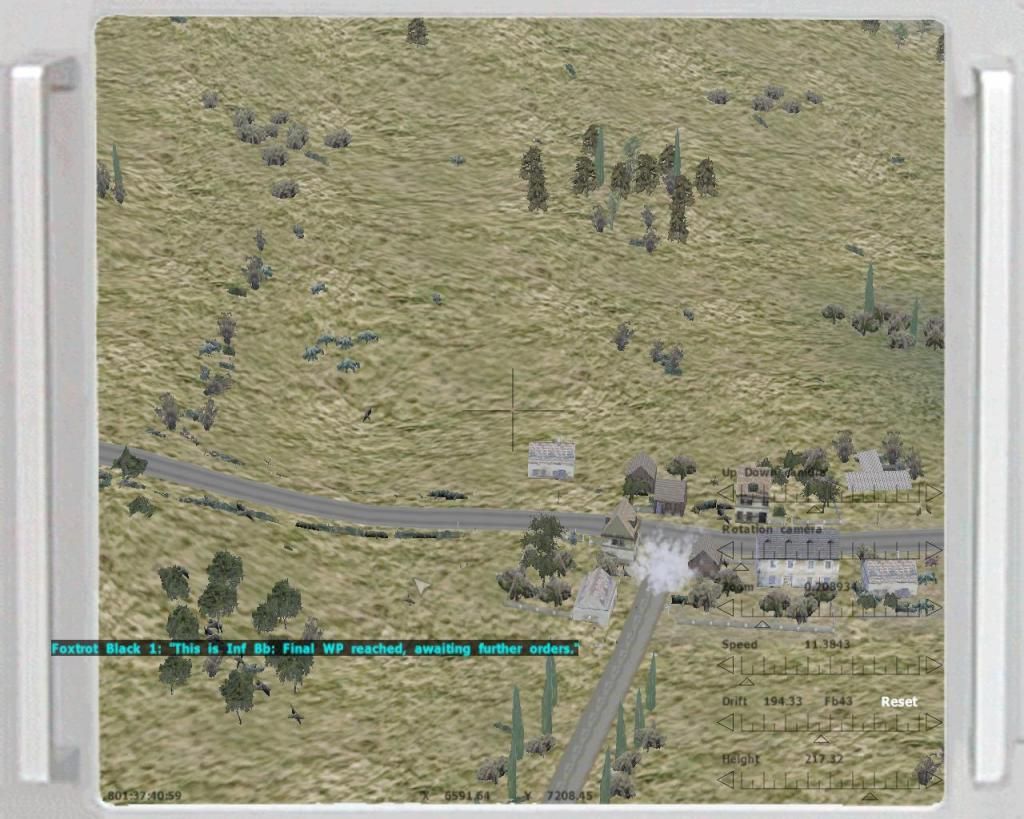
There's three squads in Saint Louis. Though only two are in the pic.
FlashpointResistance2014-04-0420-33-14-20.jpg~original


South of Saint Louis is the town of La Trinite and it seems to be occupied by two squads. But that town is in the no-go zone, so the Seals blocking the road there should be sufficient.

I order a Tomahawk to be launched at the southern edge of Larche to take out at least the Shilka.
The missile explodes just inbetween the Shilka and the BMP. Both vehicles are destroyed and so is the inf squad that was standing around the BMP.
25 Tomahawks still left.
FlashpointResistance2014-04-0420-41-39-11.jpg~original

FlashpointResistance2014-04-0420-41-59-11.jpg~original


The Russians don't take kindly to be on the receiving end of a cruise missile and try to take punitive action.
That T-72 platoon shows up on the hill overlooking the Airfield, supported by a BMP-1 and an infantry squad. They are able to destroy one of my mortars and a Chinook parked on the airfield. My Bradley's open fire with TOW's but the surviving T-72's take one of them out so I order the remaining M2 to retreat.
At this point the Apache is in range and takes out two of the Red tanks. The last surviving T-72 retreats behind the crest of the hill along with the infantry, out of my gunships line of fire.
I try to give the Apache waypoints so it can get into a firing position to take out that T-72, while still being in decent cover from Soviet AA I didn't notice with the UAV.
But the AI pathfinding decides to ruin my plan and the AH-64 flies into the valley like an idiot. They are able to take out that tank and also fire a missile at one of the dug in tanks, just before a SA-11 shoots them down.
FlashpointResistance2014-04-0420-54-14-71.jpg~original


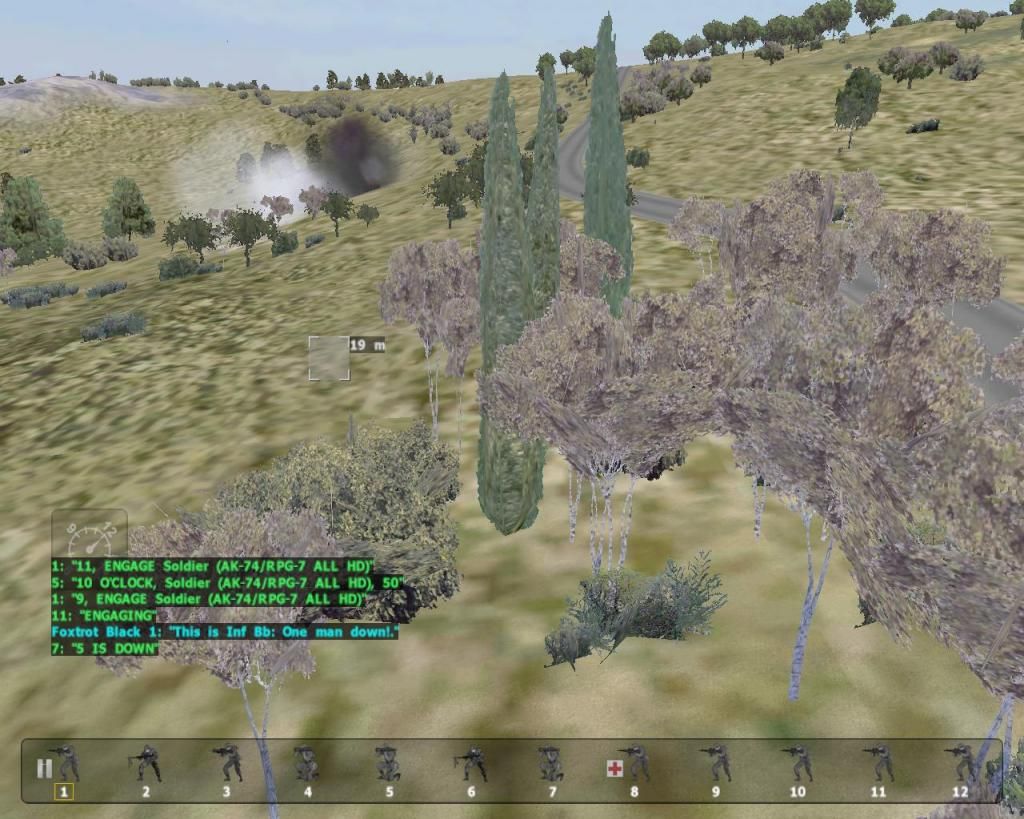
While this is going on the Rangers are engaging Soviet infantry to north-west of the tank hill. The Rangers are able to deal with them without casualties.
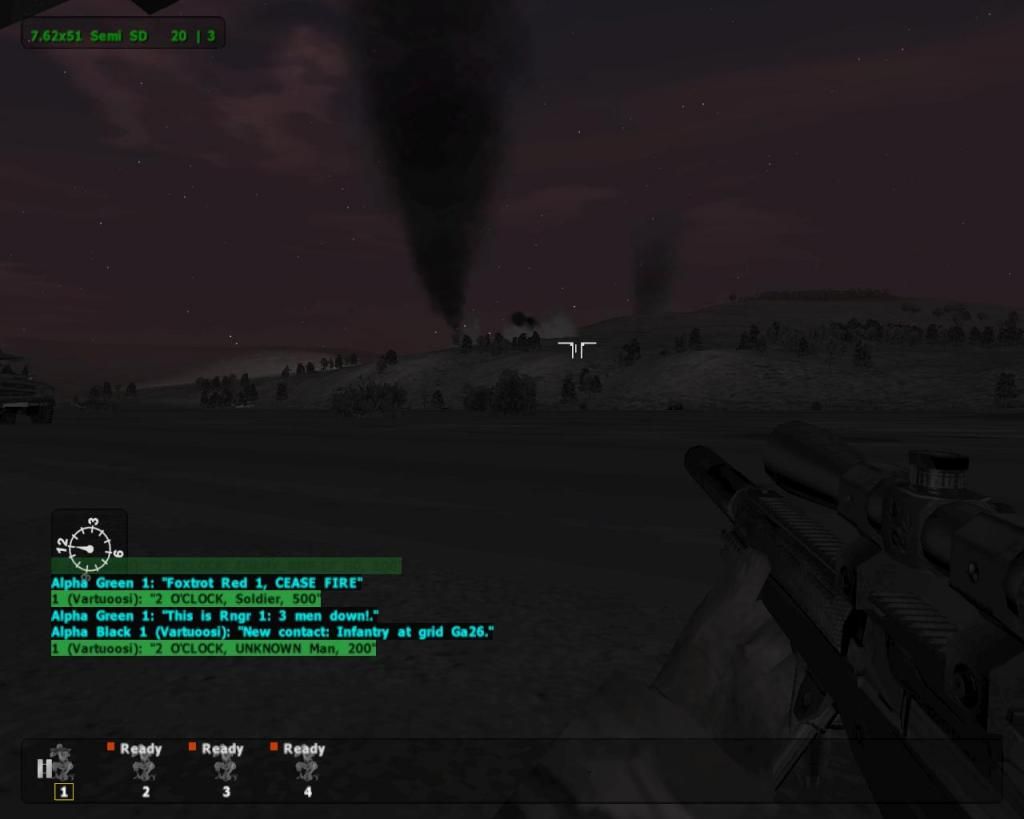
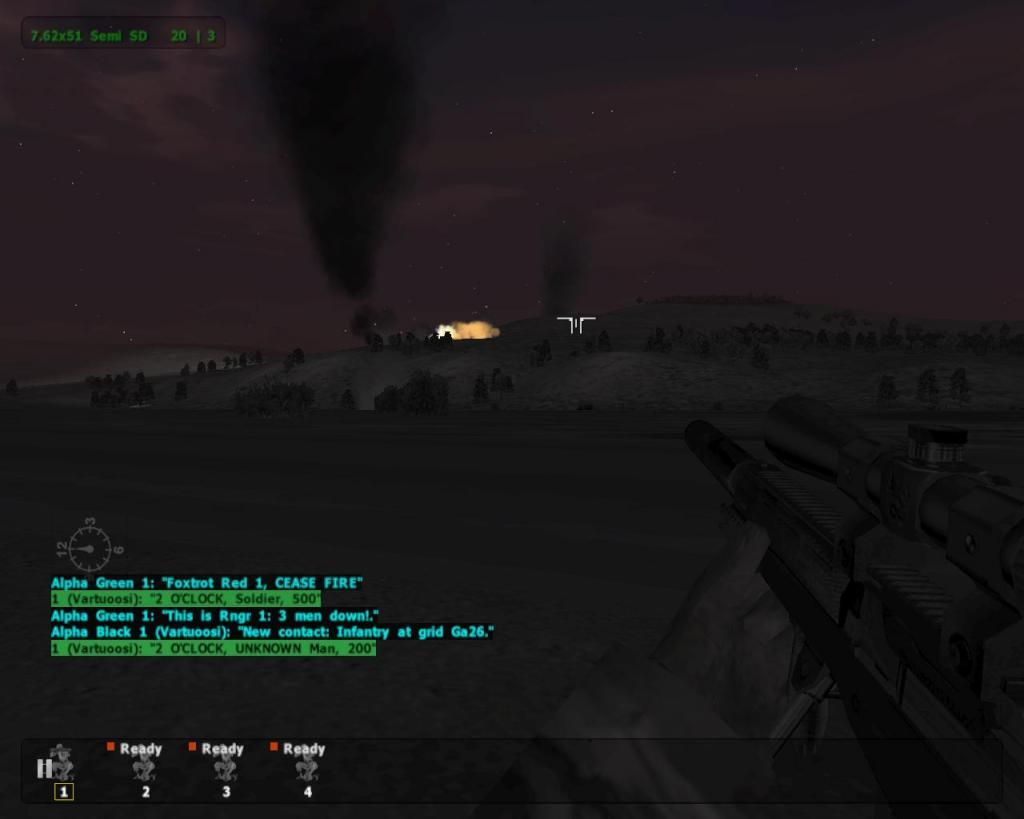
Even though I'm rather close I didn't get any shots of the action. Though in the pic below you can just see smoke from a smoke grenade deployed during the firefight, just behind that hill. The black smoke on the left side is from the burning T-72's.
FlashpointResistance2014-04-0421-05-26-74.jpg~original


While I'm waiting for my troops to move closer to the targets, I've been giving my mortars a steady stream of fire missions. They bomb both towns and the area around the gas station until they run out of ammo. My trucks that would have been able to resupply troops were both destroyed by Soviet arty trying to silence my mortars. The mortars survive though.

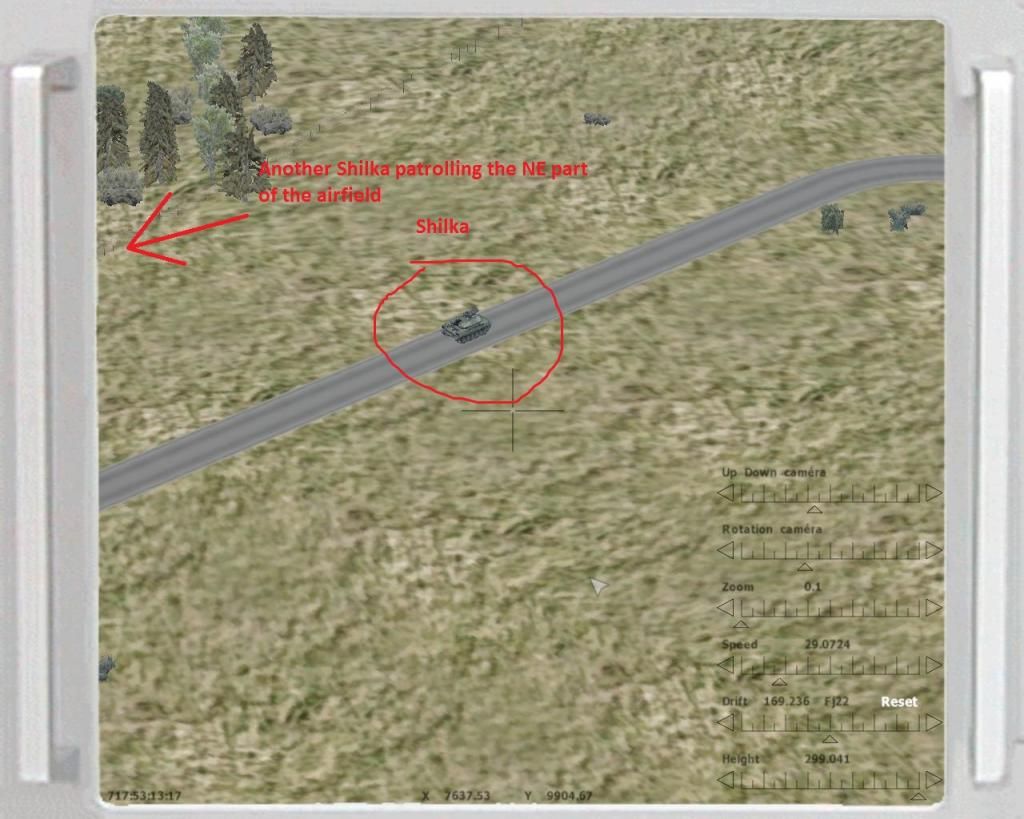
Suddenly a Shilka comes cruising out of the valley. It drives rather close to my position but the boys from Delta squad take it out.
Now that Delta's position is known, Soviet mortars join the game and strike Delta's position. But because the guys in Delta continue to be badass, they suffer no KIA's.
FlashpointResistance2014-04-0421-17-48-33.jpg~original


Next I decide to do something dumb.
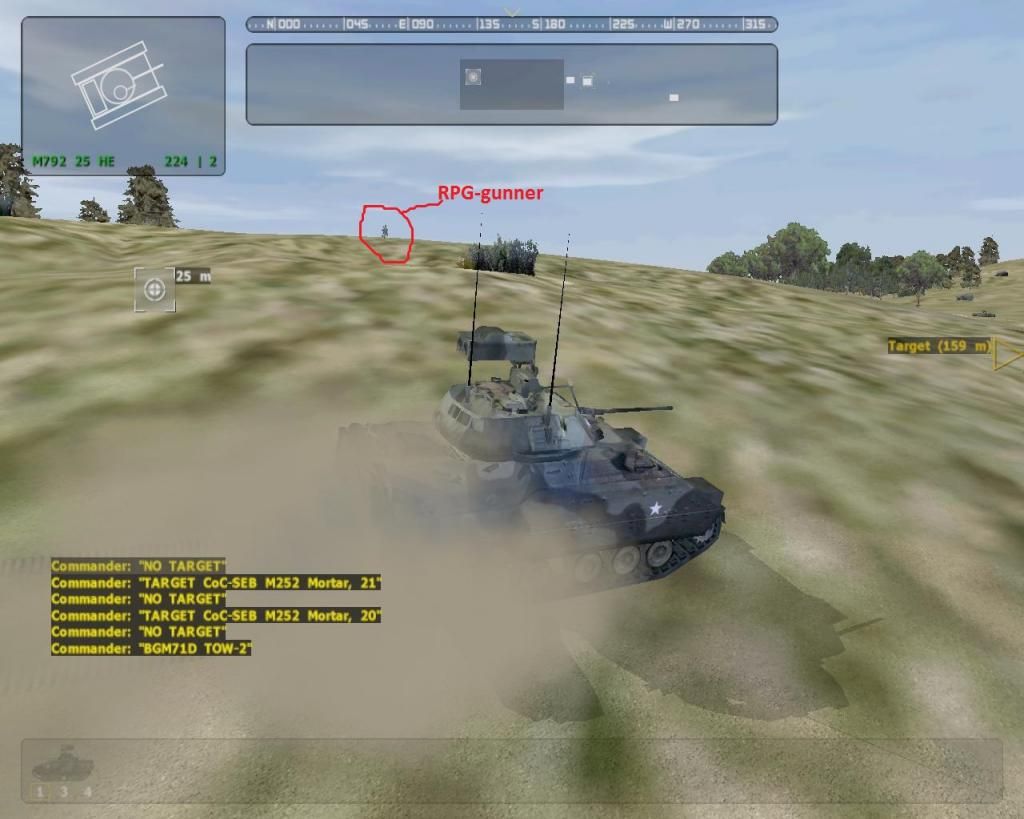
I send my remaining M2 Bradley on a daring raid to destroy those mortars. Surprisingly the Bradley makes it to the Soviet mortar position without incident, but the mortars are protected by an inf squad. The M2 is able to gun down one rifleman before it's destroyed by a RPG.
I jump into my OH-58 and do a quick hit and run strike on those mortars but only one of them is destroyed.
FlashpointResistance2014-04-0421-35-40-12.jpg~original


Unit positions after I return from my rocket strike. Note the Seals are lagging behind because of pathfinding issues. They should have been blocking those roads leading to south by now.
FlashpointResistance2014-04-0421-47-45-34.jpg~original
 
Last edited:
(Mission 3 cont.)

Once my infantry is ready in the woods on the northern slope, I order all units to begin the assault.
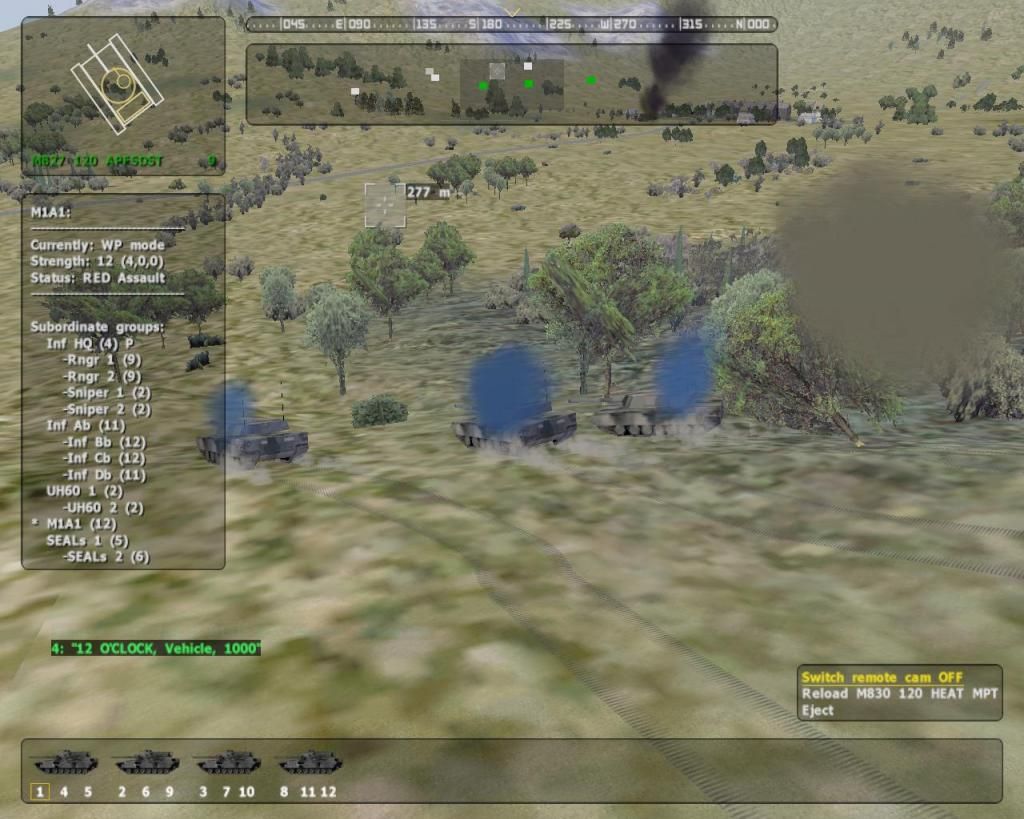
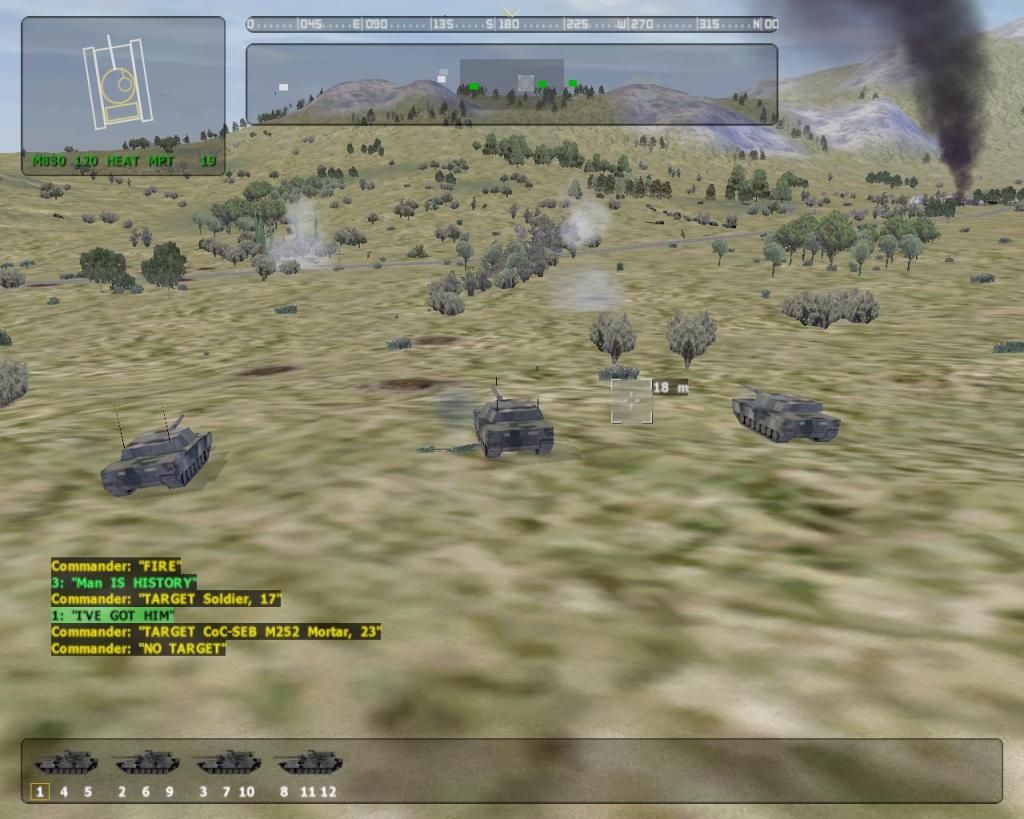
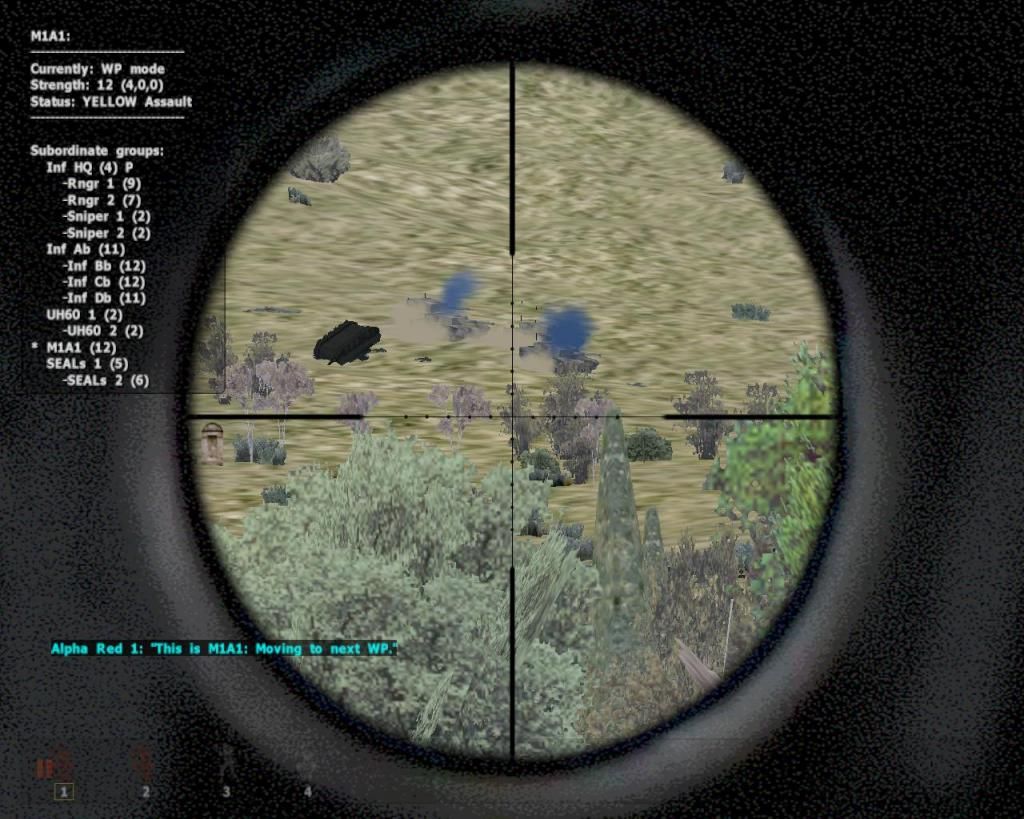
The Abrams tanks lead the charge, destroying a SA-11 and one of the dug in T-72's. They follow up by engaging Soviet infantry. Some of the M1's take hits from RPG's but they all remain operational.
The tanks also capture the attention of those Soviet mortars. The mortars use all their ammo on strikes against the Abrams tanks. As you most likely guessed they do zero damage.
FlashpointResistance2014-04-0421-59-51-70.jpg~original

FlashpointResistance2014-04-0422-02-25-03.jpg~original


Saint Louis is first to fall. The mortar strikes seems to have been effective. My guys meet barely any resistance here.
Note the sniper teams are nowhere near where I ordered them to be.
FlashpointResistance2014-04-0422-03-41-67.jpg~original


Abrams' pass a Shilka destroyed by the Tomahawk.
FlashpointResistance2014-04-0422-11-03-98.jpg~original


Larche also doesn't offer much resistance, just few infantrymen left in the town. But one of the T-72's still has crew in it. The tank's tracks and weapons are out of action but none of my guys won't destroy that tank for some reason. I'll take care of it personally.
FlashpointResistance2014-04-0422-15-33-78.jpg~original

FlashpointResistance2014-04-0422-16-31-38.jpg~original


The gas station offered most resistance. If I remember correctly the Rangers suffered around 3-5 KIA's.
FlashpointResistance2014-04-0422-28-46-38.jpg~original


I also found the UAV. It landed near the gas station after it ran out of juice.
FlashpointResistance2014-04-0422-36-51-64.jpg~original


It seems this mission's ending triggers bugged out since after capturing both towns nothing happens. I order some of my guys to search around for stragglers or try to spot a possible counter attack but none is found. After 30 mins of waiting, I use the "endmission" command to end the mission.
FlashpointResistance2014-04-0422-45-28-73.jpg~original
 
Last edited:
M4 The Road South
aka "In the garden of incompetance and alcoholism"

Ok, finally decided get off my ass and continue this playthrough(metaphorically speaking, playing this standing up gets really old, really fast).

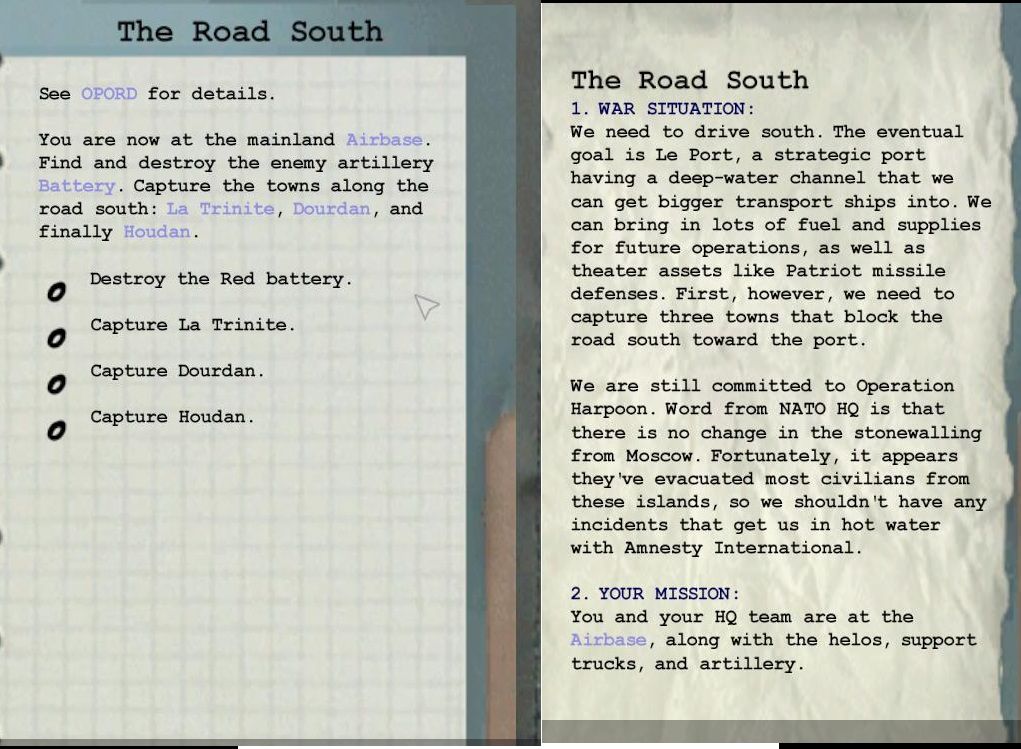
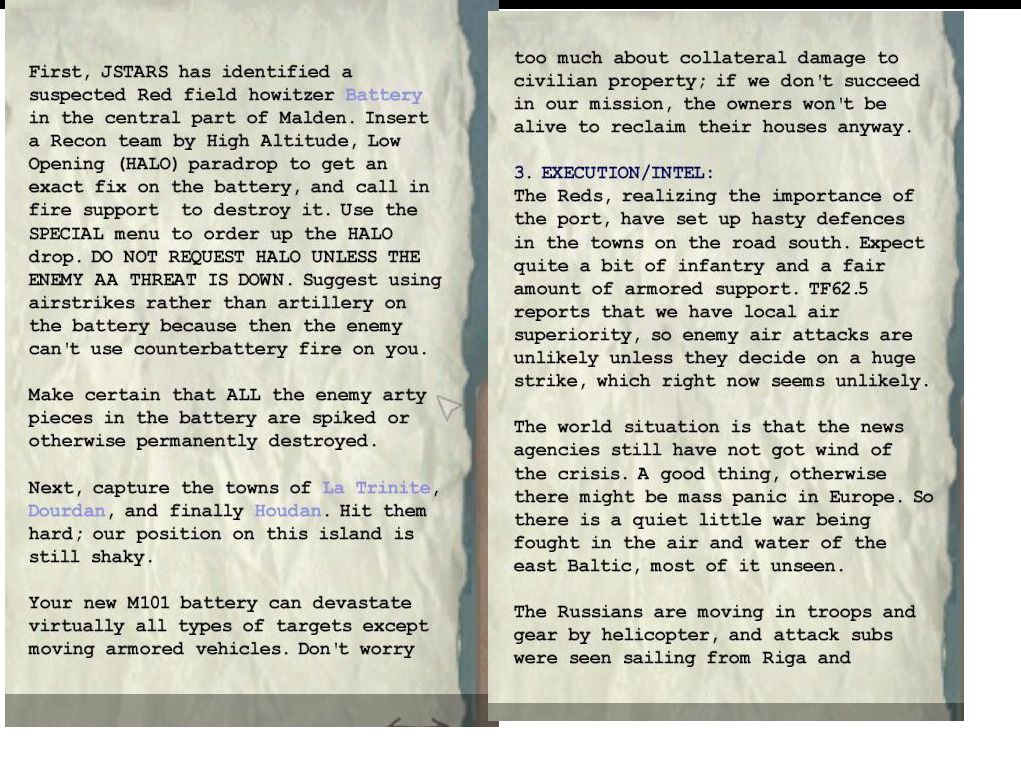
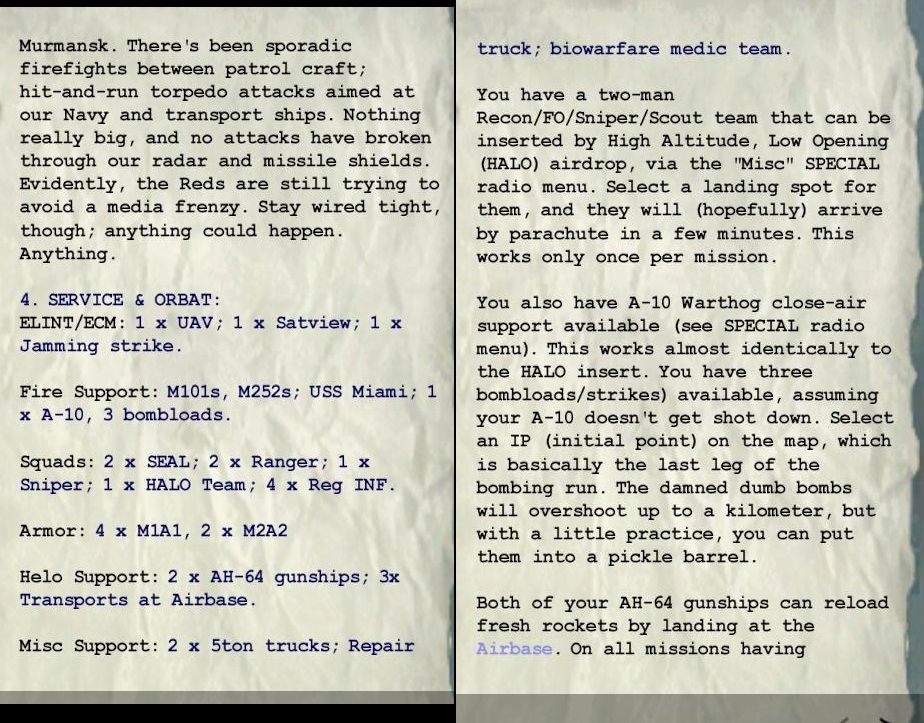
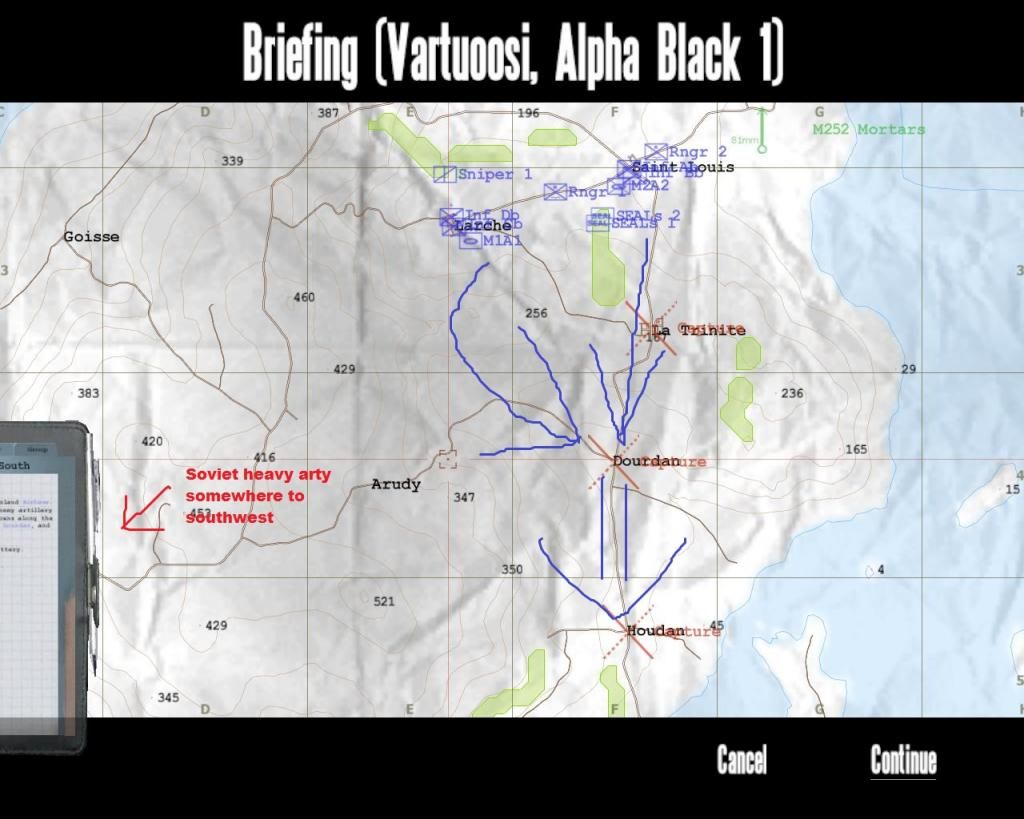
You know the drill, briefing time.
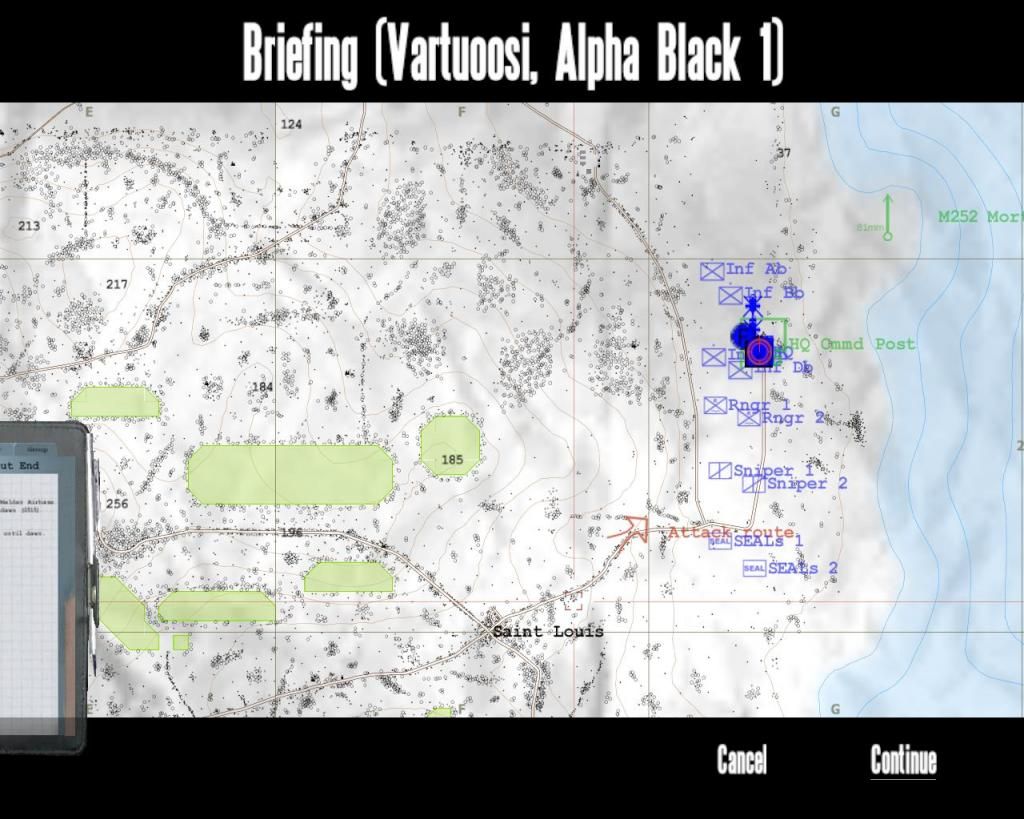
briefing1.jpg~original

briefing2.jpg~original

briefing3.jpg~original

briefing4.jpg~original

briefing5.jpg~original


My force composition is pretty much the same as in last mission. New additions are the logistics stuff, the A-10, the HALO team and the M101 105mm howitzer battery. Spoiler alert! I completely forget that the A-10 and the HALO team exist and never use them. Lucky for those guys since this mission turns into a sort of minor meatgrinder.


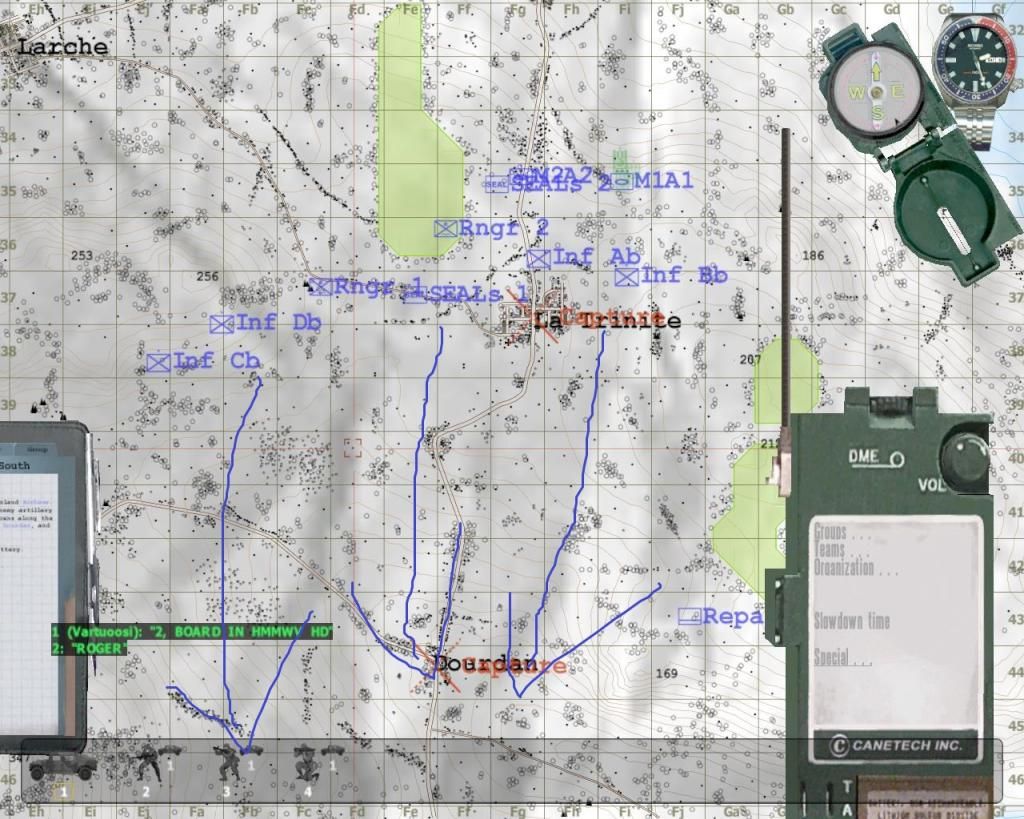
No fancy plans this time. La Trinite and Dourdan will be hit from two angles and when they are cleared everyone will take part in a last big push to Houdan. Vehicles will be kept off-road in case the roads are mined. I also planned to use the HALO team to find that heavy Soviet arty, but yeah...
FlashpointResistance2014-08-1521-19-41-21.jpg~original


Quote of the day.
FlashpointResistance2014-08-1521-30-33-71.jpg~original


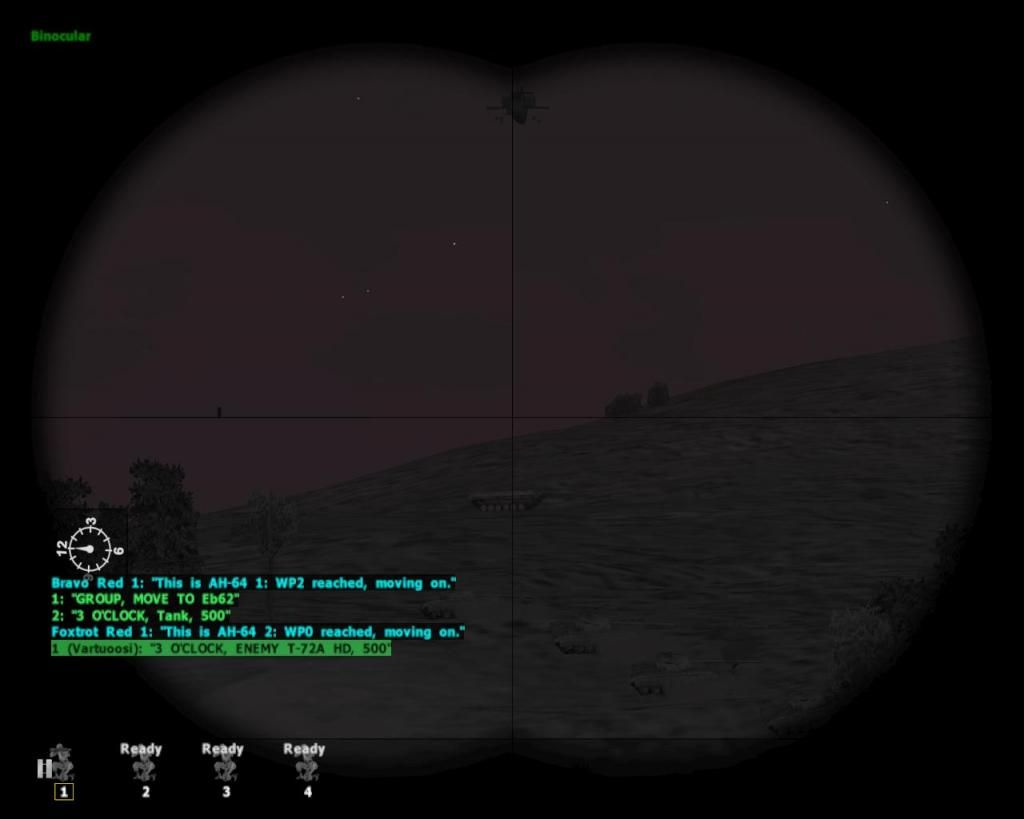
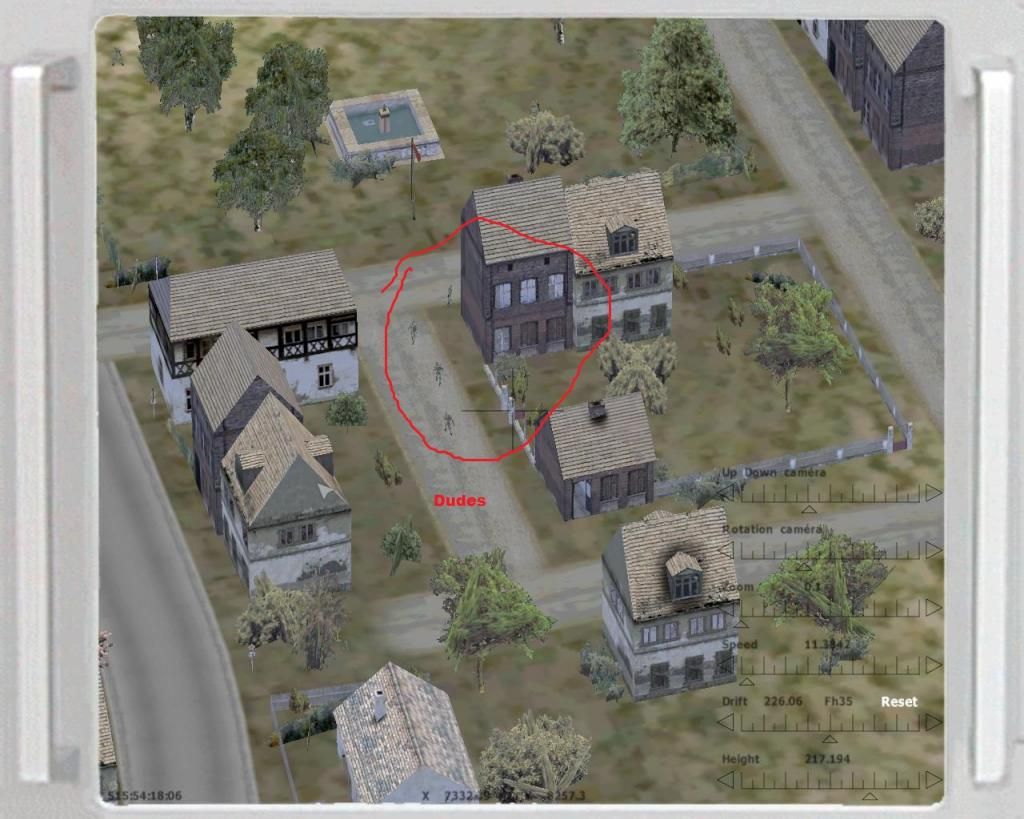
Next up UAV recon.
I can only spot one squad in La Trinite but I'm fairly sure theres more defenders around the town.
FlashpointResistance2014-08-1521-42-10-68.jpg~original


A lot more guns can been seen around Dourdan.
FlashpointResistance2014-08-1521-41-25-57.jpg~original

FlashpointResistance2014-08-1521-44-02-48.jpg~original


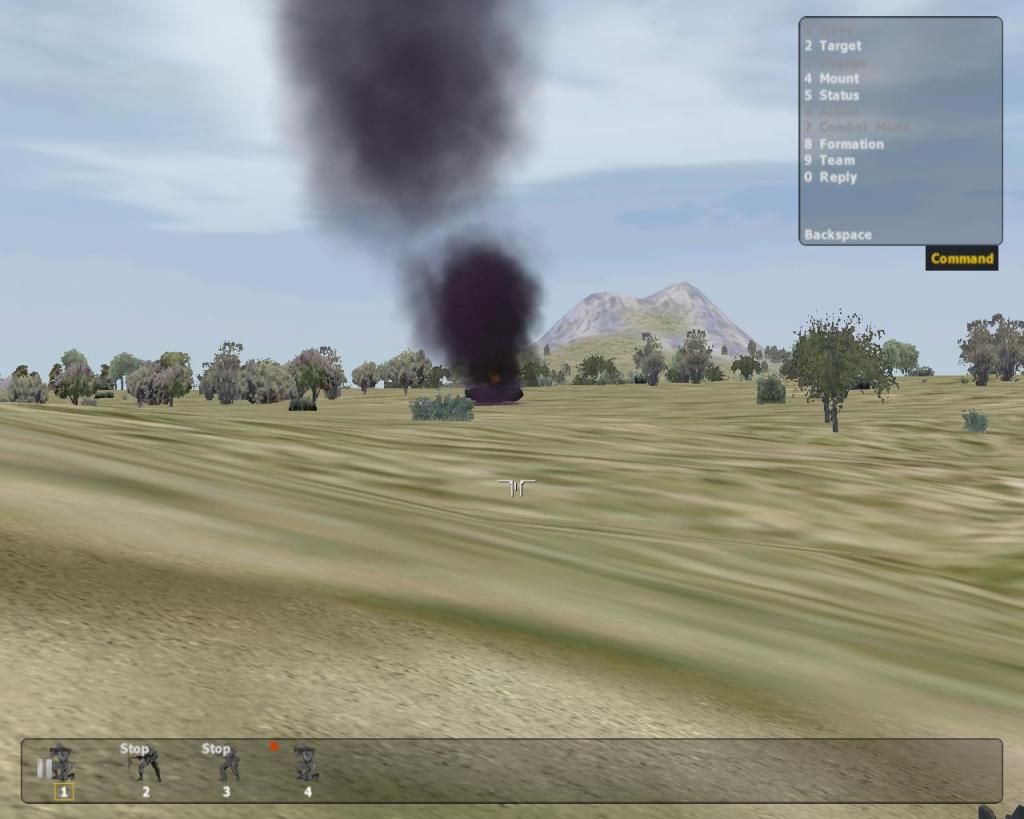
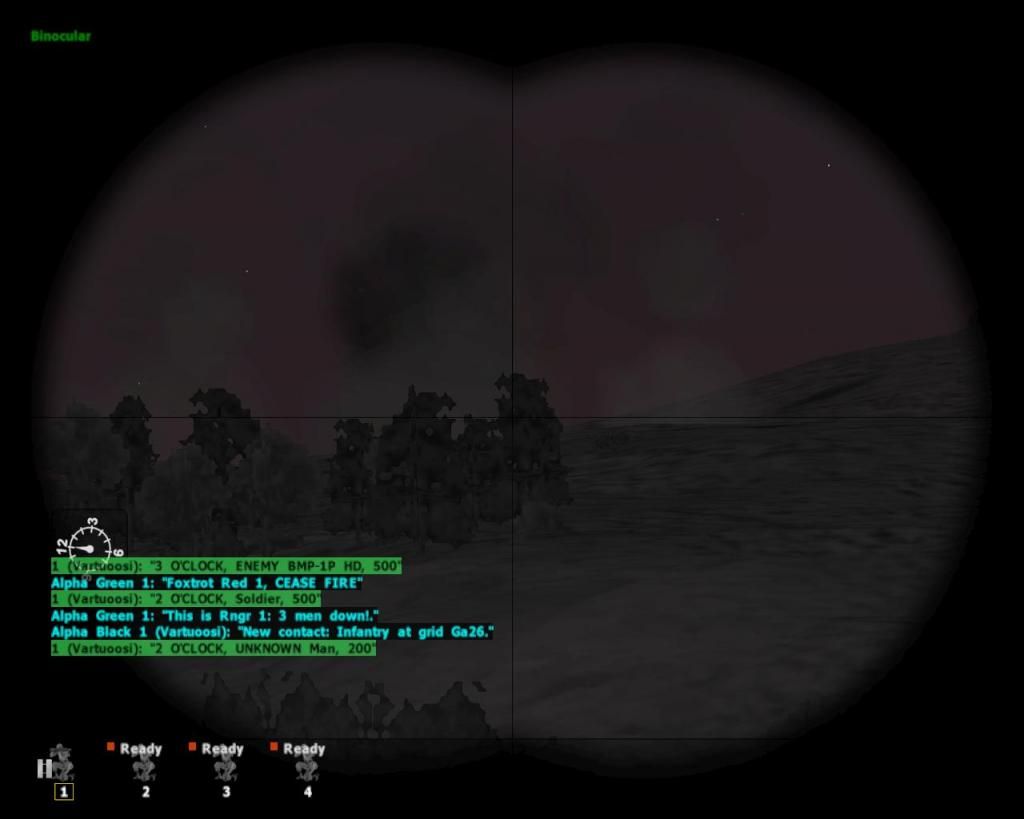
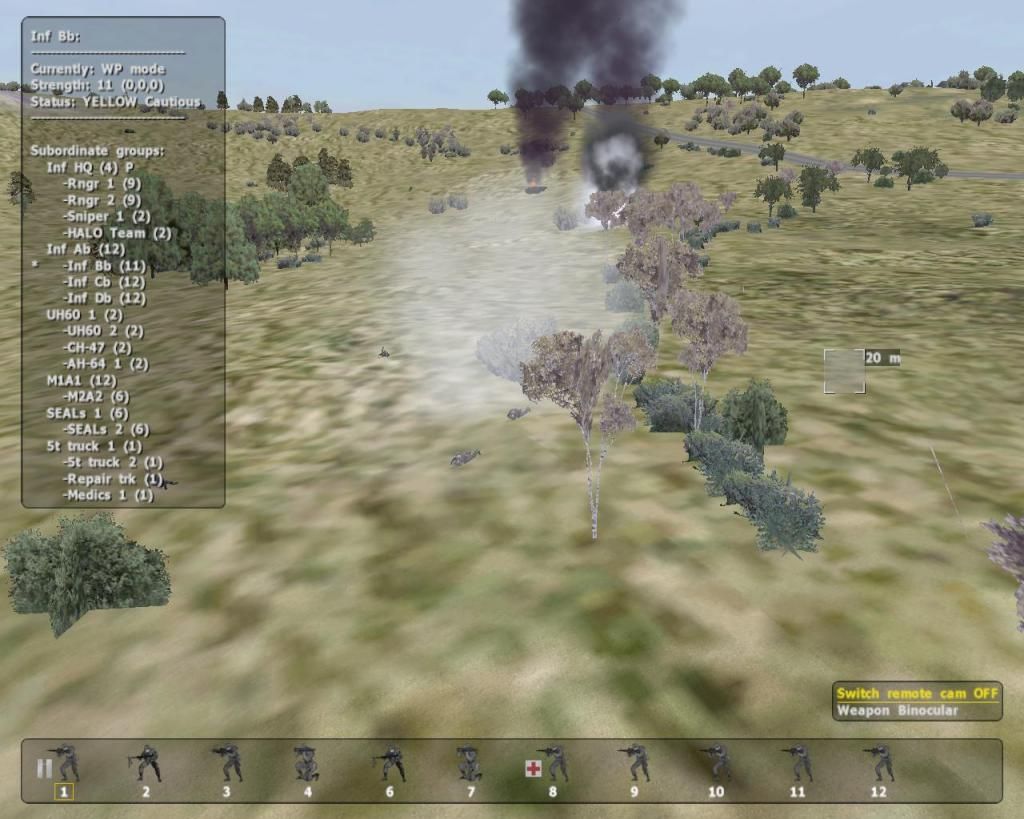
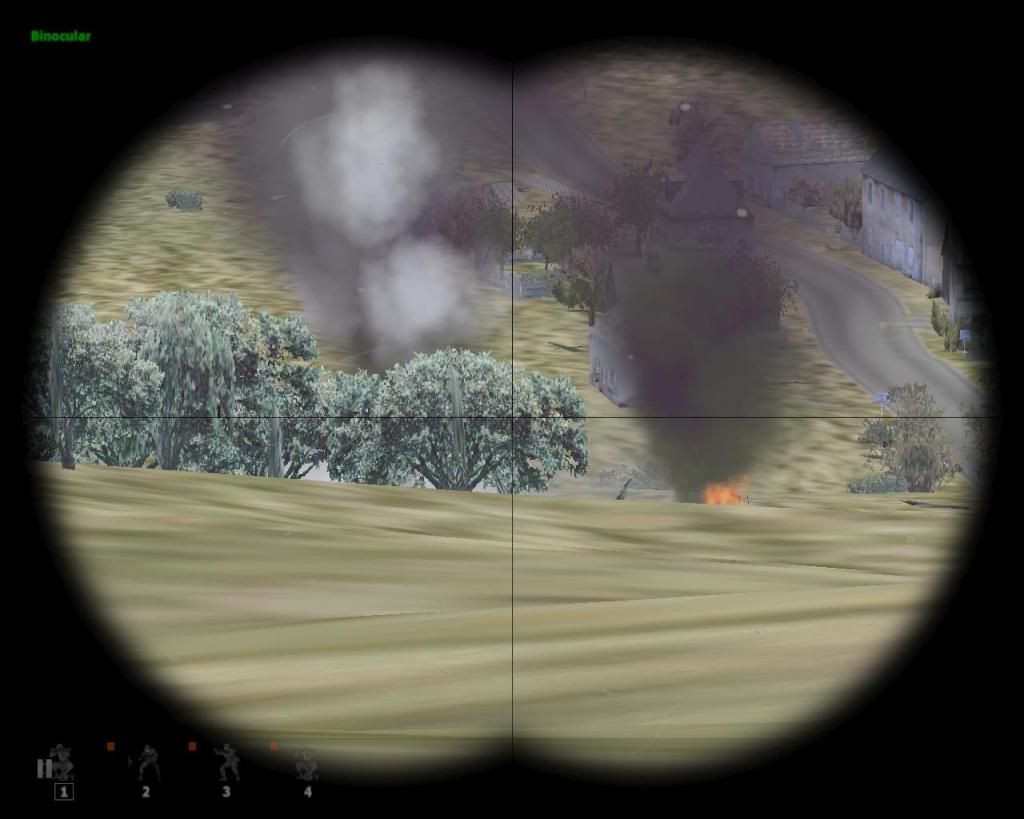
This voyerism is interrupted when a BMP-1 drives out from La Trinite, but is intercepted by Bravo squad who are waiting at the base of the hill. The AT-guy who destroys the BMP will be a contestent for the Darwin award though. Look at the pic below. That black smoke is from the burning BMP and that white smoke is from the LAW's backblast. Notice how close they are? Now connect the dots Sherlock.
FlashpointResistance2014-08-1521-45-49-06.jpg~original


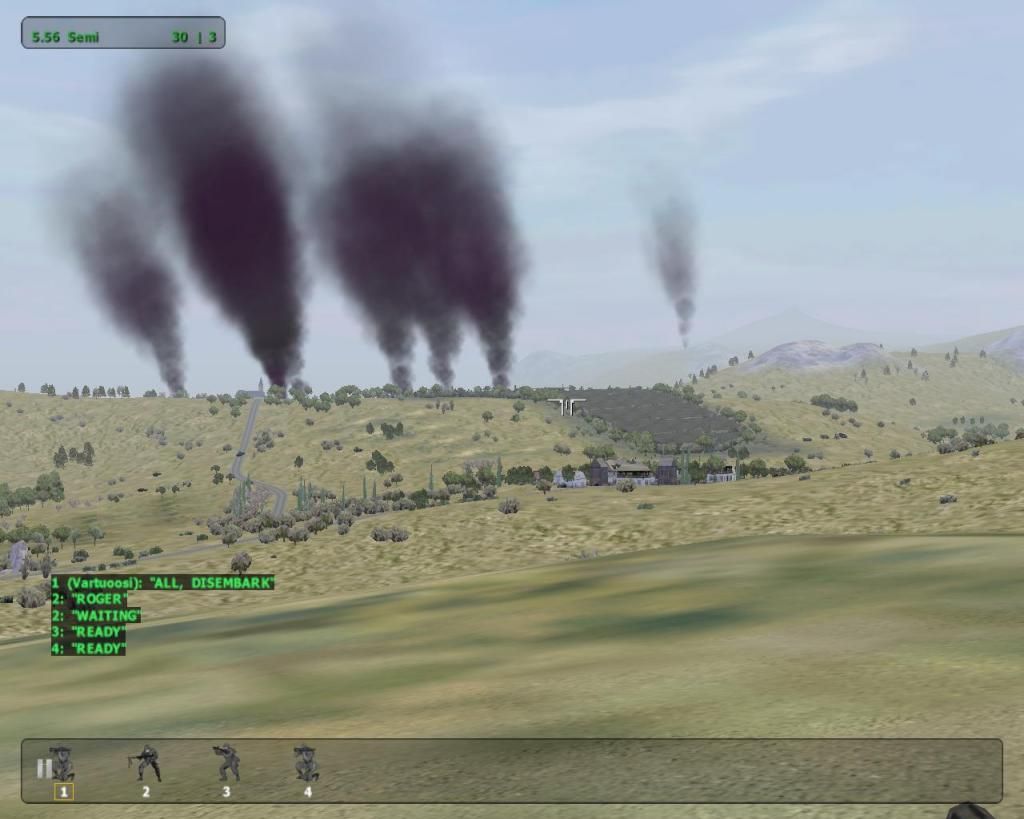
I jump back on the UAV and get a look on Dourdan. The Soviets are spamming smoke rounds/grenades in and around the town. What the hell are these guys doing?
FlashpointResistance2014-08-1521-46-57-82.jpg~original


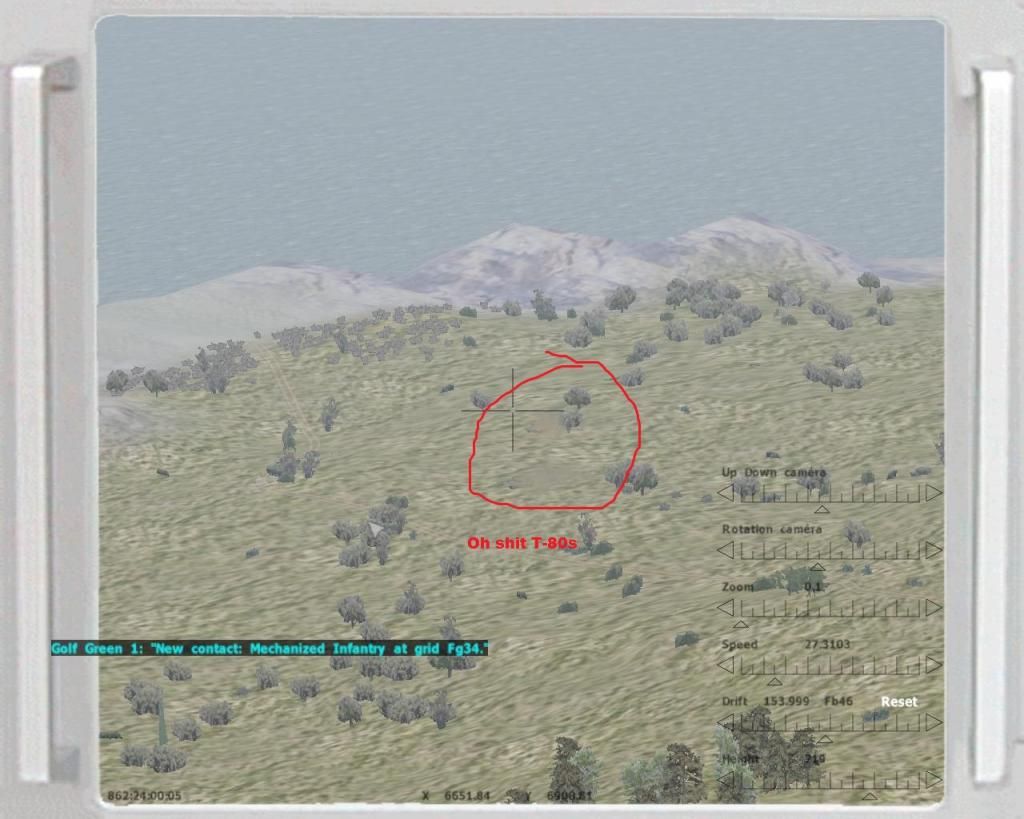
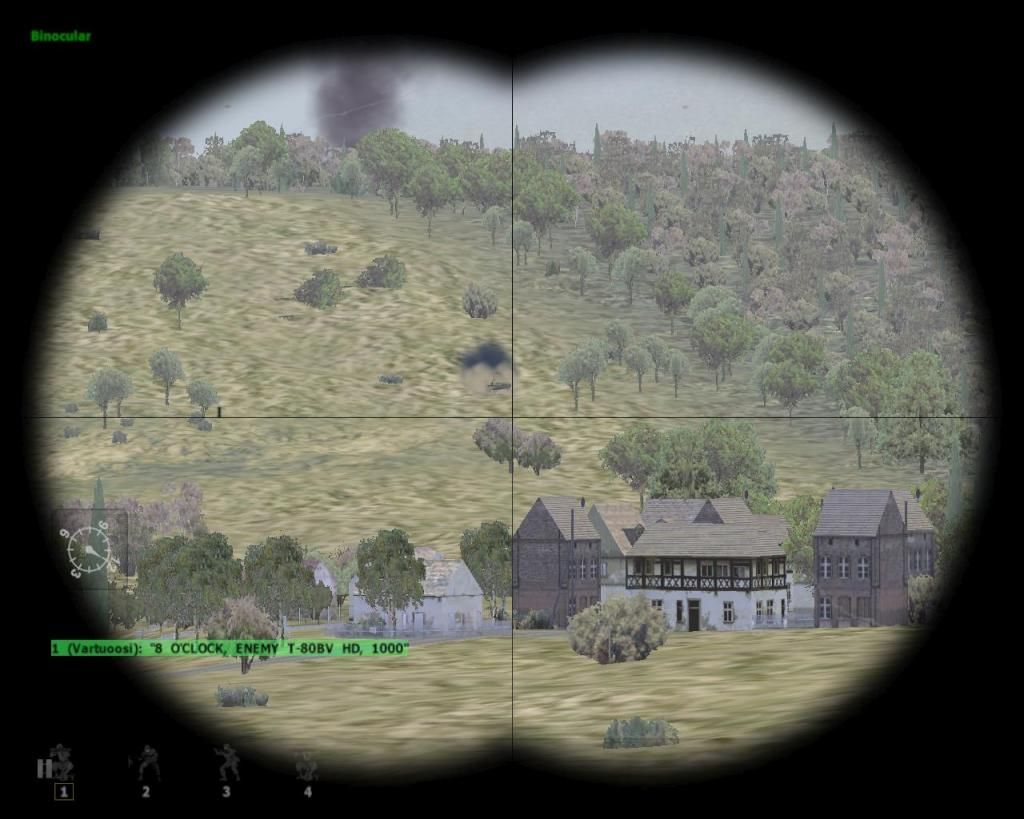
Ok, time to finally get a look on Houdan. Nothing special around here but what is that on the upper right corner? I need a closer look
FlashpointResistance2014-08-1521-47-45-78.jpg~original


Fuck me! T-80s! The T-80 hits just as hard as the Abrams, is slightly faster and more agile but is just a teensy bit more fragile. In practice these differences are so minor they aren't really noticeable.T-80's are just as good as the Abrams and can take them on in a 1v1 fight.
TLDR; T-80's are fucking dangerous.
FlashpointResistance2014-08-1521-47-58-55.jpg~original


It looks like the Soviets are counter-attacking towards Saint Louis and by extension the airfield. Another BMP rolls down the hill but is quickly destroyed. Unfortunately infantry it's carrying is able to disembark and now Bravo is caught in a brutal close quarters combat. More Soviet riflesquads are coming over the top of the hill on foot. The T-72s are also parked north of La Trinite, but don't have line of fire on my forces. With those T-80s on the way Bravo needs reinforcements badly. I sent one of the SEAL teams and the Bradleys to join Bravo. Rangers with the remaining SEALs will clear the woods north-west of La Trinite. I plan to use that forest as a cover for a flanking maneuver that my tanks will execute.
FlashpointResistance2014-08-1521-48-32-54.jpg~original


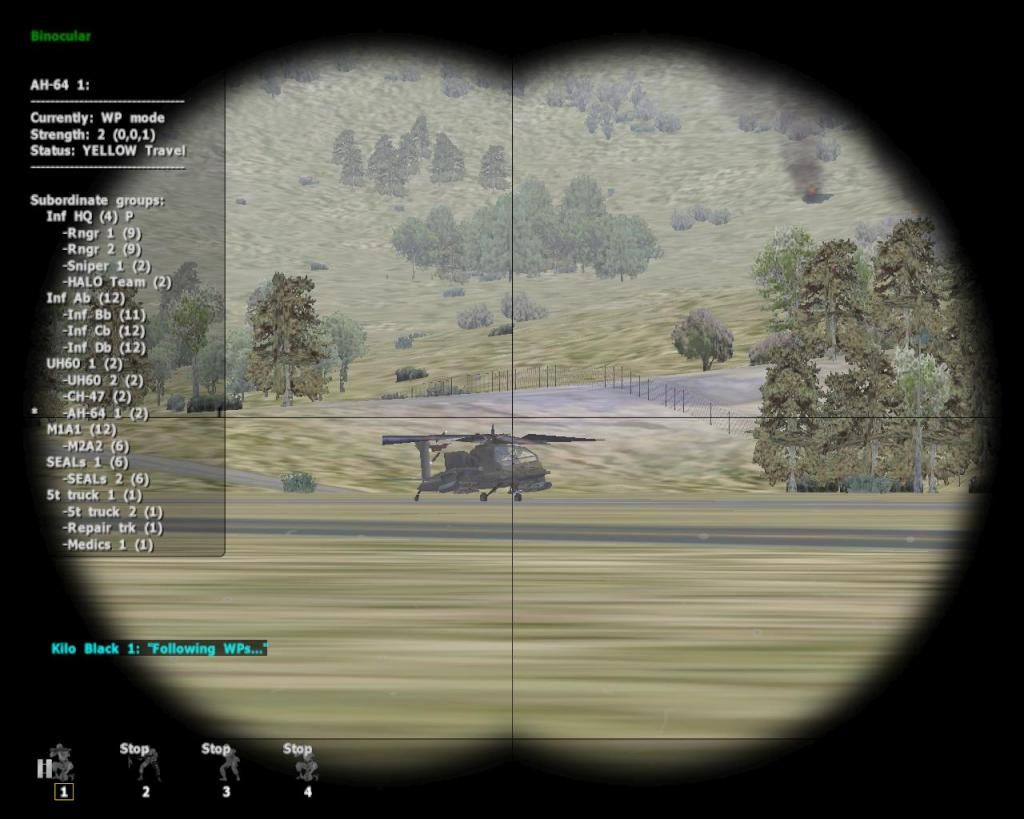
Because of the heavy Soviet armor presence I decide now would be a good time to get those Apaches in the air.
But wait a minute! Why is only one showing up on the list in the screenshot above? Didn't I have two?
.
.
.
Yep, that thing is completely fubared. One of the BMP's propably got a shot off which destroyed the chopper.
FlashpointResistance2014-08-1521-49-35-93.jpg~original


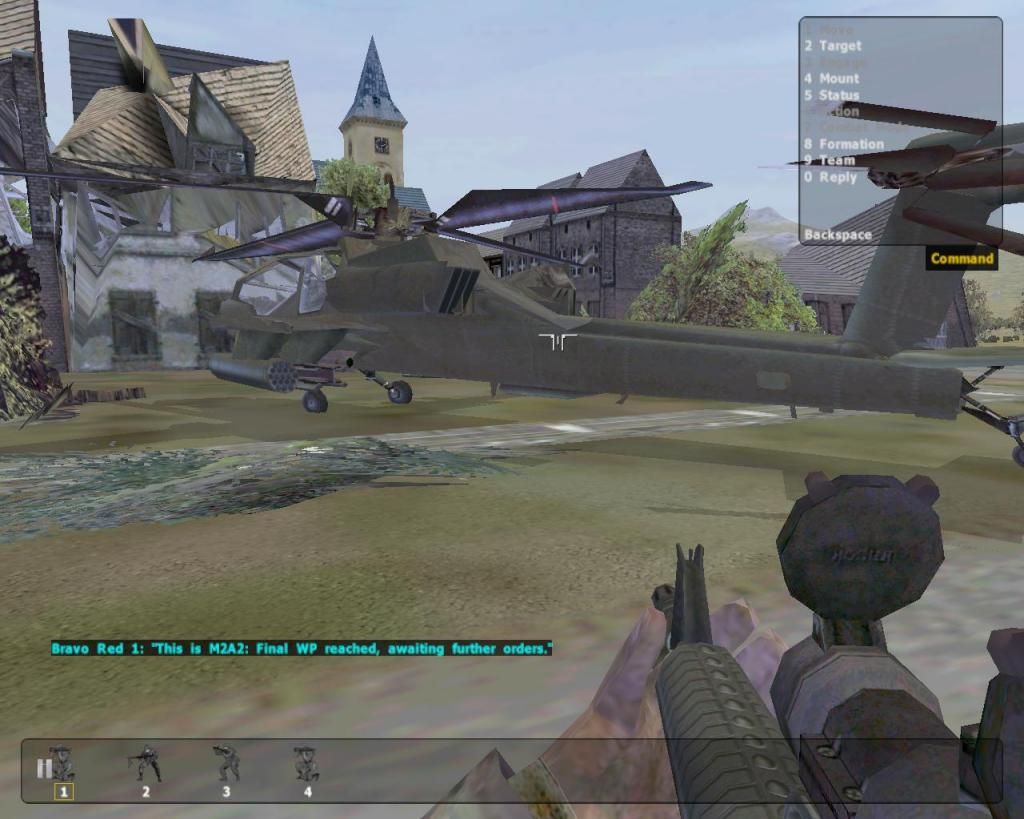
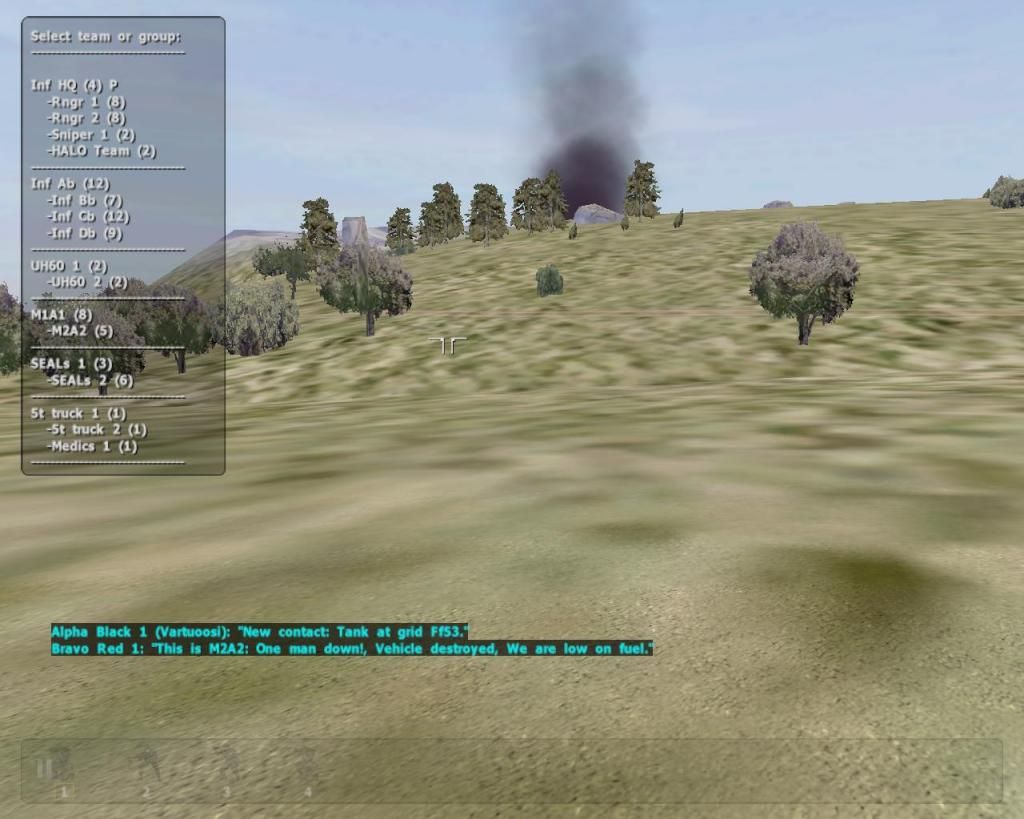
I try to get the another AH-64 to fly somewhere safe and wait for a good opportunity to strike but the pilot thinks he knows better then me. He charges the T-72s. I switch to the choppers remote view and witness something spectacular. Both spectacularly cool and spectacularly stupid.
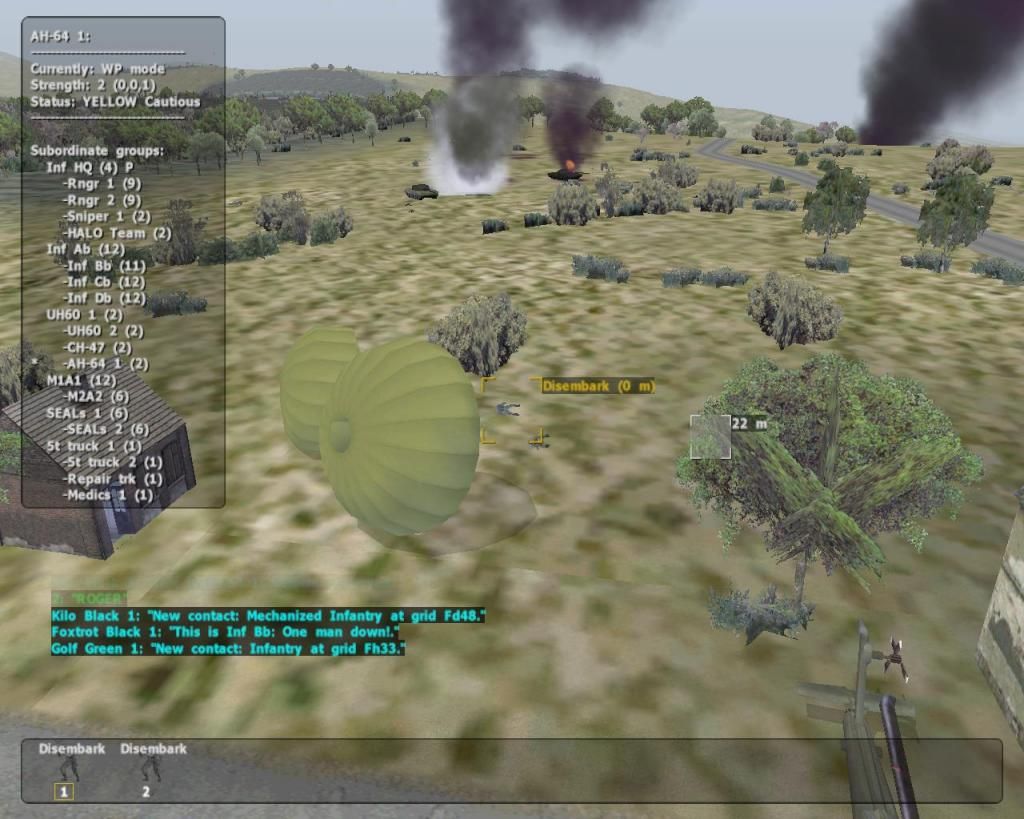
Cool part is the Apache doing a rocket run on the tanks just barely off the ground. Stupid part is the Apache smacking in to a building, the crew bailing out and dying when they smack on the ground.
Their parachutes sadly flapping in the wind.
It's at this point I go for my vodka stash.
FlashpointResistance2014-08-1521-52-29-07.jpg~original


That heavy Soviet arty joins the battle and wrecks my mortar platoon.
This is turning into a huge clusterfuck!
FlashpointResistance2014-08-1522-13-19-65.jpg~original


Thanks to the counter-battery radar I can get approximate location of that battery. I send the sniper team to pinpoint it.
FlashpointResistance2014-08-1522-18-57-69.jpg~original


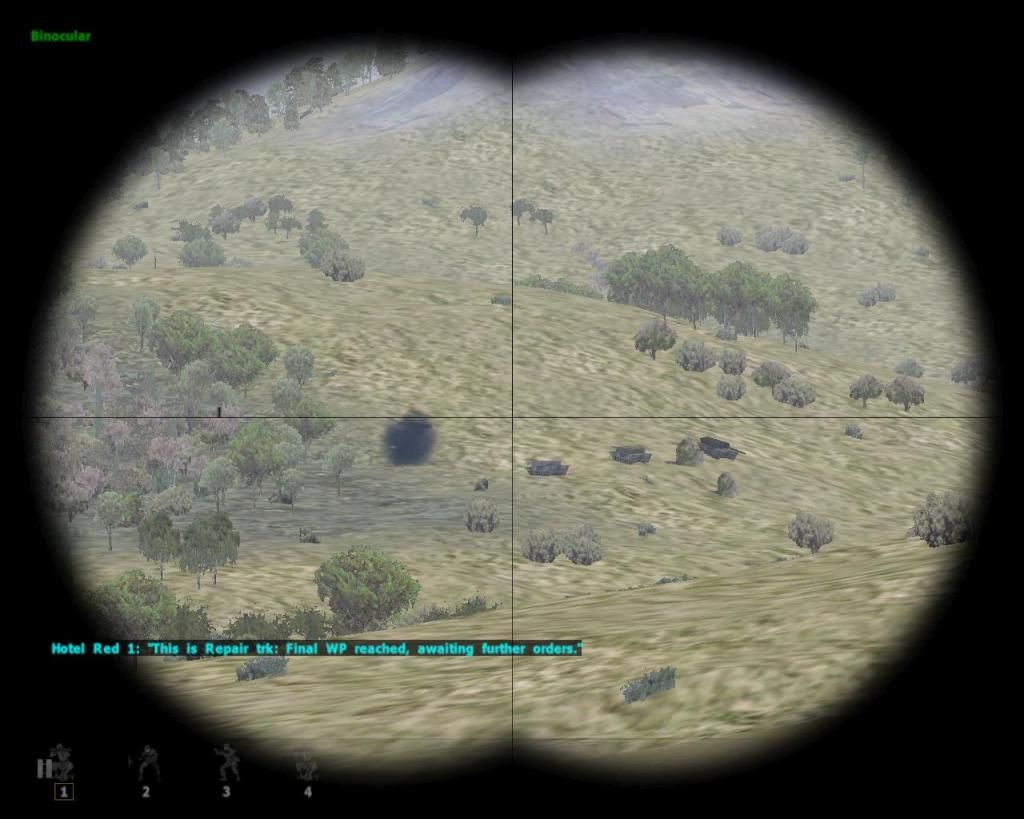
I sent the Abrams-tanks to flank the La Trinite. Before it's inglorious end, that Apache was able to dish out heavy damage to the T-72's which are combat ineffective now.
Even though my tanks hit from the flank and get shots off first, the T-80's put up a tough fight. 3 T-80's are destroyed and the remaining retreats after being badly damaged. I lose one M1A1, another tank loses it's commander and the third's turret is immobilized. I pull the tanks back so I can sent a repair truck to them.
FlashpointResistance2014-08-1522-05-37-38.jpg~original

(Continued.)
 
Last edited:
(Mission 4 cont.)

Things are getting quiet for now. The Soviet attack is broken and my snipers are still looking for that arty.
Time to rearm and regroup before I begin my advance.
FlashpointResistance2014-08-1522-19-39-64.jpg~original


After a while I notice the repair truck still hasn't met up with the tanks.
I take a look at the airfield and the truck is still there.
FlashpointResistance2014-08-1522-19-07-07.jpg~original


But that's weird, the truck's marker on the map is somewhere else.
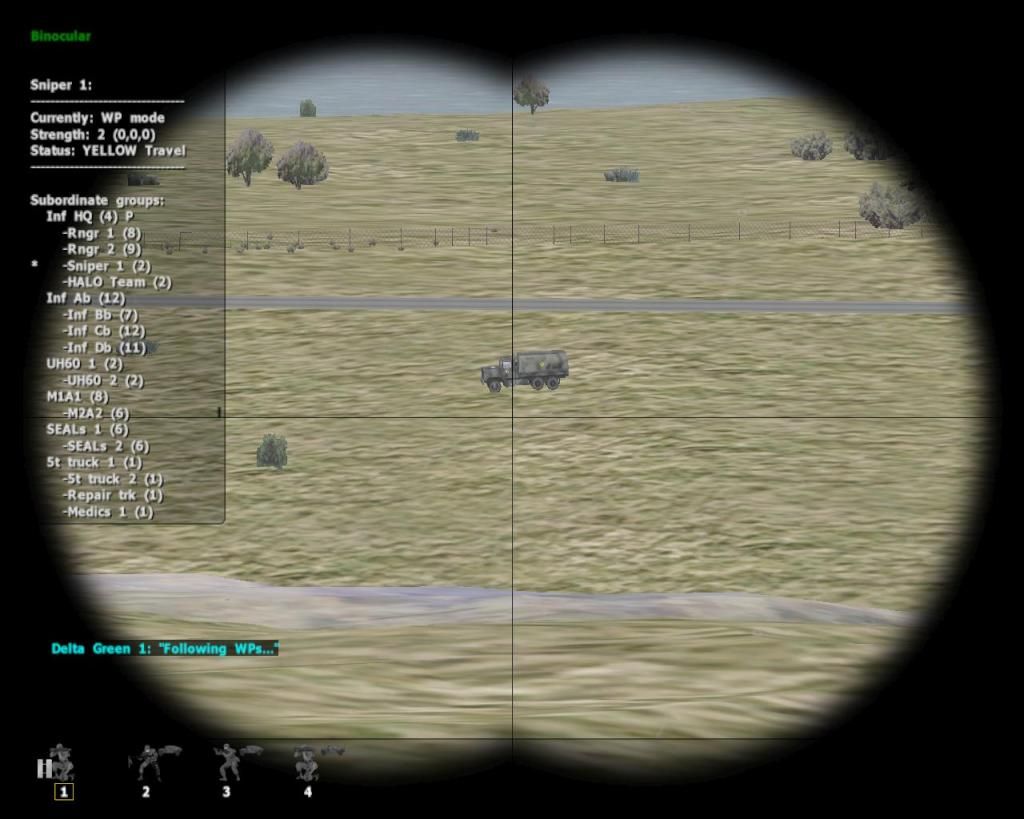
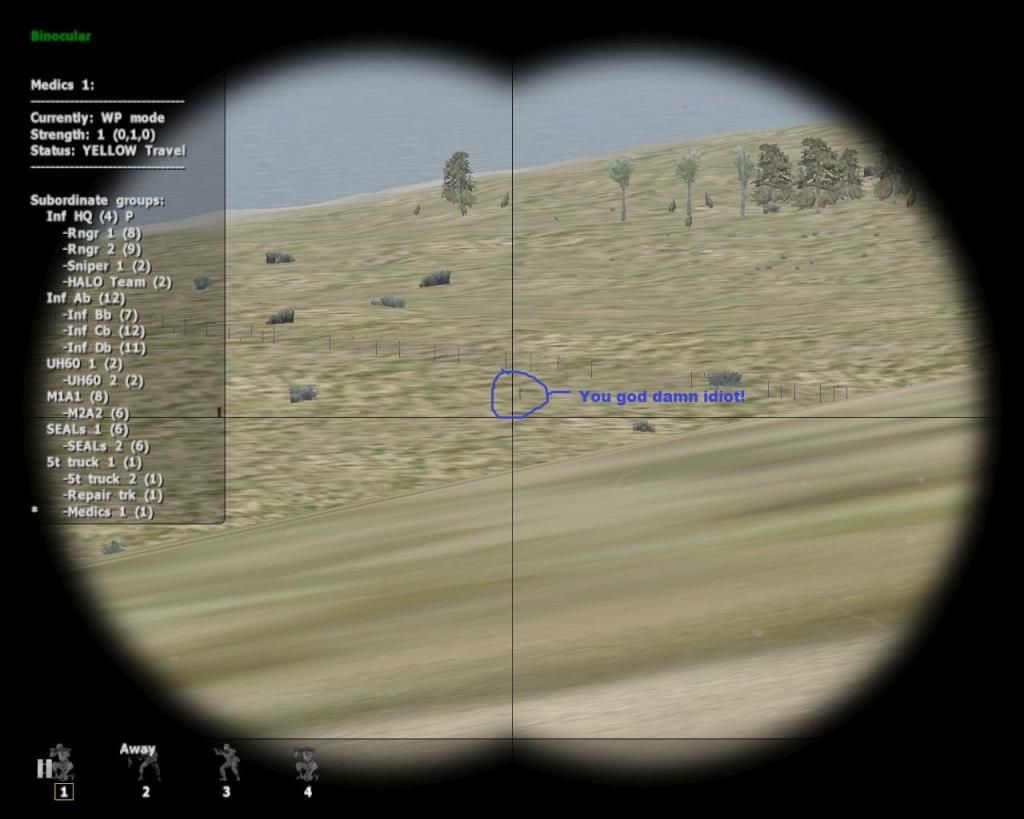
I scan around for a bit and find the trucks driver just running around on foot.
Well fine! Fuck that guy. I'll let him run wherever he wants. See if I care!
At this point I'm about a quarter way into the vodka bottle.
FlashpointResistance2014-08-1522-49-29-96.jpg~original


At this point that remaining damaged T-80 shows up and drives straight to the M1's.
Okay then...
At least I don't need to worry about heavy armor anymore.
FlashpointResistance2014-08-1522-21-18-47.jpg~original

FlashpointResistance2014-08-1522-21-47-42.jpg~original


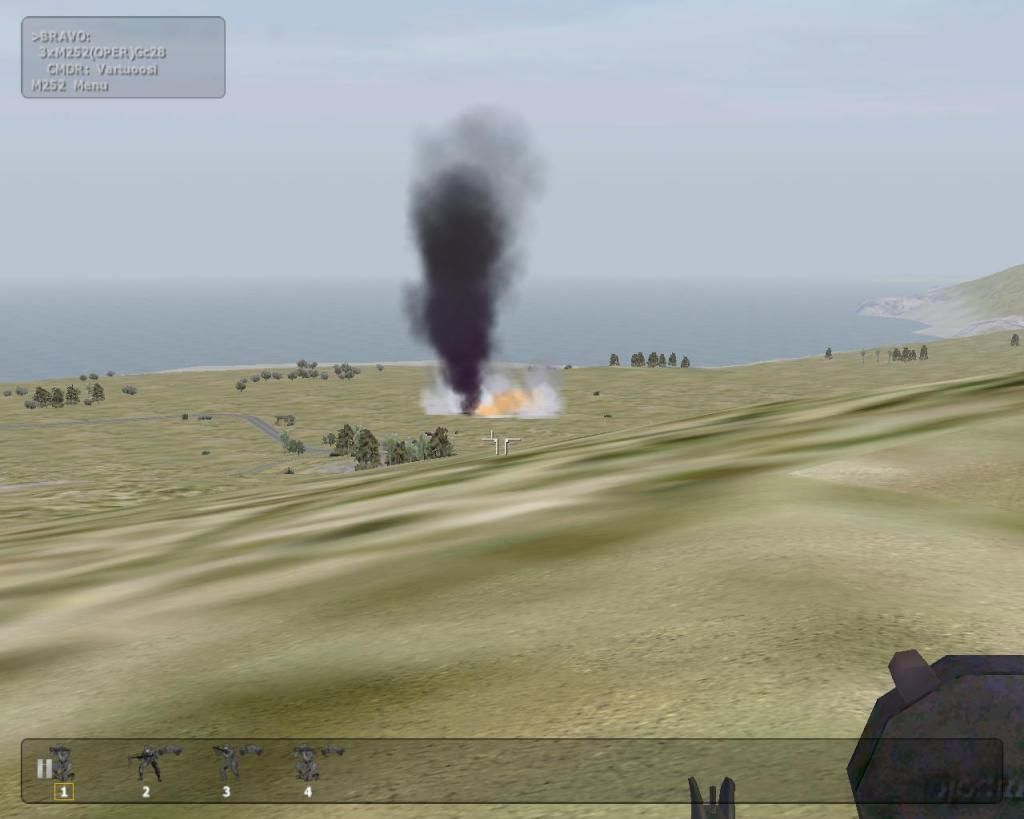
My snipers find the Soviet arty. I order a Tomahawk launched at them. I tried to take a video of it but Fraps crashed.
It's was super awesome guys, take my word for it.
FlashpointResistance2014-08-1522-40-54-90.jpg~original

fire_explosion_rock_7917.jpg~original


I order infantry units to move up a bit and get ready to roll down south.
FlashpointResistance2014-08-1522-55-47-51.jpg~original


Since I can't get the repair truck to the M1's, I order the tanks to the truck. Good thing all of them are still mobile.
I also go there and it turns out the trucks tires are busted. That's why the driver had bailed and was travelling on foot. Now I feel bad because the truck's driver didn't make it.
FlashpointResistance2014-08-1523-04-35-39.jpg~original


Now that my tanks are repaired, I order everyone to advance on a wide front.
FlashpointResistance2014-08-1523-09-43-42.jpg~original


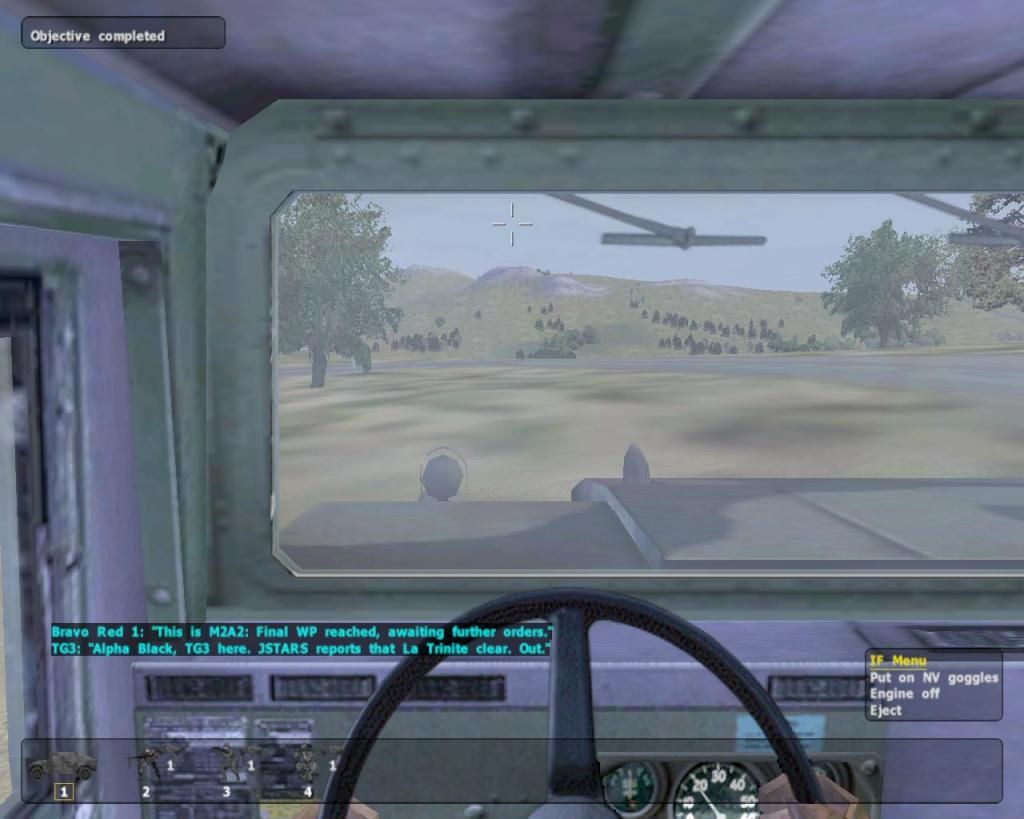
No defenders were left in La Trinite. I jump into a Humvee and drive to town.
There I bear witness to a macabre monument to human ingenuity.
Confound this command, it drives me to drink!
FlashpointResistance2014-08-1523-10-18-19.jpg~original

FlashpointResistance2014-08-1523-22-57-72.jpg~original


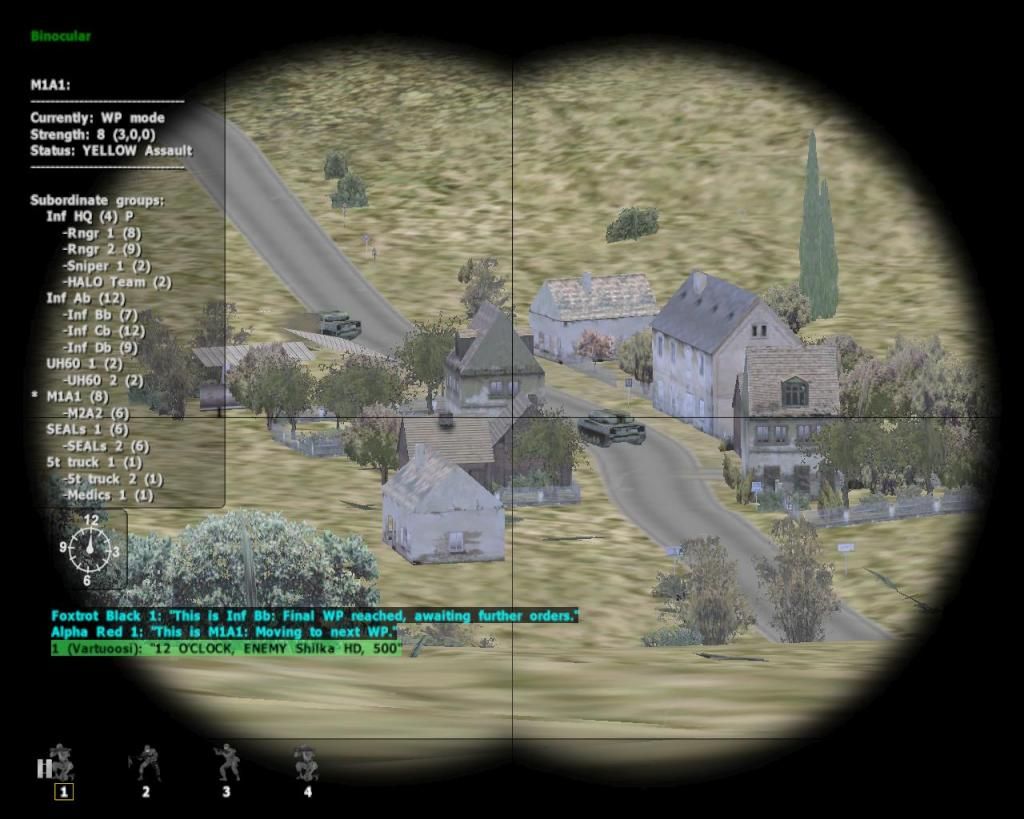
The Soviets send two Shilkas to meet my advance. Bad call and I can prove it with MATH. 4xM1A1+2xM2A2>2xShilka.
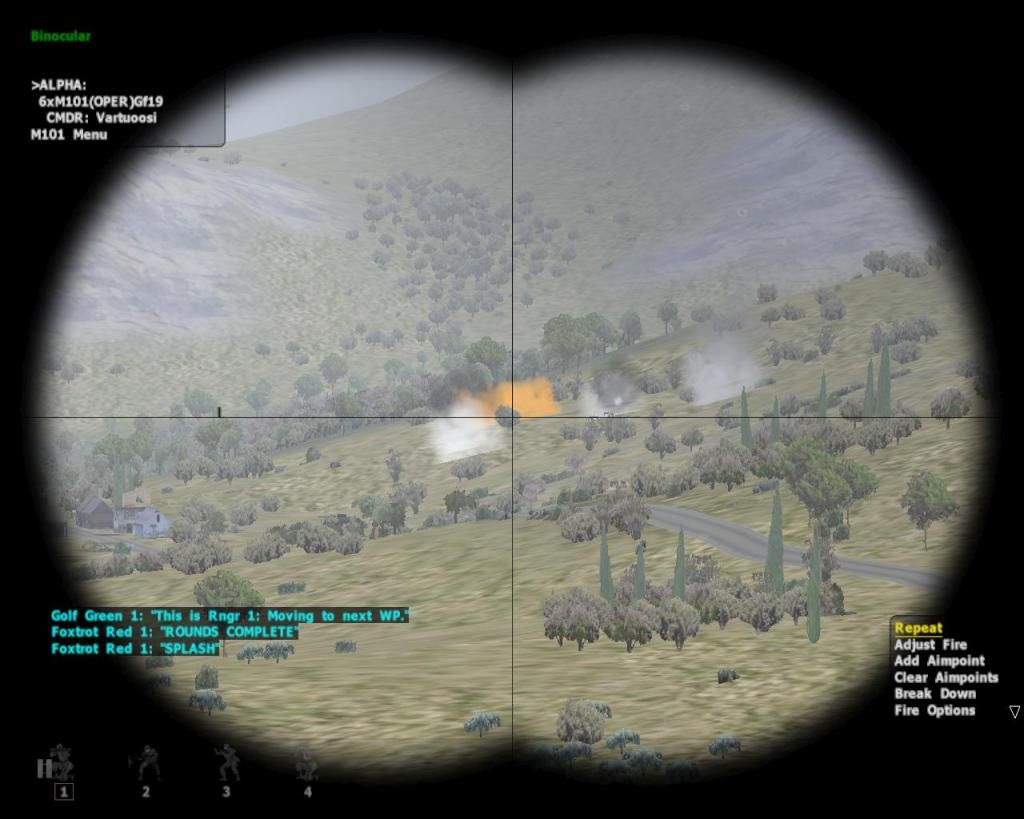
The M101 battery also bombards Houdan and it's surrounding areas.
FlashpointResistance2014-08-1523-25-29-17.jpg~original

FlashpointResistance2014-08-1523-29-17-04.jpg~original

FlashpointResistance2014-08-1523-40-03-57.jpg~original


Dourdan falls easily. No way Houdan can put up a fight. Right?
FlashpointResistance2014-08-1523-41-57-98.jpg~original


Next up I suffer a ton of casualties. I hear a light cannon fire a single time and immediately after that a missile launch. I see the message that one of the Bradley's is down. I check my troops status and both Bradleys and Alpha squad are unresponsive. They are all KIA.
Everything happens in just a couple of seconds and I have no idea what went down. Propably because at this point I've downed half of that vodka bottle.
Going through the battle again after I had sobered up, here is my hypothesis what happened;
That light cannon I heard is a BMP-1 firing at one of the Bradley's. The other Bradley responds with a TOW and next the first Bradley brews up taking the second Bradley and Alpha team, which are clustered around eachother, with it.
Vehicle explosions in OFP are far more powerful and devastating than in Arma 3.
FlashpointResistance2014-08-1523-44-26-94.jpg~original


I quickly sent the Abrams' and SEAL's to clear Houdan.
I also have my personal contact with the enemy at this point. A lone Soviet officer takes some shots at me and tries to run away but I gun him down.
FlashpointResistance2014-08-1523-53-14-43.jpg~original

FlashpointResistance2014-08-1523-45-31-44.jpg~original

(Continued again)
 
Last edited:
(Mission 4 fin.)
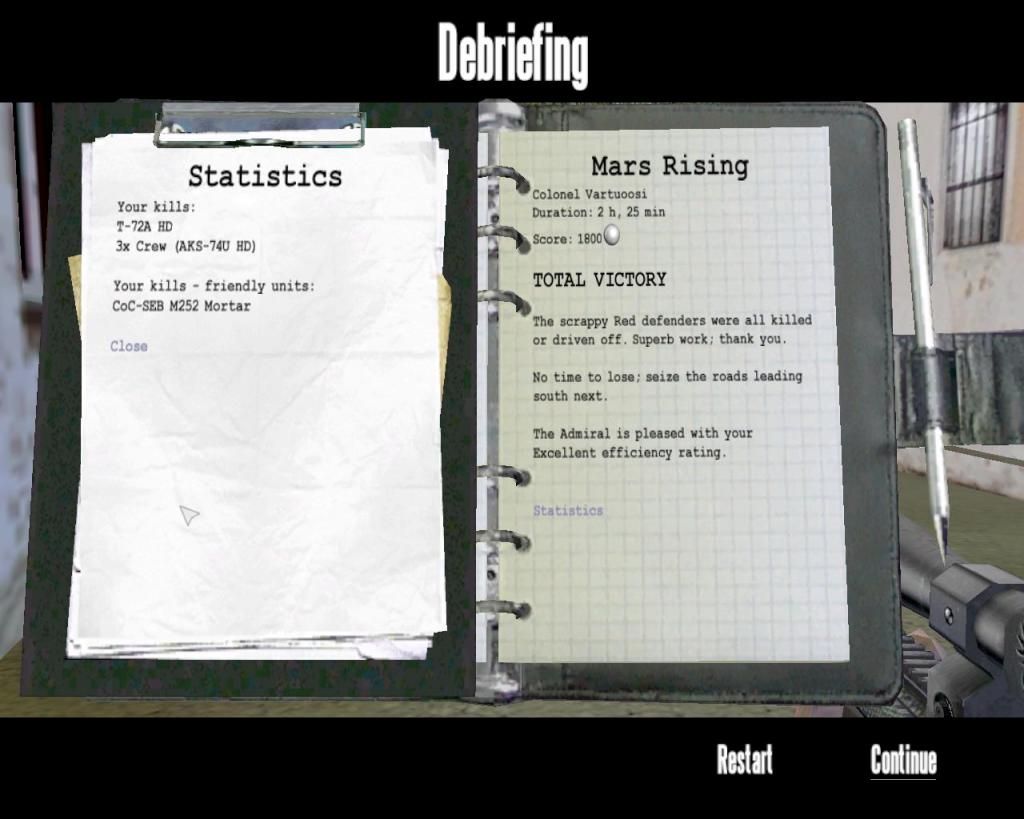
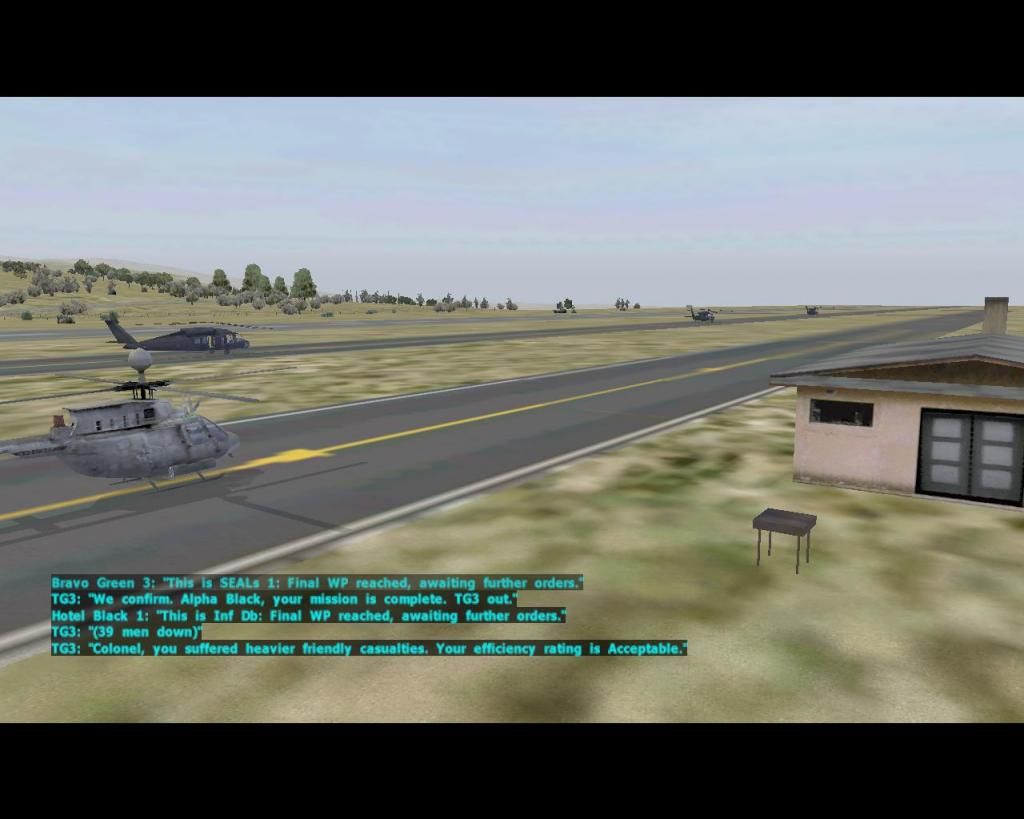
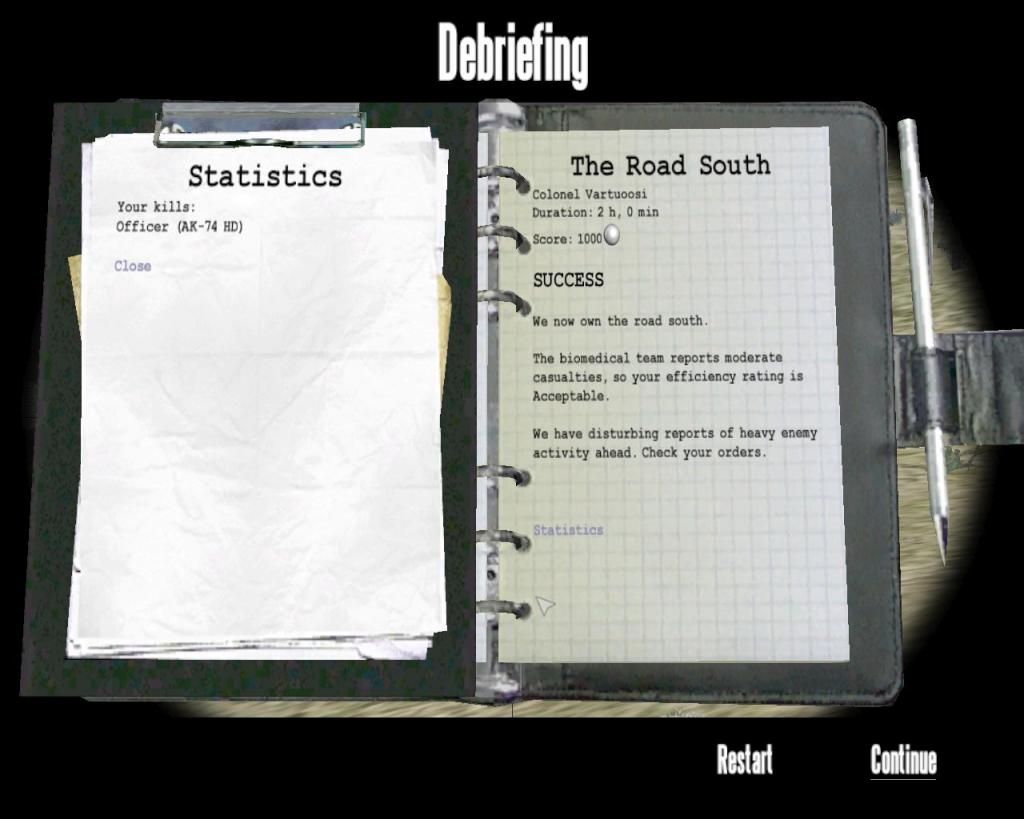
39 KIA. That's the highest casualties so far. This turned even more brutal then the airfields defence.
I will say this; I will not be held responsible for the actions of mister Likes-to-hug-buildings-a-bit-too-much.
FlashpointResistance2014-08-1523-58-01-30.jpg~original

FlashpointResistance2014-08-1523-58-57-86.jpg~original


Next up we steal the Soviet's ports so that they can't run away.
 
Yeah, seeing that Apache crew do some remodeling to the village with their own aircraft would have driven me to the bottle too. Target fixation kills. Great write up!
 
Back
Top Bottom