Welcome to The Few Good Men

Thanks for visiting our club and having a look around, there is a lot to see. Why not consider becoming a member?

WIPs

W

Wilhelm Mohnke

Guest
Hi gents, here are my few wips, the pictures show as they are right now untill I settle down in the new house. hope you guys like them.

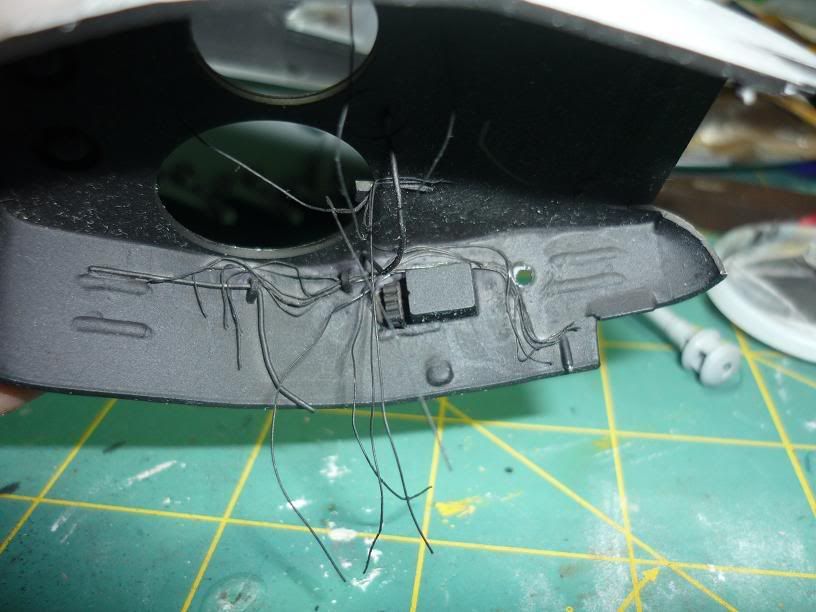
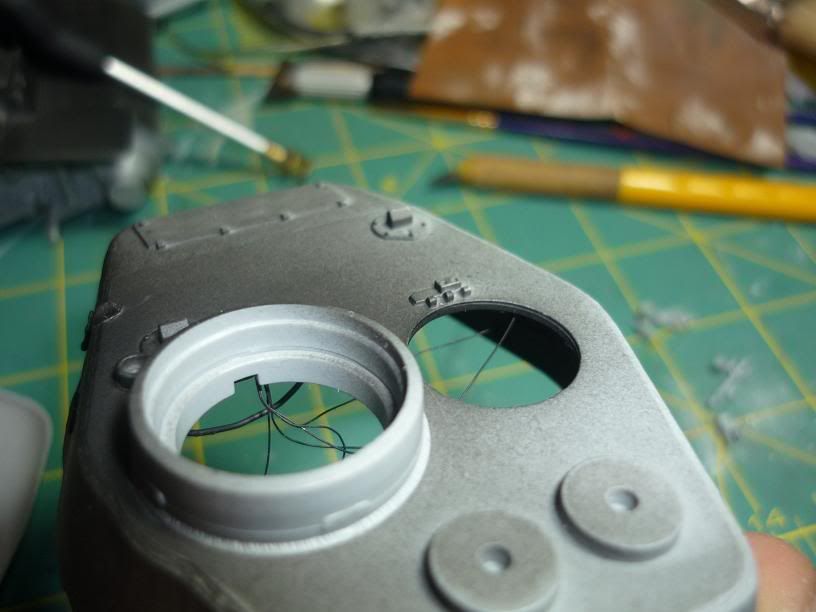
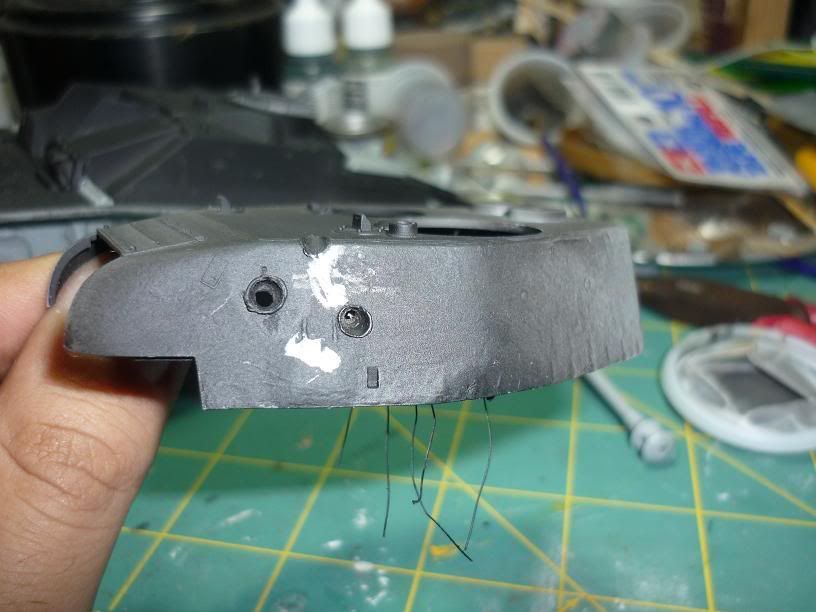
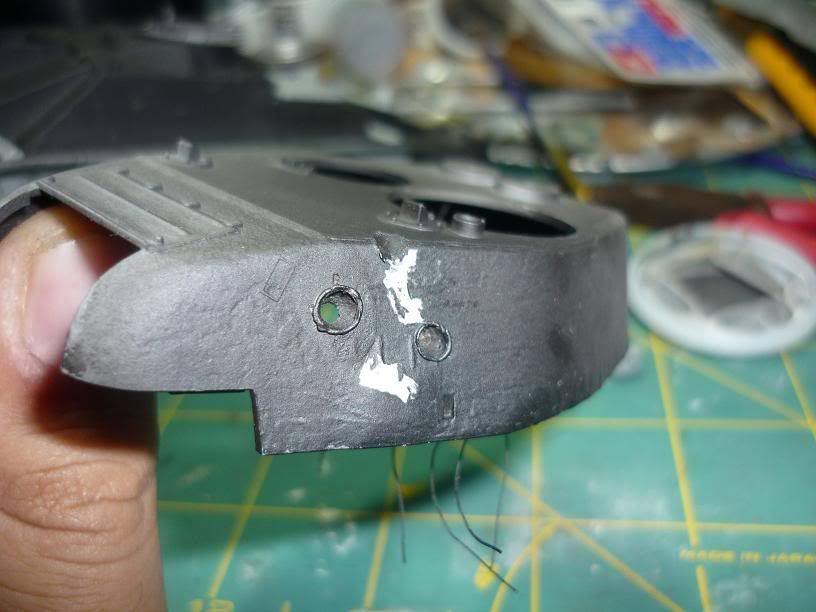
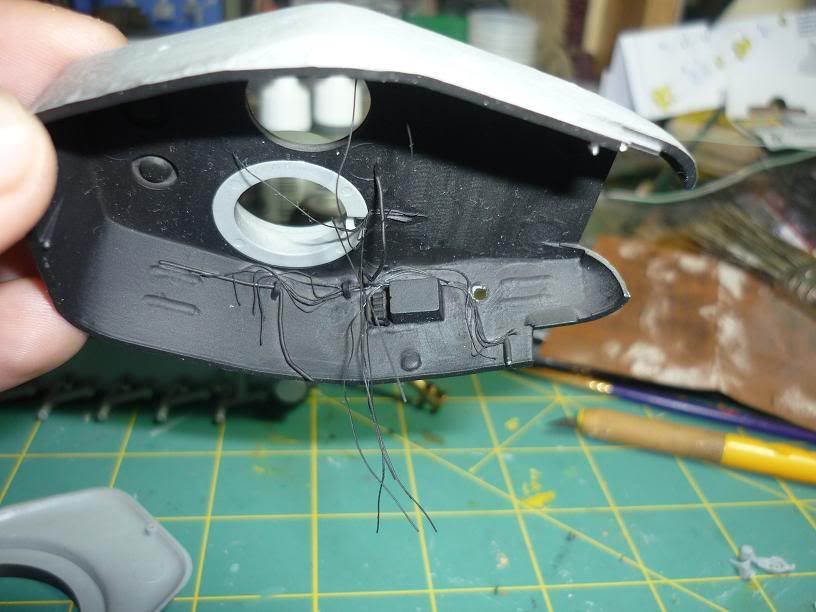
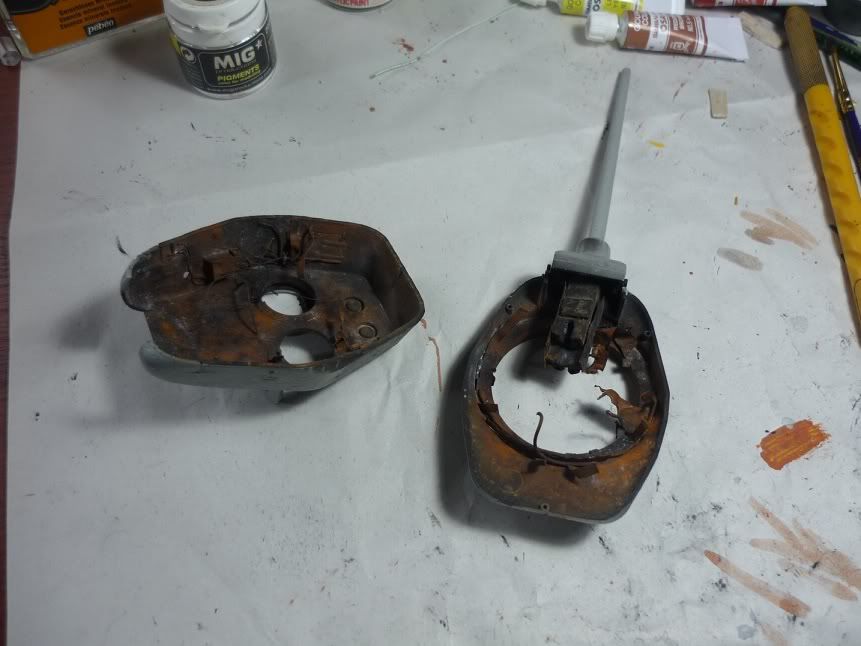
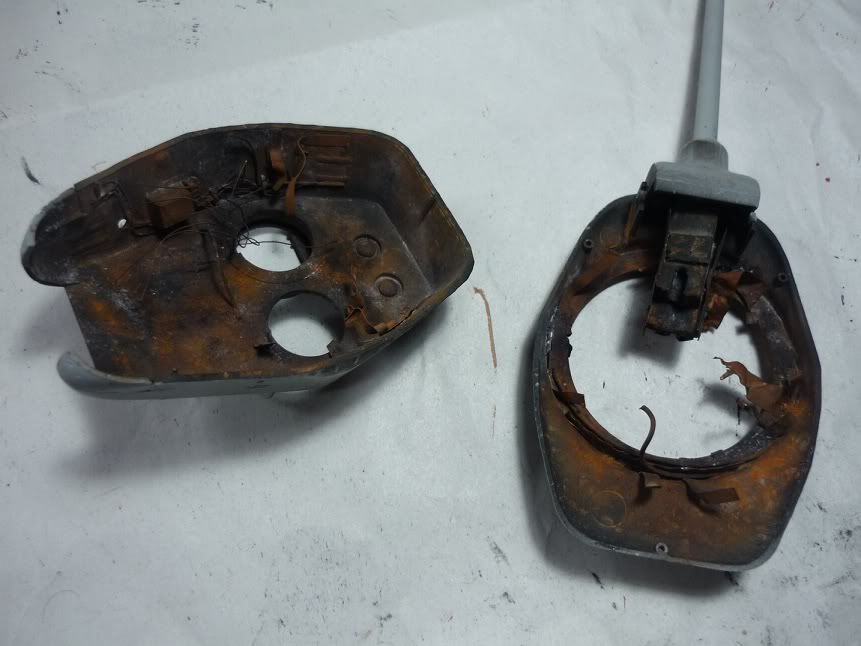
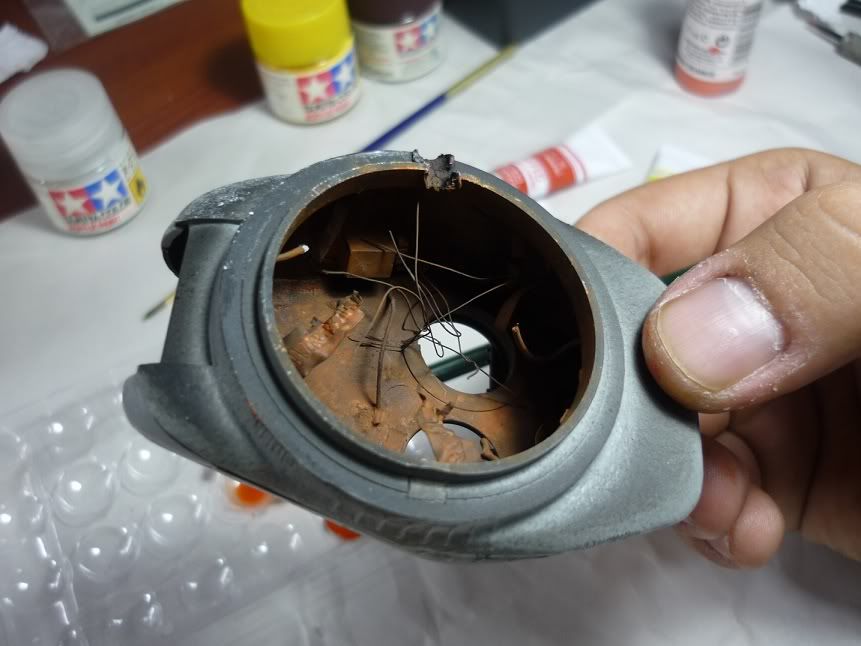
1:35 scale, T34/85 toasted turret, will be part of a vignette with a victorious panzernacker soldat.

t4-1.jpg

t5-1.jpg

t6-1.jpg

t1-1.jpg

t2-1.jpg

t3-1.jpg

tt1.jpg

tt3.jpg

tt4.jpg

tt2.jpg


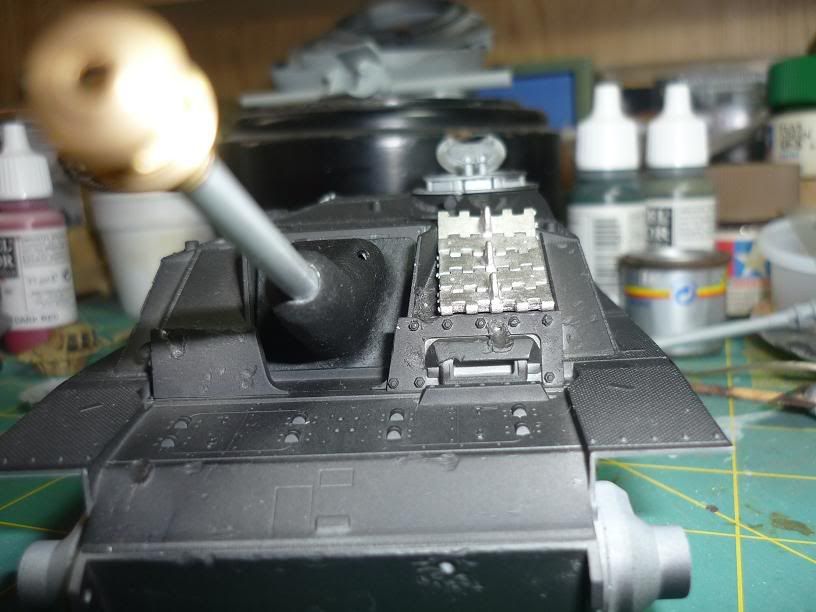
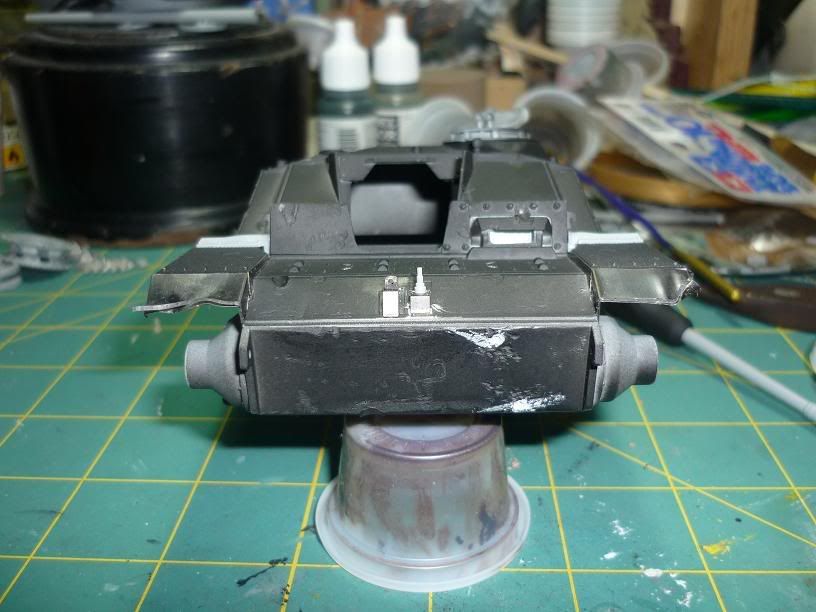
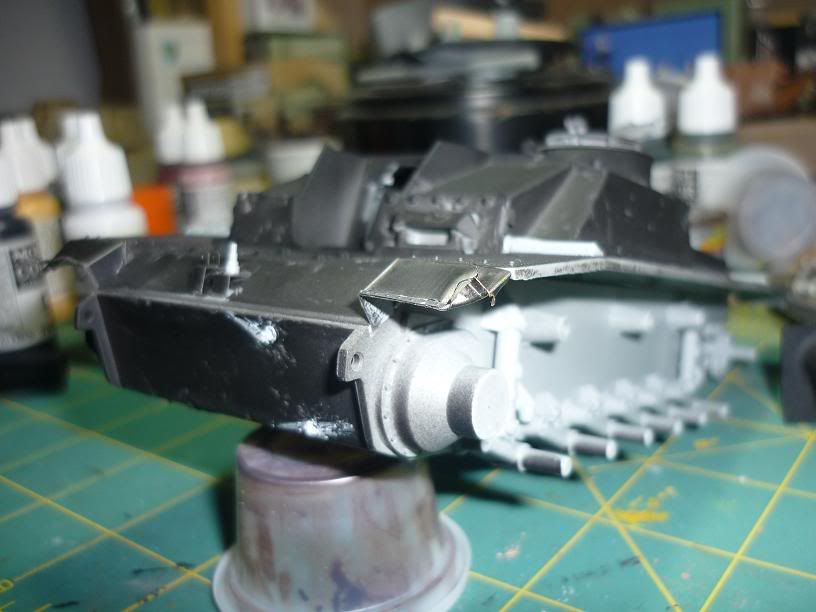
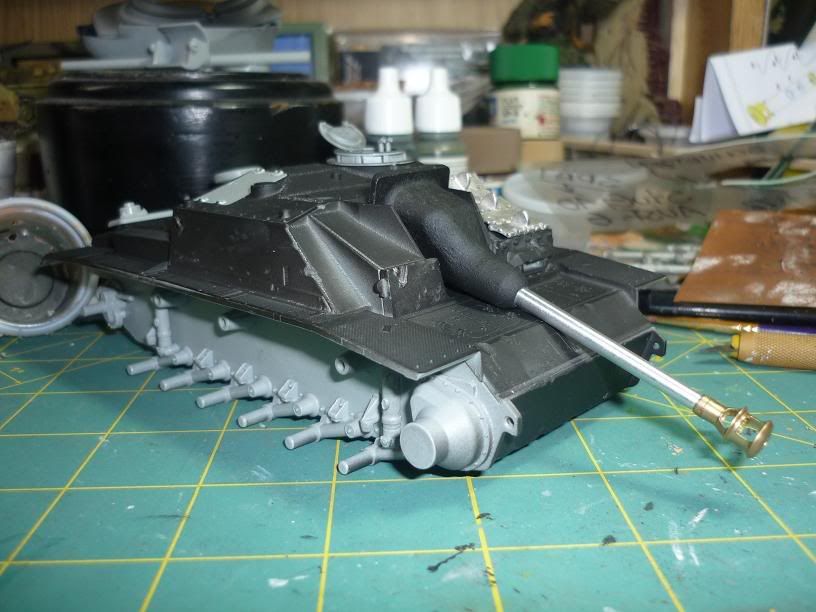
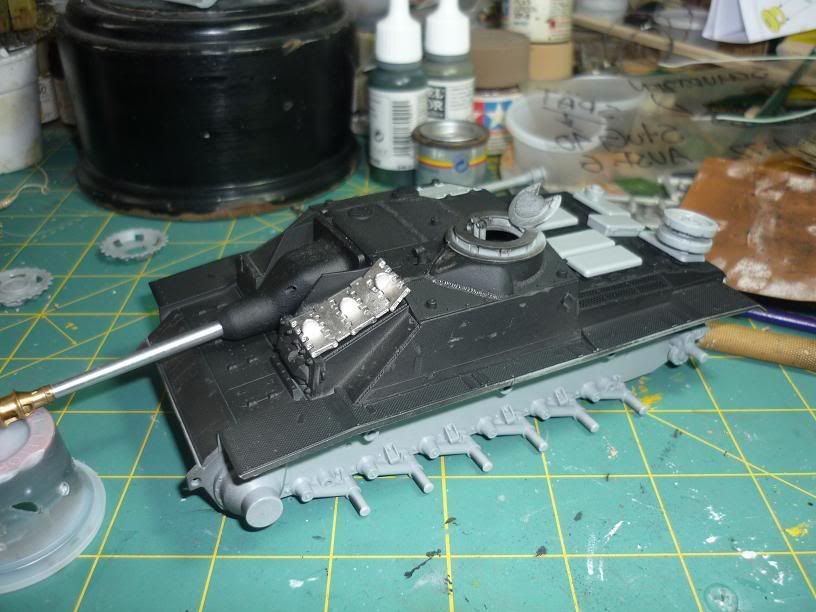
1:35 scale, Stug III G late, will try to replicate the "veteran look"

s4.jpg

s5.jpg

s6.jpg

s1.jpg

s3.jpg


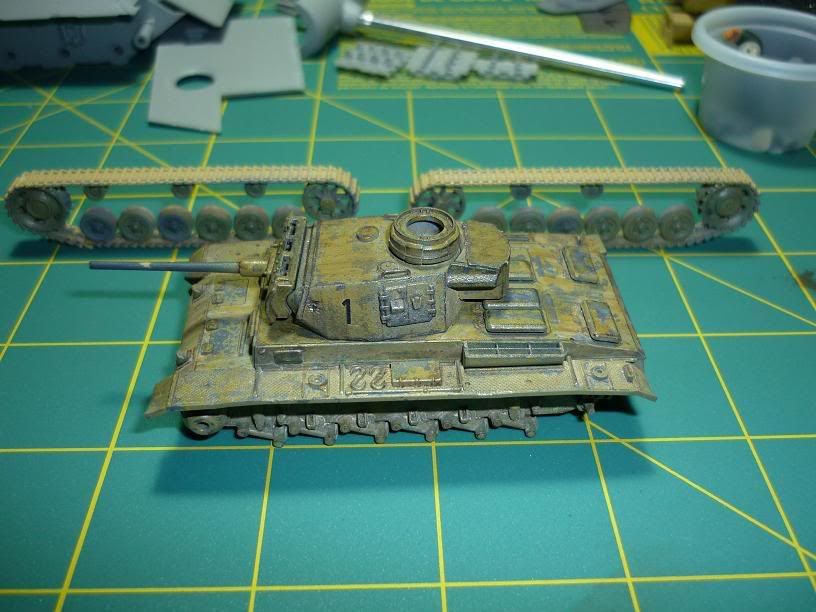
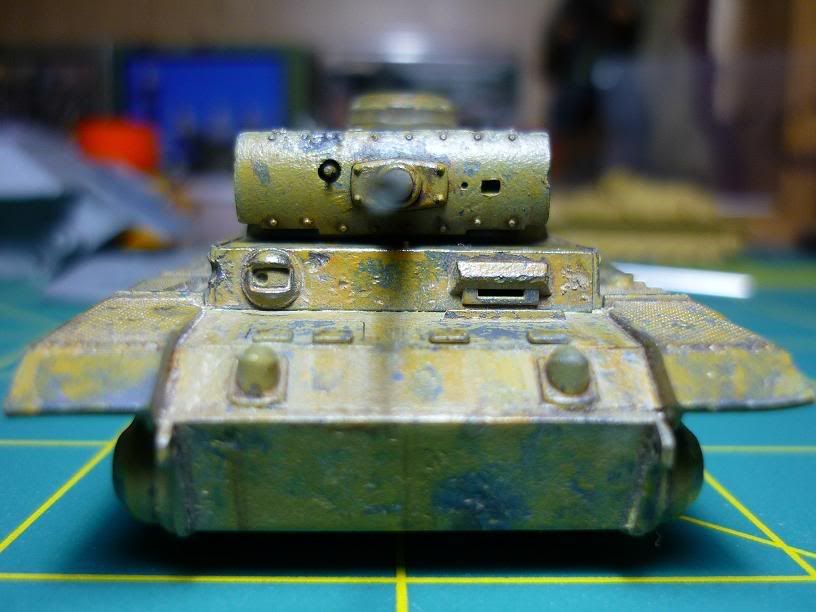
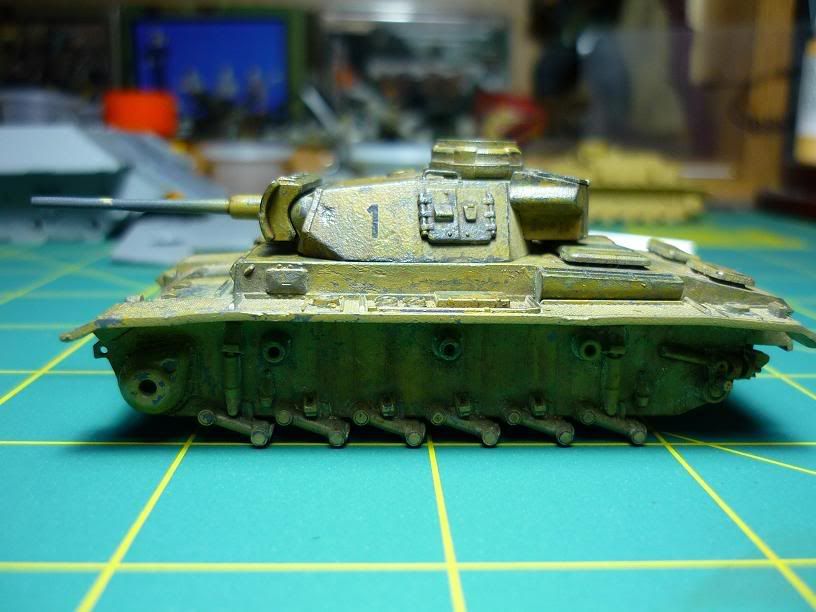
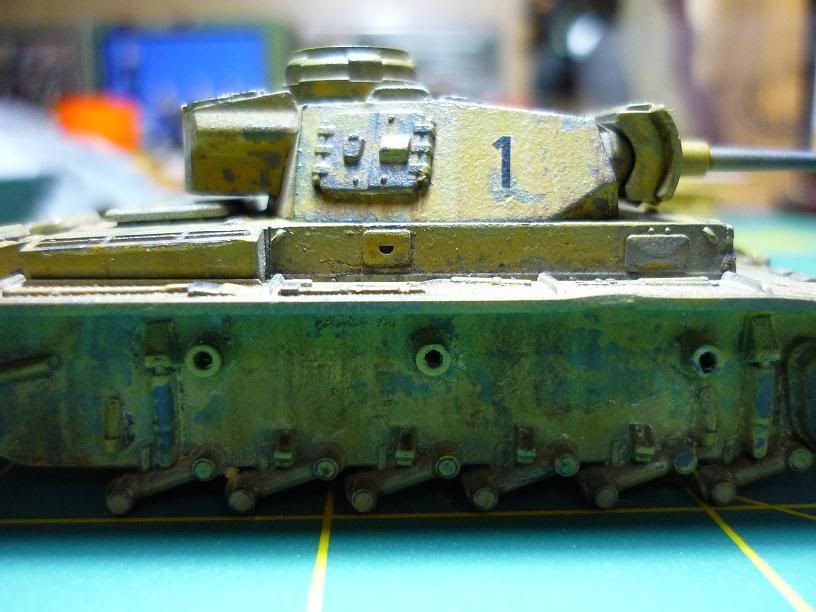
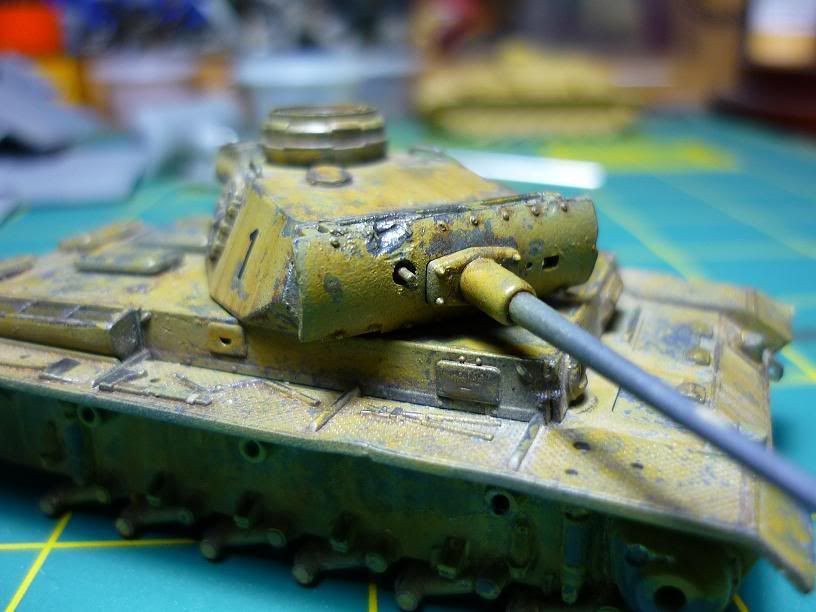
1:72 scale, Pz III DAK

pz3-7.jpg

pz3-6.jpg

pz3-5.jpg

pz3-4.jpg

pz3-3.jpg

pz3-2.jpg
 
superb stuff. That Braile scale PZ looks great, looks "heavy" ..nice job! How did you get that real looking hole in the turret of the T-34?:spy:
 
Great work once again, how did you get the rough effect on the PIII to give it the metallic look? It looks great.
 
superb stuff. That Braile scale PZ looks great, looks "heavy" ..nice job! How did you get that real looking hole in the turret of the T-34?:spy:

Glad you liked it, for the two holes I used the tip of a soldering tool, nothing fancy just wait till its hot and touch were you want the impact, plz practice in some spare plastic parts first!
 
Great work once again, how did you get the rough effect on the PIII to give it the metallic look? It looks great.

The rough texture is in the plastic itself, I used a dremel with the finest tip available and textured the whole panzer, then dilute (sp?) some tamiya putty and cover the areas were the dremel roughed up, let it dry and sand it untill the desired effect is achieved, the most important thing if not to overdo the dremel work and the putty wash.
 
The rough texture is in the plastic itself, I used a dremel with the finest tip available and textured the whole panzer, then dilute (sp?) some tamiya putty and cover the areas were the dremel roughed up, let it dry and sand it untill the desired effect is achieved, the most important thing if not to overdo the dremel work and the putty wash.

Excellent tip. Definitely something I will try.
 
The rough texture is in the plastic itself, I used a dremel with the finest tip available and textured the whole panzer, then dilute (sp?) some tamiya putty and cover the areas were the dremel roughed up, let it dry and sand it untill the desired effect is achieved, the most important thing if not to overdo the dremel work and the putty wash.

Thanks, a great tip indeed. It really brings the model to life. As someone new to modelling, it's great to get an insight into how different effects are achieved. Thanks again.
 
Love those armour penetrations......look very much like the real-life photos from a field test on a German tank of some sort being shot at by various Soviet guns to see what the result was.
 
What are the threads/wires for in the T34/85 model ?

What brand is the Panzer III DAK model ? It does look VERY good !
 
Great stuff! I esepcially like yoiur rust - what colors did you use to mix it? I'll be in need of a good rust color soon but haven't yet found a good mixture... :sad:
 
Love those armour penetrations......look very much like the real-life photos from a field test on a German tank of some sort being shot at by various Soviet guns to see what the result was.

glad you like them!, yeah, reference is the most important thing in order to achieve realistic damaged effects, I have more than 8500 pictures gathered from the web! especially destroyed armor.
 
Great stuff! I esepcially like yoiur rust - what colors did you use to mix it? I'll be in need of a good rust color soon but haven't yet found a good mixture... :sad:

theres no correct color or accurate color mix in order to represent rust, in this case I was going for the rusted tones on burnt metal, you have to consider that rust helps you represent a time frame on your model, so I want a 2 week blown up/burnt turret in a rainny weather...I always start with black as a base and start building the colors to a lighter scheme, I used a wide variety of pastels and pigments in thin layers. The final result is a mix/ blending of colors, theres no solid color labeled rust, go for yellow, red, orange, black, dark brown, burnt sienna, blue in pigments/pastels/oils.
 
What are the threads/wires for in the T34/85 model ?

What brand is the Panzer III DAK model ? It does look VERY good !


The wires are in different sizes that goes from guitar strings, braided cable, telephone cable, speakers strings, etc, nothing fancy!

Thanks bro!, the PzIII is from Revell, 1/72
 
Are you serious??? That turret looks friggen GREAT !!! Where is the finished model. E-mail me a finished pic please.

Rommel- out
 
Back
Top