R
razorboy
Guest
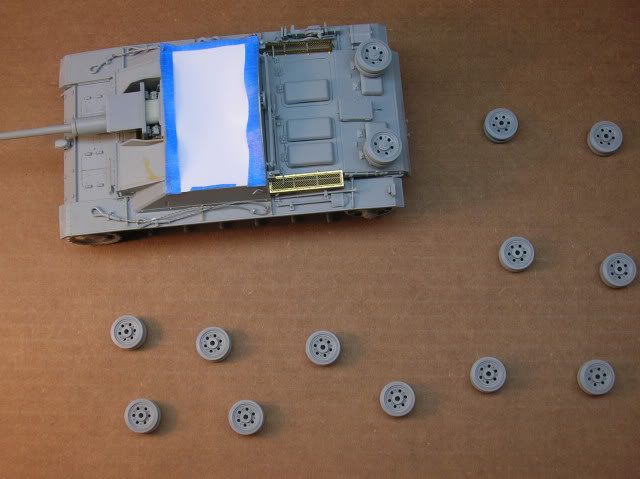
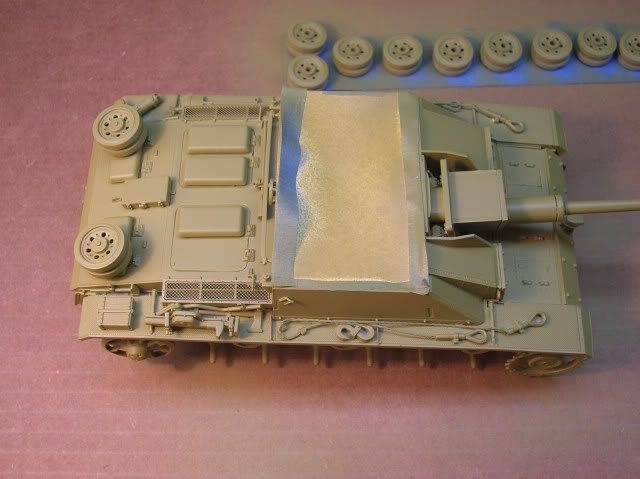
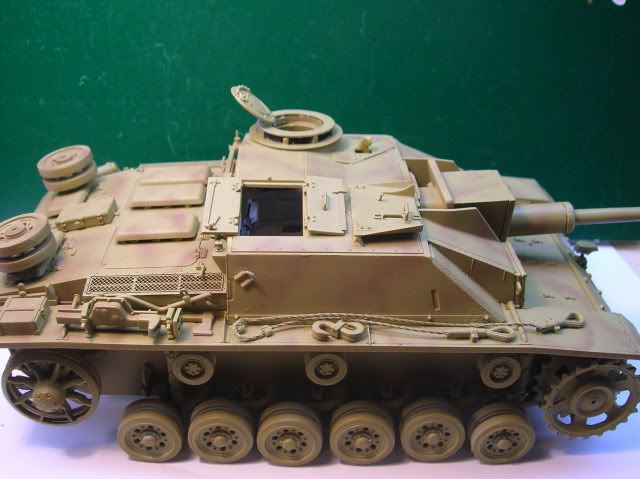
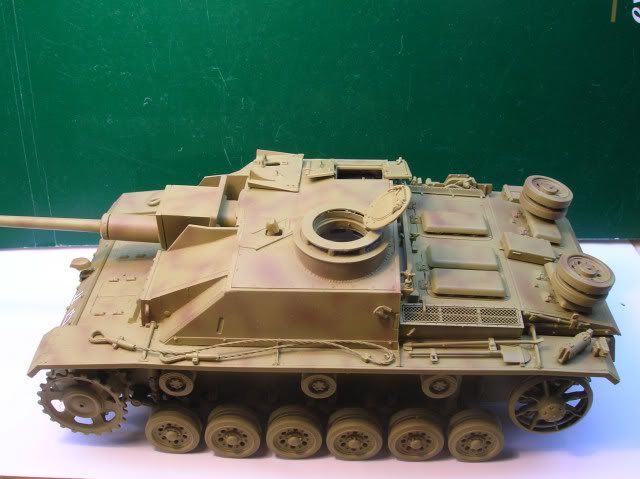
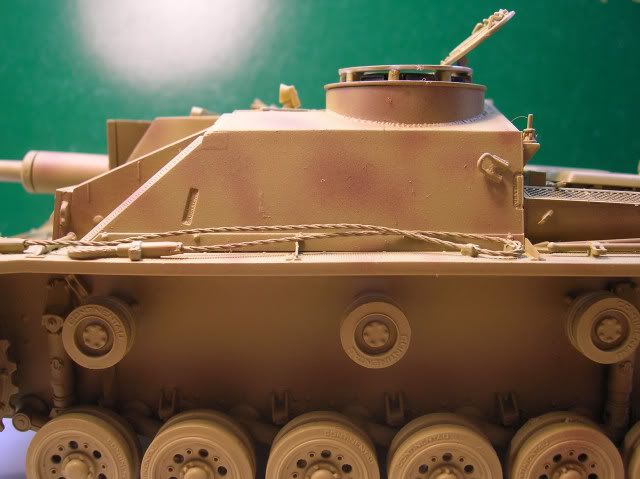
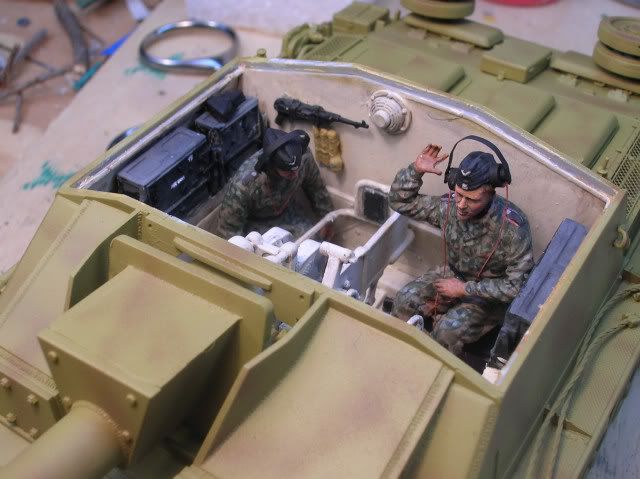
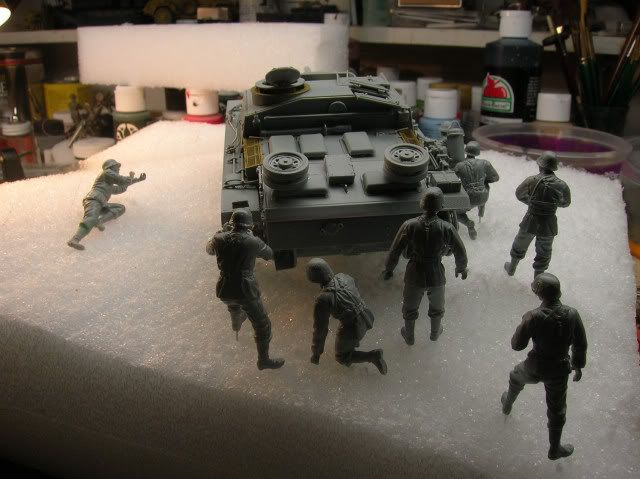
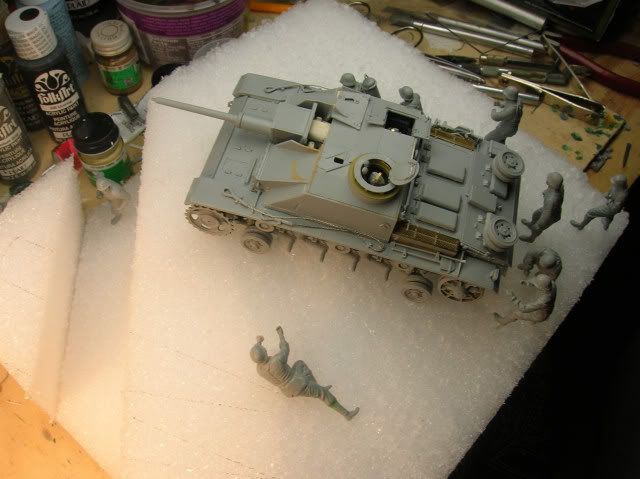
A while back I began a diorama project that I may actually finish! Set during the opening days of the Kursk Offensive it includes a Dragon 1/35 Sturmgeschutz III Ausf.G "Early" along with two crewmen (modified Dragon figs) and four or five Grenadiers (also from Dragon). The Stug. is supporting the clearing of a Soviet communications trench and the commander is surveying the next set of intrenchments in the distance.
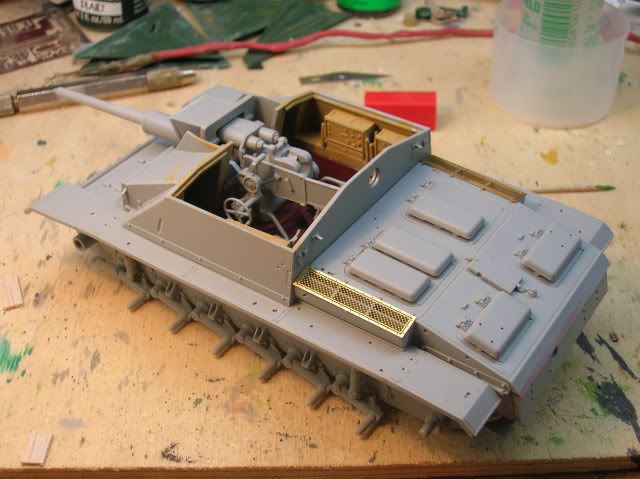
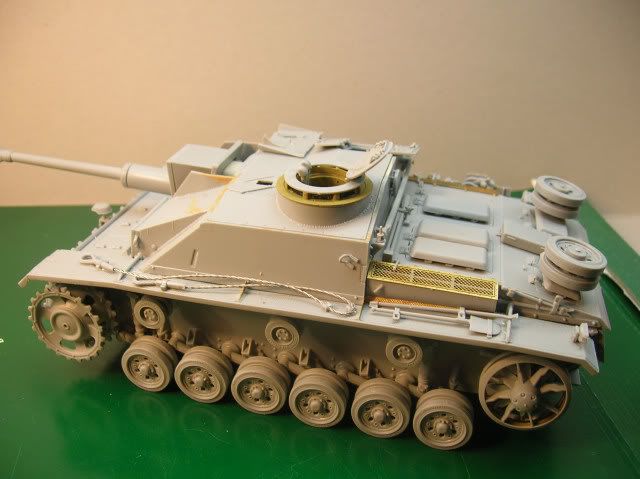
The tank:


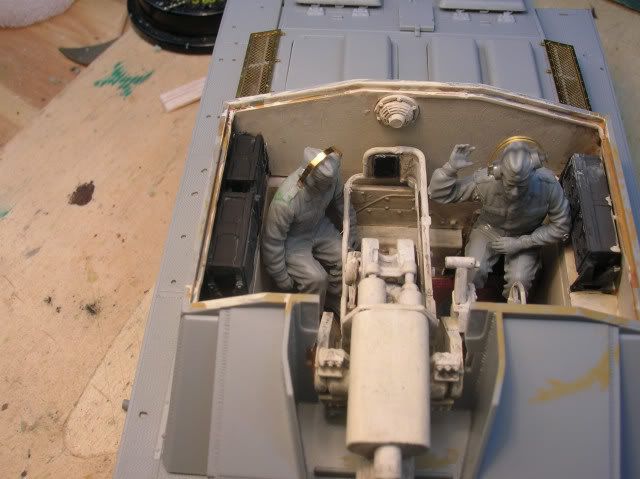
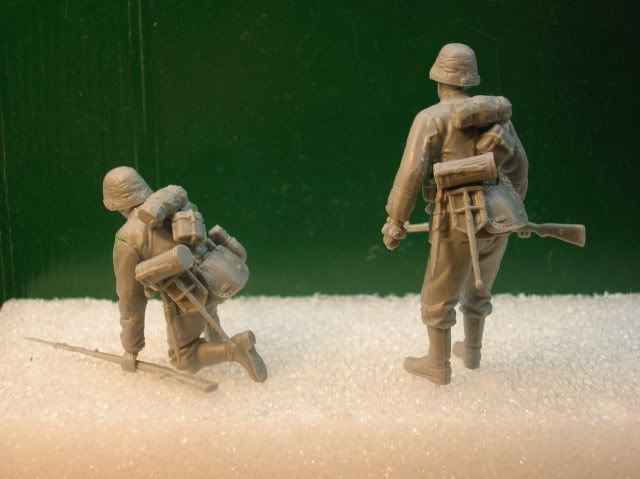
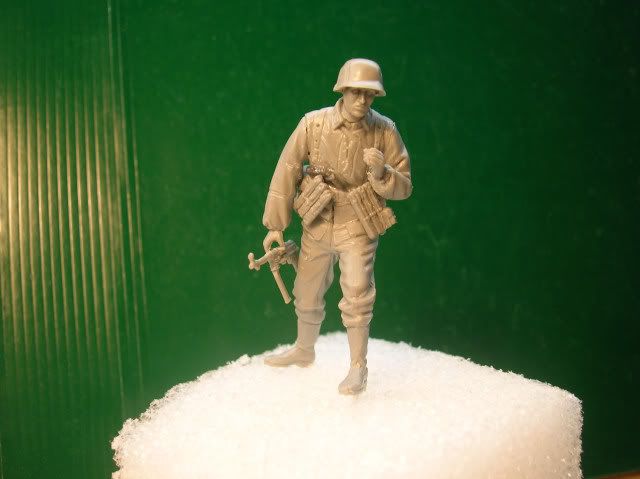
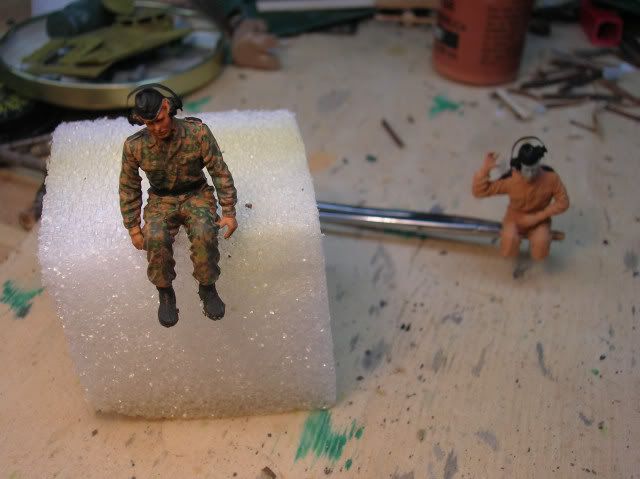
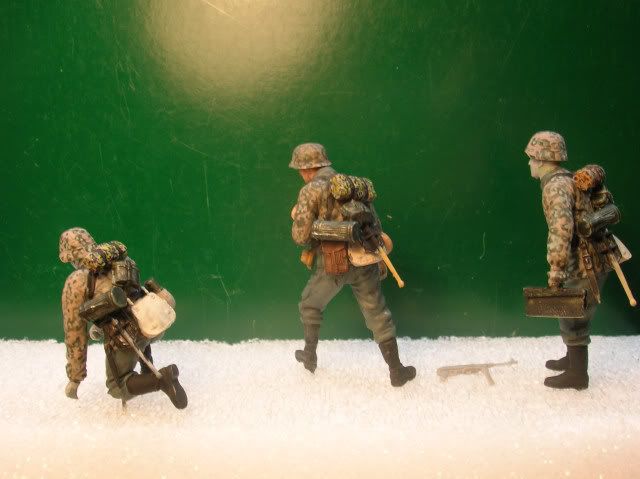
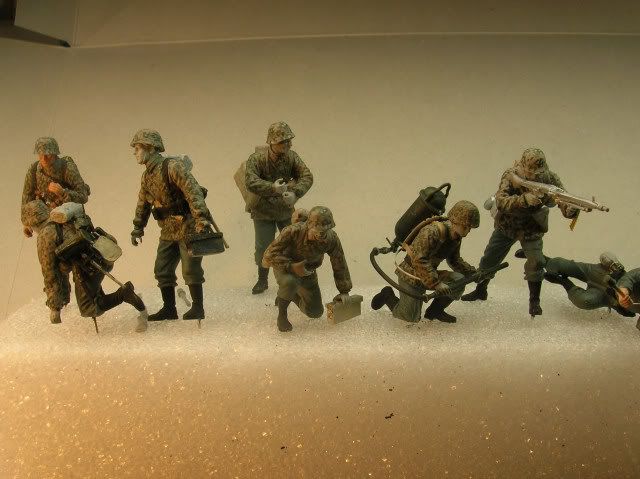
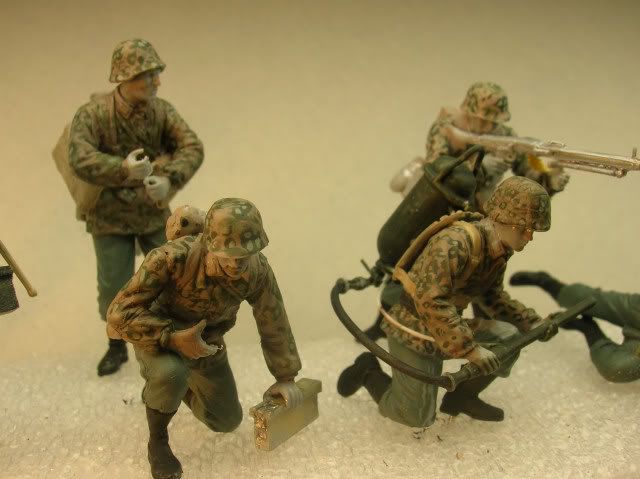
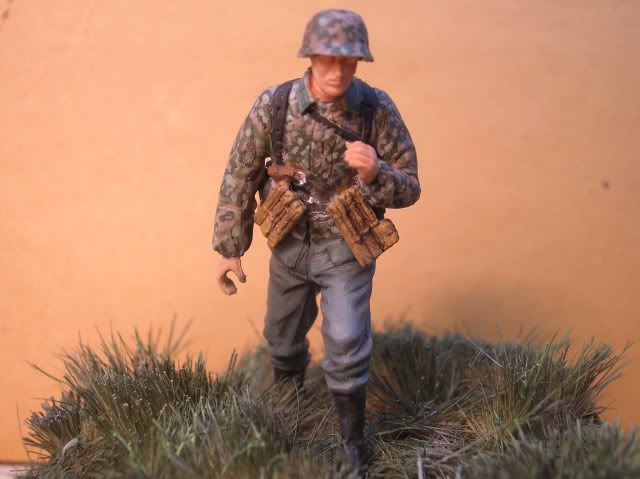
The Cast of Characters:
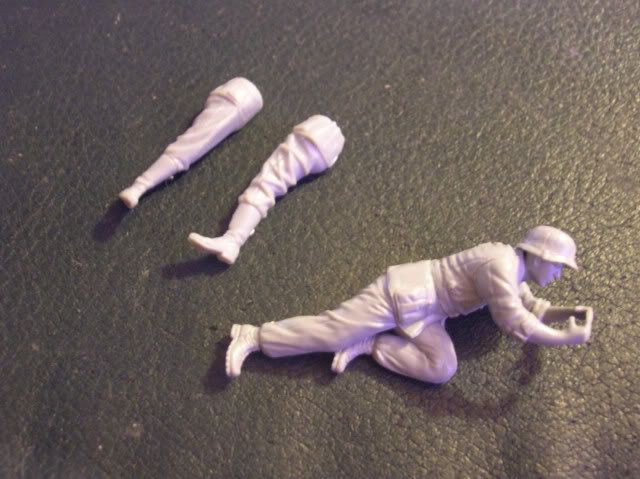
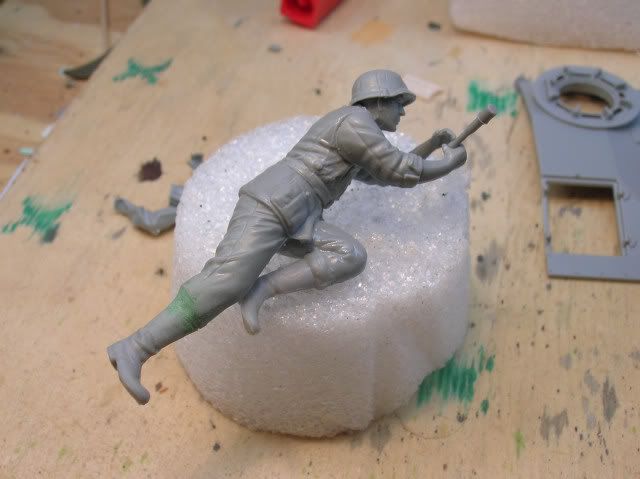
I converted "Grenade Guy 1" from a Gebirgsjager mortarman by removing the climbing boots and adding the jackboots from another figure.
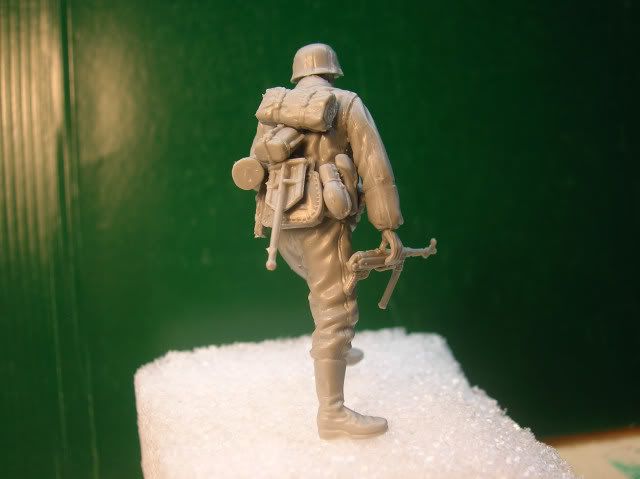
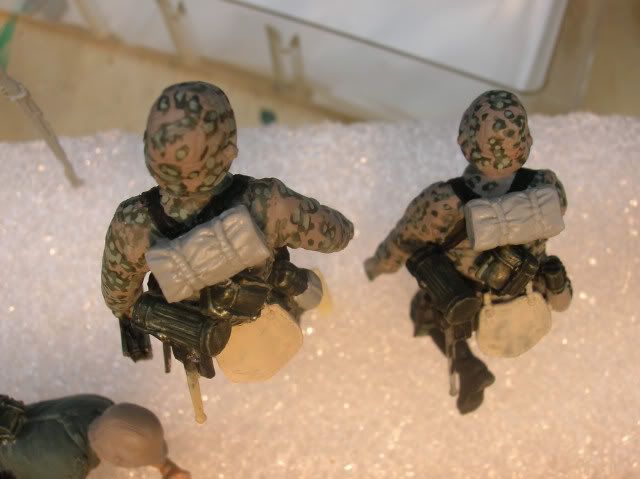
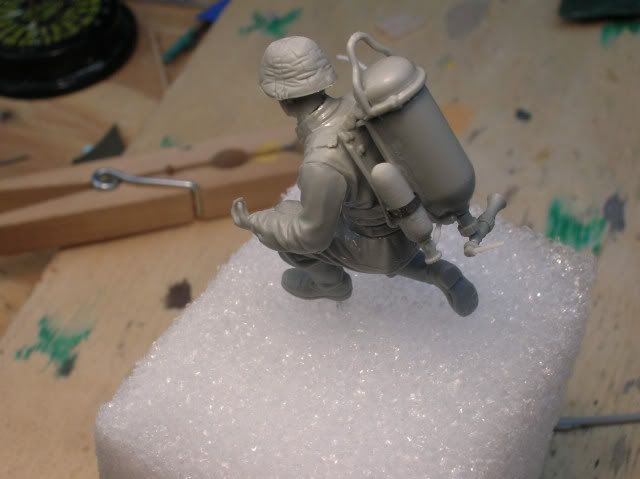
I didn't care much for the "Out of the box" flammenwerfer rig, so I have made some modifications. The molding on the hydrogen bottle (small bottle) and it's size didn't suit me so I made my own out of sprue and added a 'leftover' PE strap and buckle from my M41 project:
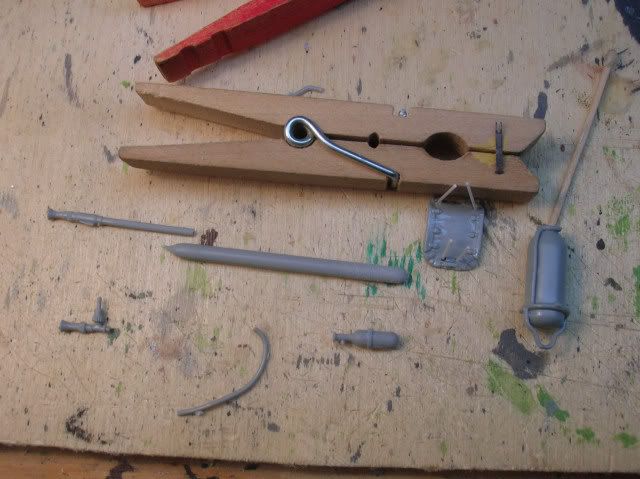
I used some Evergreen Brand .020" white styrene rod for the hydrogen propellant line and added another shorter piece for the flow handle on the fitting at the bottom of the fuel tank -

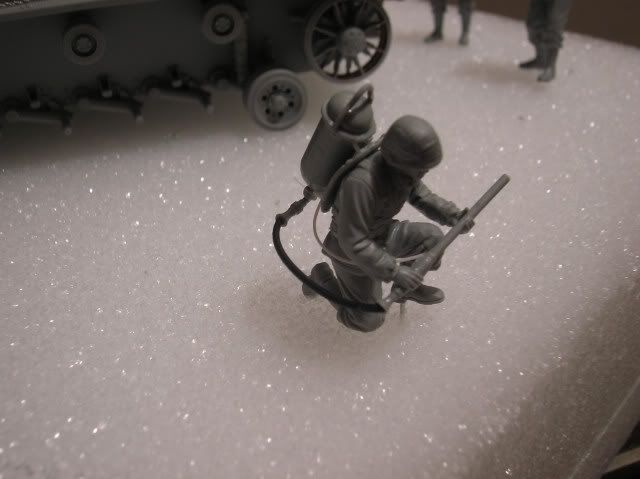
- and some black tubing from my Tamiya 88mm Flak gun kit for the fuel line:
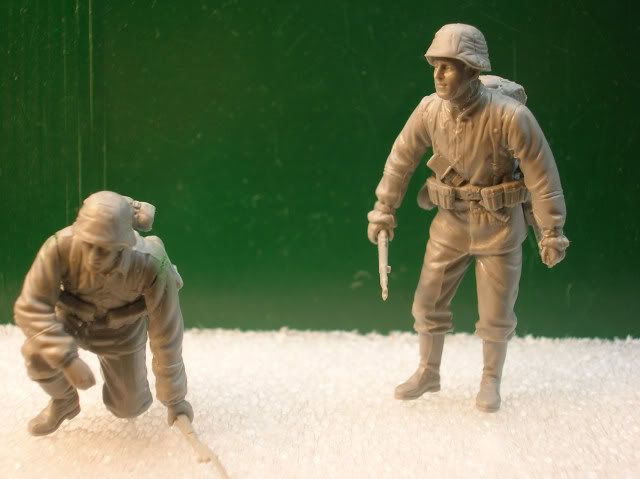
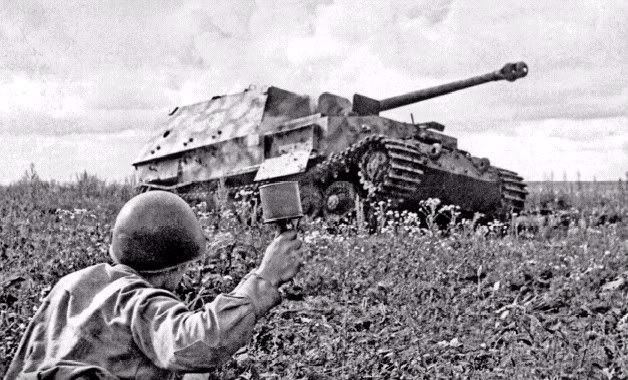
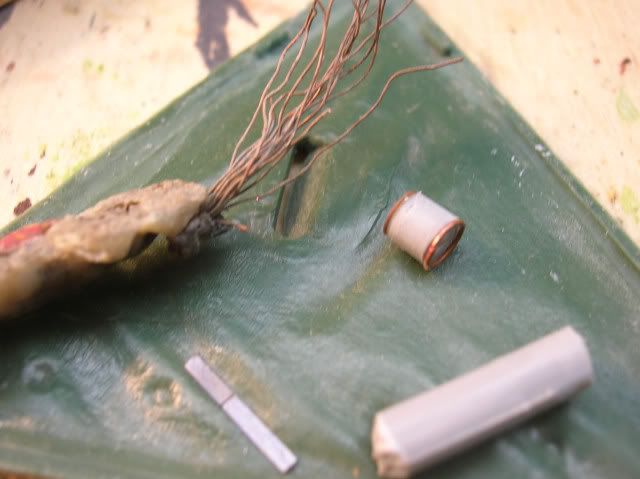
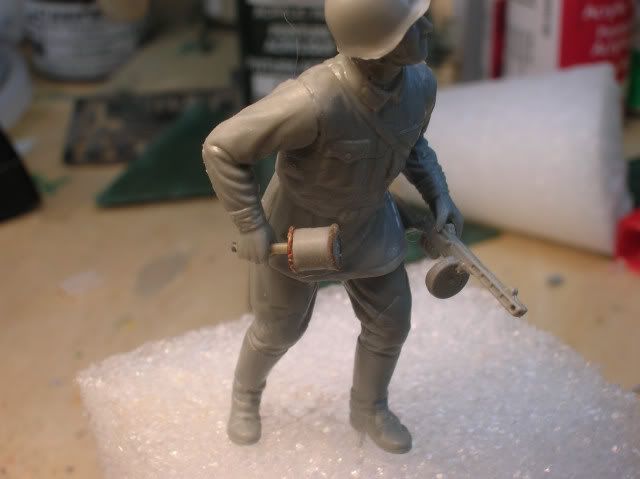
Russian #1 has a scratchbuilt RPG-40 in his right hand. The RPG-40 was a hand-held anti tank grenade and looked a great deal like a short can on a stick. To duplicate the "can", I used a piece of sprue and added the "rings" from fine gauge wire -
RPG-40:
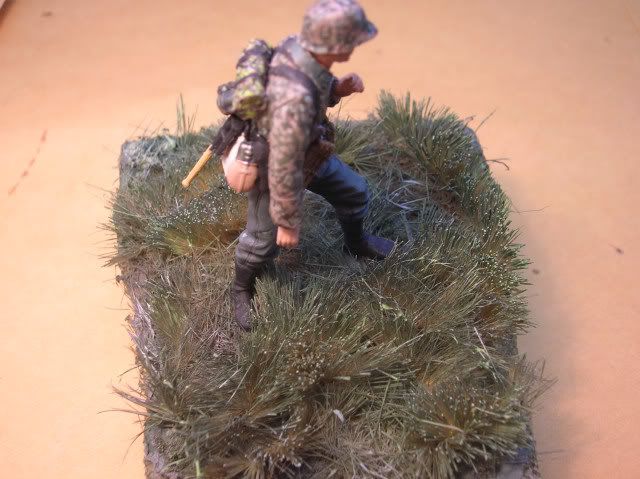
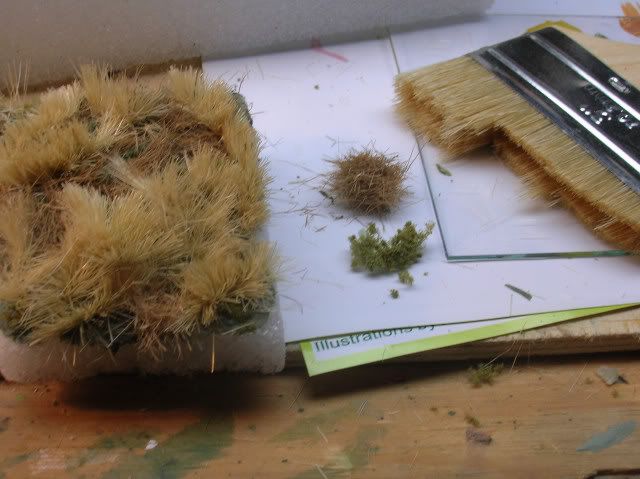
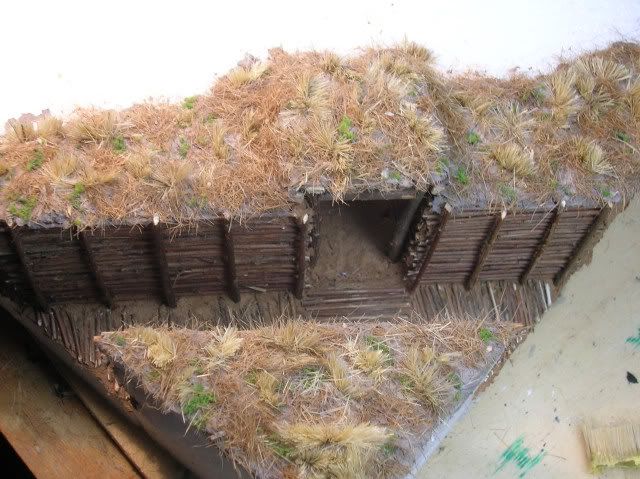
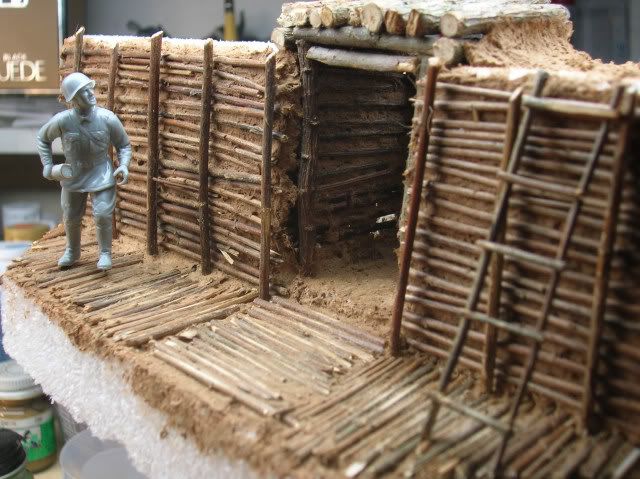
The Base:
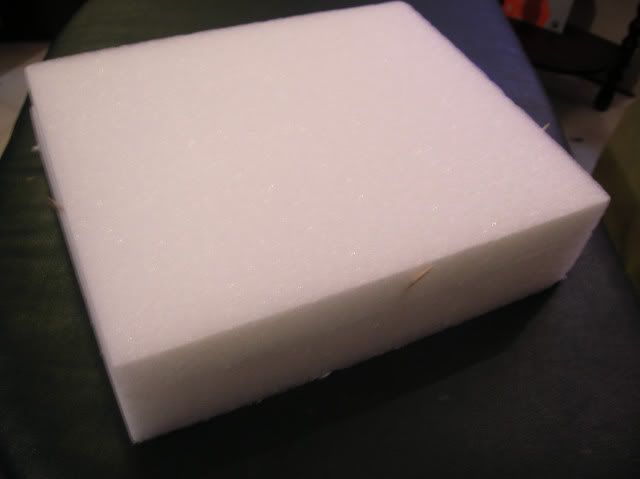
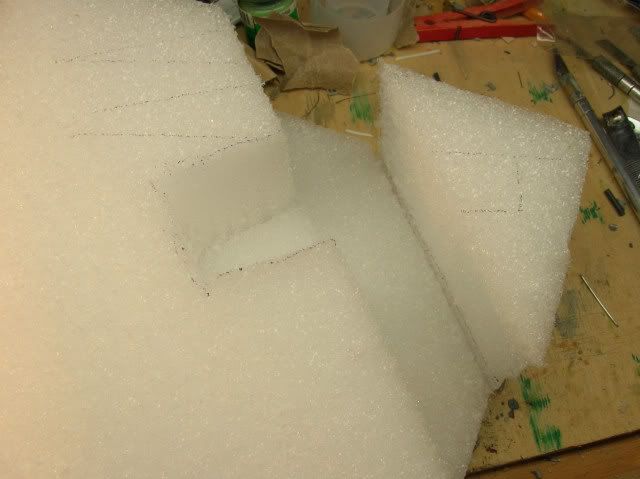
I "sandwich-glued" two pieces of styrofoam resulting in a piece that is 10" x 12" x 3 1/4" thick, then made my cut-outs.
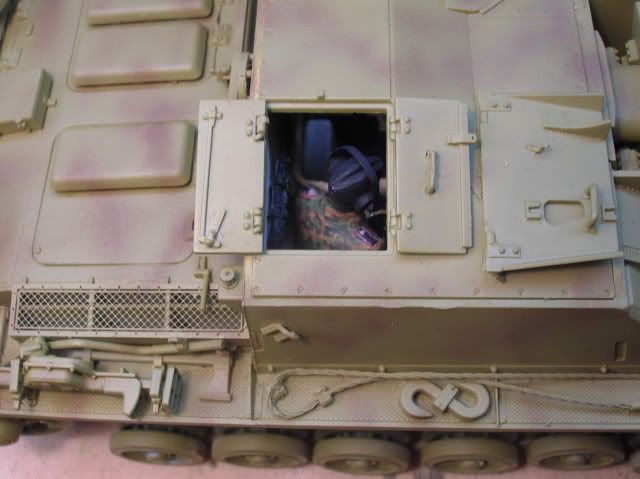
Less than 10% of the 'O.P.' interior will be visible when the diorama is completed though I still feel the need to complete it.

The Observation Post was lined with tinted Celluclay, then the wood was added:

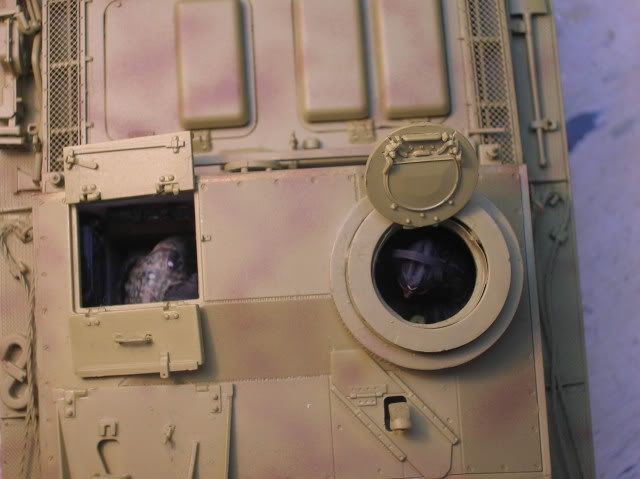
The trench walls and floor were constructed in similar fashion:
I will keep you updated.
rb
The tank:
The Cast of Characters:
I converted "Grenade Guy 1" from a Gebirgsjager mortarman by removing the climbing boots and adding the jackboots from another figure.
I didn't care much for the "Out of the box" flammenwerfer rig, so I have made some modifications. The molding on the hydrogen bottle (small bottle) and it's size didn't suit me so I made my own out of sprue and added a 'leftover' PE strap and buckle from my M41 project:
I used some Evergreen Brand .020" white styrene rod for the hydrogen propellant line and added another shorter piece for the flow handle on the fitting at the bottom of the fuel tank -
- and some black tubing from my Tamiya 88mm Flak gun kit for the fuel line:
Russian #1 has a scratchbuilt RPG-40 in his right hand. The RPG-40 was a hand-held anti tank grenade and looked a great deal like a short can on a stick. To duplicate the "can", I used a piece of sprue and added the "rings" from fine gauge wire -
RPG-40:
The Base:
I "sandwich-glued" two pieces of styrofoam resulting in a piece that is 10" x 12" x 3 1/4" thick, then made my cut-outs.
Less than 10% of the 'O.P.' interior will be visible when the diorama is completed though I still feel the need to complete it.
The Observation Post was lined with tinted Celluclay, then the wood was added:
The trench walls and floor were constructed in similar fashion:
I will keep you updated.
rb