You are using an out of date browser. It may not display this or other websites correctly.
You should upgrade or use an alternative browser.
You should upgrade or use an alternative browser.


A
ACSpectre
Guest
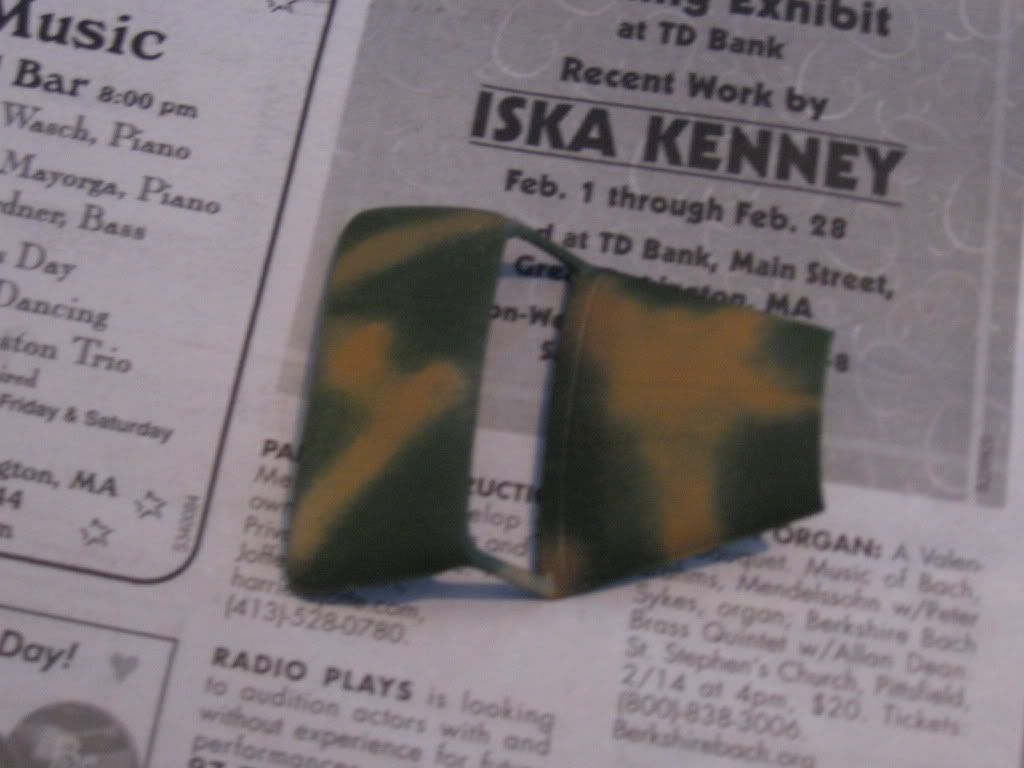
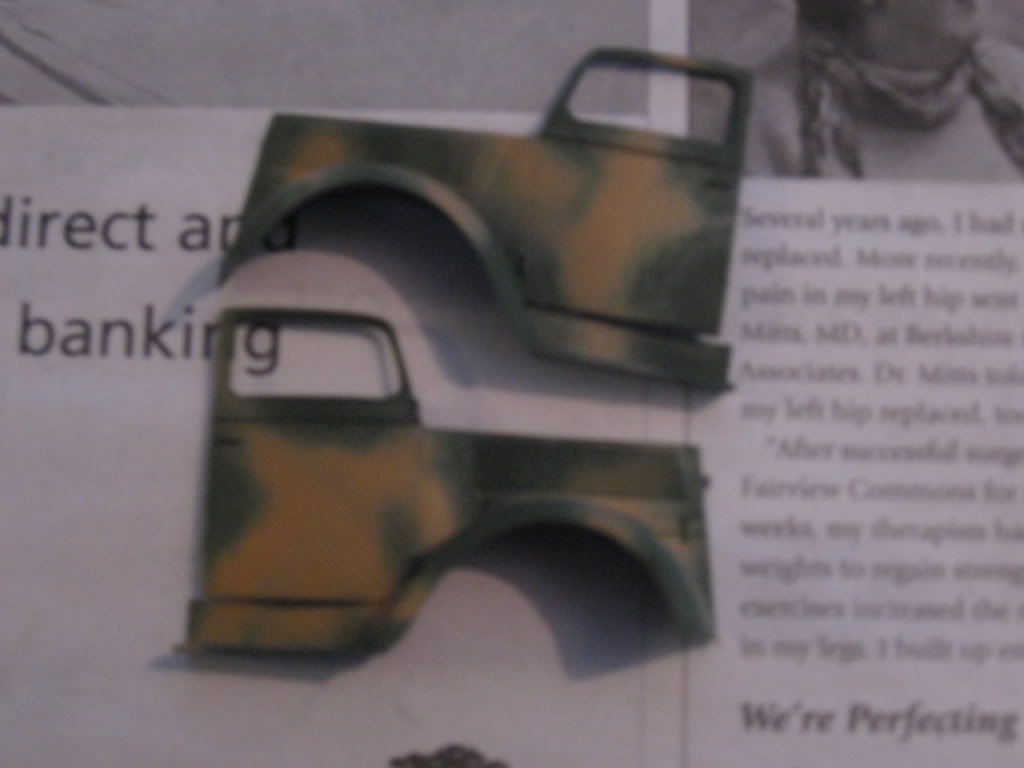
Work on my project has been progressing steadily. After experimenting with my airbrush I was able to dial in the fine line I wanted to clean up some of the overspray on the camo job on the truck. The lines are neater but some of the sand yellow patches look a little to large and clumsy. My plan is to use some more dark green paint with the same nozzle to neaten thes areas up. The area I will concentrate on are the cab of the truck,(doors, hood, etc.).
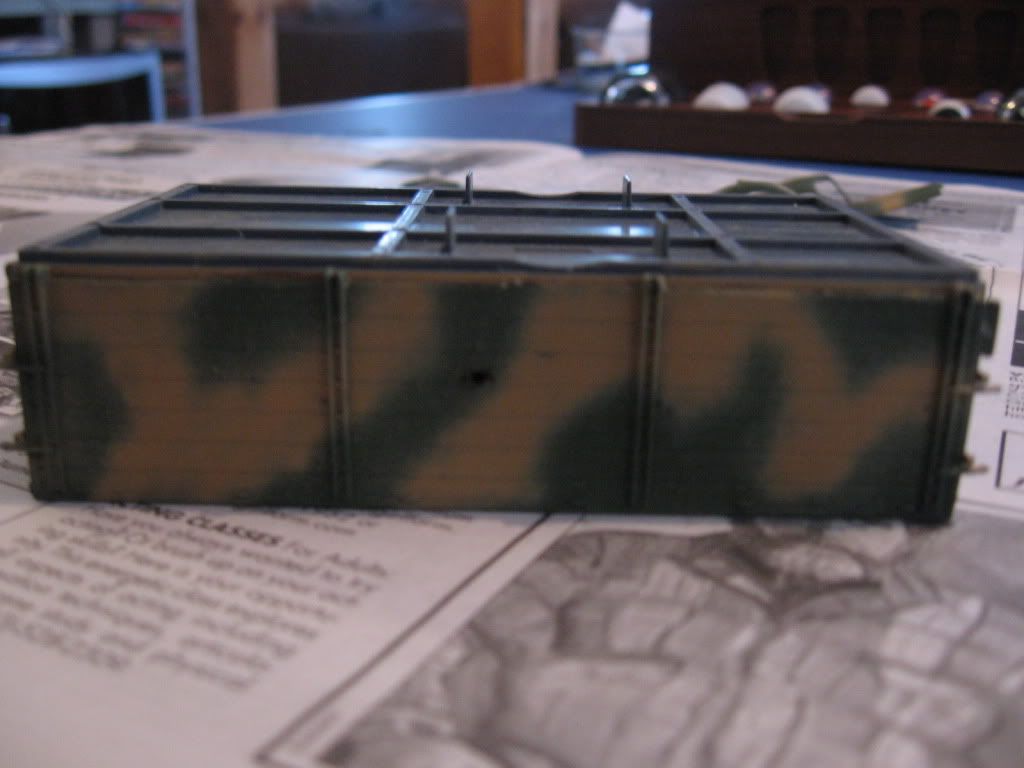
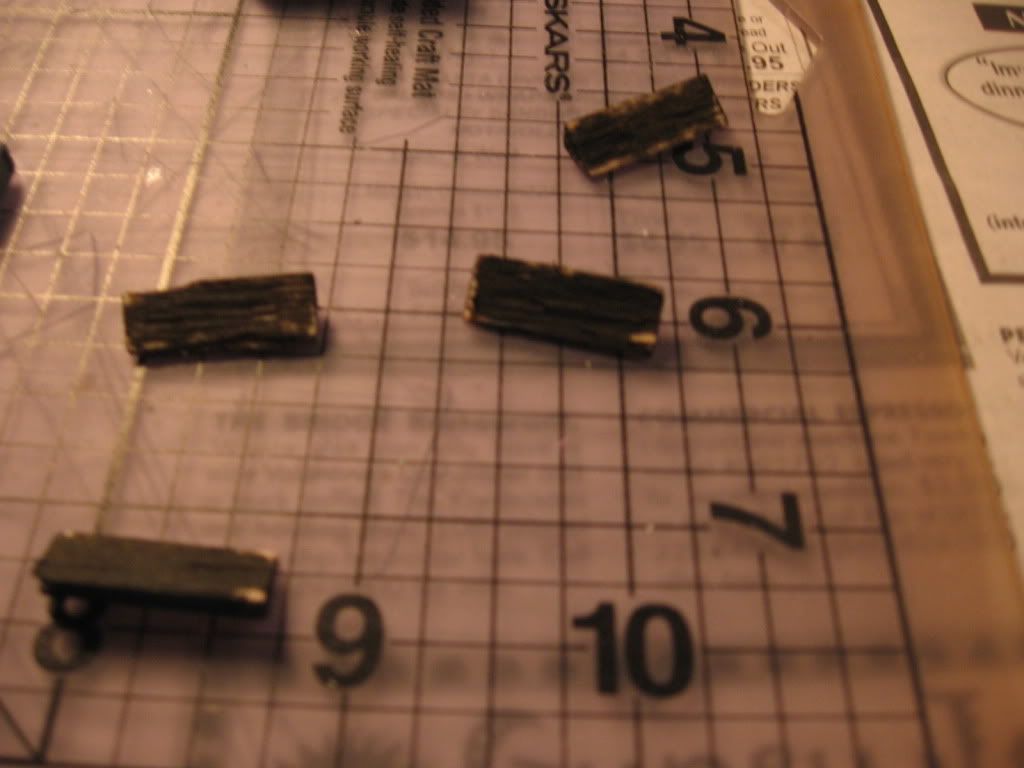
Once the paint had dried I did some more assembly on the bottom of the truck bed. Rear fenders, two storage boxes, some lights, and an id plate holder were added. The truck bed is now ready to be attached to the frame which will be done when assembly of the cab is completed.
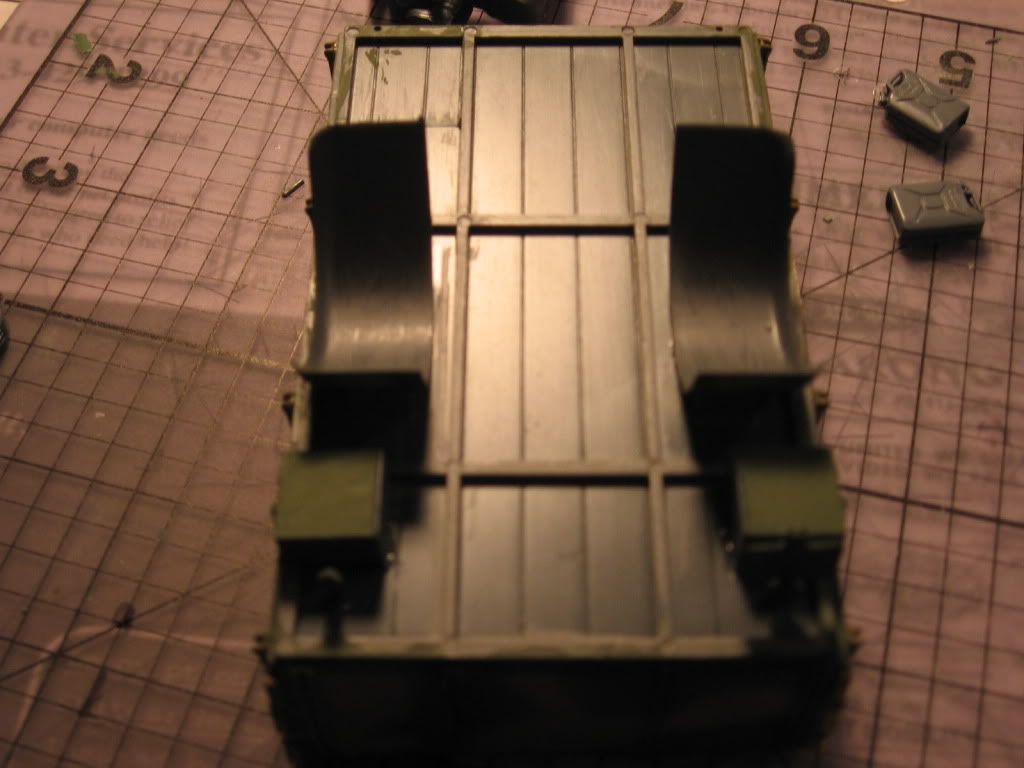
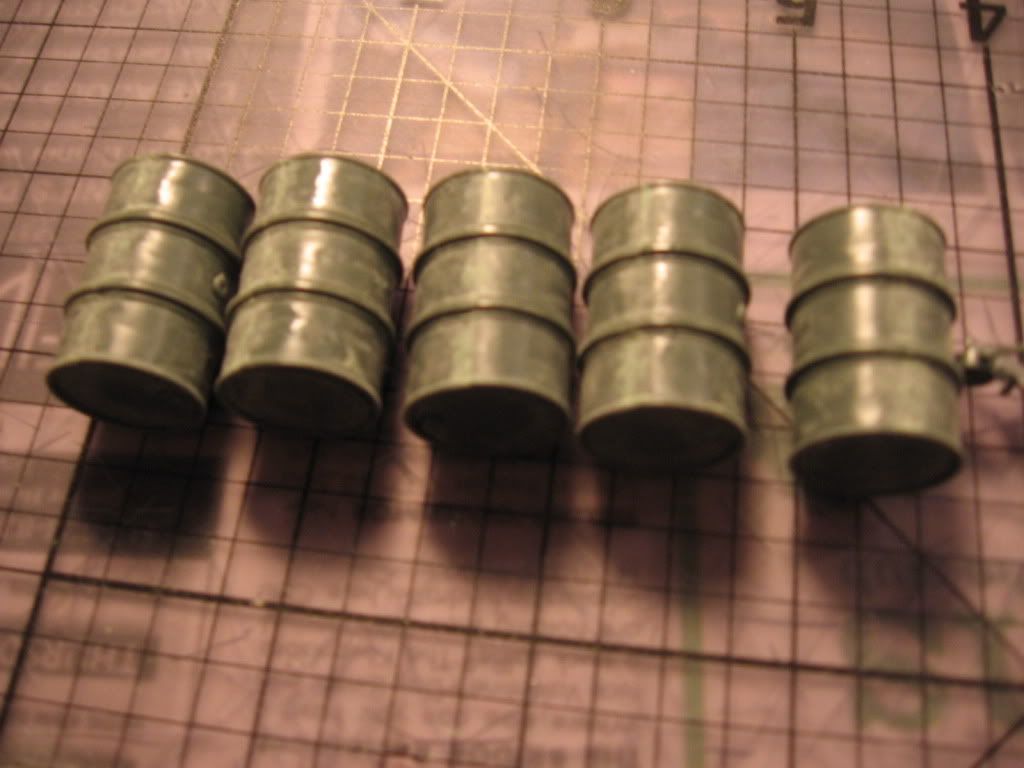
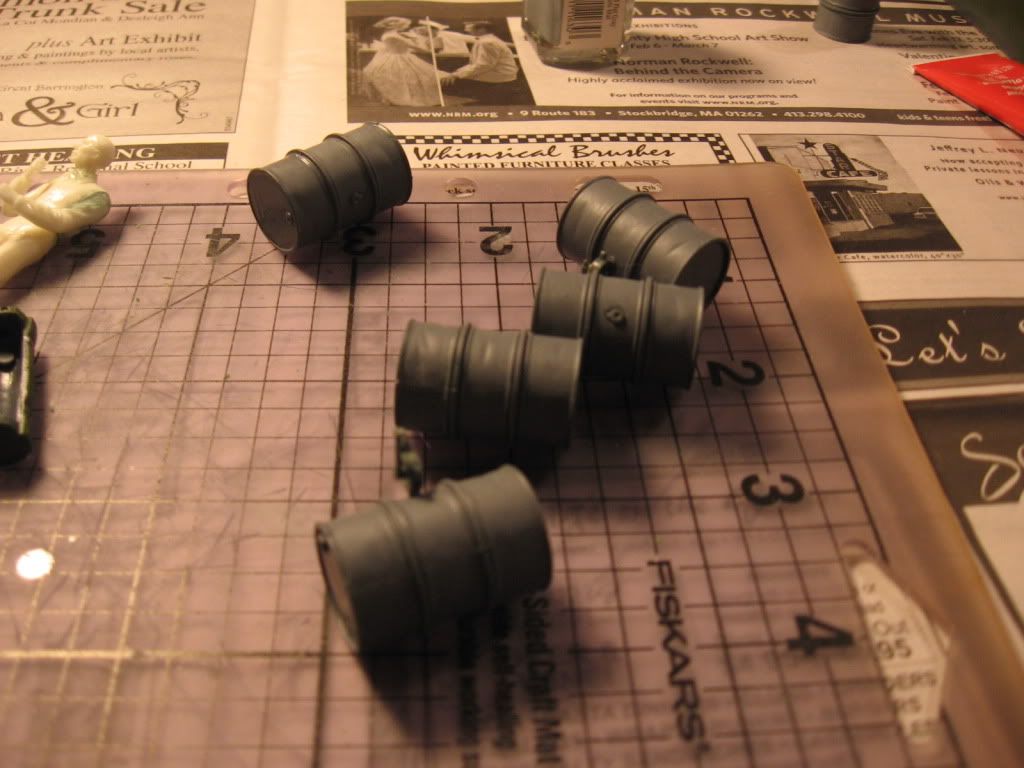
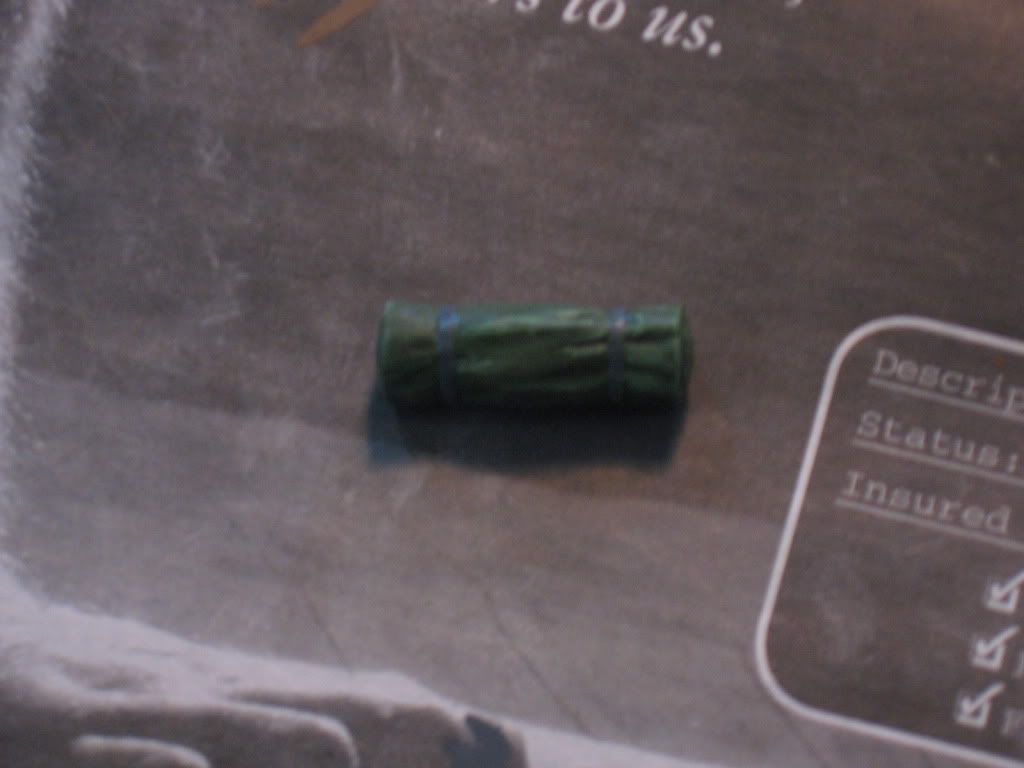
Did some more work on the truck bed contents. I removed the jerry cans from the toothpicks they were hanging on and finished painting the tops. The fuel drums were sanded to smooth the joints I had puttied and painted With Testors flat grey. Two of the fuel drums hace a punp inserted into the side and will need to be stored on their side. I used a square piece of balsa woof cut on an angle to be used as a "cradle" to secure these drums in the back of the truck. I drybrushed a heavy coat of Floquil Oily Black on these wedges. The rolled canvas top of the truck bead was panted Testors Medium Green, shaded with Testors Dark Green, and highlighted with Testors Pale Green.
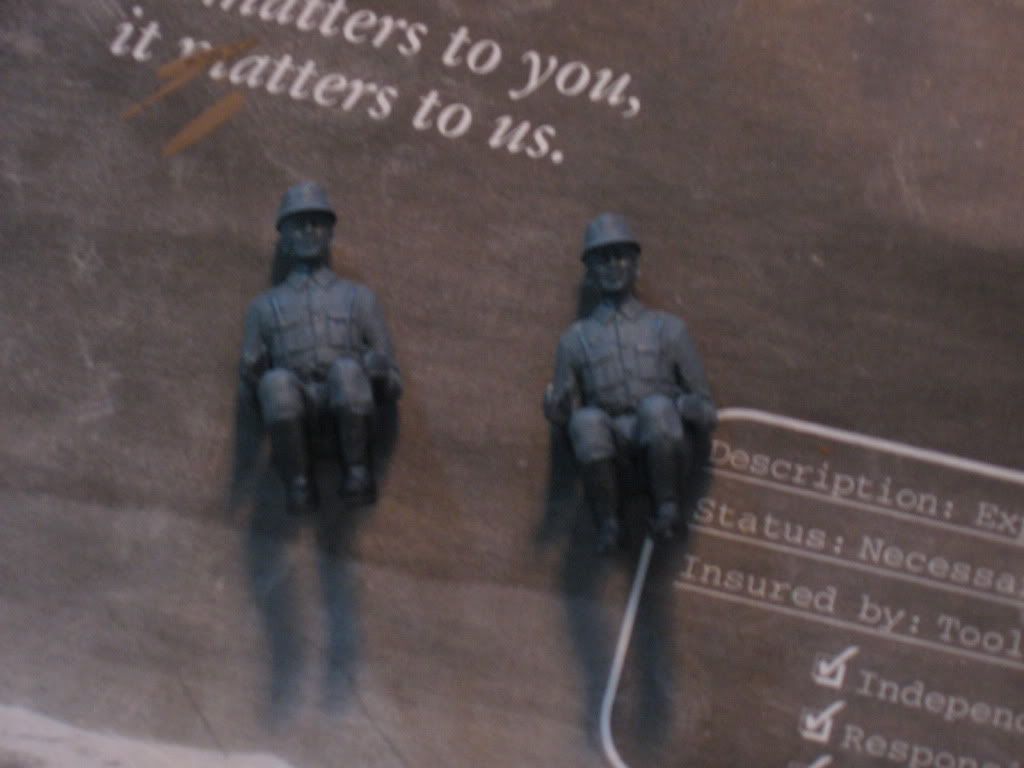
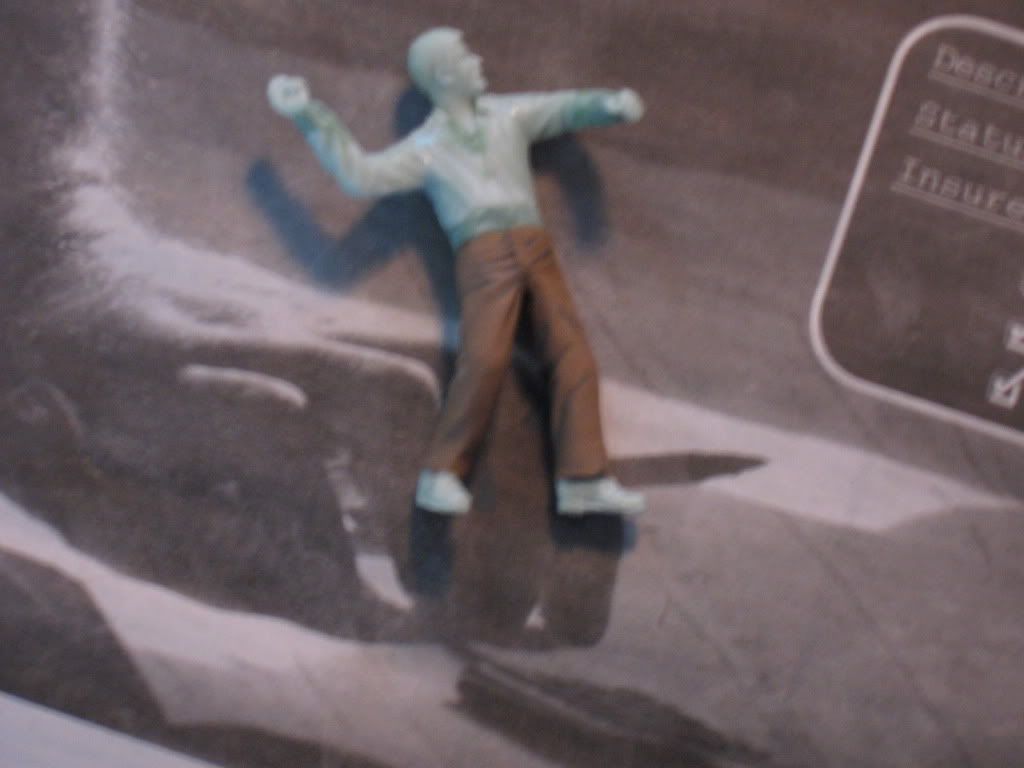
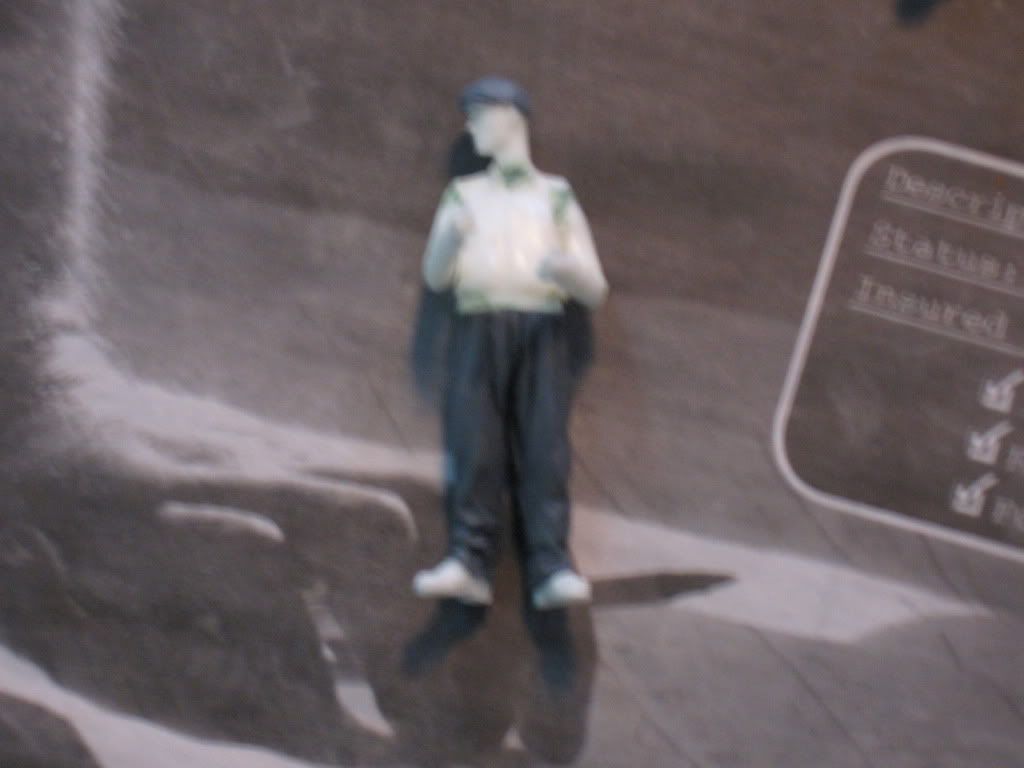
Now work on the figures has begun in earnest. I completed puttying and sanding on all figures and painting has begun. I started with the two German figures first because as soon as I finish them I can finish assembling the truck. Uniforms were painted Floquil Light Sea Grey and shaded with Testors Gunship Grey. The shading looks a bit light so I will most likely go back over it with a mixture of Flat Black with some Gunship Grey. I will highlight the uniforms with Testors Flat Grey and then paint, shade, and highlight all flesh services. Painting was also begun on civilian figures. Paints on the grenade thrower were painted Testors Dark Tan. The pants on the bald figure received two coats of Testors Flat Brown and the paints and hat on the other figure were painted Testors Gunship Grey.

My schedule this week is a little crazy so it looks like I won't have much time to work on the project until the weekend.
Once the paint had dried I did some more assembly on the bottom of the truck bed. Rear fenders, two storage boxes, some lights, and an id plate holder were added. The truck bed is now ready to be attached to the frame which will be done when assembly of the cab is completed.
Did some more work on the truck bed contents. I removed the jerry cans from the toothpicks they were hanging on and finished painting the tops. The fuel drums were sanded to smooth the joints I had puttied and painted With Testors flat grey. Two of the fuel drums hace a punp inserted into the side and will need to be stored on their side. I used a square piece of balsa woof cut on an angle to be used as a "cradle" to secure these drums in the back of the truck. I drybrushed a heavy coat of Floquil Oily Black on these wedges. The rolled canvas top of the truck bead was panted Testors Medium Green, shaded with Testors Dark Green, and highlighted with Testors Pale Green.
Now work on the figures has begun in earnest. I completed puttying and sanding on all figures and painting has begun. I started with the two German figures first because as soon as I finish them I can finish assembling the truck. Uniforms were painted Floquil Light Sea Grey and shaded with Testors Gunship Grey. The shading looks a bit light so I will most likely go back over it with a mixture of Flat Black with some Gunship Grey. I will highlight the uniforms with Testors Flat Grey and then paint, shade, and highlight all flesh services. Painting was also begun on civilian figures. Paints on the grenade thrower were painted Testors Dark Tan. The pants on the bald figure received two coats of Testors Flat Brown and the paints and hat on the other figure were painted Testors Gunship Grey.
My schedule this week is a little crazy so it looks like I won't have much time to work on the project until the weekend.
A
ACSpectre
Guest
Looking good.
2
2054172
Guest
All things are possible given the time and skill
T
The Fisher King
Guest
Very nice indeed
M
McIvan
Guest
FGM GROUP BUILD 1944 - McIVAN'S BUILD - CRUSADER III AA
Ahh...back in the misty depths of time when I was young and carefree, my pocket money did not extend to such unobtainable dreams as 1/35 models.
For that matter, it didn't even extend to things like 1/72 planes with more than two engines...would peer misty-eyed at the Lancasters and Flying Fortresses in the shops. Even two engines was a stretch....so mainly I just built 1/72 single engined fighters and 1/72 or 1/76 tanks by Airfix or good old Matchbox.
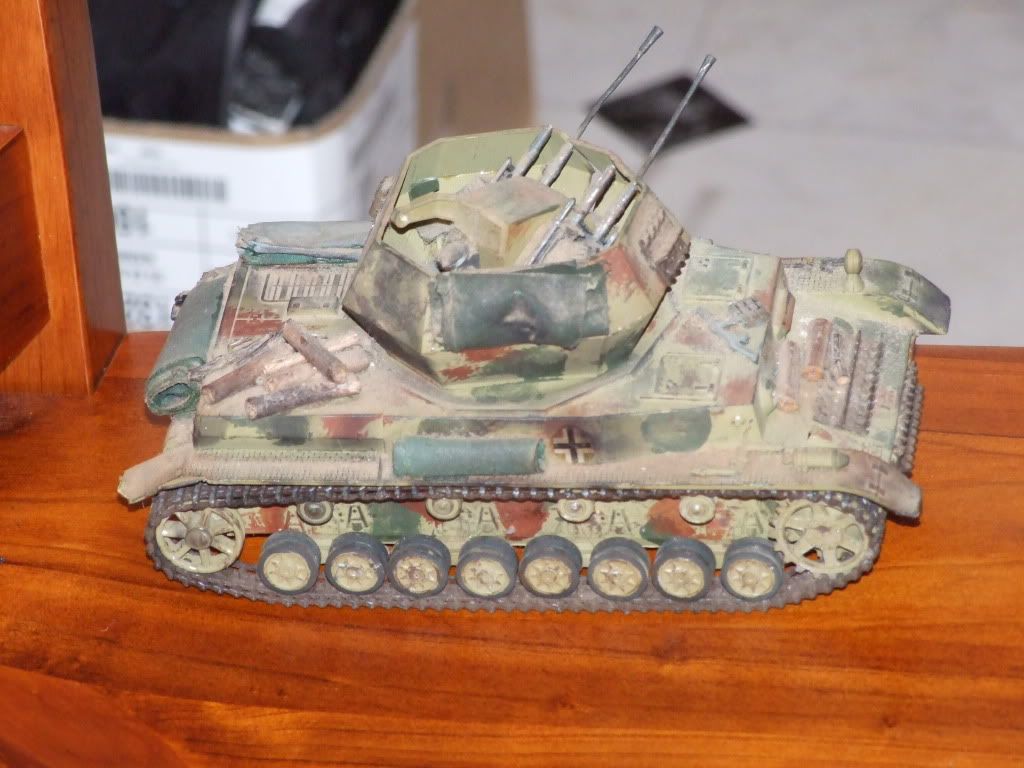
But one fine sunny Xmas day my unwrapping uncovered a Tamiya 1/35 Wirblewind...and my happiness was complete. That was the tail end of 1978...I was twelve years old, and I made it into a model I was very proud of. One which I still have.....although much battered by time, and the attentions of some third party children who vandalised the sights and two of the 20mm quad barrels, along with a whole bunch of other models from my childhood. The crew figures have likewise gone west along with bits I stuck on it like a rifle and an SMG plus amo packs that I laboriously cut off some plastic figures. The rather dusty remains look like this:
And that was it for 1/35 for me. Santa never did give me another.
So what better way to start the first FGM build than to reintroduce myself to 1/35 scale modelling.
It just so happens that a couple of months ago I purchased a Lancaster on Trademe (the local e-bay equiv).....and with it came two more models. One was a French Armoured Carrier UE from 1939....too early and already mostly made up.
But the other was this beastie....a Crusader III AA tank, armed with two 20mm Oerlikon cannon. These were standard issue in a British armoured division fighting in Normandy in 1944...plus the 1st Polish Armoured Division also had a complement of them.
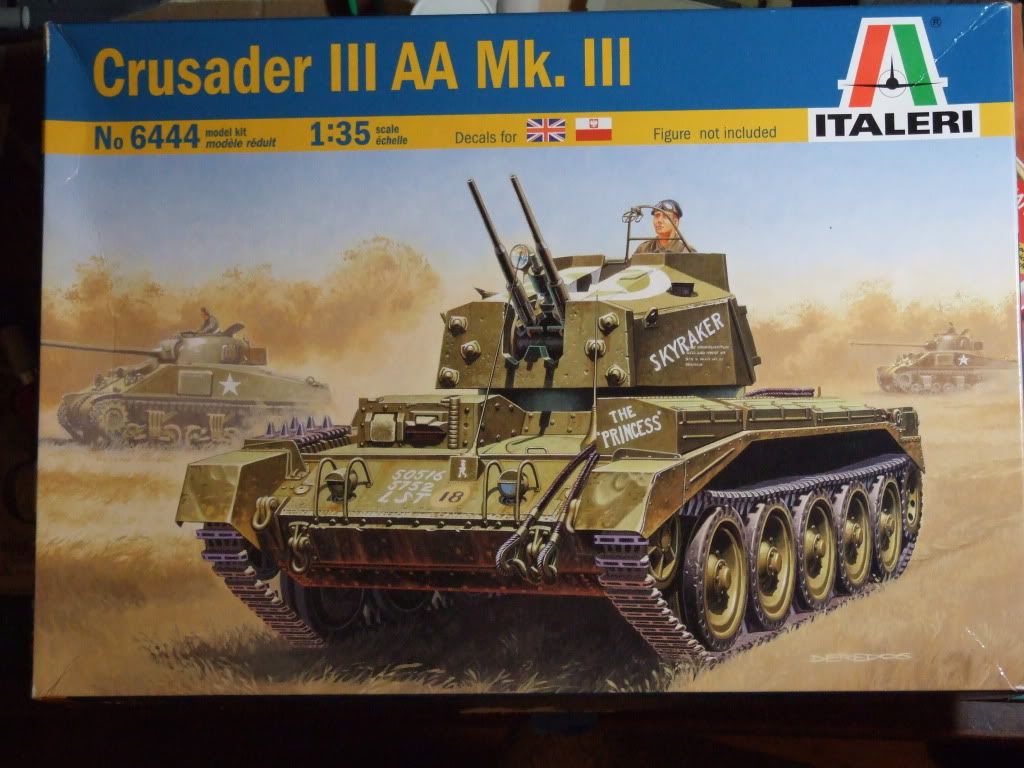
Fairly nondescript markings on the 1st Polish vehicle....I am tempted to go Polish, but at this stage will go with the markings on the box which are for a 7th Armoured Division vehicle.
And just to finish things off, my 16 yr old was kind enough to snap me in my little modelling room holding the box and sprues which, if your eyes are good enough, are untouched.
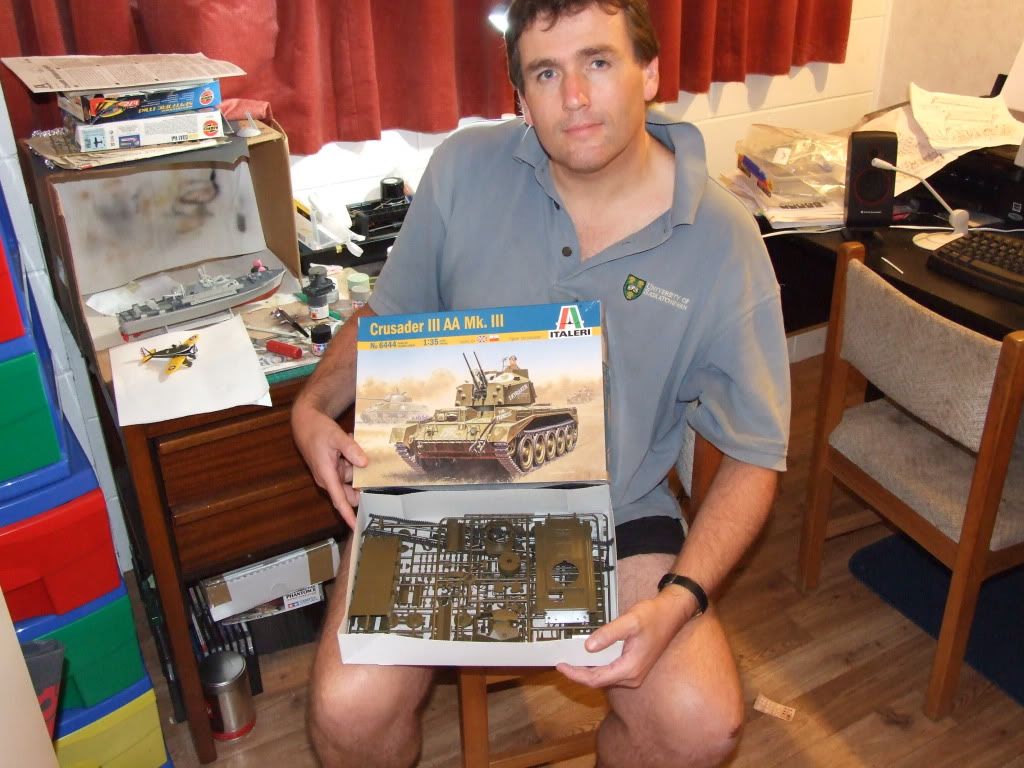
I'm unfortunately out of time to get things moving...plus the modelling area is still rather cramped with the P26 and MTB, but hopefully we will see some progress soon. This will be a real learning experience for me; not least in terms of trying some new techniques to keep a single colour vehicle "interesting", and also in terms of vehicle weathering, which I am almost wholly unfamiliar with. More or less everything I do on the painting front will be a first, so wish me luck! ray:
ray:
PS Brownie points to the first person to spot the Canuckistan link to Leto in the picture (no, nothing to do with the model)
Ahh...back in the misty depths of time when I was young and carefree, my pocket money did not extend to such unobtainable dreams as 1/35 models.
For that matter, it didn't even extend to things like 1/72 planes with more than two engines...would peer misty-eyed at the Lancasters and Flying Fortresses in the shops. Even two engines was a stretch....so mainly I just built 1/72 single engined fighters and 1/72 or 1/76 tanks by Airfix or good old Matchbox.
But one fine sunny Xmas day my unwrapping uncovered a Tamiya 1/35 Wirblewind...and my happiness was complete. That was the tail end of 1978...I was twelve years old, and I made it into a model I was very proud of. One which I still have.....although much battered by time, and the attentions of some third party children who vandalised the sights and two of the 20mm quad barrels, along with a whole bunch of other models from my childhood. The crew figures have likewise gone west along with bits I stuck on it like a rifle and an SMG plus amo packs that I laboriously cut off some plastic figures. The rather dusty remains look like this:
And that was it for 1/35 for me. Santa never did give me another.
So what better way to start the first FGM build than to reintroduce myself to 1/35 scale modelling.
It just so happens that a couple of months ago I purchased a Lancaster on Trademe (the local e-bay equiv).....and with it came two more models. One was a French Armoured Carrier UE from 1939....too early and already mostly made up.
But the other was this beastie....a Crusader III AA tank, armed with two 20mm Oerlikon cannon. These were standard issue in a British armoured division fighting in Normandy in 1944...plus the 1st Polish Armoured Division also had a complement of them.
Fairly nondescript markings on the 1st Polish vehicle....I am tempted to go Polish, but at this stage will go with the markings on the box which are for a 7th Armoured Division vehicle.
And just to finish things off, my 16 yr old was kind enough to snap me in my little modelling room holding the box and sprues which, if your eyes are good enough, are untouched.
I'm unfortunately out of time to get things moving...plus the modelling area is still rather cramped with the P26 and MTB, but hopefully we will see some progress soon. This will be a real learning experience for me; not least in terms of trying some new techniques to keep a single colour vehicle "interesting", and also in terms of vehicle weathering, which I am almost wholly unfamiliar with. More or less everything I do on the painting front will be a first, so wish me luck!
ray:PS Brownie points to the first person to spot the Canuckistan link to Leto in the picture (no, nothing to do with the model)
W
Wigam
Guest
Uni of Saskatchewan.
Yum Brownies , lol
The MTB is looking good.
Yum Brownies , lol
The MTB is looking good.
W
Wigam
Guest
Sorry forgot to say its on your shirt.
M
McIvan
Guest
Be interesting to see how this evolves. Italeri is what my local hobby shop mainly consists of. You can give me an update about the quality of the model when you get into it.
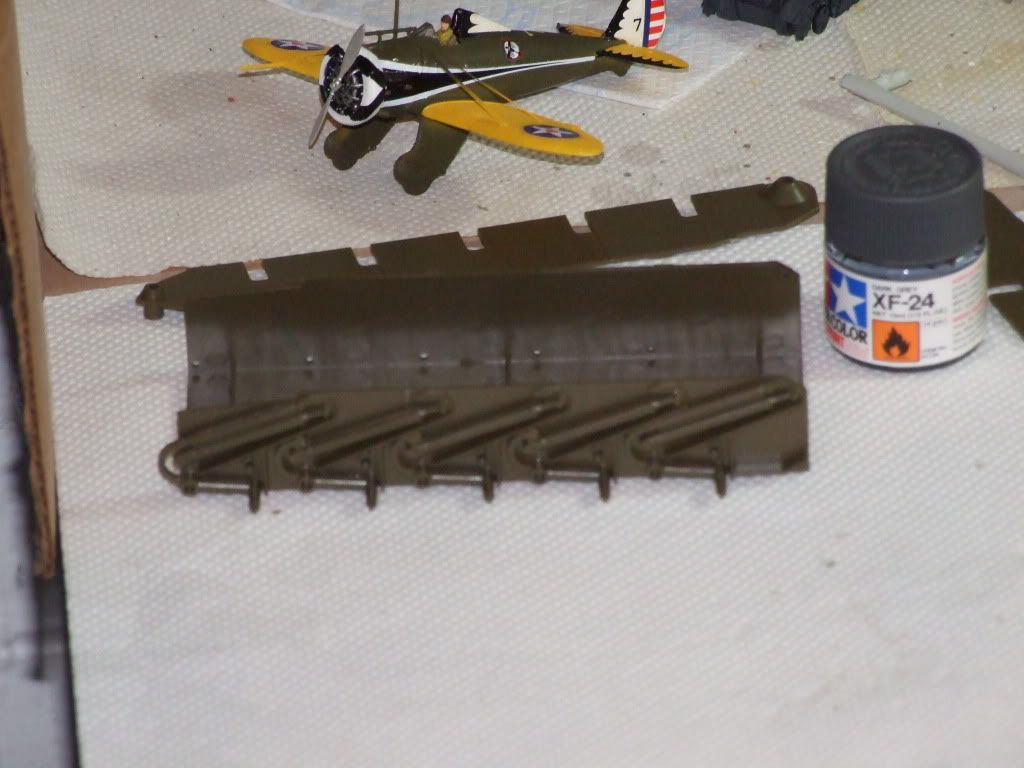
I have trouble taking real closeups.....camera can't focus....but first looks are encouraging; mouldings are free of flash and well detailed. Rather than just do painting progress updates, I'll try and take a fair few construction pics this time.
H
[hirr]Leto
Guest
Nice to know you are getting some use out of that shirt.
: )
Cheers!
Leto
: )
Cheers!
Leto
M
McIvan
Guest
You do the faces last? I'd be scared of getting the paint on the uniform and ruining all that lovely camou. Suppose it works the other way round too, but still...
A
ACSpectre
Guest
You do the faces last? I'd be scared of getting the paint on the uniform and ruining all that lovely camou. Suppose it works the other way round too, but still...
I always paint flesh parts last as well. Don't really have a specific reason for it, I've just always done it that way.
R
razorboy
Guest
Camo is a lot easier to repair than a face ever will be. You usually only get one go at a face, two times .... possibly - but too much paint and you've lost any features or detail such as eyes, mouth, etc.. That's why I usually do faces last.
Thanks,
rb
Thanks,
rb
M
McIvan
Guest
Suspension on....one side, at least.
Pity all this gets covered up almost without exception!
Righto...suspension done on both sides, covered, and hull top secured.

Paused here thinking about whether or not to paint the road wheels and lower hull before putting the wheels in. Am slowly coming the conclusion that I will put at least the base coat on....but will put the driver (and maybe the idler wheels) on first since they get covered by the hull rear. Will spray the road wheels separately.
Pity all this gets covered up almost without exception!
Righto...suspension done on both sides, covered, and hull top secured.
Paused here thinking about whether or not to paint the road wheels and lower hull before putting the wheels in. Am slowly coming the conclusion that I will put at least the base coat on....but will put the driver (and maybe the idler wheels) on first since they get covered by the hull rear. Will spray the road wheels separately.
T
The Fisher King
Guest
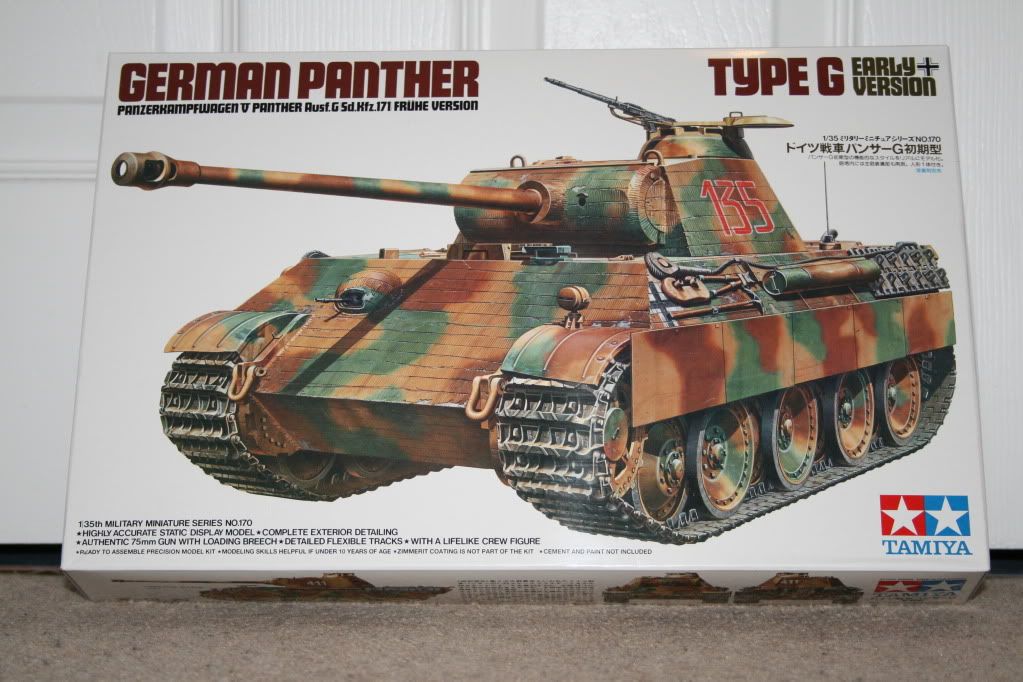
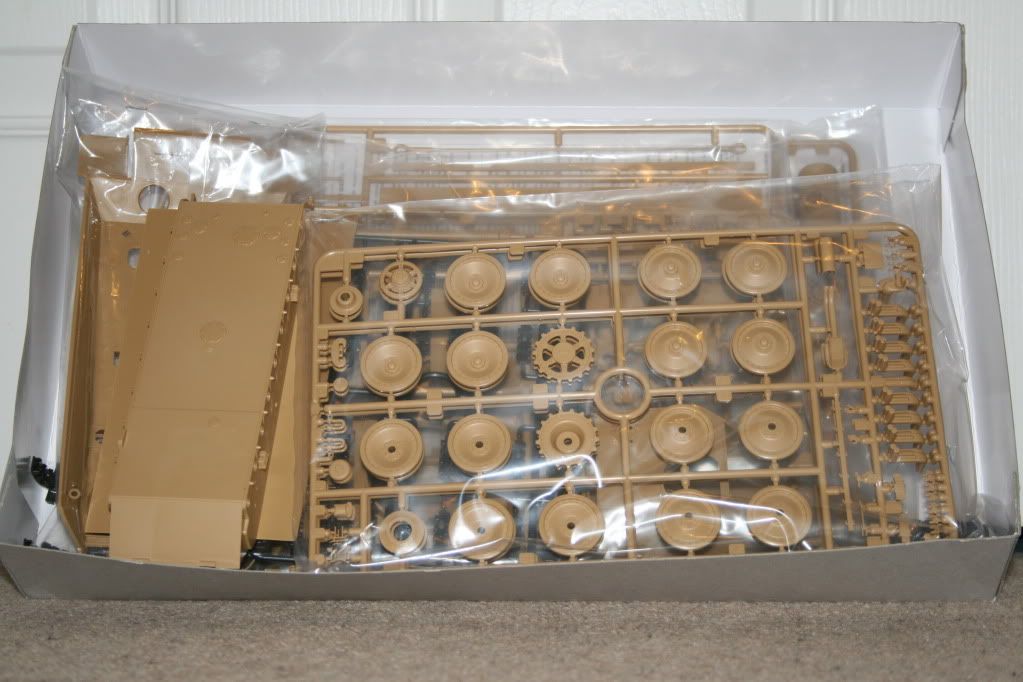
My 2nd Project
Now that the 6 nations is out of the way I'm ready for my 2nd project which will be an entry into the Group Build Competition.
So here it is:
Now that the 6 nations is out of the way I'm ready for my 2nd project which will be an entry into the Group Build Competition.
So here it is:
A
AirborneBob
Guest
Thats a classic, no Zimmerit though, do you plan on making your own, or to go without?
T
The Fisher King
Guest
I was going to have a go at making my own Zimmerit. I have some modelling clay and I thought I'd do some testing first. If I think I can make it work, I'll give it a try.
P
PoorOldSpike
Guest
I'm not a zimmerit expert but I think this is the 'square tile' type, I don't know how it was applied-
Oberst Karl Lorenz of Grossdeutschland Div, Ukraine Jan 44

Normandy
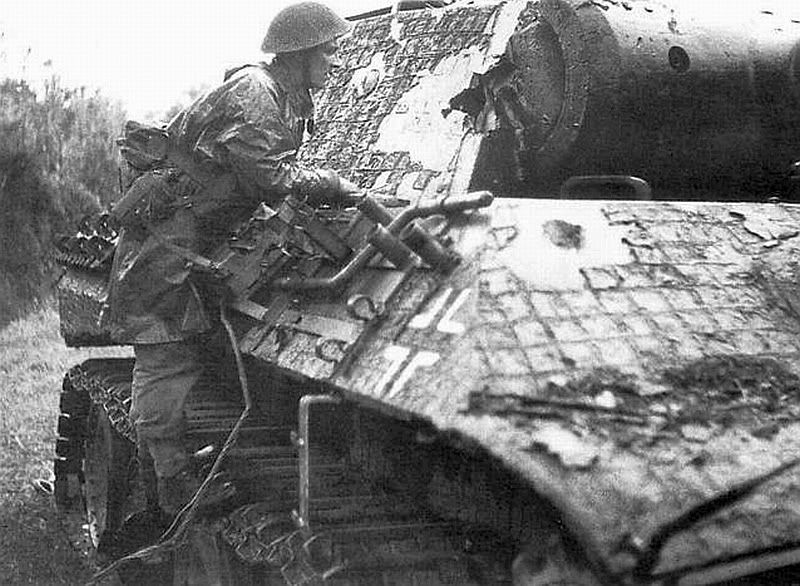
Oberst Karl Lorenz of Grossdeutschland Div, Ukraine Jan 44
Normandy
M
McIvan
Guest
Looking forward to this one, specially the Zimmeritt if you can do it....but I'm sure not all Panthers had the stuff so it would be perfectly correct without it.