Welcome to The Few Good Men

Thanks for visiting our club and having a look around, there is a lot to see. Why not consider becoming a member?

Progress screenshots: FGM Competition "1944" (Finished)2010

Brilliant work, first rate. I used to get help from a guy in the neighbourhood I grew up in who did that stuff for a living.
 
Thanks to All for the kind words. 10 - 12" of snow today in Central Virginia and so with the snow clearing and obligatory beer consumption, no work got done on the diorama today. Hopefully tomorrow will find me working on figures and test-constructing a patch of groundwork..... we'll see how it goes.

rb
 
Still waiting on paint to continue with the Blitz, so I started working on the figures.

Here are the two occupants of the truck. They came with the truck kit and were assembled stock. I have yet to decide whether to use soft caps or helmets on them, both are included in the kit.

IMG_0523.jpg


The next figures I worked on were the Sol figures. If you look at the first pictures in this thread they are the civilain figures holding the mop and the newspaper. The figure holding the mop needed slight modification, I had to widen the grip on the hands to accomodate a rifle, I did this as carefully as possible with an X-acto knife. I test fitted an M-1 and it fits fairly well. I decided that if I need a better fit, I will shave some off the rifle as I don't want to risk damaging the hands. The head was positioned looking up instead of down and there is a gap at the neck that will require some putty.

IMG_0522.jpg


The figure reading the newspaper need a bit more delicate work. The hands were facing in so I had to reposition them to hold a weapon. I accomplished this by using an X-acto saw blade to saw the hands off flush with the end of the sleeve. I sanded the saw cuts on the hands and the sleeves flat and then reglued the hands to the end of the arms with one palm up and one palm down to better accomodate a weapon. I will use some putty to clean up the connection to the arms. This figure also needs the head glued on, at which time I will see if that needs a little repositioning as well.

IMG_0524.jpg


IMG_0525.jpg


All figures need putty to fill gaps at the joints. Next I will be working on my grenade thrower.
 
Looking good AC! I particularly like your figure choice (never heard of Firestorm) and must check them out. I also like your choice in grass .... that may be what I need for my current.... been puzzling a bit over that.
Keep us posted.
 
Looking good AC! I particularly like your figure choice (never heard of Firestorm) and must check them out. I also like your choice in grass .... that may be what I need for my current.... been puzzling a bit over that.
Keep us posted.

Found the All the figures at Squadron. With the Firestorm figure, I was simply looking for something in the rough pose I needed. I came across this one and knew I had found what I was looking for. I found the company for the groundwork through Armorama.
 
Great work as always Razor....my building time is cut due tothe snow and cold here in Tennessee....my shop is a shed outside..no heat...
 
Squadron Delivers!

Got my paints and other assorted goodies from Squadron today. I just love getting things in the mail :whoo:

IMG_0526.jpg
 
Payday!!!!!! Walked into the hobby shop with a glazed look in my eye. I was like a kid in a candy store. However, moderation prevailed. I walked out with only a bottle of liquid cement, some decal set, a jar of acrylic black paint and some thinner to make a wash for my Opel, and a pastel weathering set. All of that and my wallet was only $35 lighter.

Life is good :thumb:
 
Some more progress today. I was able to put a wash on the undercarriage of the Opel today. I mixed some Polly-S acrylic "Grimey Black" and thinned it with some Isopropyl Alcohol. I started with a small amount of paint and ended up using more than I thought I would have to to get the effect I wanted.

Picture004.jpg


Since I'm not going to be using the canvas top on the back of the truck, I used that as a test for my wash until I got the consistency and coverage I wanted.

Picture005.jpg


I applied the wash to most of the undercarriage of the truck. The engine and transfer case got a liberal wash, but I also hit the leaf springs, king pins , tie rods and hubs. I also hit the top of the fuel tank around the filler cap and was pleased with the oily, greasy appearnce it left. Hard to see the effect of the wash in the pictures, the effect is subtle but I am happy with the results.

Picture006.jpg


Picture007.jpg


I also finished the two remaining figures for the diorama. The "grenade thrower" went together basically stock. The modifications I made were: I shaved the rock out of the figures hand so I can put a grenade there. This was fine work but I was able to make a gap big enough for the grenade without damaging the fingers of the hand. Since the figure is designed to be modern it was wearing jeans. I removed the back pockets and the heavy seam on the legs with an X-Acto knife and some sandpaper. The second of the two white figures was modified also. I repositioned the head so it was looking up and after test fitting the rifle I had to do some more repositioning on the hand. Hard to see the detail on the white figure in the picture.

Picture009.jpg


All figures are ready for putty and then paint. However tomorrow I plan to break out the airbrush and paint the exterior of the truck. Been a while since I've used the airbrush.

Be afraid, Be VERY afraid.
 
Looking good AC. It will really tell a story.... which is what all good dioramas should do.

Well Done,
rb
 
FGM Group Build Competition #1 - "1944"

Group Model Build #1 - 1944
Starting - 00:00hrs. February 7, 2010 < > Ending 18:00hrs. June 6, 2010

1) All FGM members are allowed and encouraged to participate - except those members designated as judges.
2) All entries must represent military or civilian figures,vehicles, aircraft, naval vessels, equipment or structures in use by any nation during the year 1944.
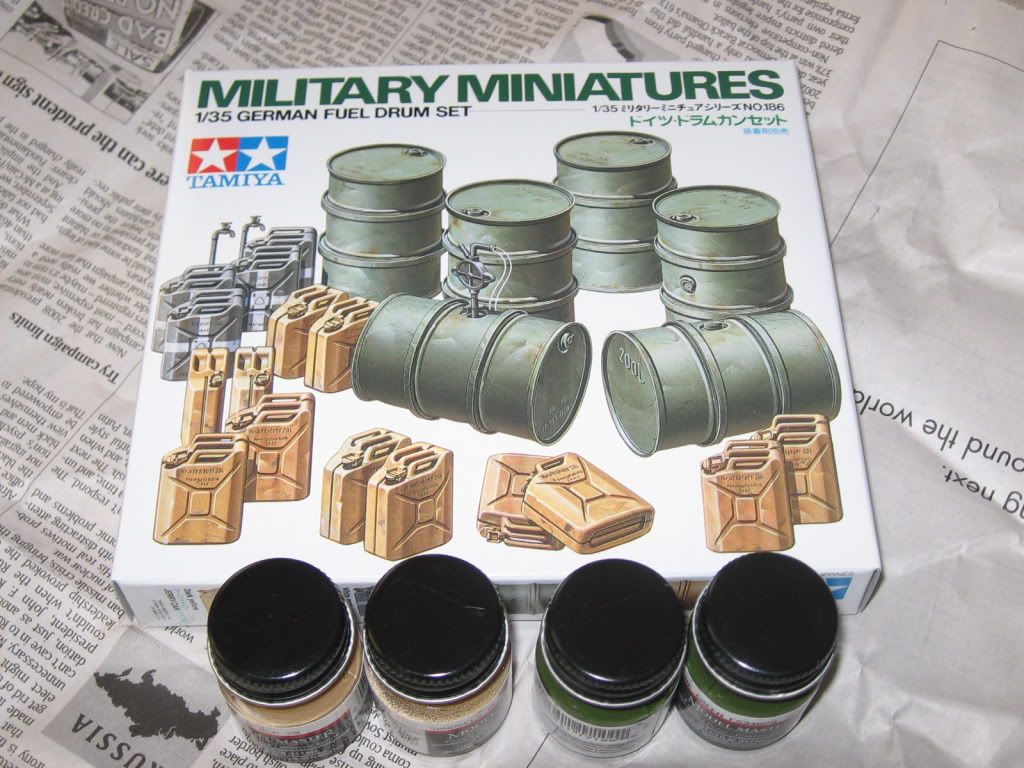
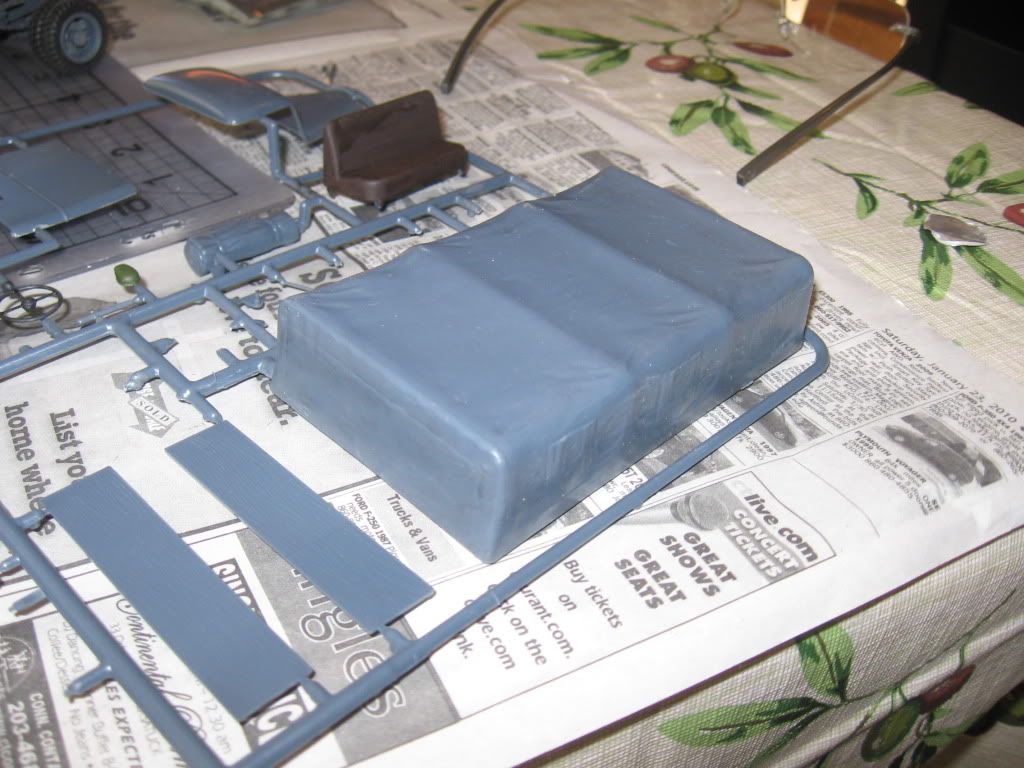
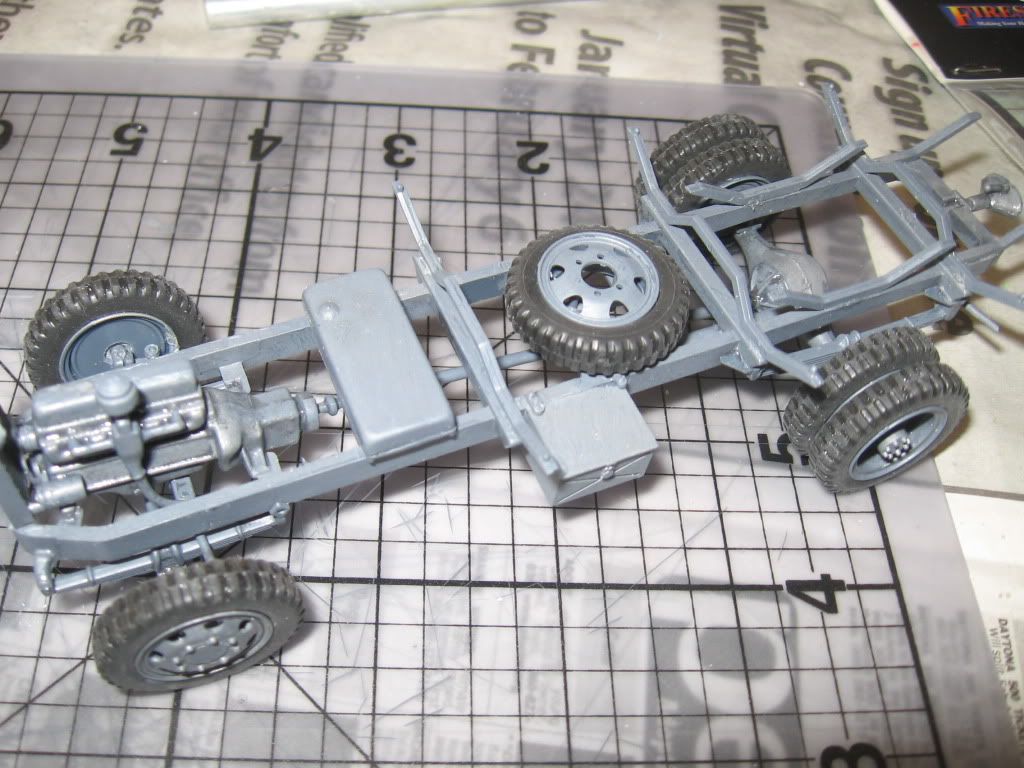
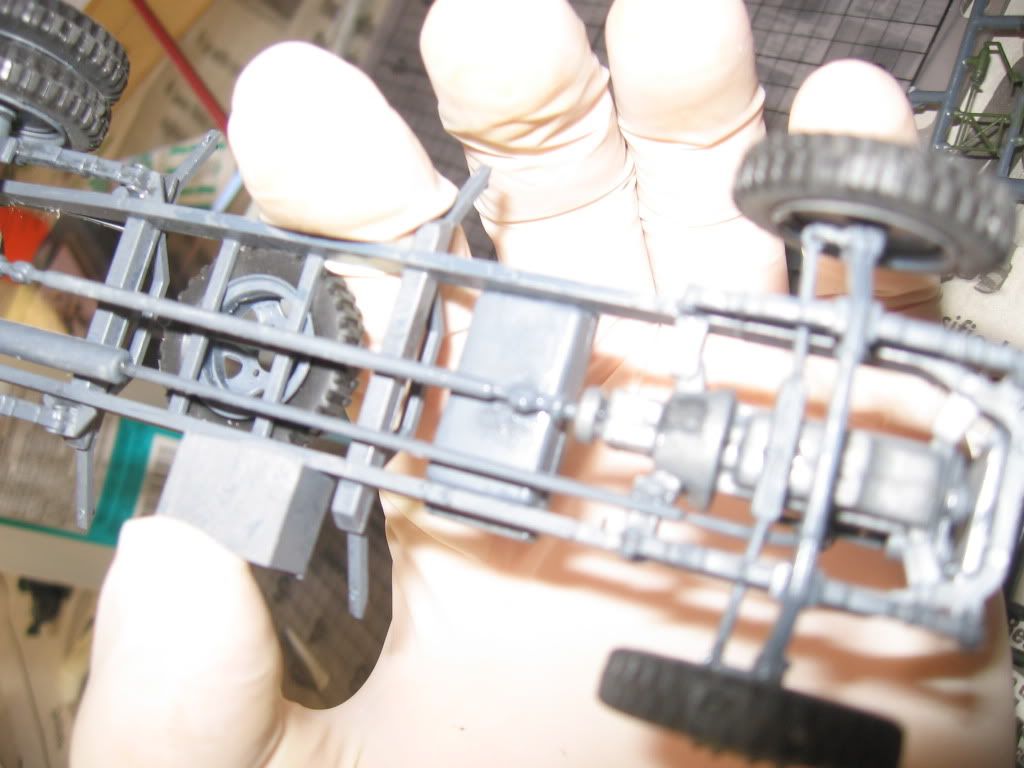
3) All builds must be documented by no less than 3 pictures taken during construction, with the first photo showing the kit parts still on the sprue.
**** We will waive rule #3 for this first build and allow any builds started this year****
4) All builds must be completed by the specified finish-date in order to be judged.
5) All modellers are allowed up to 3 entries and as specified in rule#3, there must be at least 1 pre-construction picture, 2 construction pics and at least 3 when completed for judging.
6) All scales and kit types are permitted, ie. resin, styrene, alloy,wood, etc..
7) Dioramas are permitted in this build.
8) Judging will be as follows: Judge Votes - each with one vote counting: (25% x3 Judges) = 75%
Member Votes - done through a voting poll = 25%
----------
100%
9) All Judge's decisions are FINAL
10) Have FUN!!!!

Please list your choice for the build on this thread and should anyone have any questions, please do not hesitate to ask.
Now let's have some FUN!
 
I'll be doing a diorama in 1/35. A German Opel Blitz truck and 5 figures. The diorama will depict the truck being ambushed by the French Resistance.
 
Quick question....where do you get the styrofoam from? What type of shop?
 
I bought it at an arts and craft shop here in Virginia called Michael's. I would imagine that any arts and craft store would have it, perhaps a flower shop or even styrofoam sheet insulation from a home improvement or hardware store.
rb
 
Where do the ideas come from Razorboy. Do you start with a model and then picture a scene or vice versa?
 
FK, I usually get the idea looking at pictures but in this case I have always wanted to do a stug model supported by infantry and the rest of the story just evolved. I always develop a story line for each scene, that helps me in the natural progression of the diorama.
rb
 
Back
Top