No Runs, No Drips, No Errors
Finally worked up the courage and fired up the airbrush today. The airbrush is a Testor Aztec 470. I bought it with an entire kit that includes airbrush, supply hose, 6 different nozzles and assorted paint cups and jars. I found the set brand new on Ebay and got it for only $120. Considering the set lists for about $185, I was very pleased with the deal. Since I'm just starting back into the hobby, I do not have an air compressor so I'm forced to use canned air. Not the optimum setup as I really have no way to regulate the air pressure other than my trigger finger, but since I don't have an extra $200 kicking around to buy a compressor it will have to do. Here is the whole setup:
<a href="http://s874.photobucket.com/albums/ab302/ACSpectre321/Diorama/?action=view¤t=Picture020.jpg" target="_blank"><img src="http://i874.photobucket.com/albums/ab302/ACSpectre321/Diorama/Picture020.jpg" border="0" alt="Photobucket"></a>
<a href="http://s874.photobucket.com/albums/ab302/ACSpectre321/Diorama/?action=view¤t=Picture022.jpg" target="_blank"><img src="http://i874.photobucket.com/albums/ab302/ACSpectre321/Diorama/Picture022.jpg" border="0" alt="Photobucket"></a>
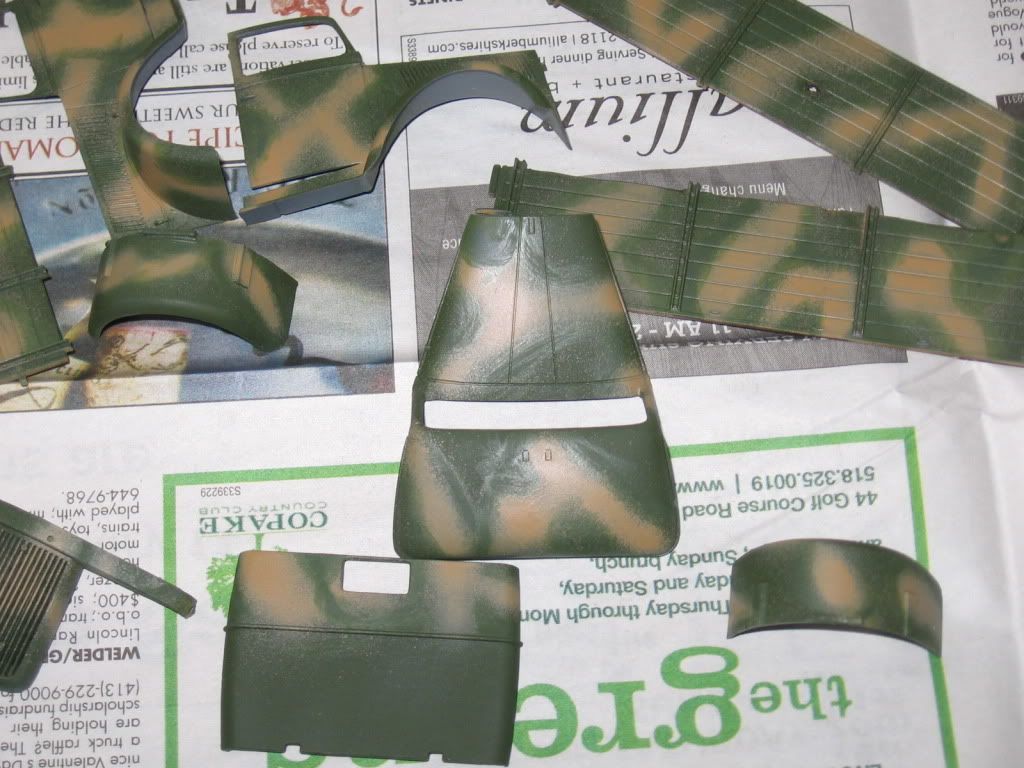
I chose to make the base coat of my truck Testor Model Master Dark green. The nozzle I chose to use was a .40mm general purpose nozzle designed for medium coverage. I thinned the paint until it was roughly the consitency of milk and took the plunge. After a few practice strokes on some newspaper, I moved to some plastic. I took the canvas top for the back of the truck that I don't plan to use and shot a few strokes on it to guage the right distance and paint flow. Feeling pretty confident I moved to the exterior body parts of the truck. I must say that even with the canned air, it was easy to maintain the paintflow I desired. The airbrush performed flawlessly. It was very easy to get just the finish I wanted and I was super pleased with the result.
<a href="http://s874.photobucket.com/albums/ab302/ACSpectre321/Diorama/?action=view¤t=Picture024.jpg" target="_blank"><img src="http://i874.photobucket.com/albums/ab302/ACSpectre321/Diorama/Picture024.jpg" border="0" alt="Photobucket"></a>
<a href="http://s874.photobucket.com/albums/ab302/ACSpectre321/Diorama/?action=view¤t=Picture025.jpg" target="_blank"><img src="http://i874.photobucket.com/albums/ab302/ACSpectre321/Diorama/Picture025.jpg" border="0" alt="Photobucket"></a>
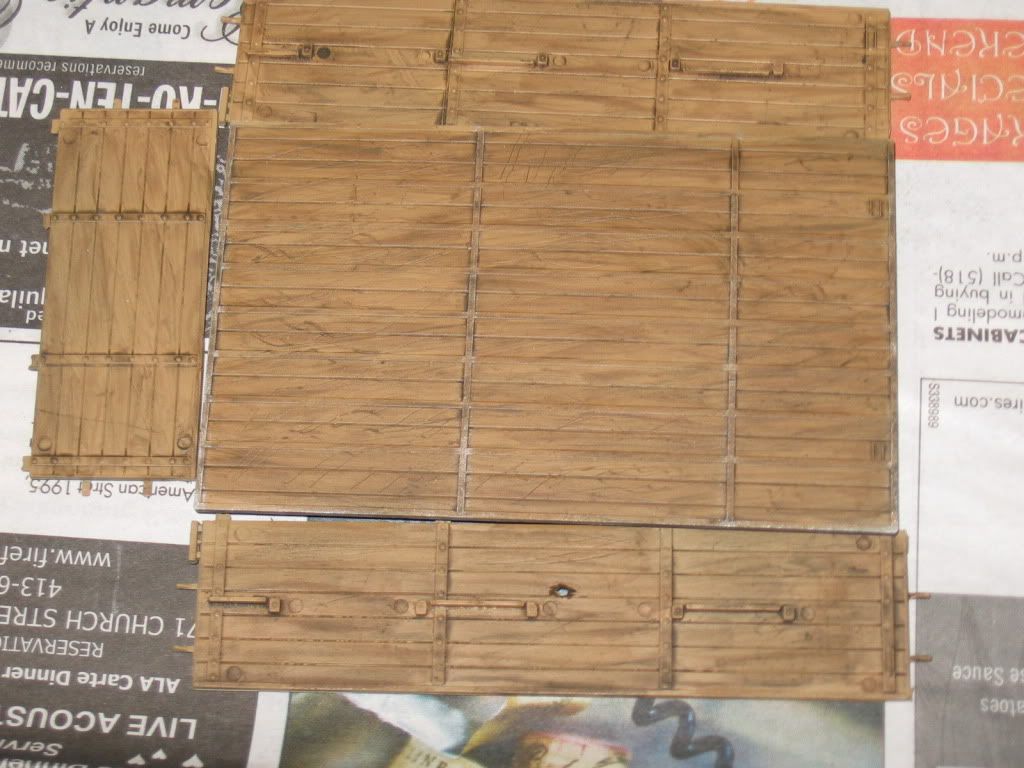
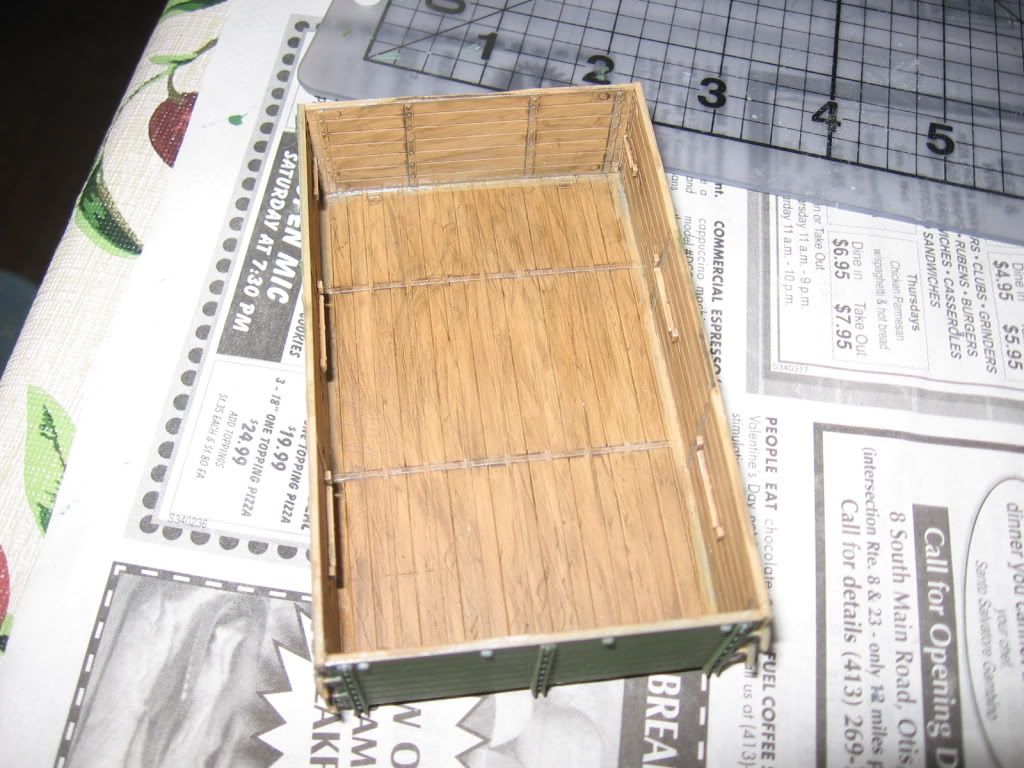
All parts received a nice light, even base coat of paint. It looks like I might even know what I'm doing. I left everything to dry and set to cleaning the airbrush. Modern airbrush or not, the cleaning ritual is still the same and I'm pretty meticulous about it. Once that was done the "wooden" body parts were dry enough to flip over to paint the interior side. I also pulled the floor out of the box and set that in line as well. I stuck with the medium coverage nozzle and mixed up some Testor Model Master Wood paint. I didn't quite thin this batch as much as I should have and I had some problems with the nozzle plugging slightly at the beginning. I aimed at the newspaper and gave it a quick, heavy blast of air. This got the paint flowing and I kept it flowing and moved right onto the plastic. I had to back away from the parts a bit to compenste for the thicker paint flow, but once again I was able to put a nice, light coat on the parts.
<a href="http://s874.photobucket.com/albums/ab302/ACSpectre321/Diorama/?action=view¤t=Picture026.jpg" target="_blank"><img src="http://i874.photobucket.com/albums/ab302/ACSpectre321/Diorama/Picture026.jpg" border="0" alt="Photobucket"></a>
I really can't say enough about this Aztec airbrush. It was a joy to use and for the relatively small investment I made it is going to serve me well. I'm going to let the base coat dry at least 24 hours before I put on the fine nozzle and try my hand at camoflauging. Depending on how confident I feel, I may try to free hand this instead of masking everything.


")