CMBN : THE CROSSROADS AT MONTHARDROU AFTER ACTION REPORT

L

Lawrence

Guest
1.jpg


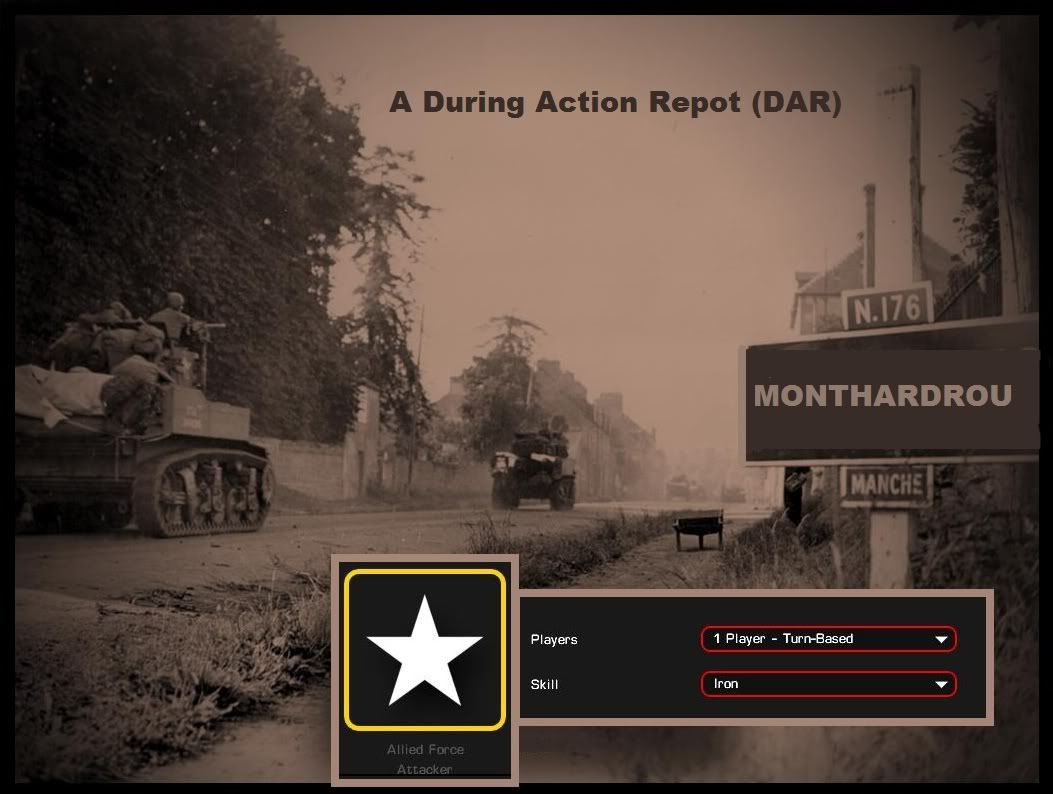
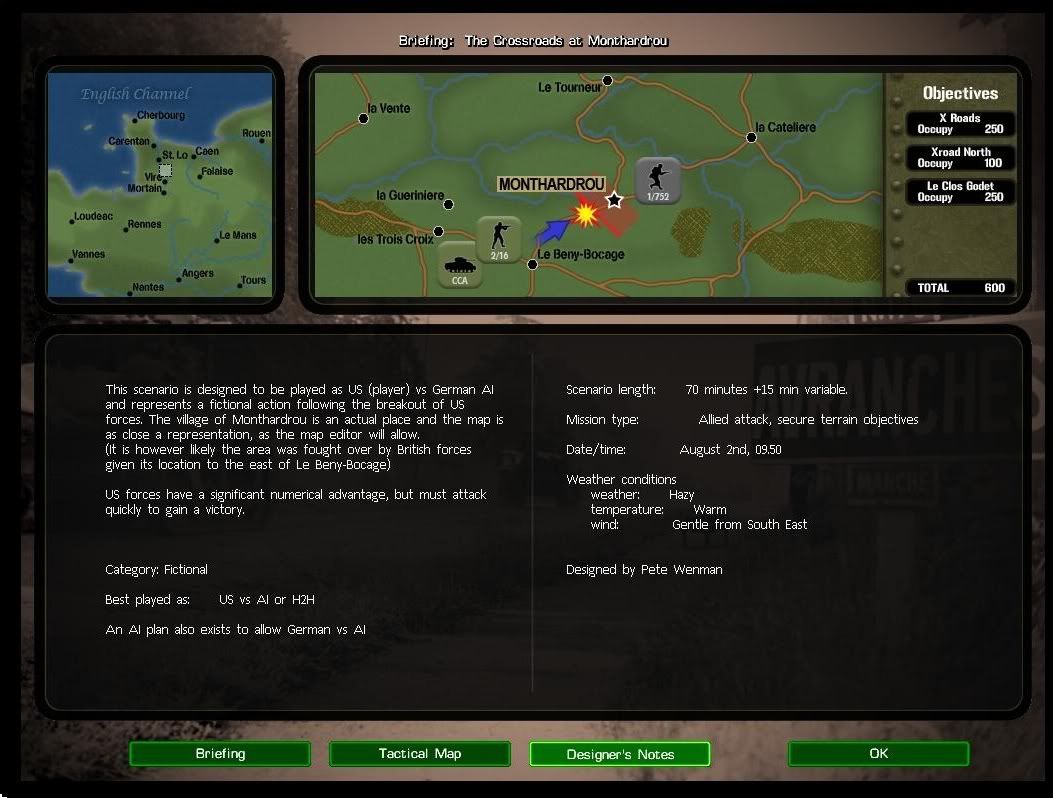
This will be a DAR of the CM:BN scenario "The Crossroads at Monthardrou". Us vs AI, Iron difficulty.​

2.jpg


3.jpg

4.jpg

5.jpg

6.jpg


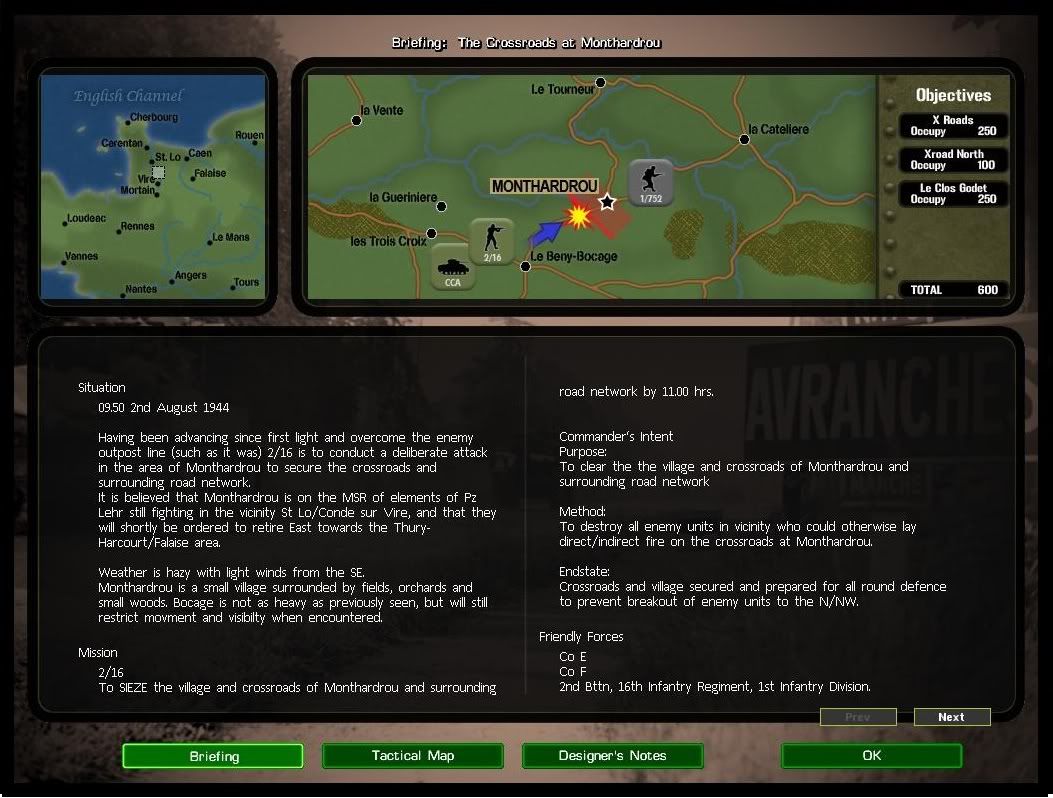
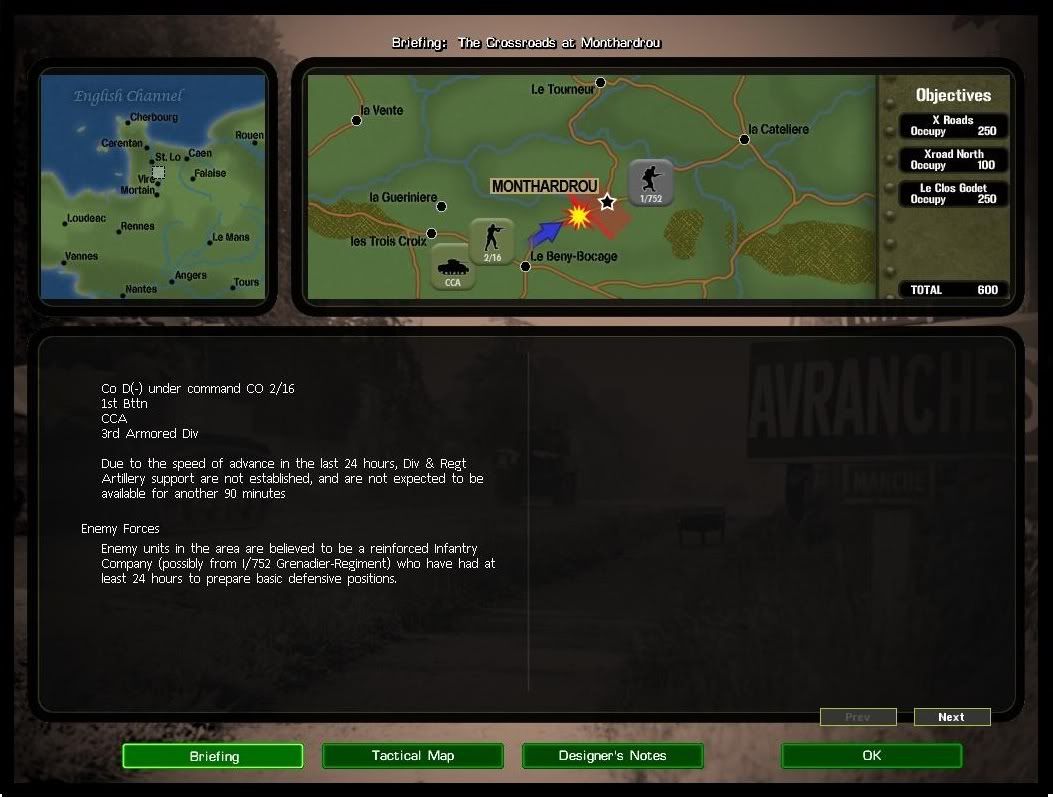
It is a combined arms American attack against a moderately prepared German defense. They are known to hold the crossroads objective but further enemy dispositions beyond that are unknown.

Friendly forces are (as far as I can gather from the briefing) 2 companies infantry( E and F) and 1 company tanks (D(-)).

No artillery support beyond organic mortars are available.

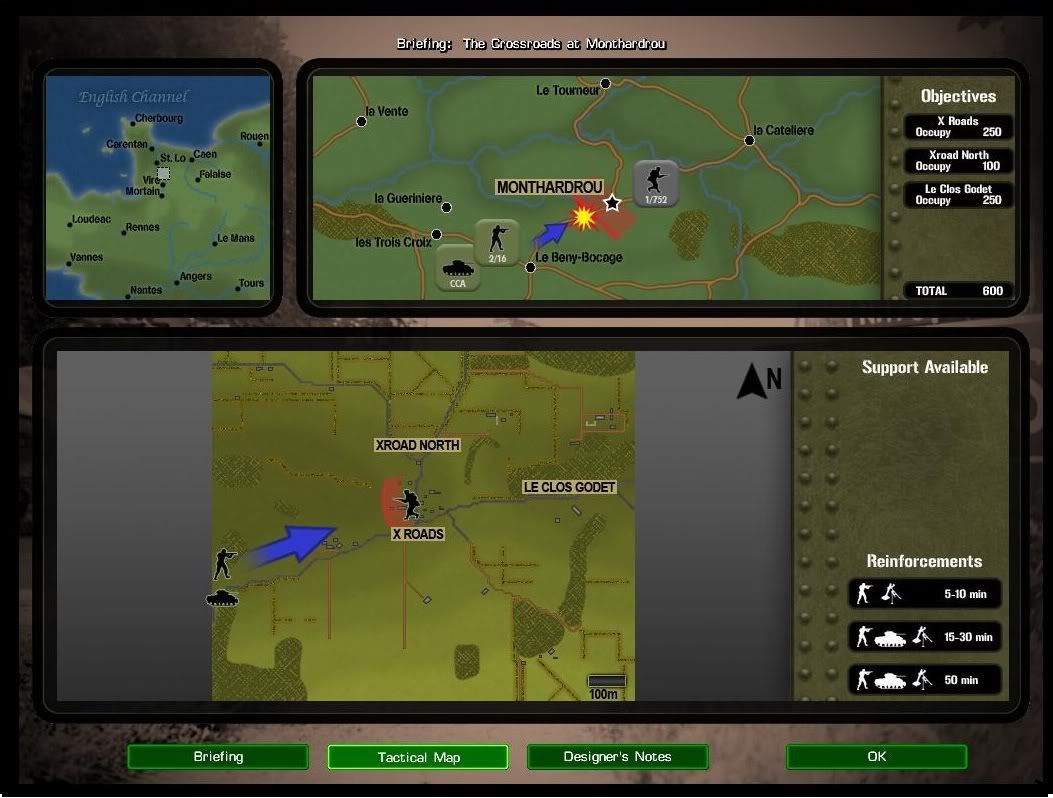
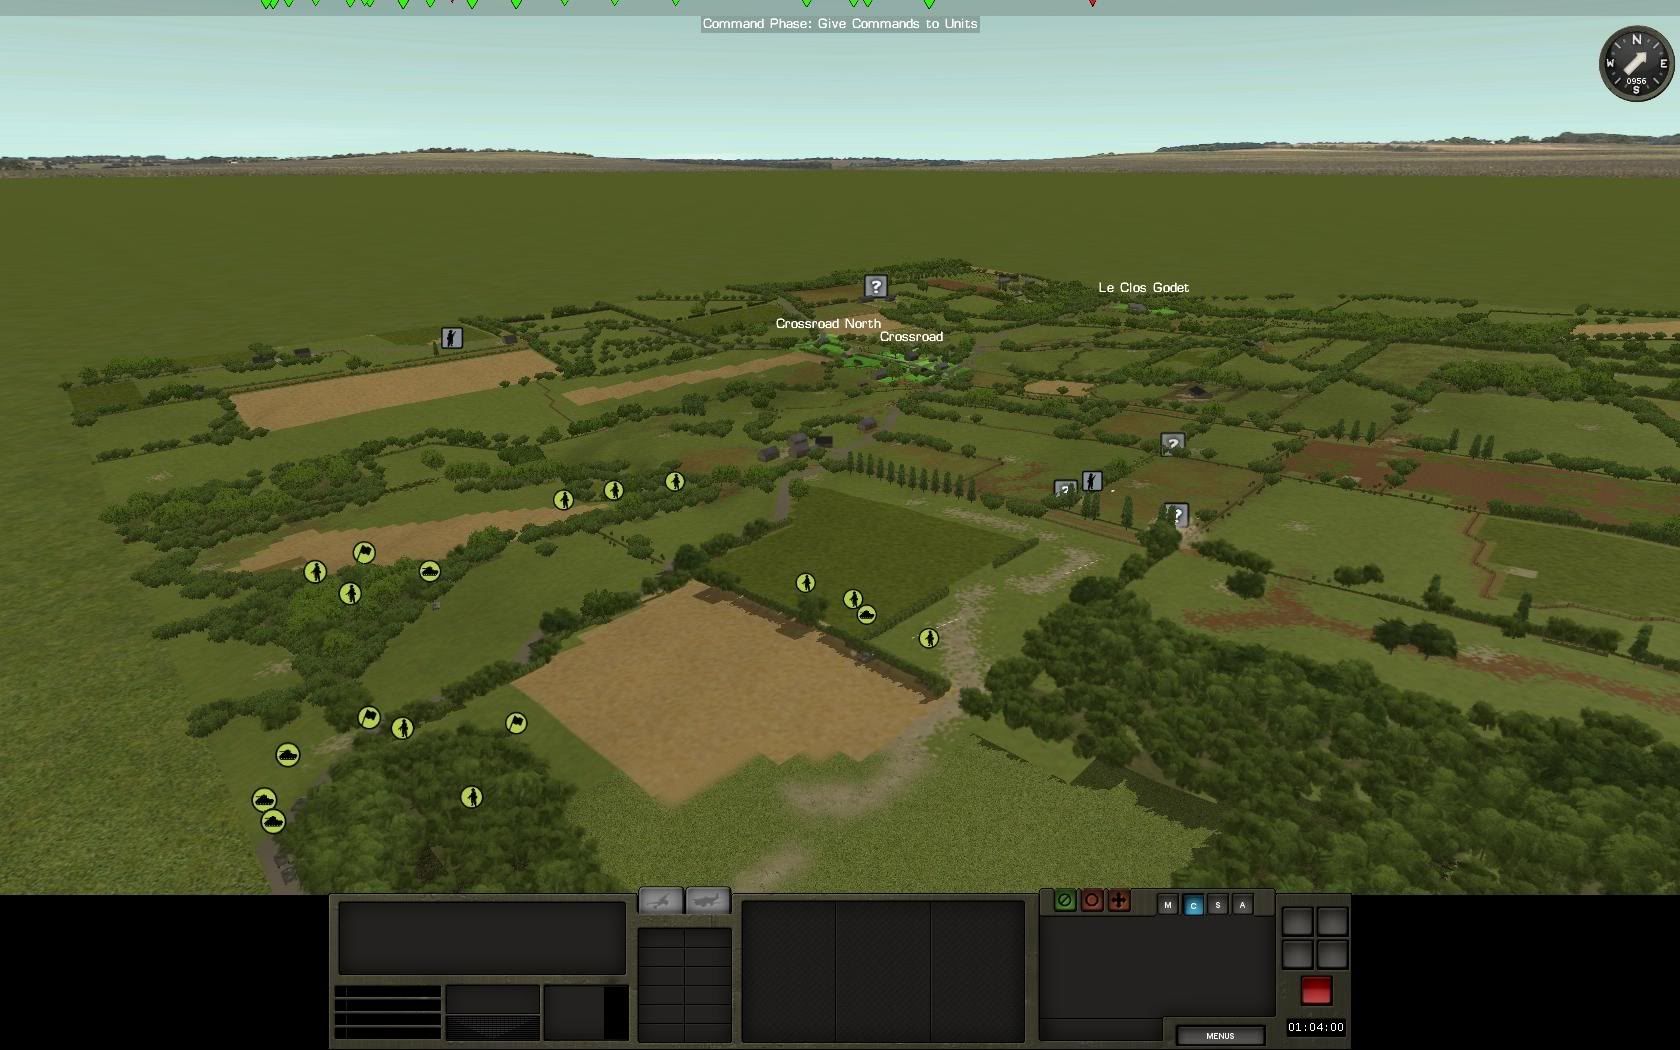
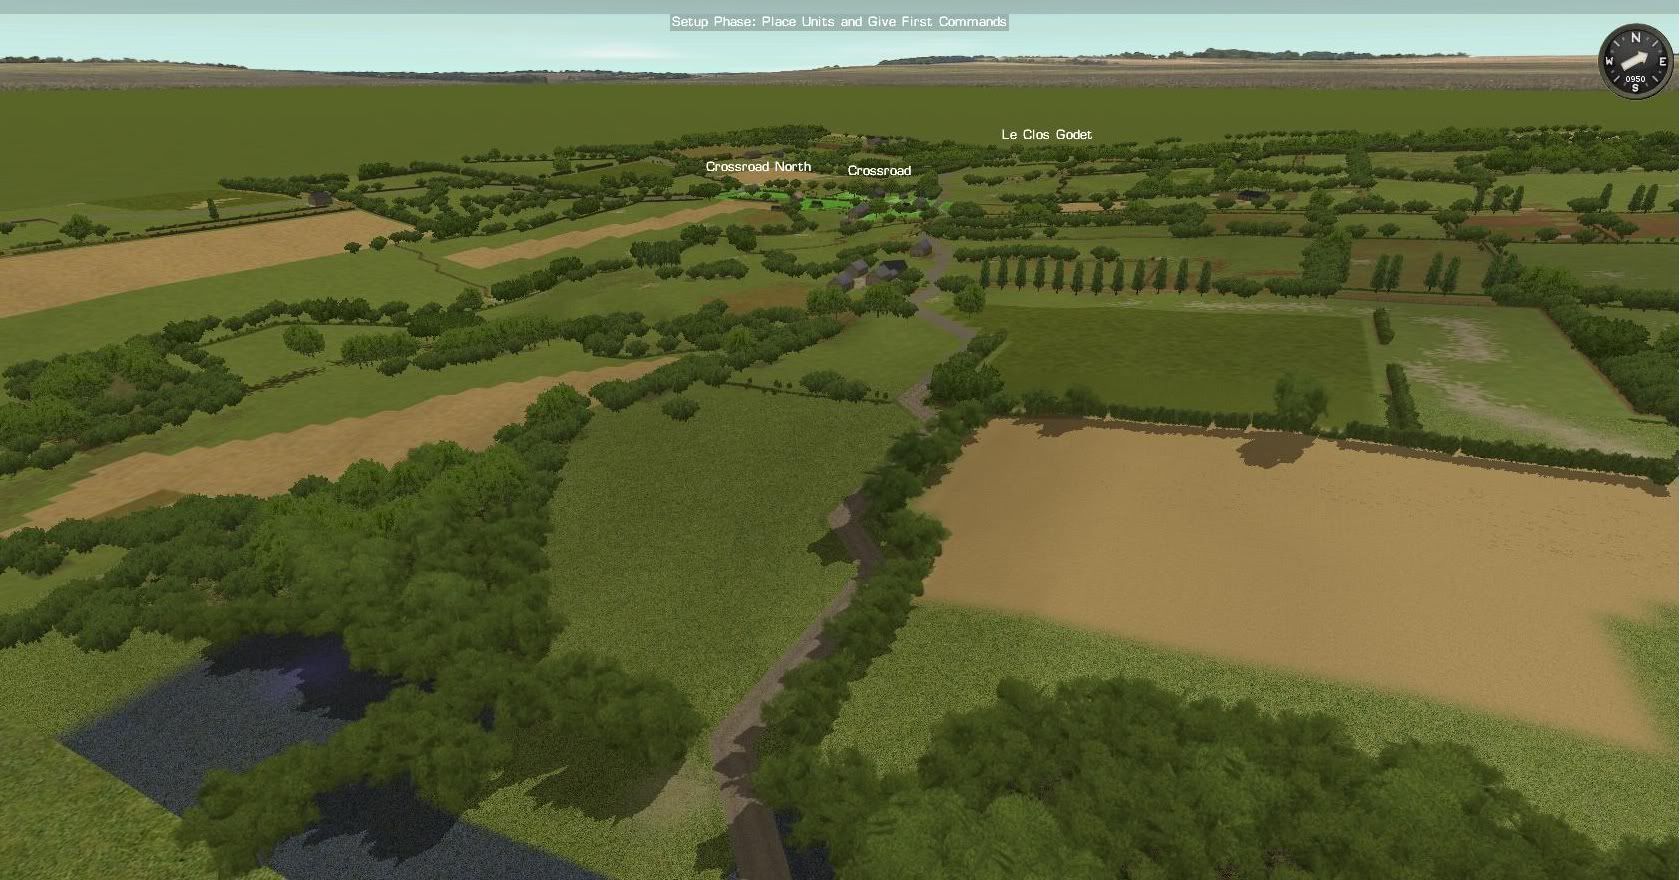
Terrain is generally large open fields broken by bocage. It offers good lines of fire for concealed enemy MG and AT assets. There are not many covered avenues of approach. The village crossroads objective offers good cover to enemy infantry.
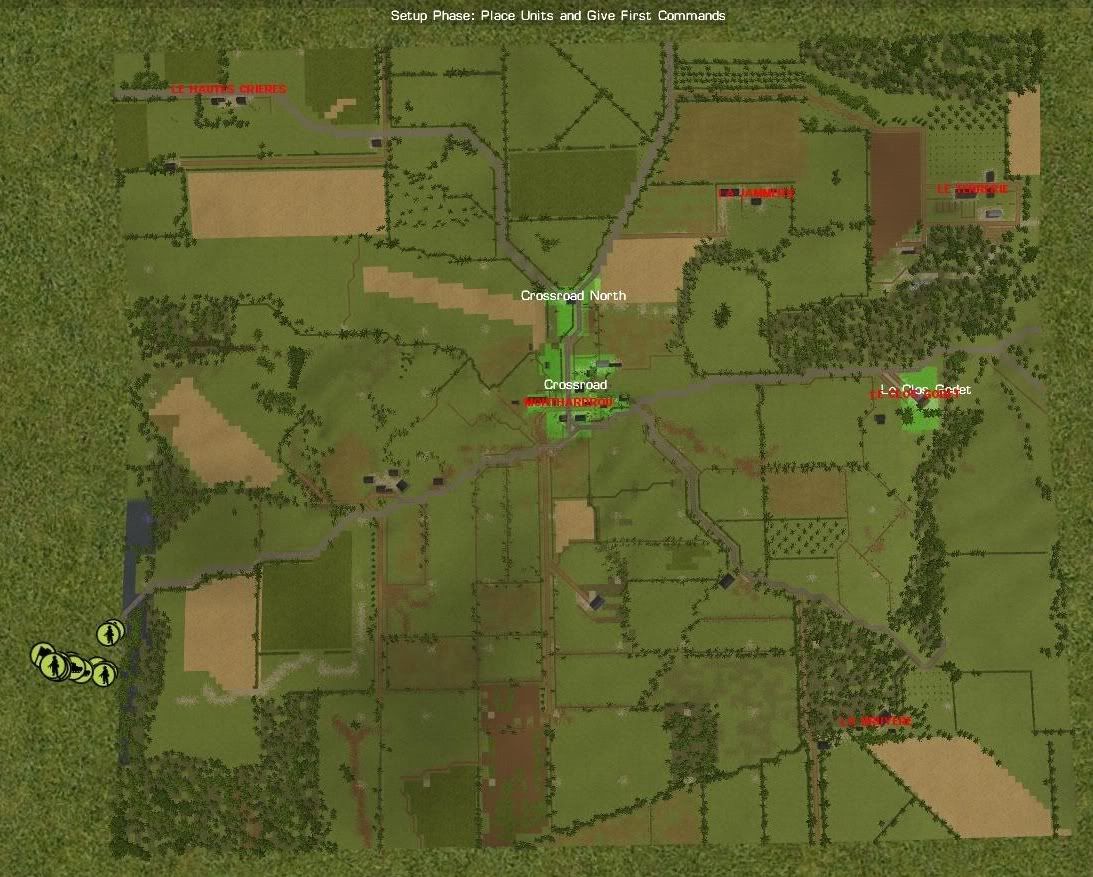
7.jpg


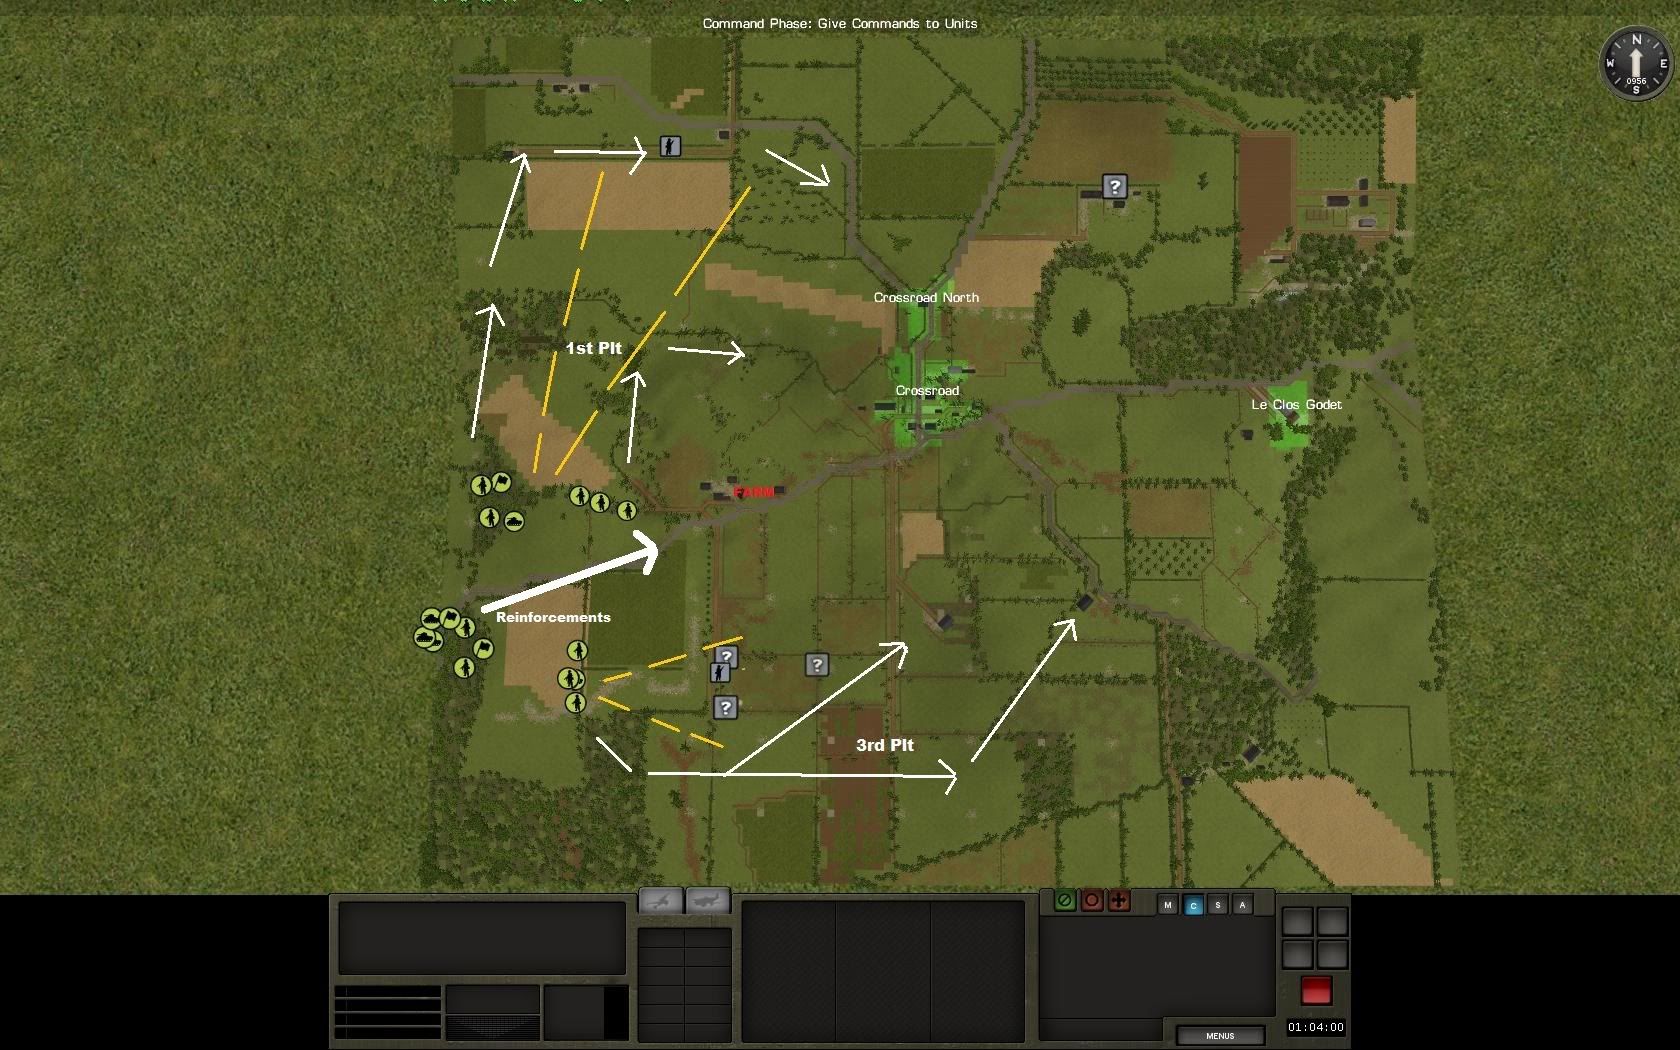
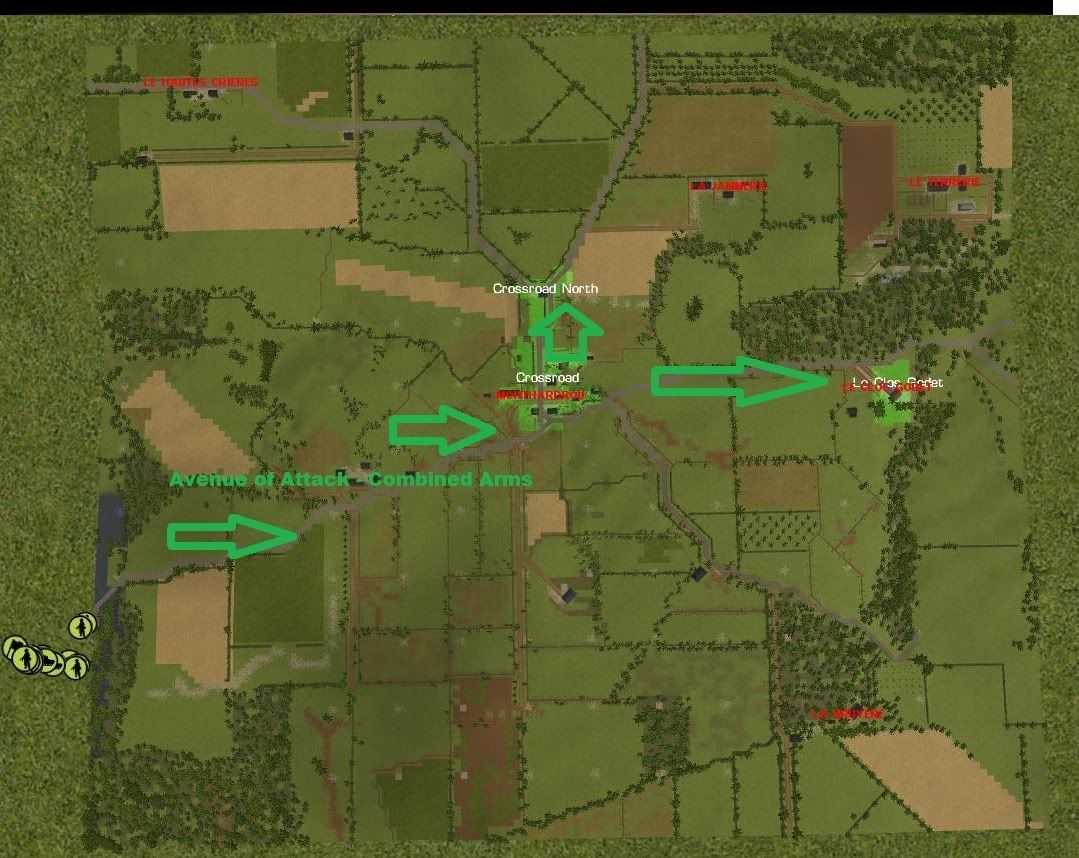
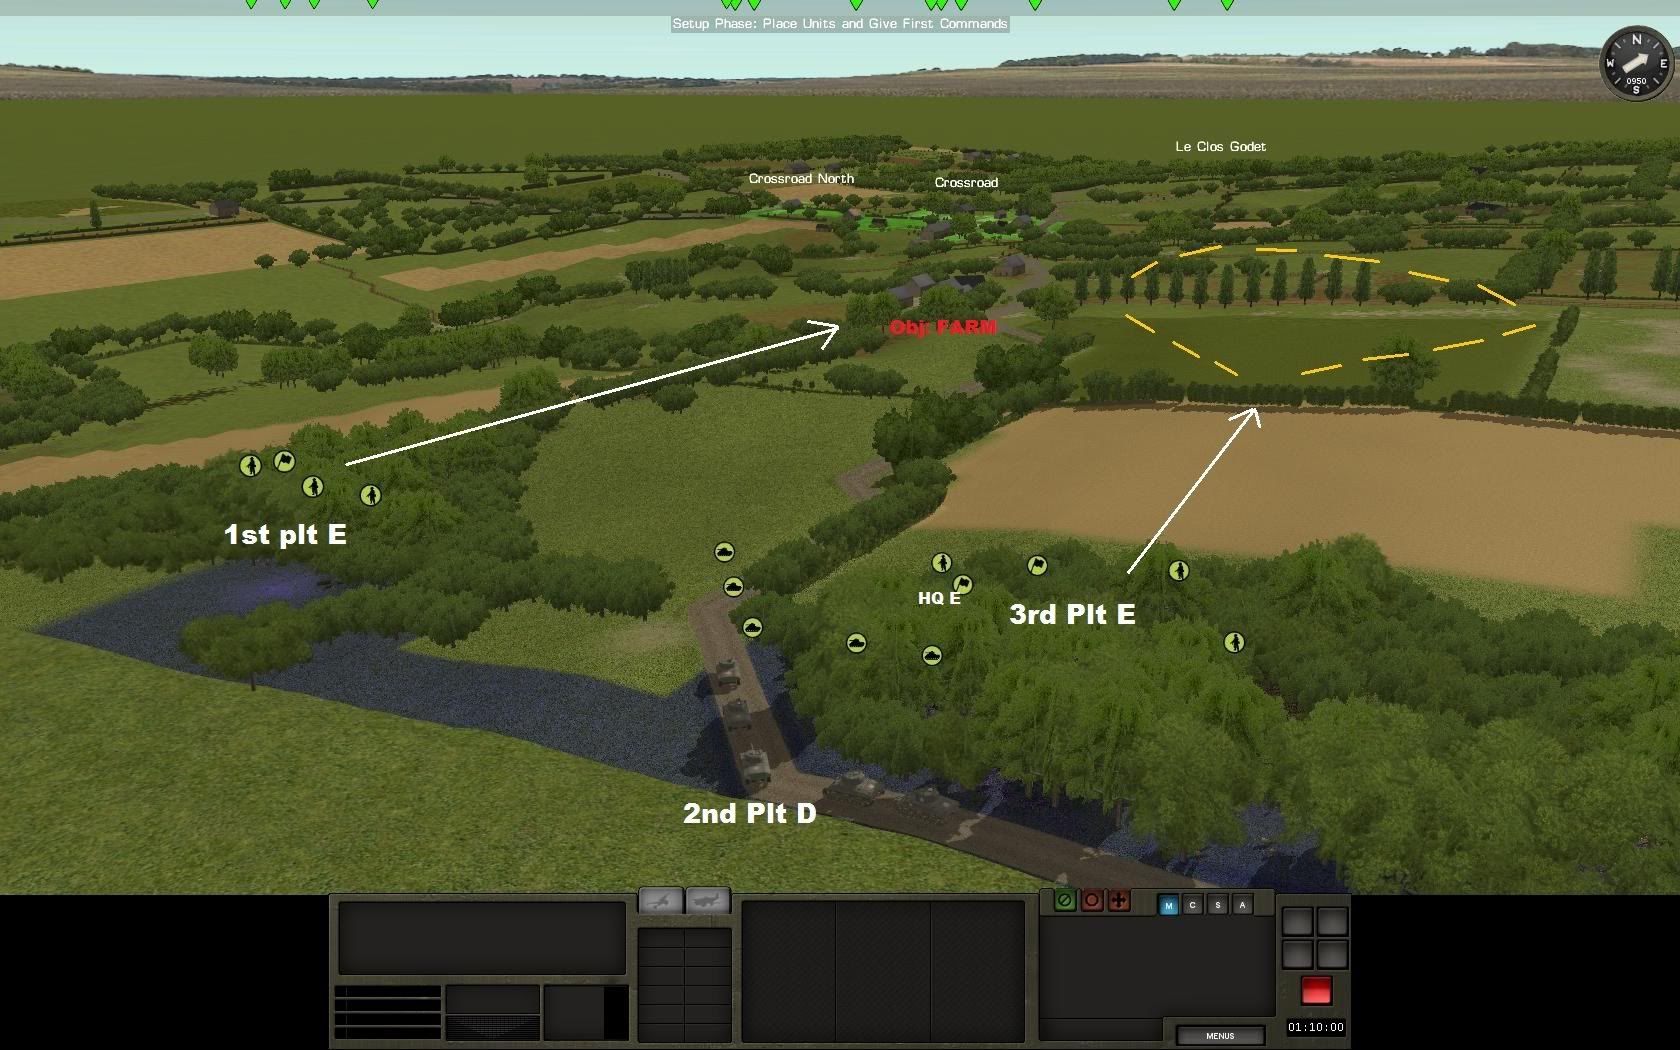
A tentative attack plan sees both infantry platoons moving to contact along the flanks of the main road, supported by tank fire support.

Plan to be revised at contact.
8.jpg


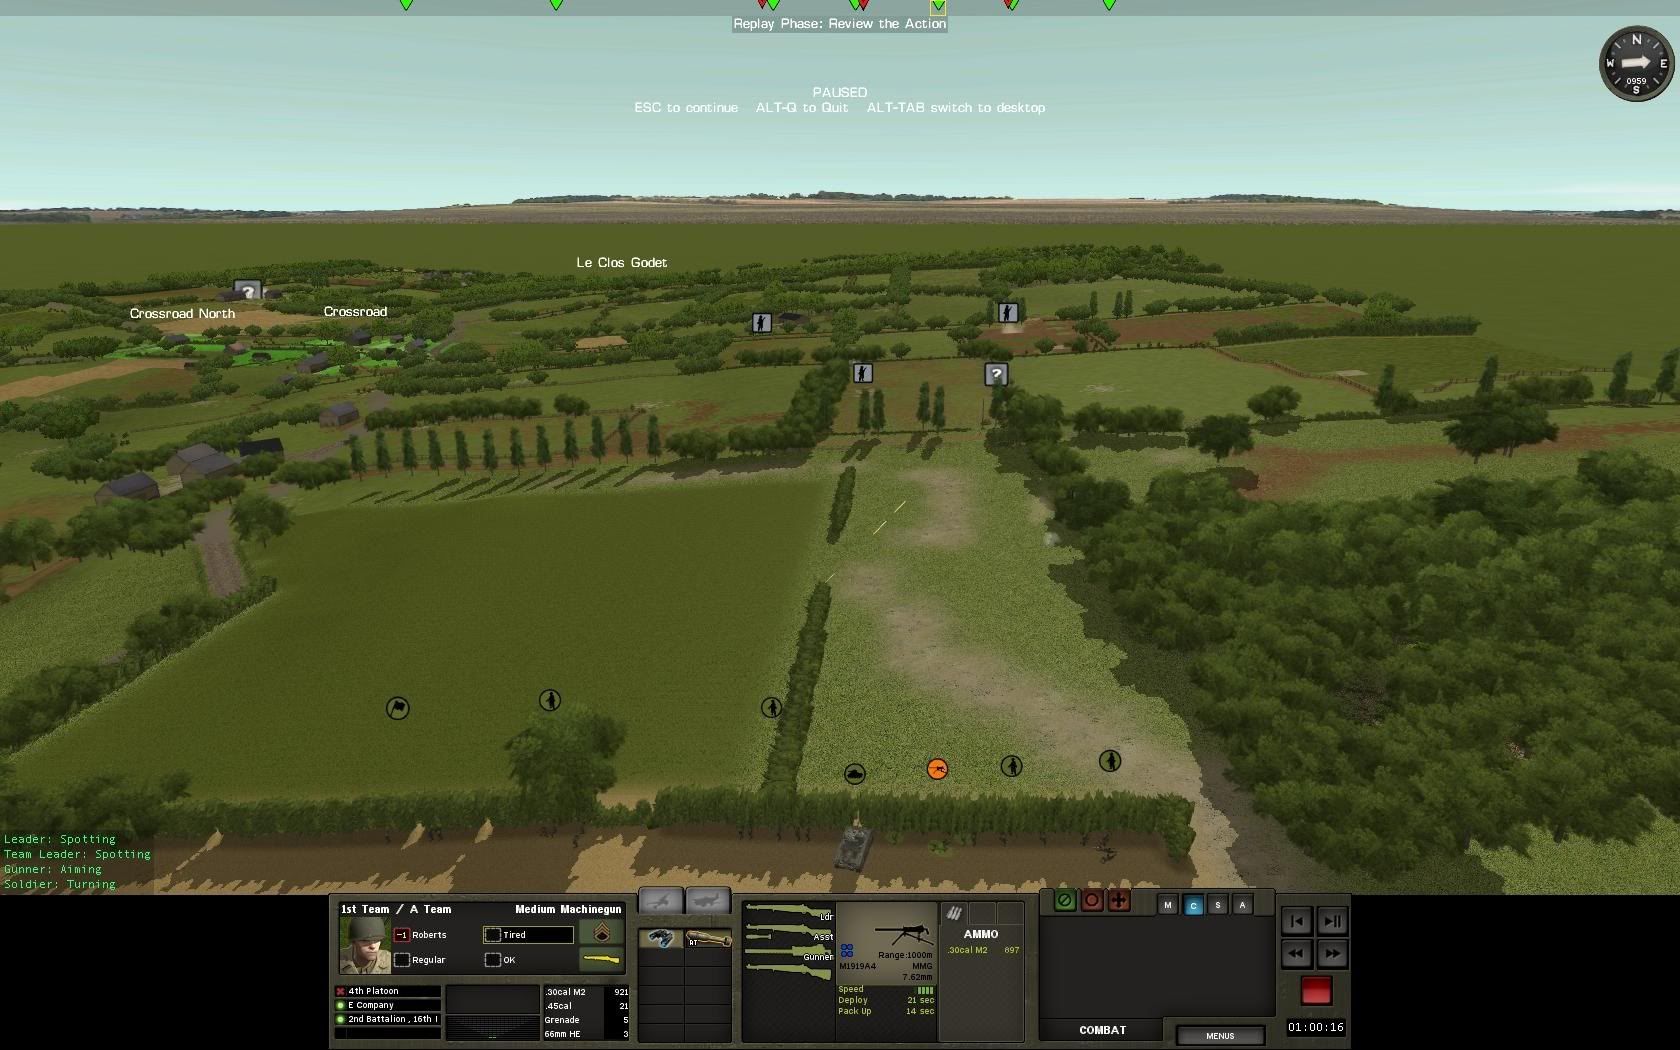
The Main Road to the objective. Note the small farm complex to my immediate front... A jump off point.
9.jpg


Initial Deployment
Infantry:
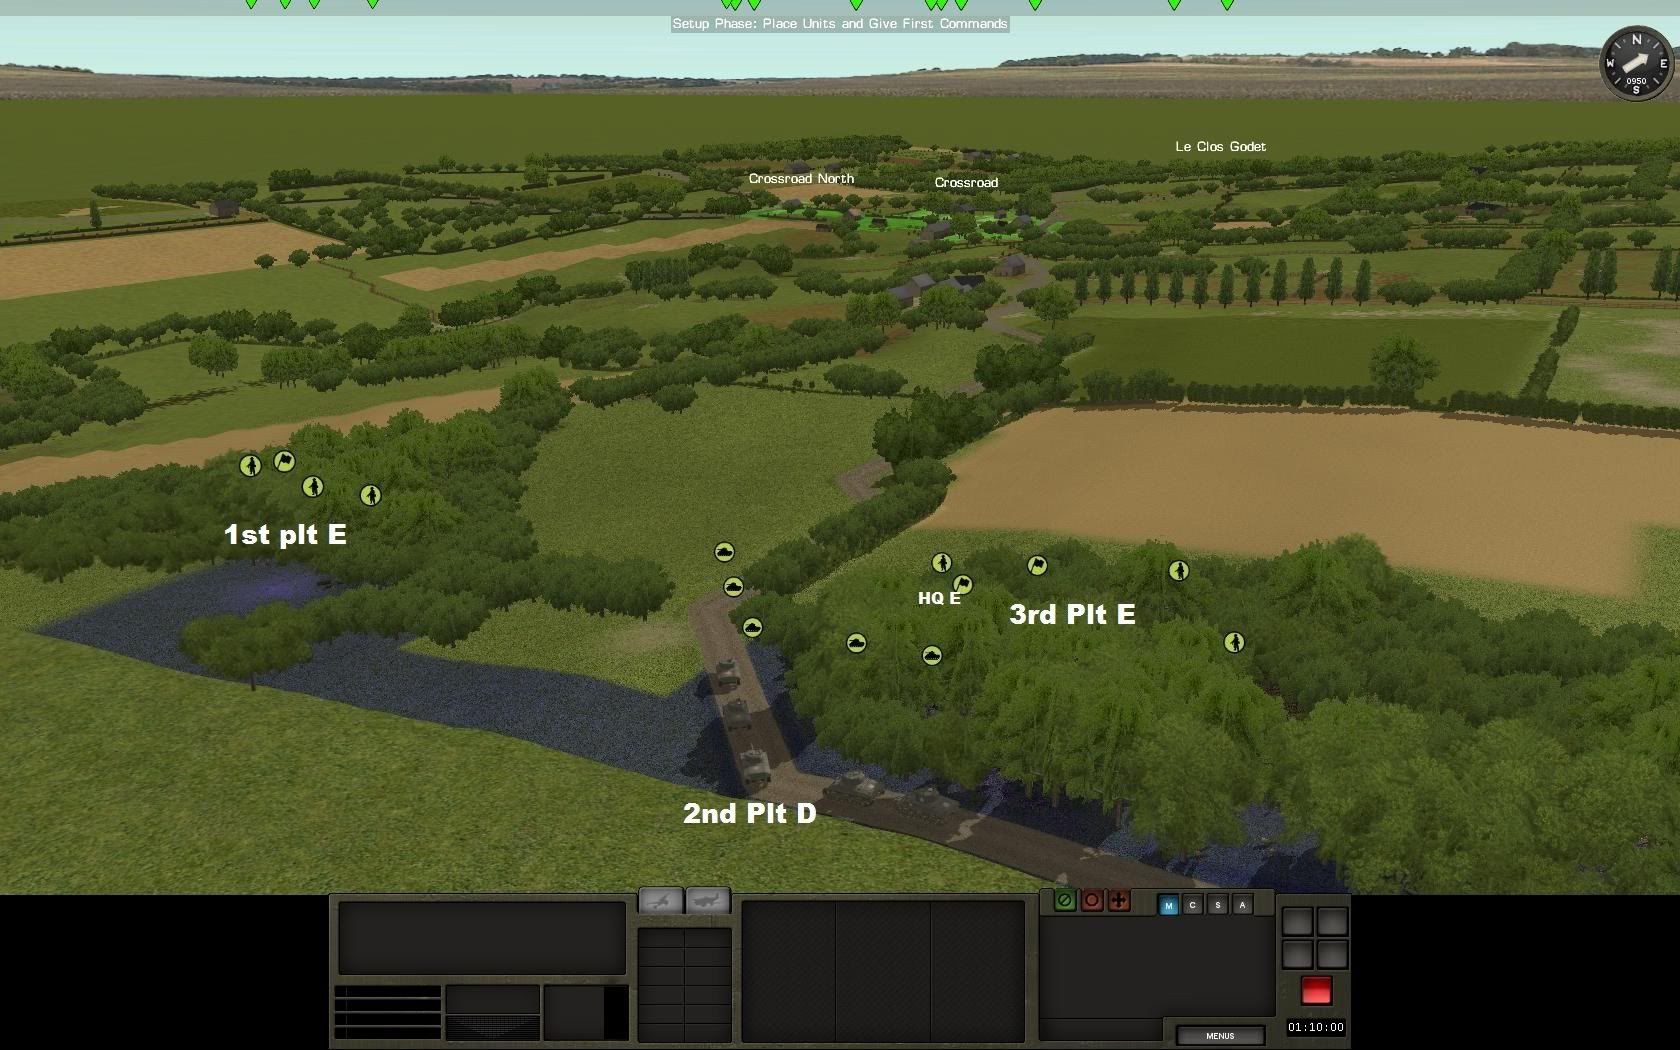
On map, we have 2 platoons infantry, 1 platoon tanks. (1st and 3rd infantry platoons from E company, and 2nd tank platoon D company.
11.jpg


12.jpg


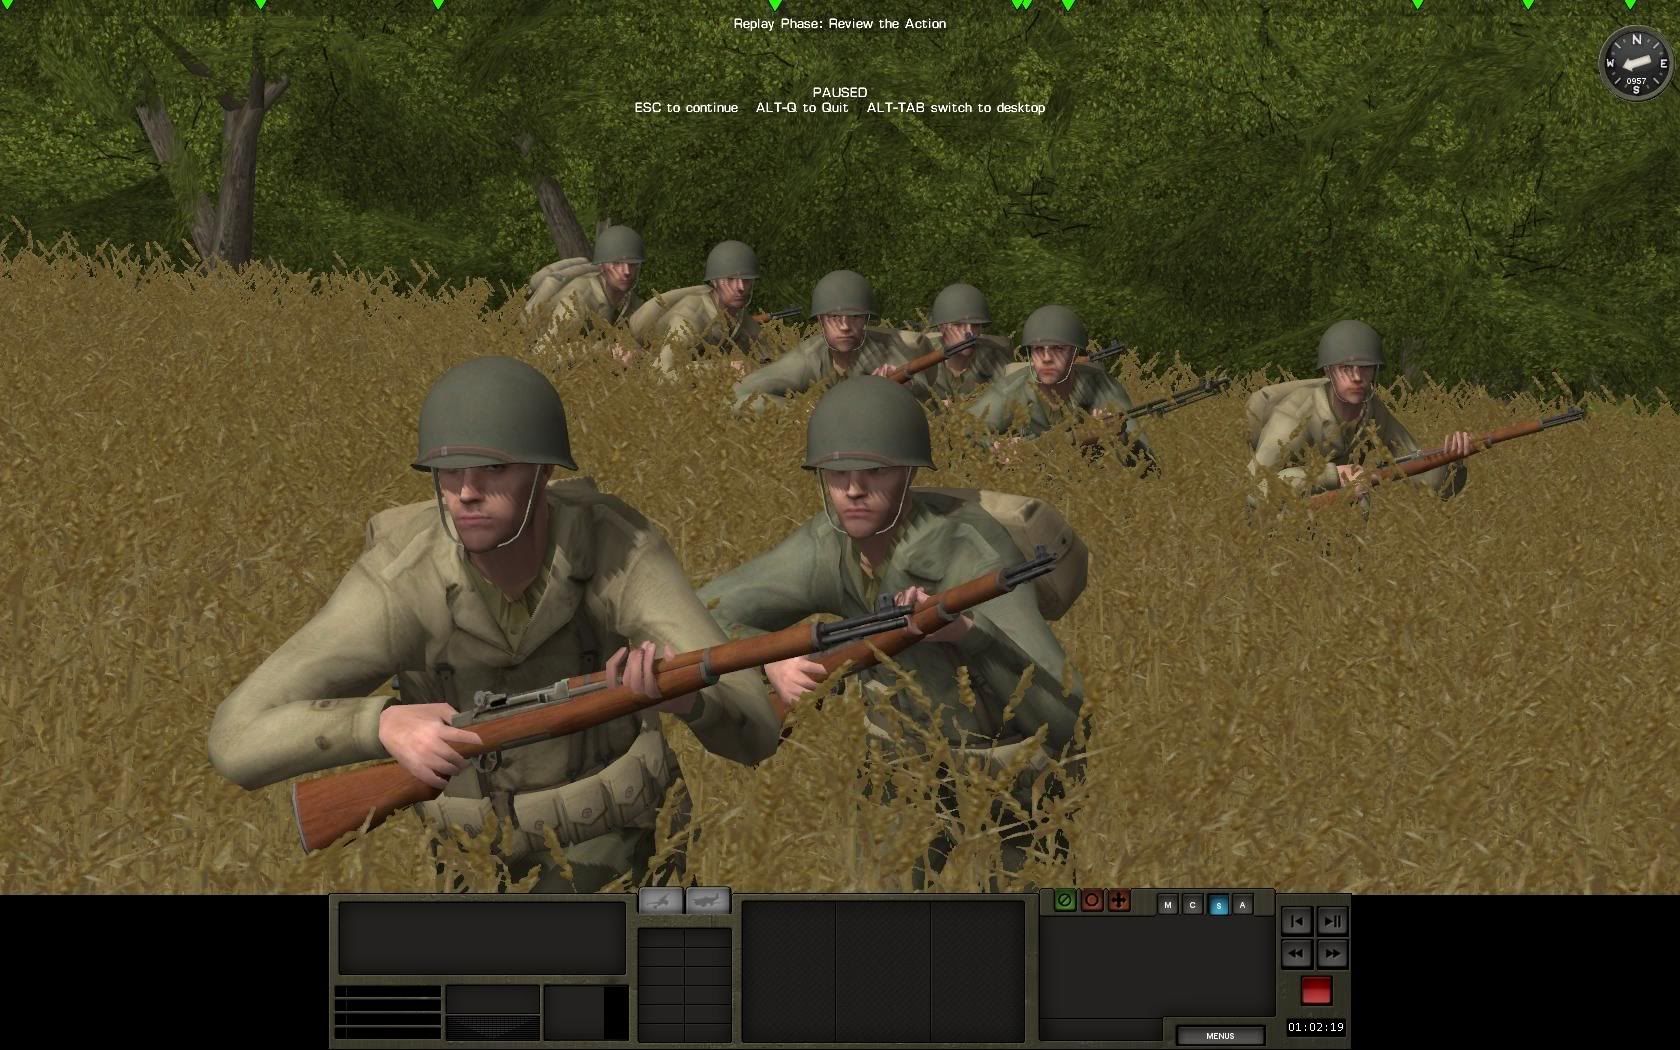
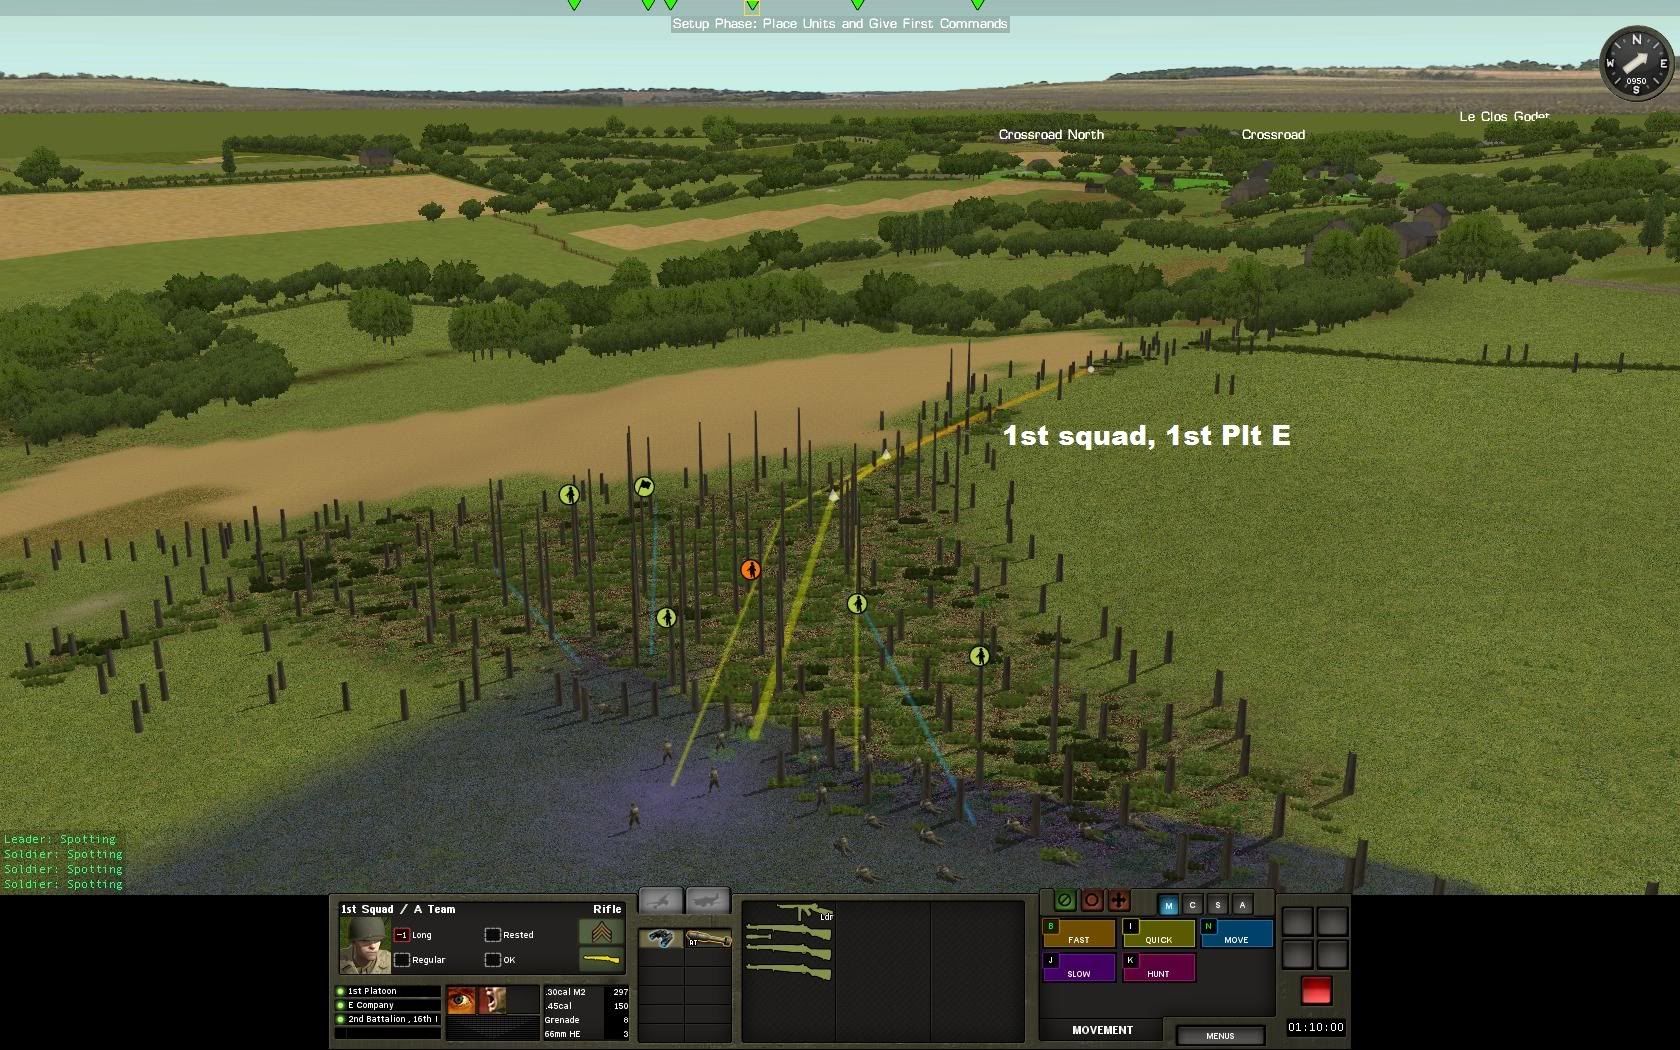
On our left flank, 1st Plt E has a great covered avenue of approach through trees to a farm that must be my first objective. One squad from 1st Plt E will move to contact through this line.
13.jpg


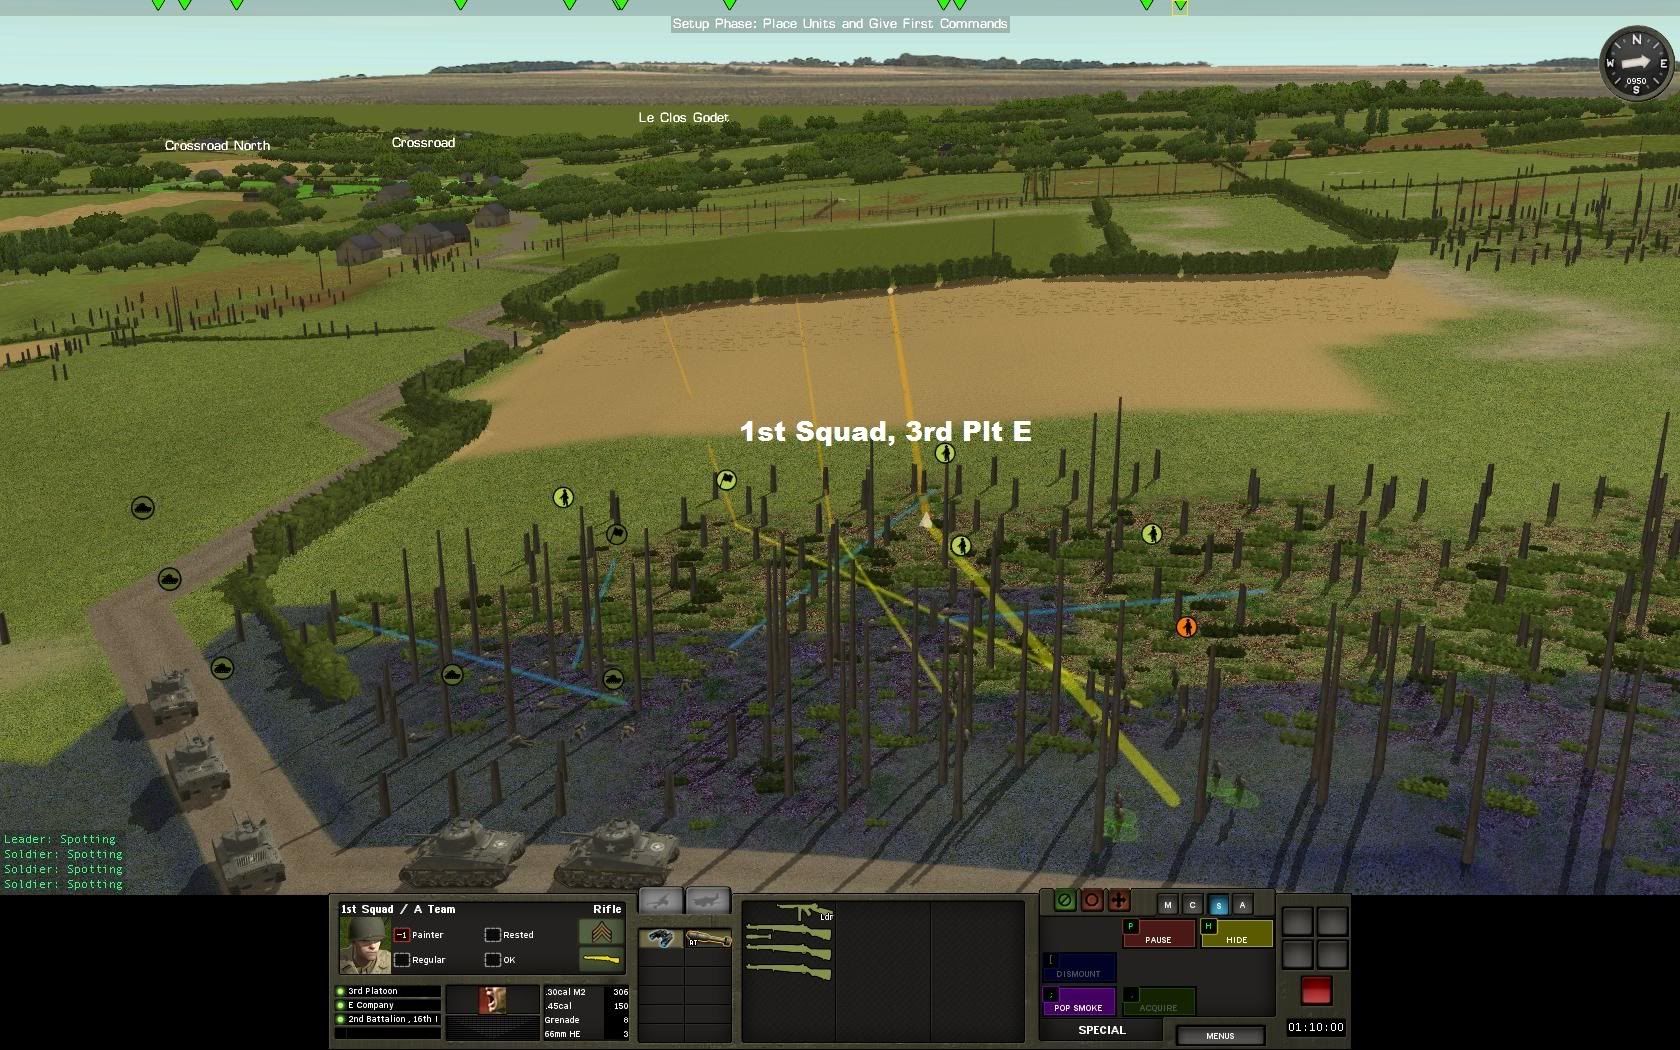
On our right flank, we have open fields with bocage. One squad from 3rd Plt E will fast move to the first bocage line, then overwatch.
14.jpg


The 1st squads in each platoon will be split into three teams. This will spread them out, making them more survivable once contact is achieved.

Armor:
The initial force deployment is unique in that I have some much armoured firepower. 5 Sherman tanks with 50+ rounds 75mm HE means 250+ rounds total. Not to mention the 50 and 30 cal MG's. This means that while I'm lacking in off-map artillery support, I have enough HE to cause a lot of damage. I'll try to use my tanks like mortars: Keeping them as far back from the enemy as possible, moving them forward one at a time to destroy revealed enemy positions.

I can't stress enough how important it will be to keep my tanks alive. There are the asset most able to kill the enemy once spotted. Anti tank guns and PanzerShreks are expected. And a dead Sherman with 30 rounds of HE left is lost firepower. Caution will therefore be the general principle for the tanks.

What do I anticipate? Well, initially, I expected objective FARM to be occupied, with supporting AT and MG assets covering the lines of approach to that objective. I must deploy my forces to overcome that.


1:10:00 - 1:08:00

1st Squad, 1st Plt E fast moves to cover to point along the covered avenue of approach.

1st Squad, 2nd Plt E fast moves to the bocage line on my right flank.

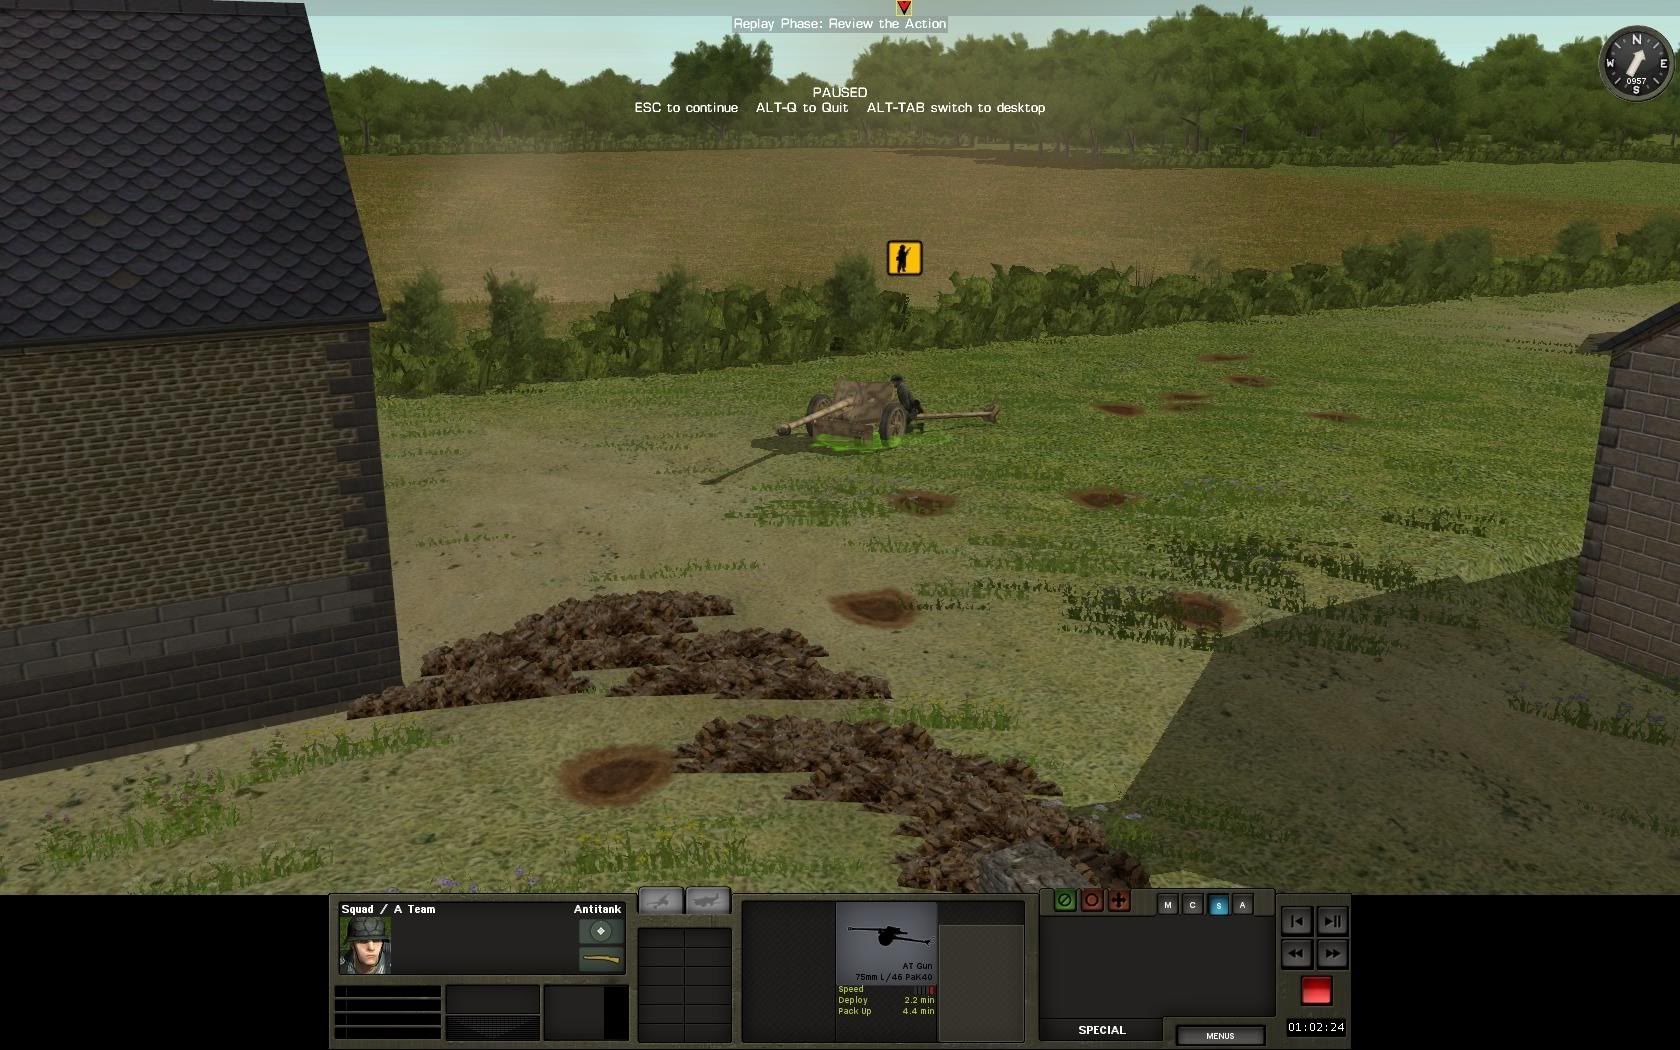
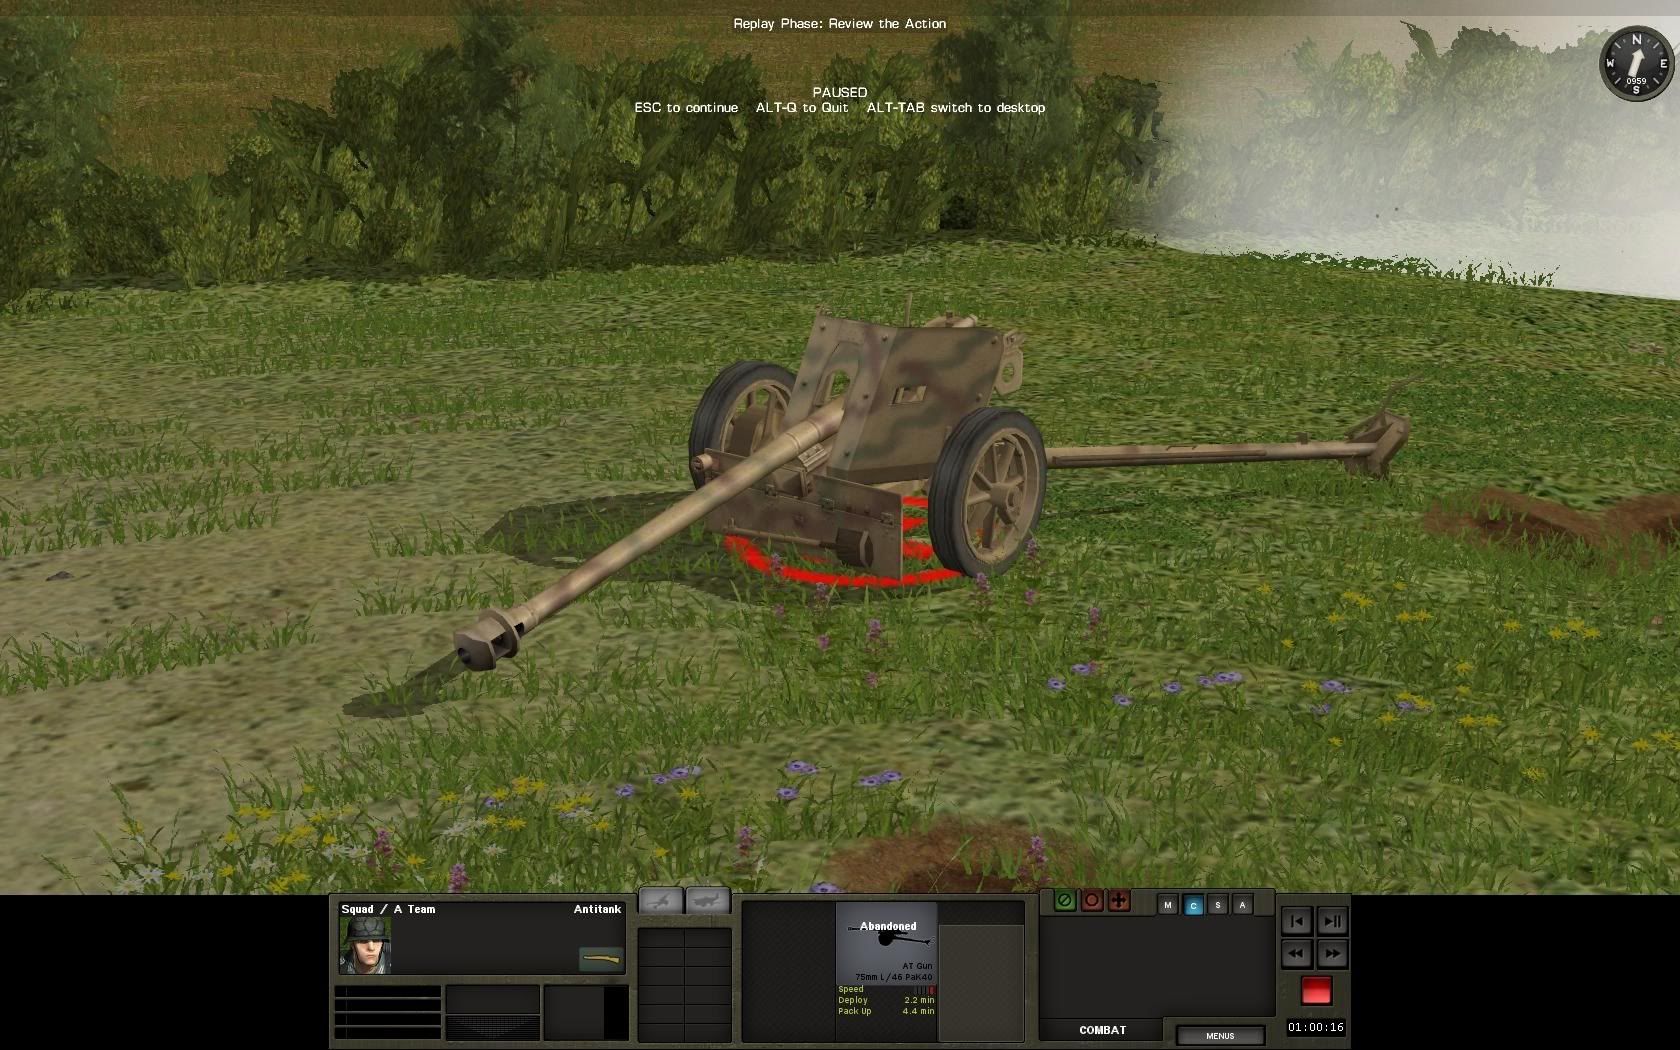
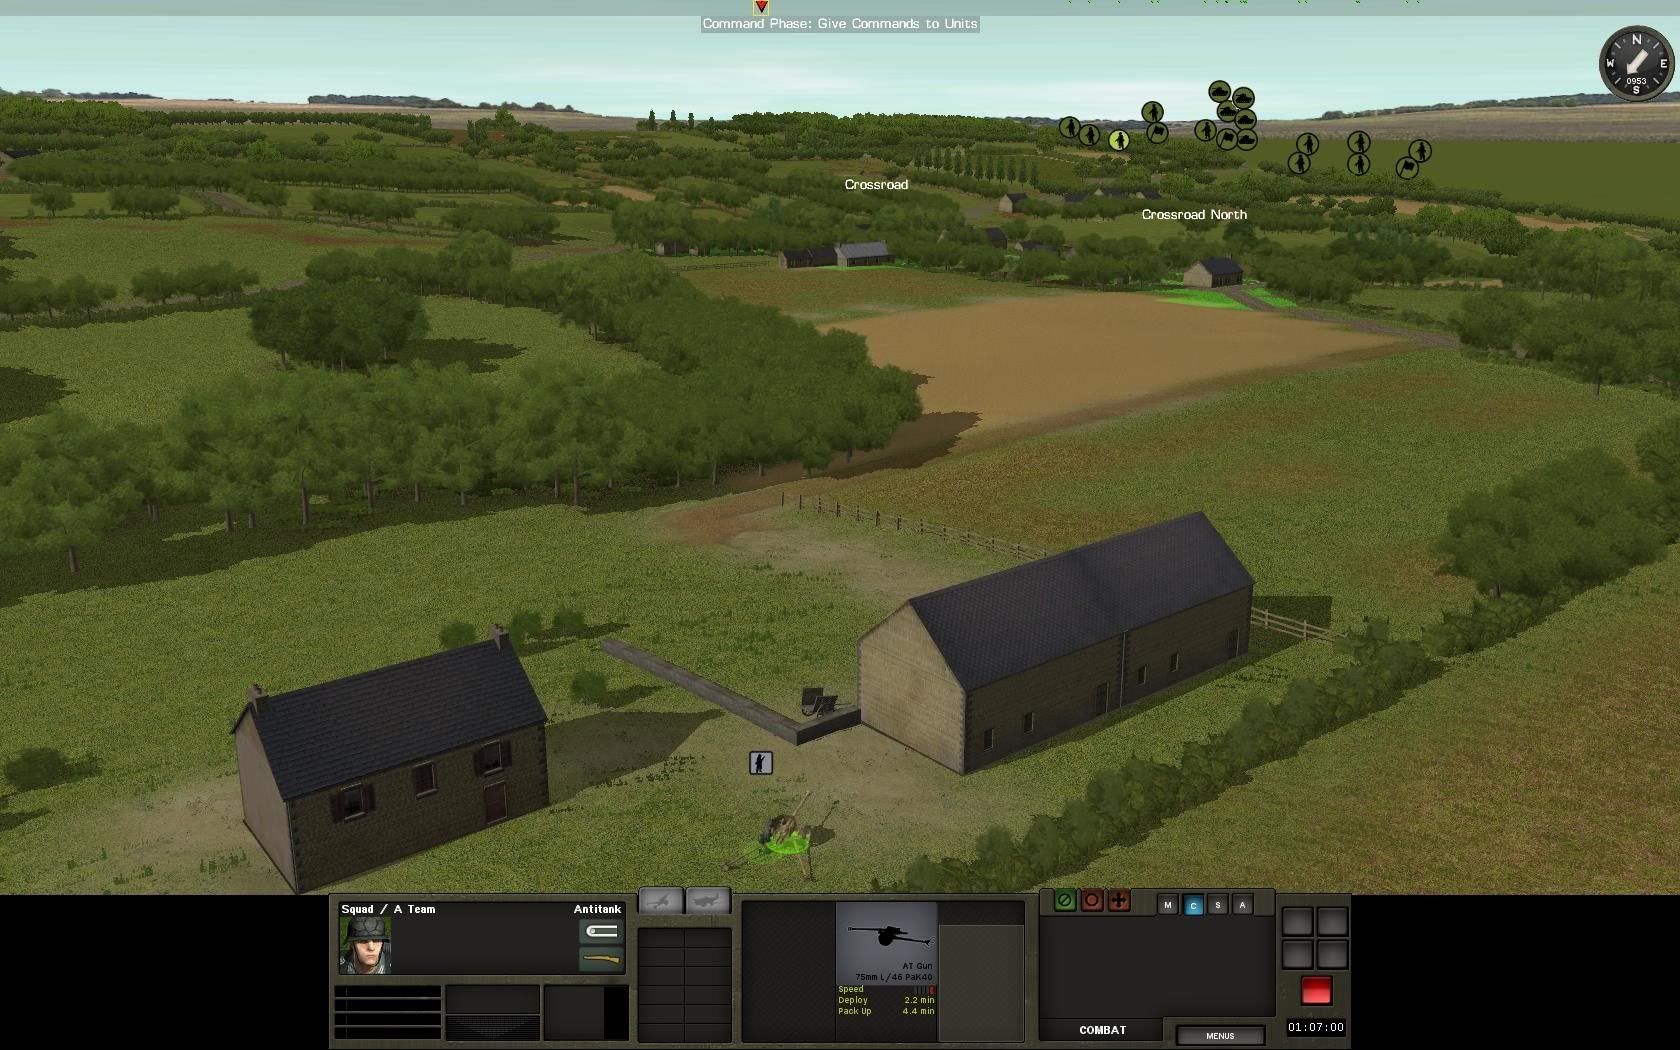
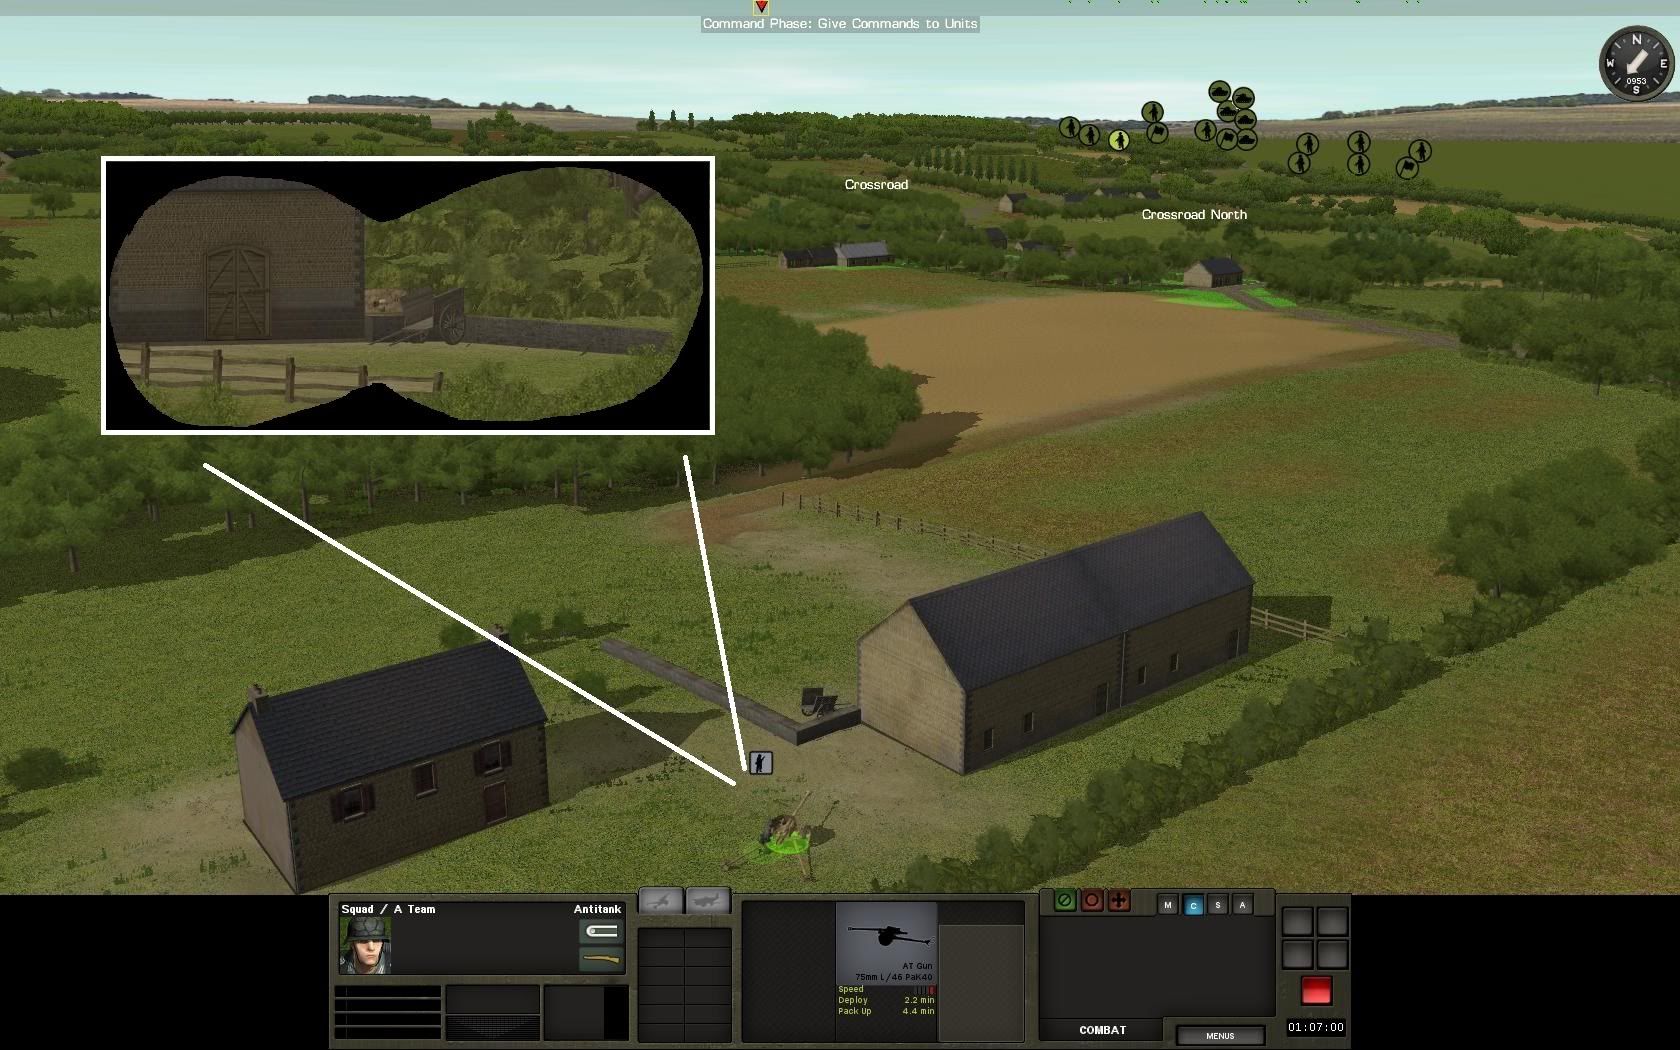
They experience no contact until the fading seconds of minute three. Corporal Voight of 2nd Plt spots an enemy AT 75mm PAK gun the distance. It's in the open, behind a low stone wall behind the crossroads. This is a great find. As soon as E company's Weapons Plt arrives, I will send a mortar team to dispatch the gun. In the meantime, I'll try to stay out of its line of sight.
15.jpg


16.jpg


1:08:00 - 1:07:00
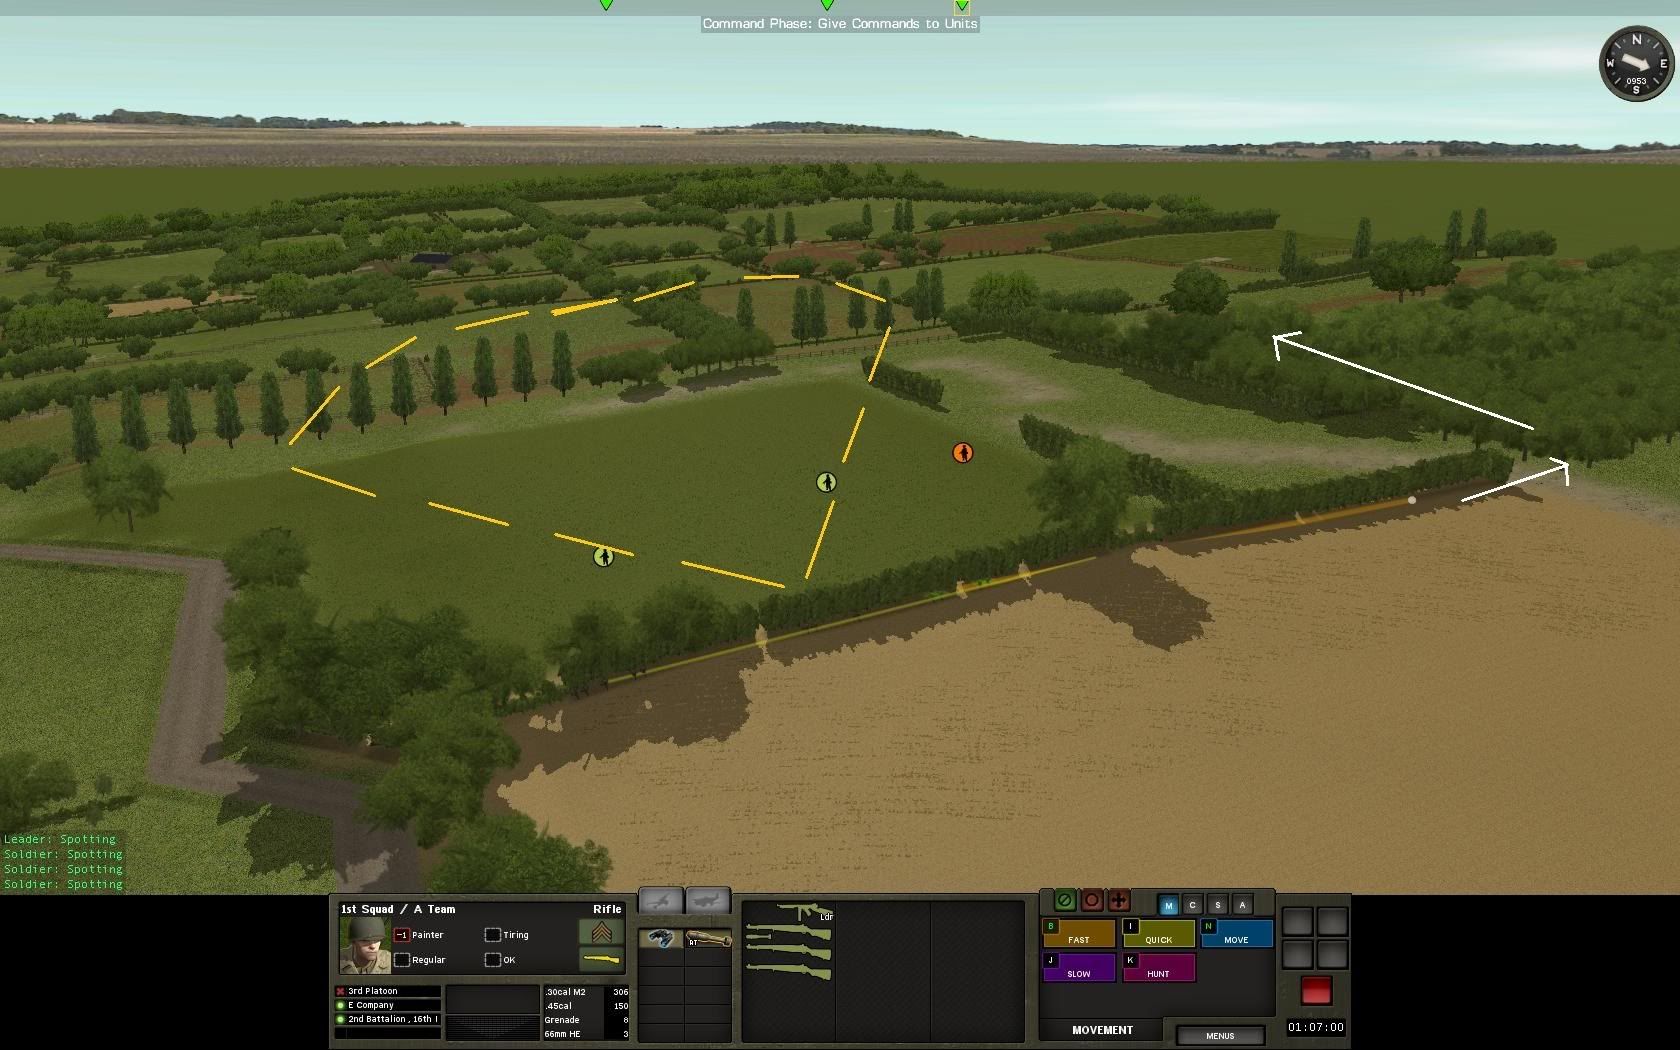
1st Squad 2nd Plt E shift slightly to the far right flank now that their bar gunner has reached the bocage line. Two teams will swing around the woods to the far right and use that covered line of approach to continue to move to contact.

17.jpg


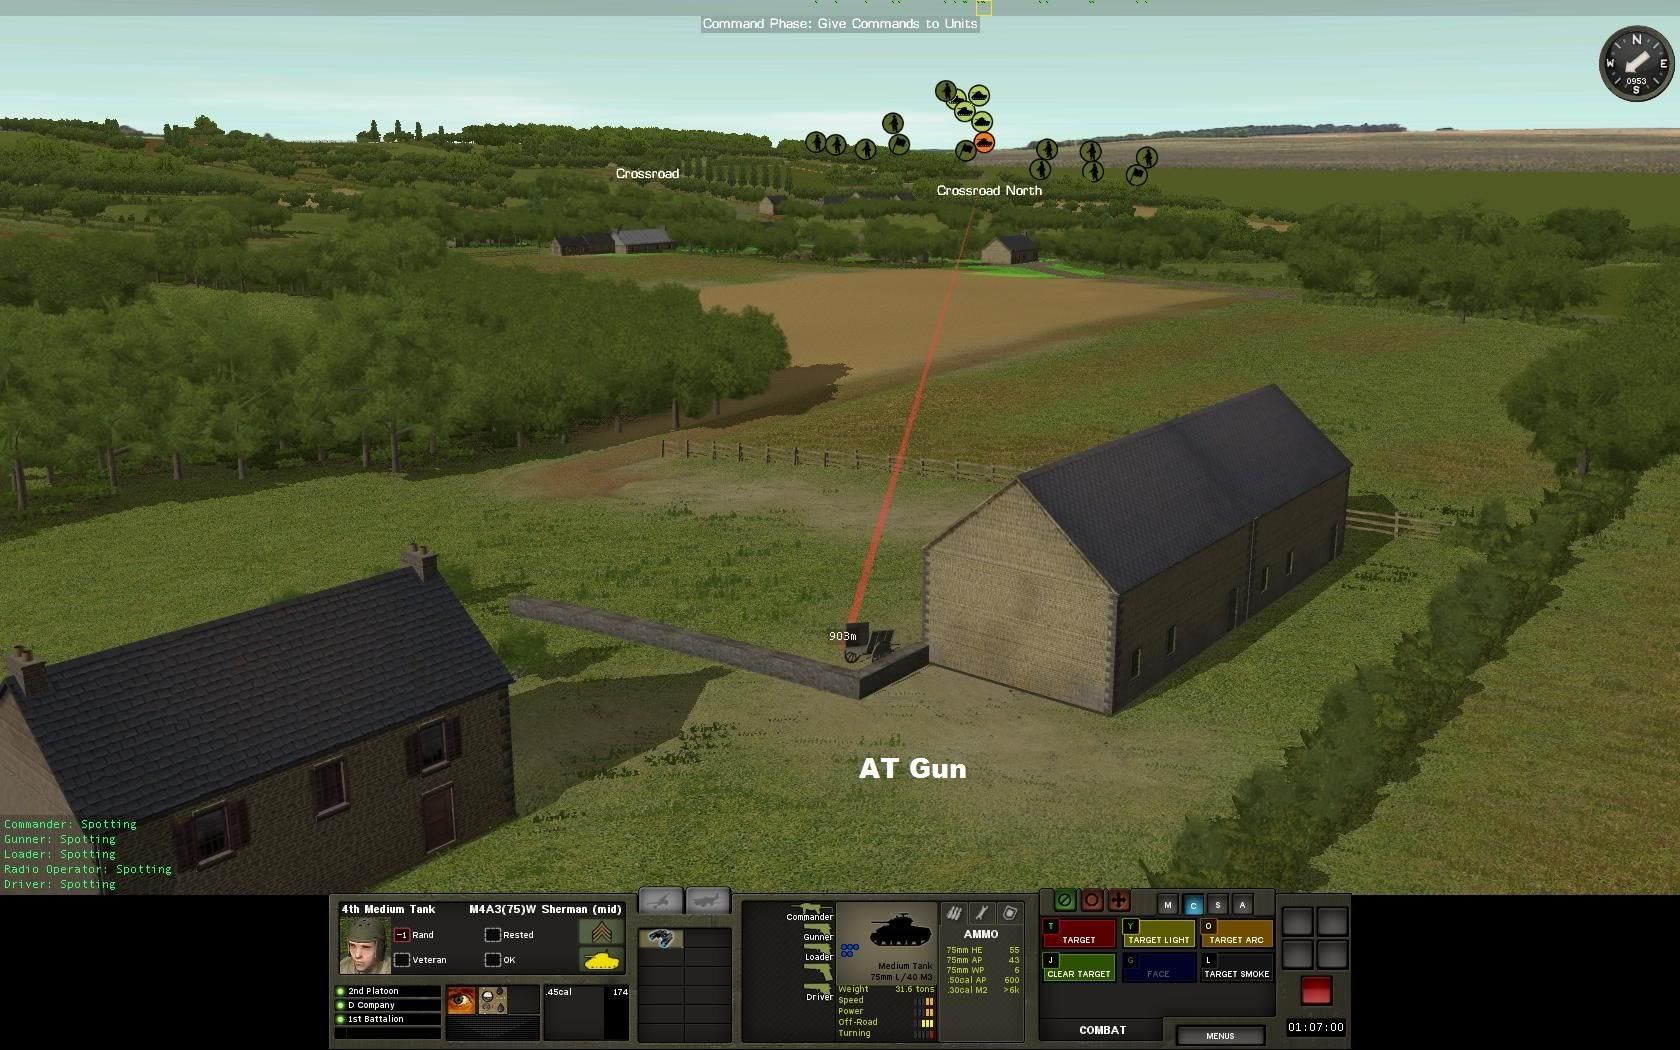
Also, to my surprise, I discover the spotted AT gun nearly has LOS to one or several of my tanks, which have thus far not move from their deployment area. I target an area just in front of the gun, hoping to get lucky. That was a bit disconcerting. I did not expect an AT gun to have a clear LOS nearly all the way to my deployment zone(!)... Must proceed cautiously.
18.jpg


1:07:00 - 1:06:00

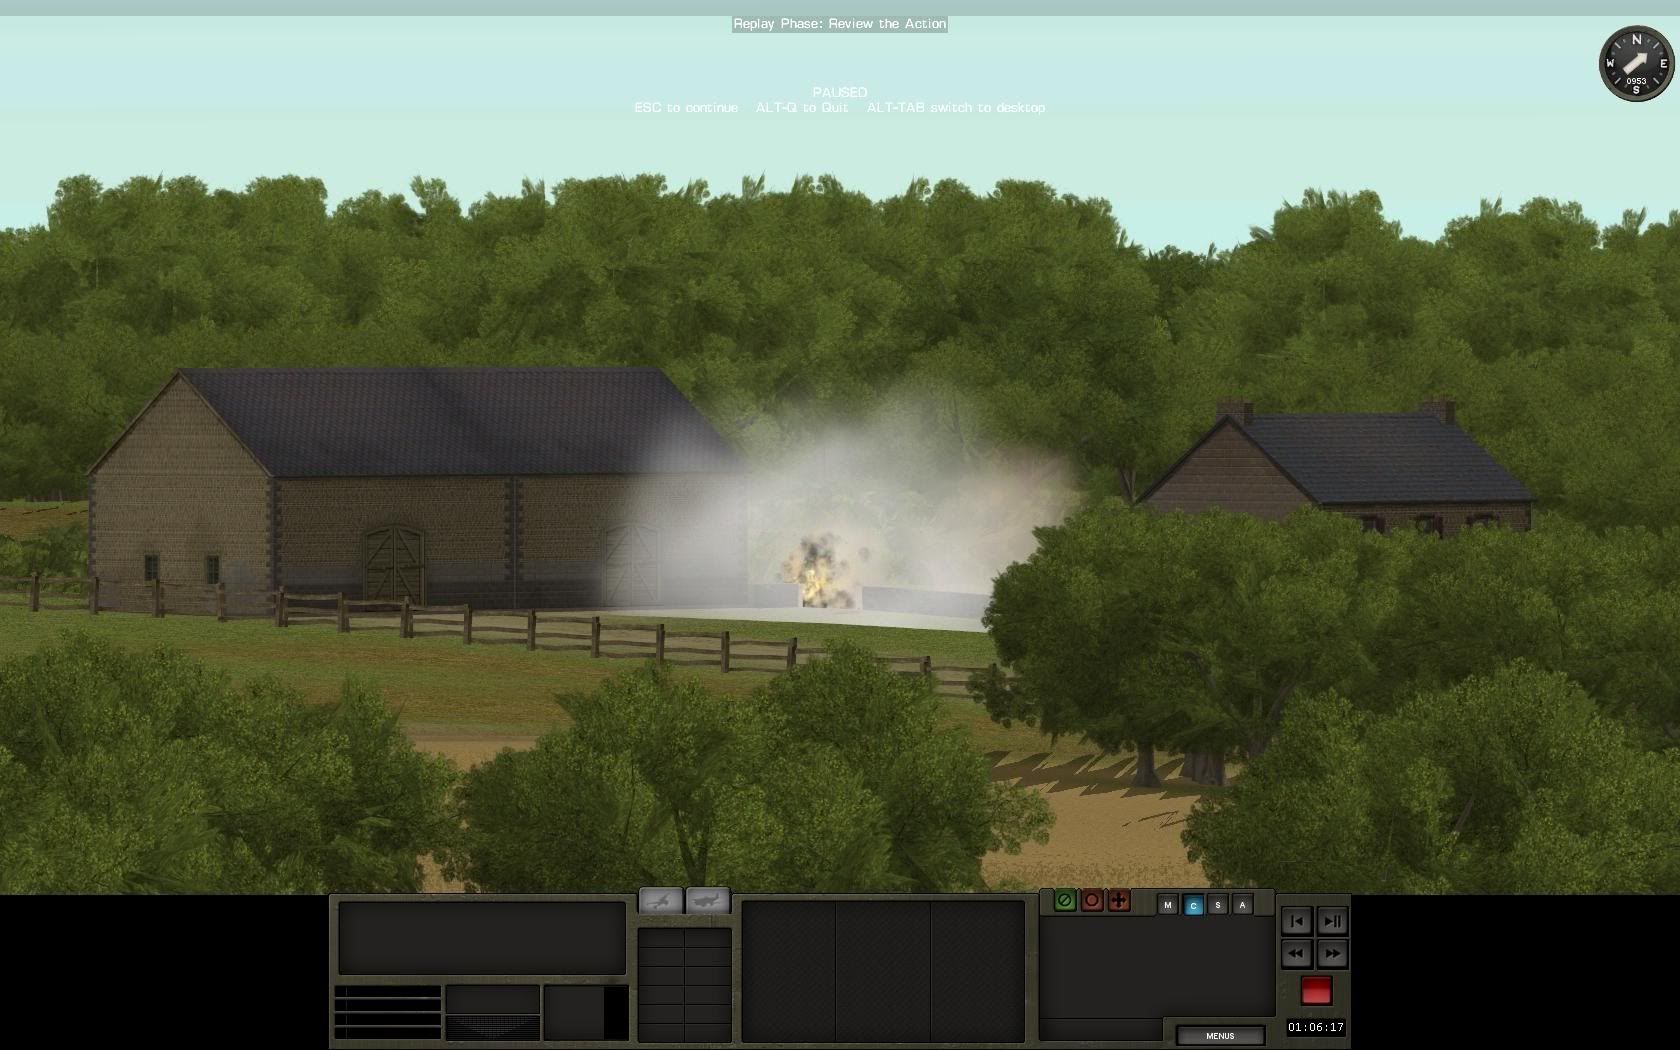
The AT gun must be in dire straits now. The stone wall in front of it is rubble, and shells will continue to land near it. I expect to spot the crew fleeing in a minute or so.

19.jpg


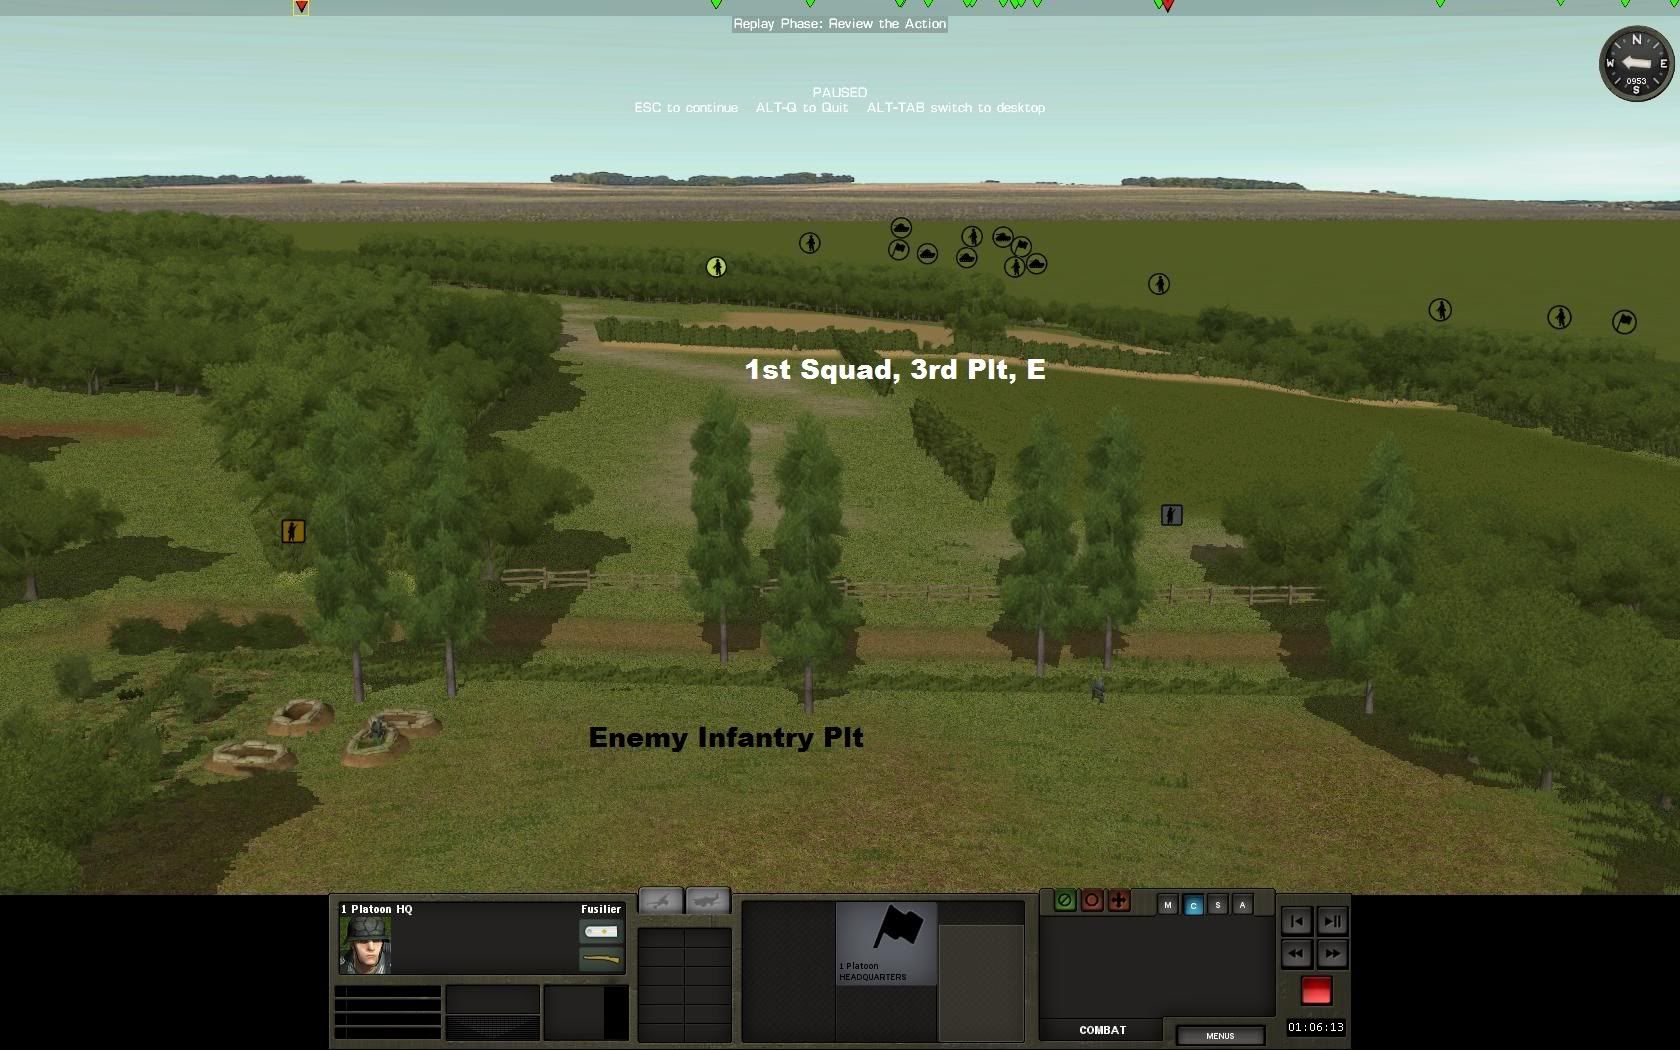
Infantry contact on my right flank. 3rds platoon has found an enemy forward position. A platoon in foxholes. Too strong to overcome by themselves. A Sherman is fast moved to engage.

20.jpg


1:06:00 - 1:05:00
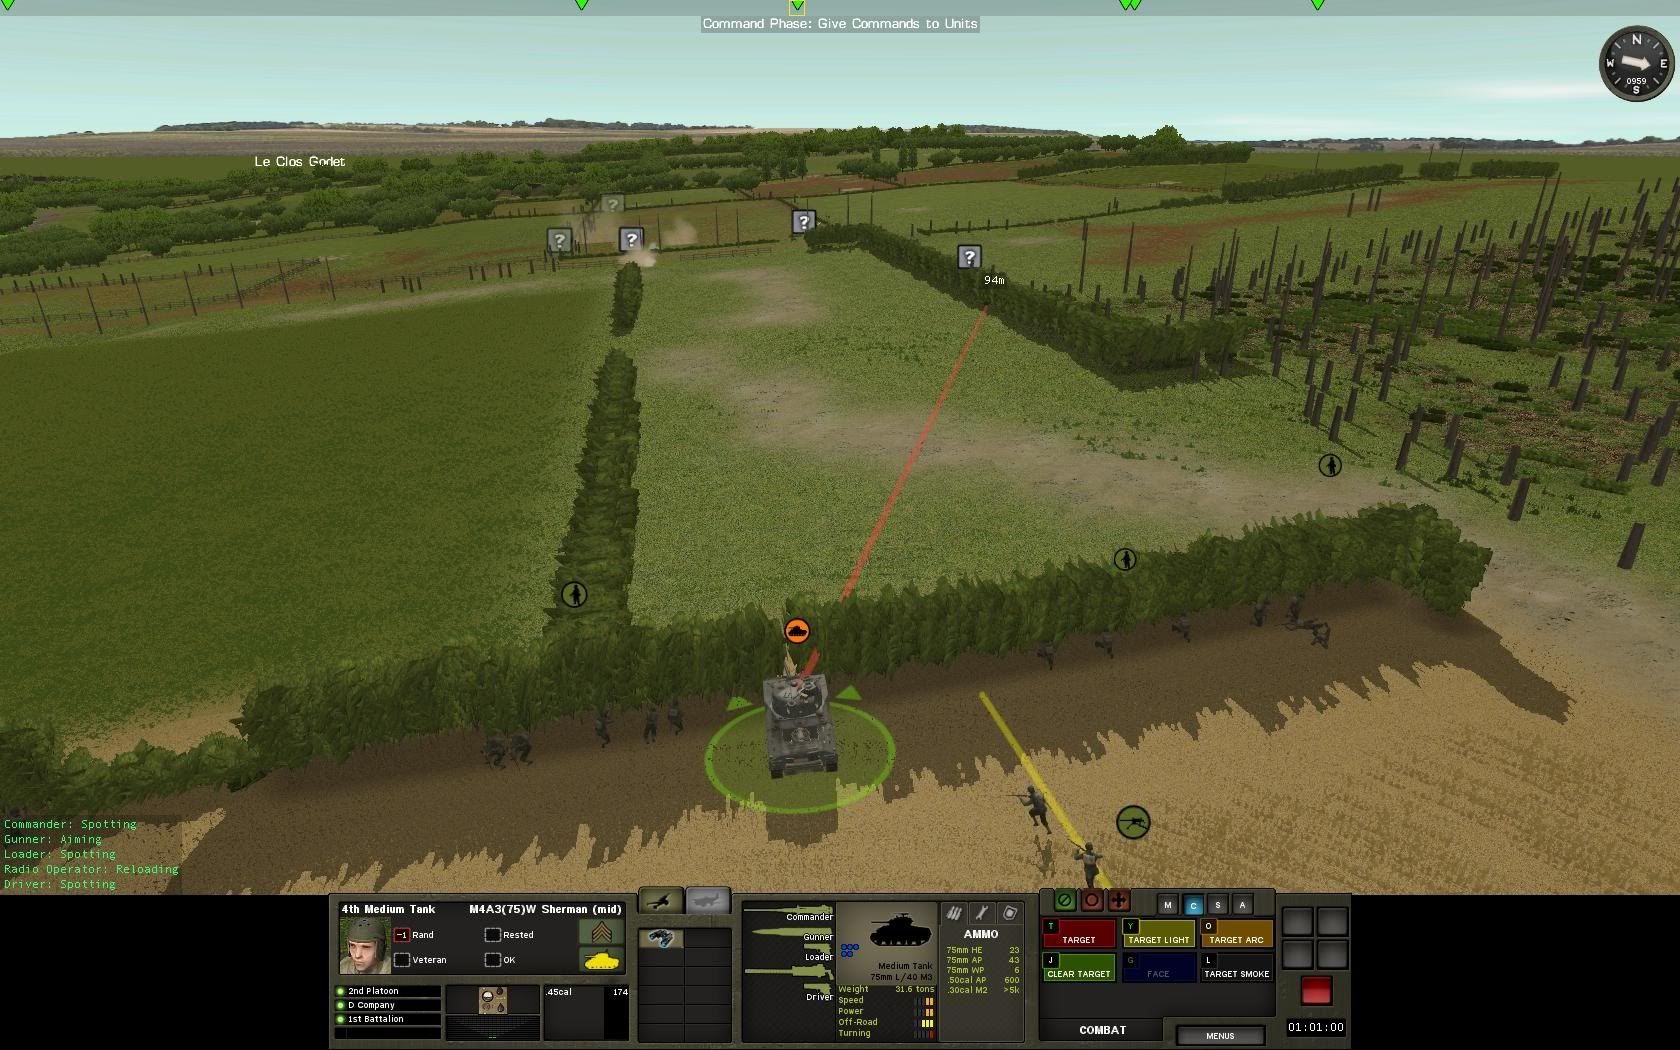
The Sherman moves up to support 1st plt, while 3rd plt spots contacts of their own. An unknown enemy force occupies a hedge line on my extreme left flank, with perfect fields of fire into the approach to objective FARM. A Sherman will be fast moved forward to get LOS on the hedgeline.

21.jpg


22.jpg


1:05:00 - 1:04:00
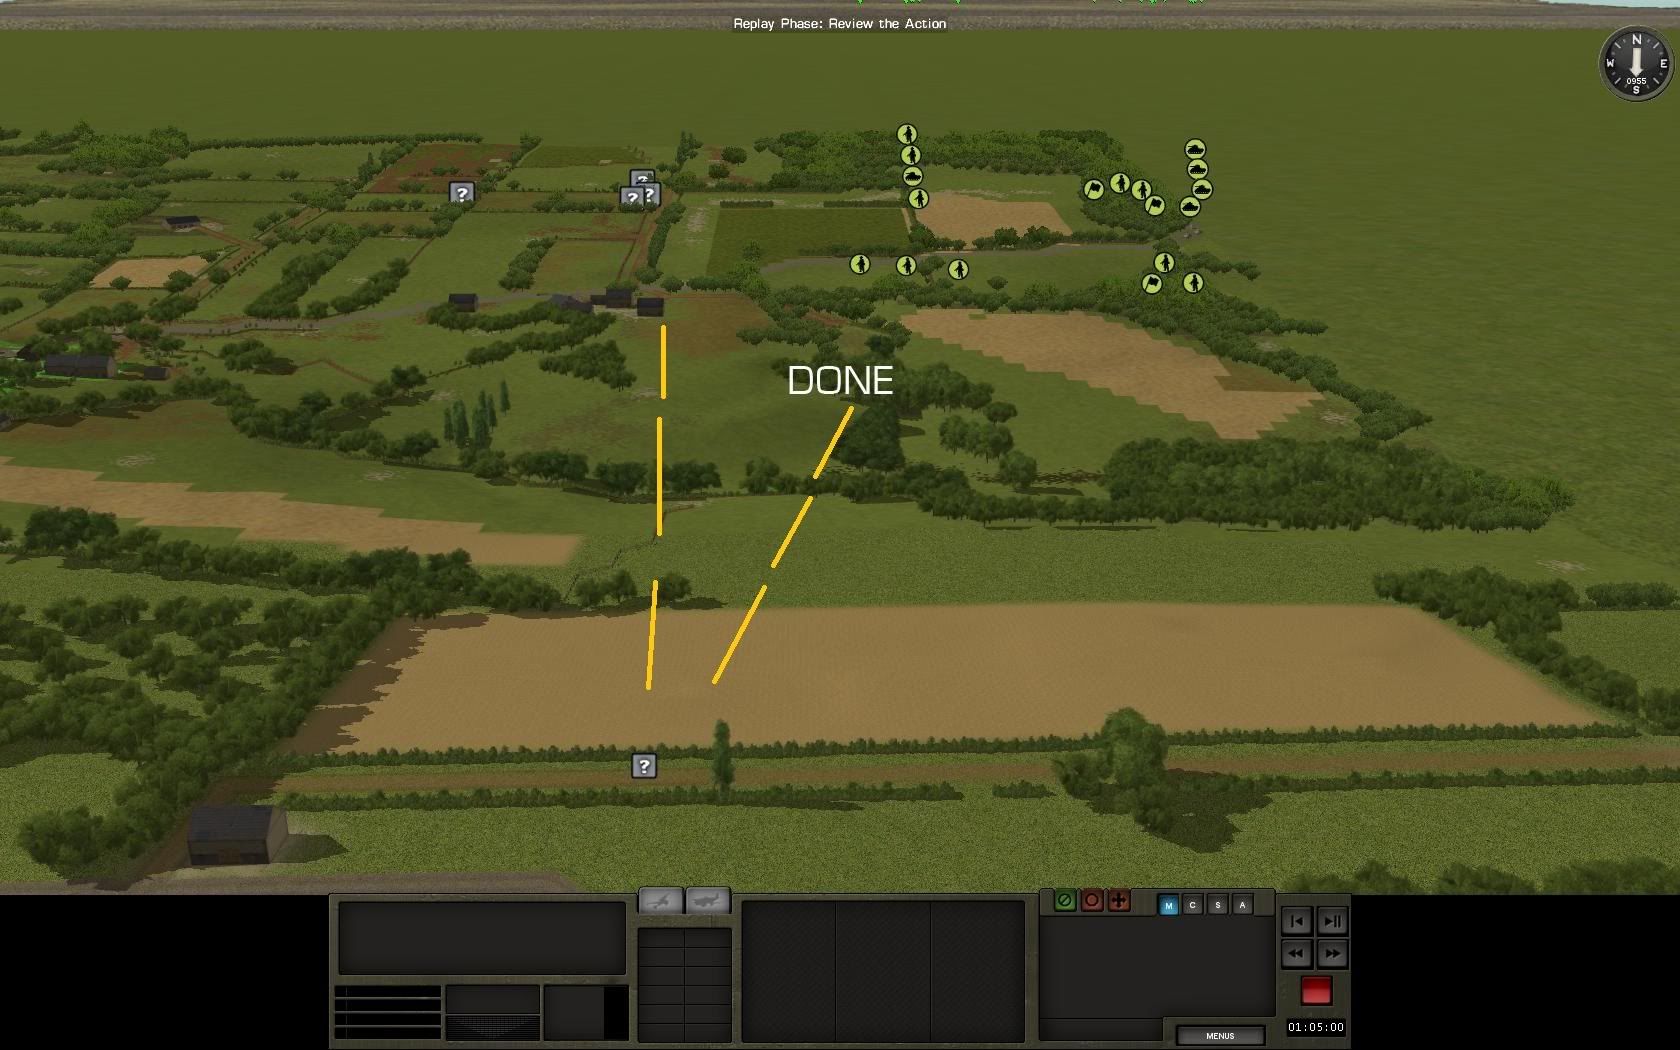
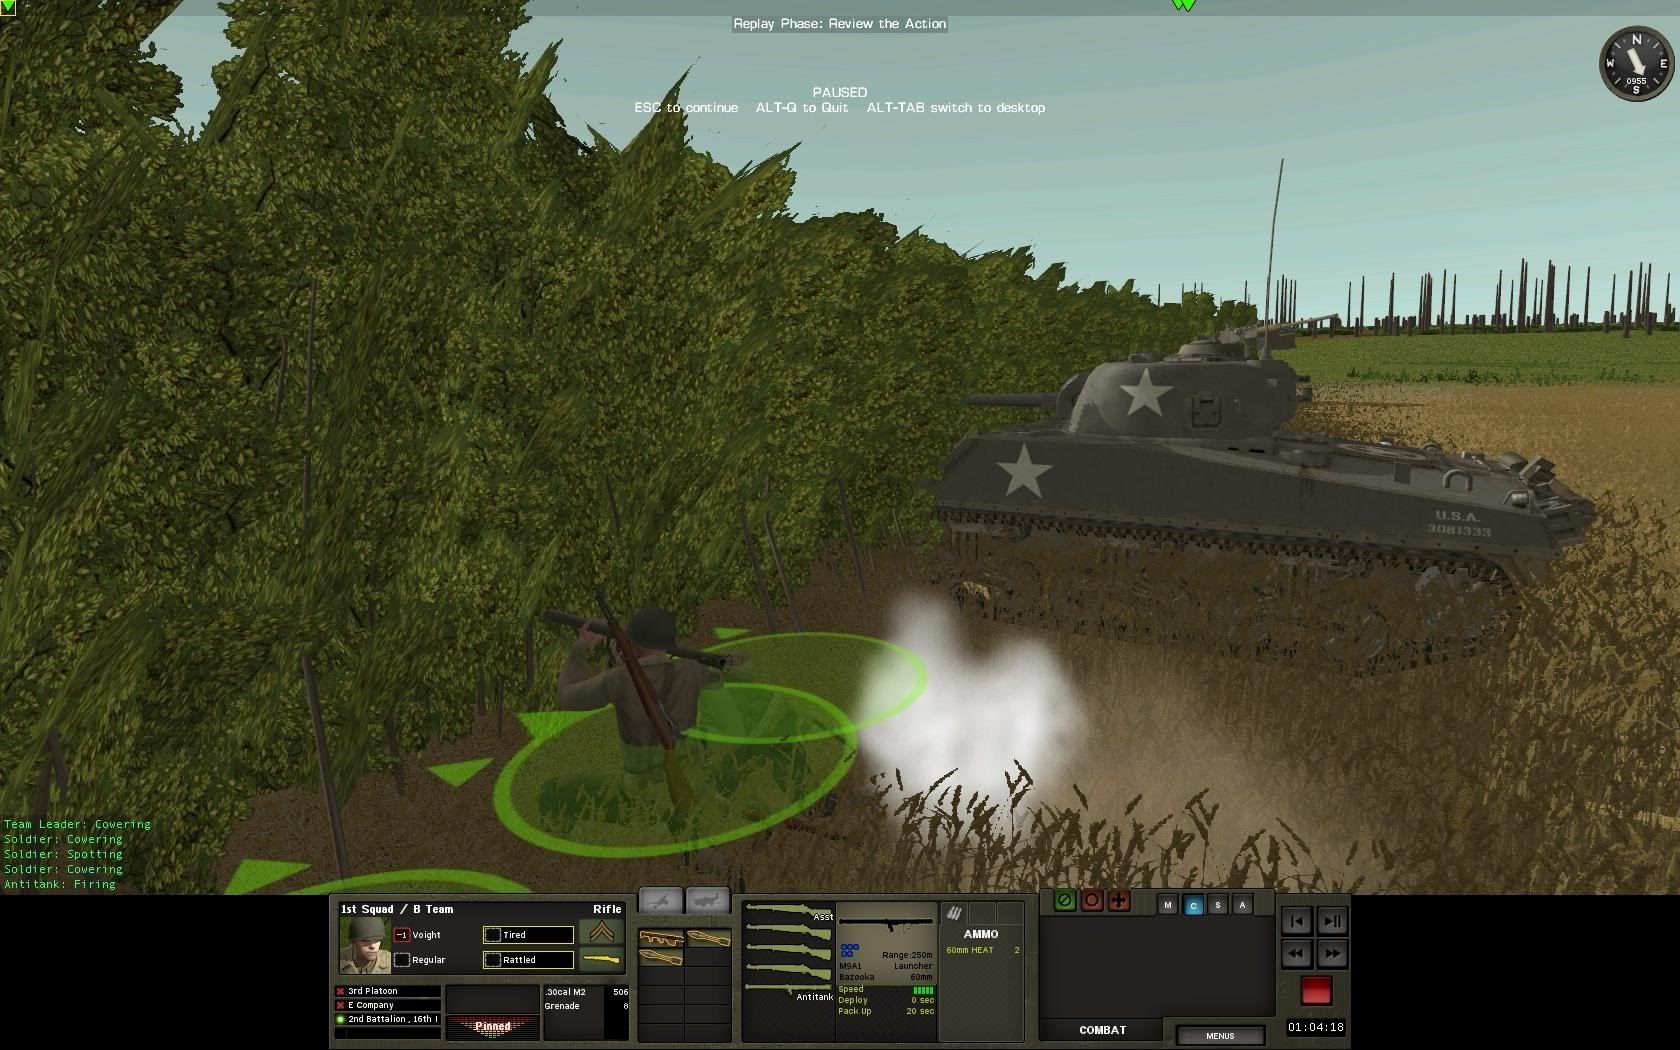
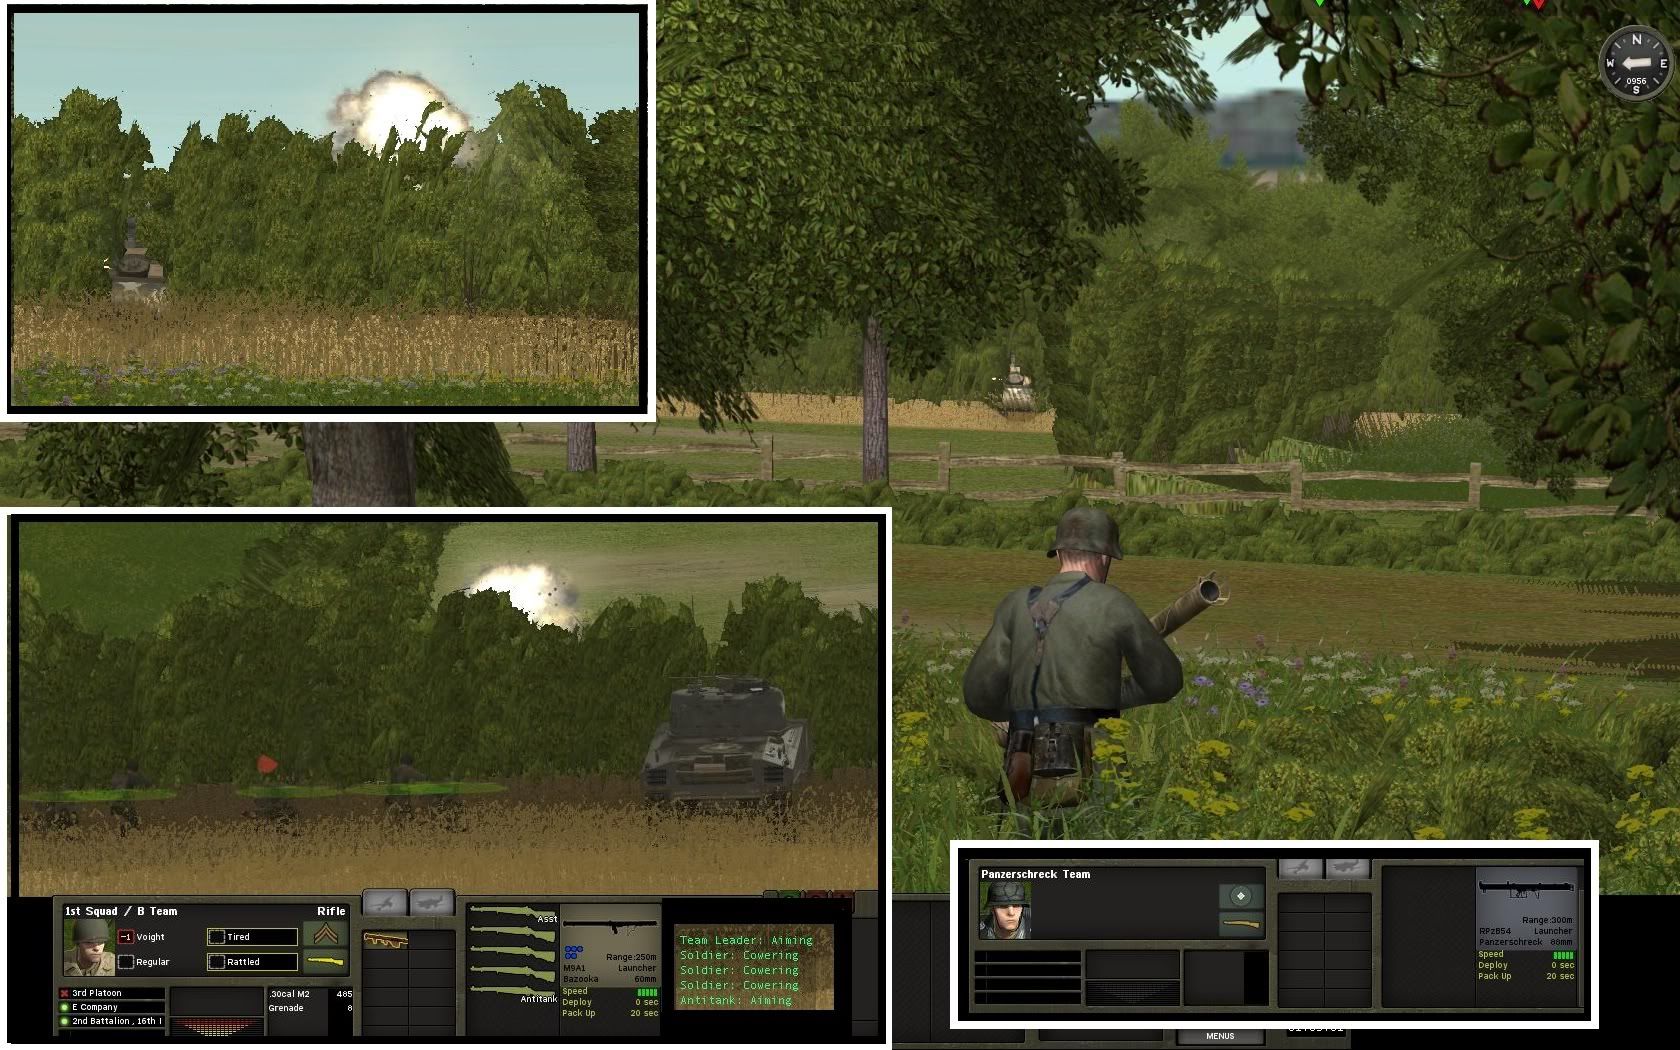
Corporal Voight, 1st squad, 3rd plt, fires bazooka rounds to supress an infantry team hiding behind a hedge, as the supporting Sherman lobs shells into an enemy foxhole. I should have issued Voight a "Target Light" command, to keep him from firing his zooks.


23.jpg


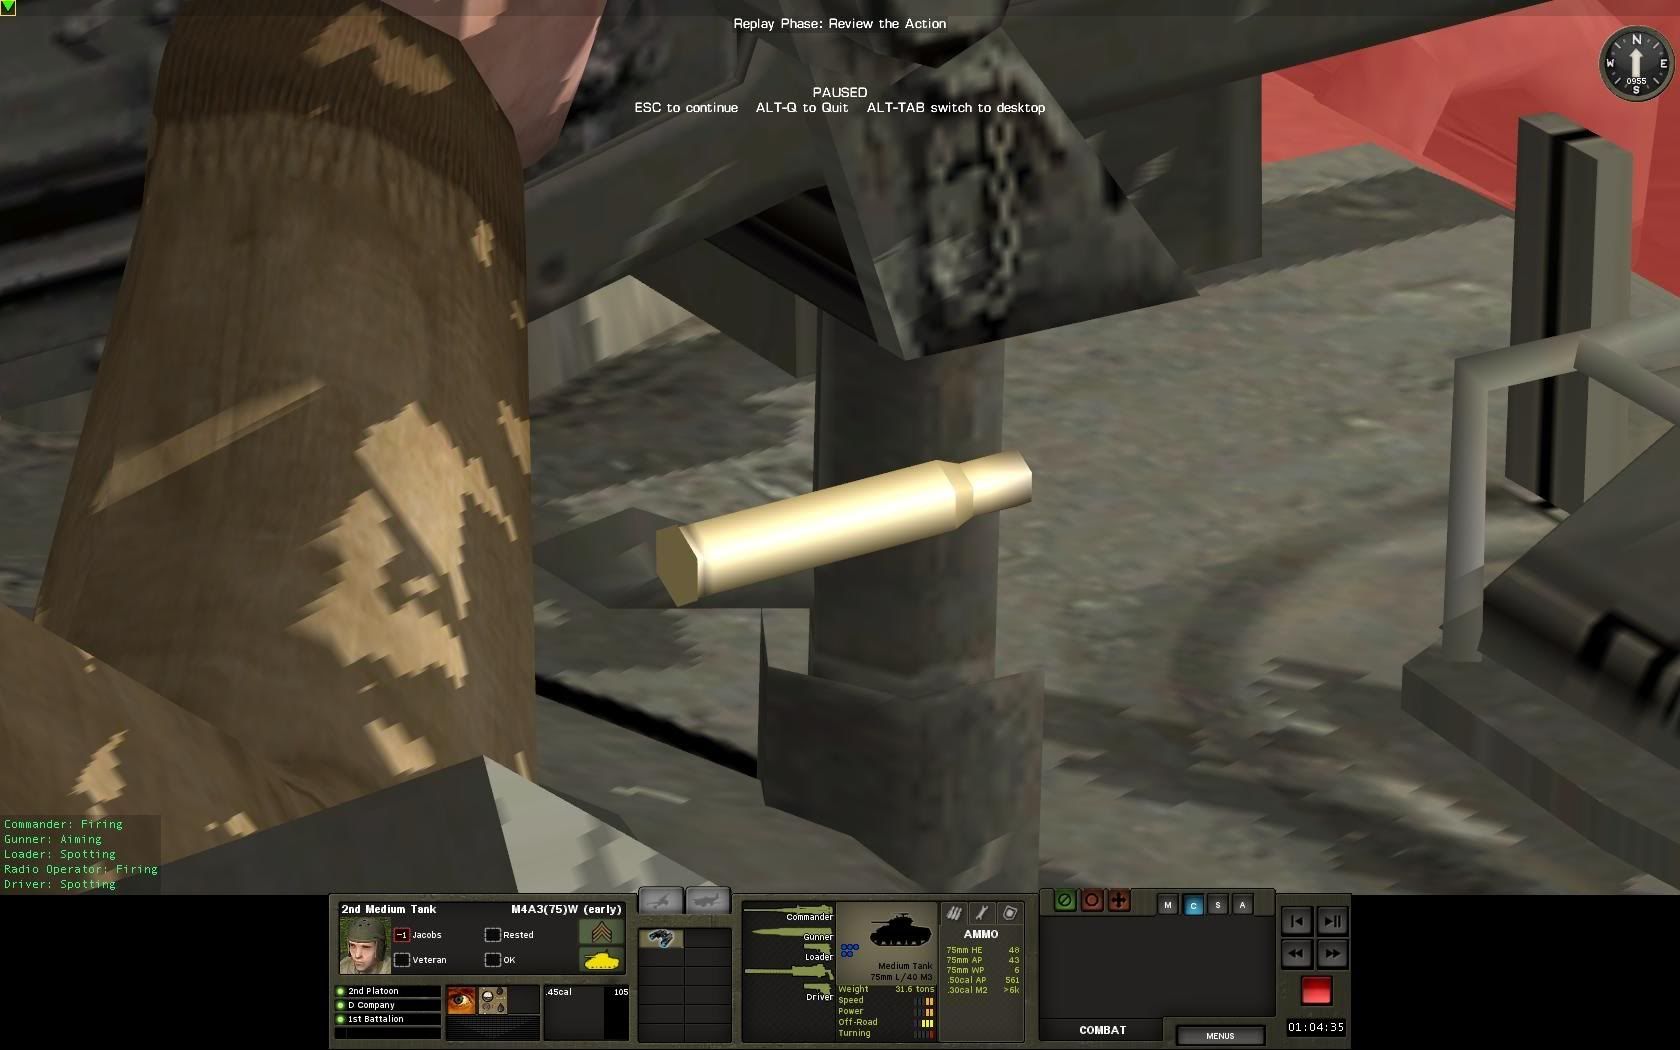
Did you guys know empty bullet shells are actually modelled? I sure didn't until I zoomed up to my sherman area firing at the AT gun... A steam of 50 cal shells pouring from the weapon as it thump-thump-thumped... Wild. Hats off Battlefront.

24.jpg


Attack Plan revised
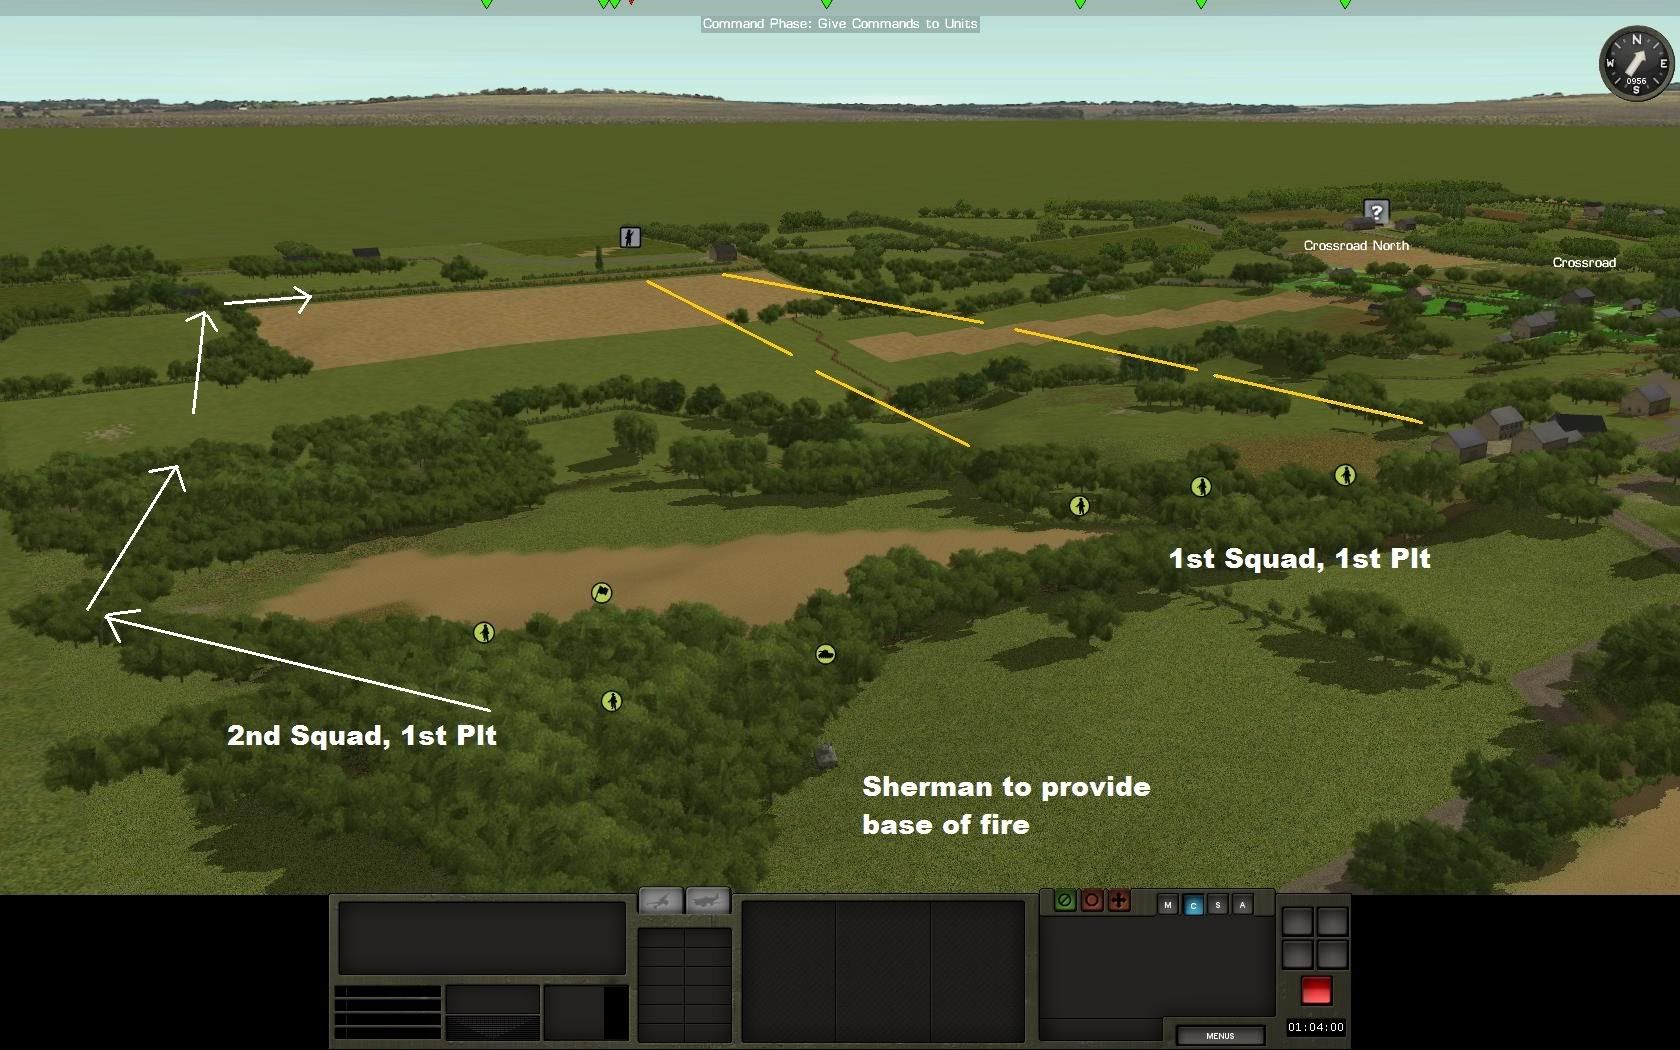
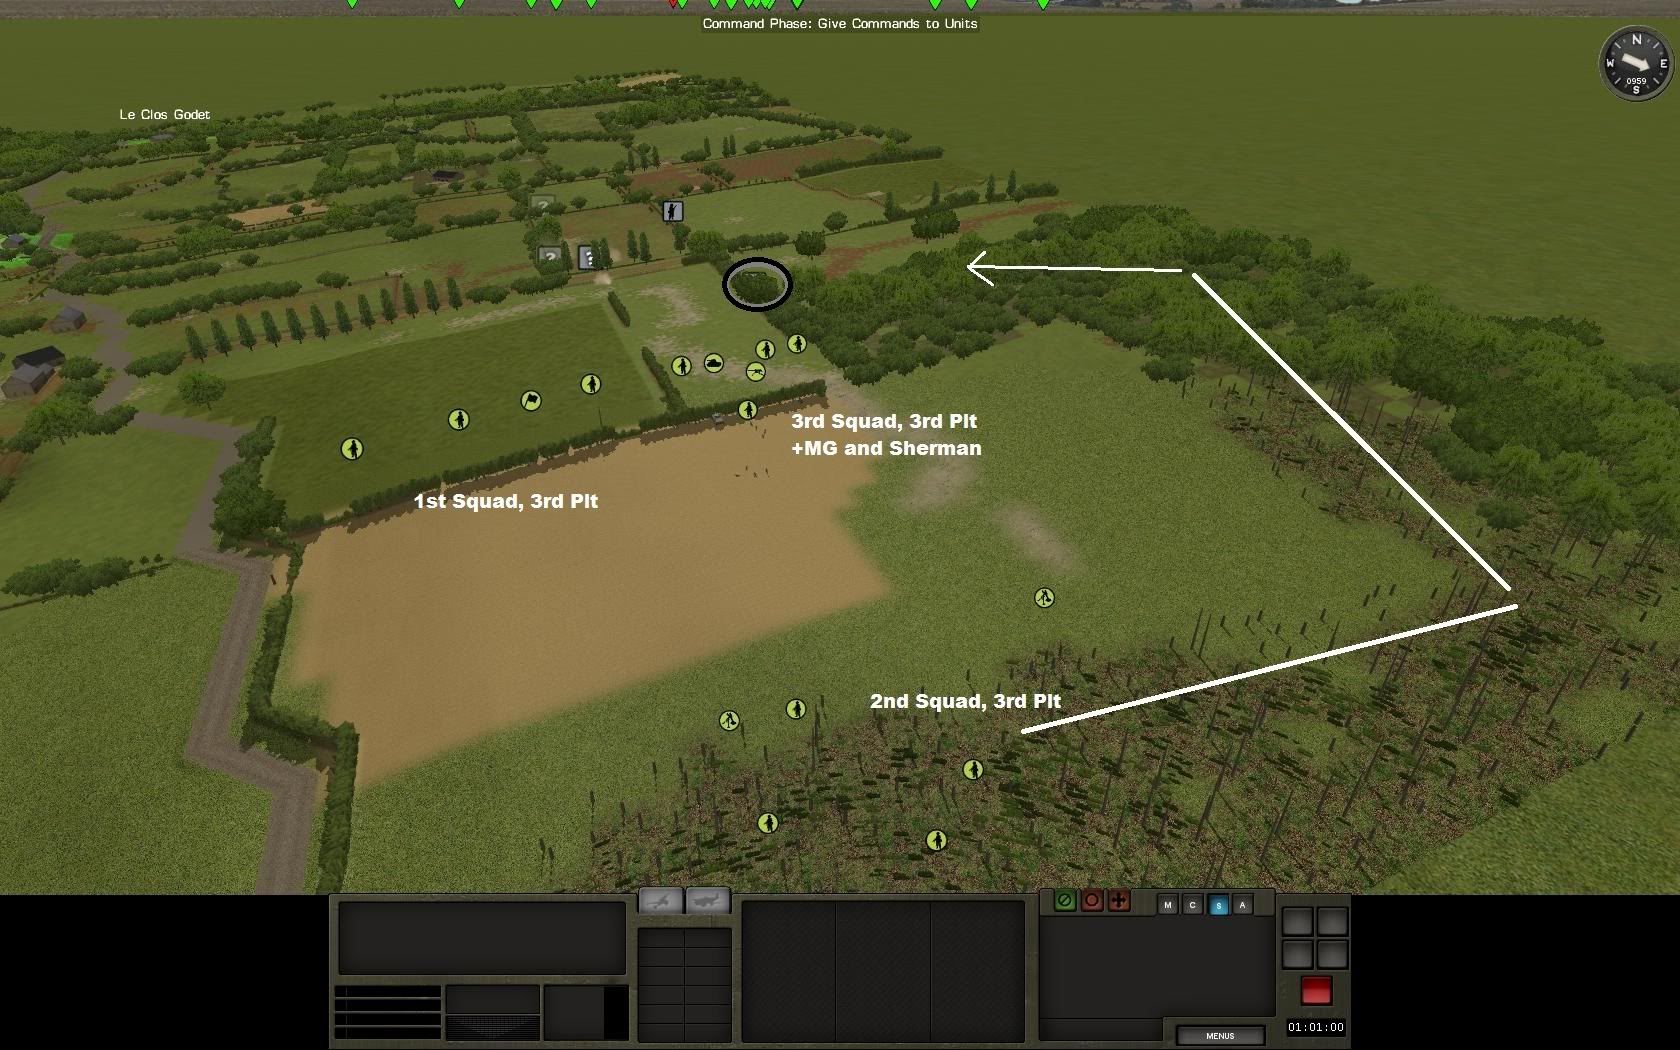
Ok, quick decision. 1st squad 3rd plt will be unable to advance through the dead ground to the FARM objective until the unit on their far left flank are neutralized. Solution? Send 2nd squad on a flanking mission through a covered avenue to the left. Risky? Not really. The sherman has good LOS to the entire hedgeline and will lay down the HE-avy stuff.

25.jpg


The new developments offer me a chance to amend my intial attack plan and redeploy my reinforcements to this new plan. Check the pic:

26.jpg


27.jpg


1:04:00 - 1:03:00
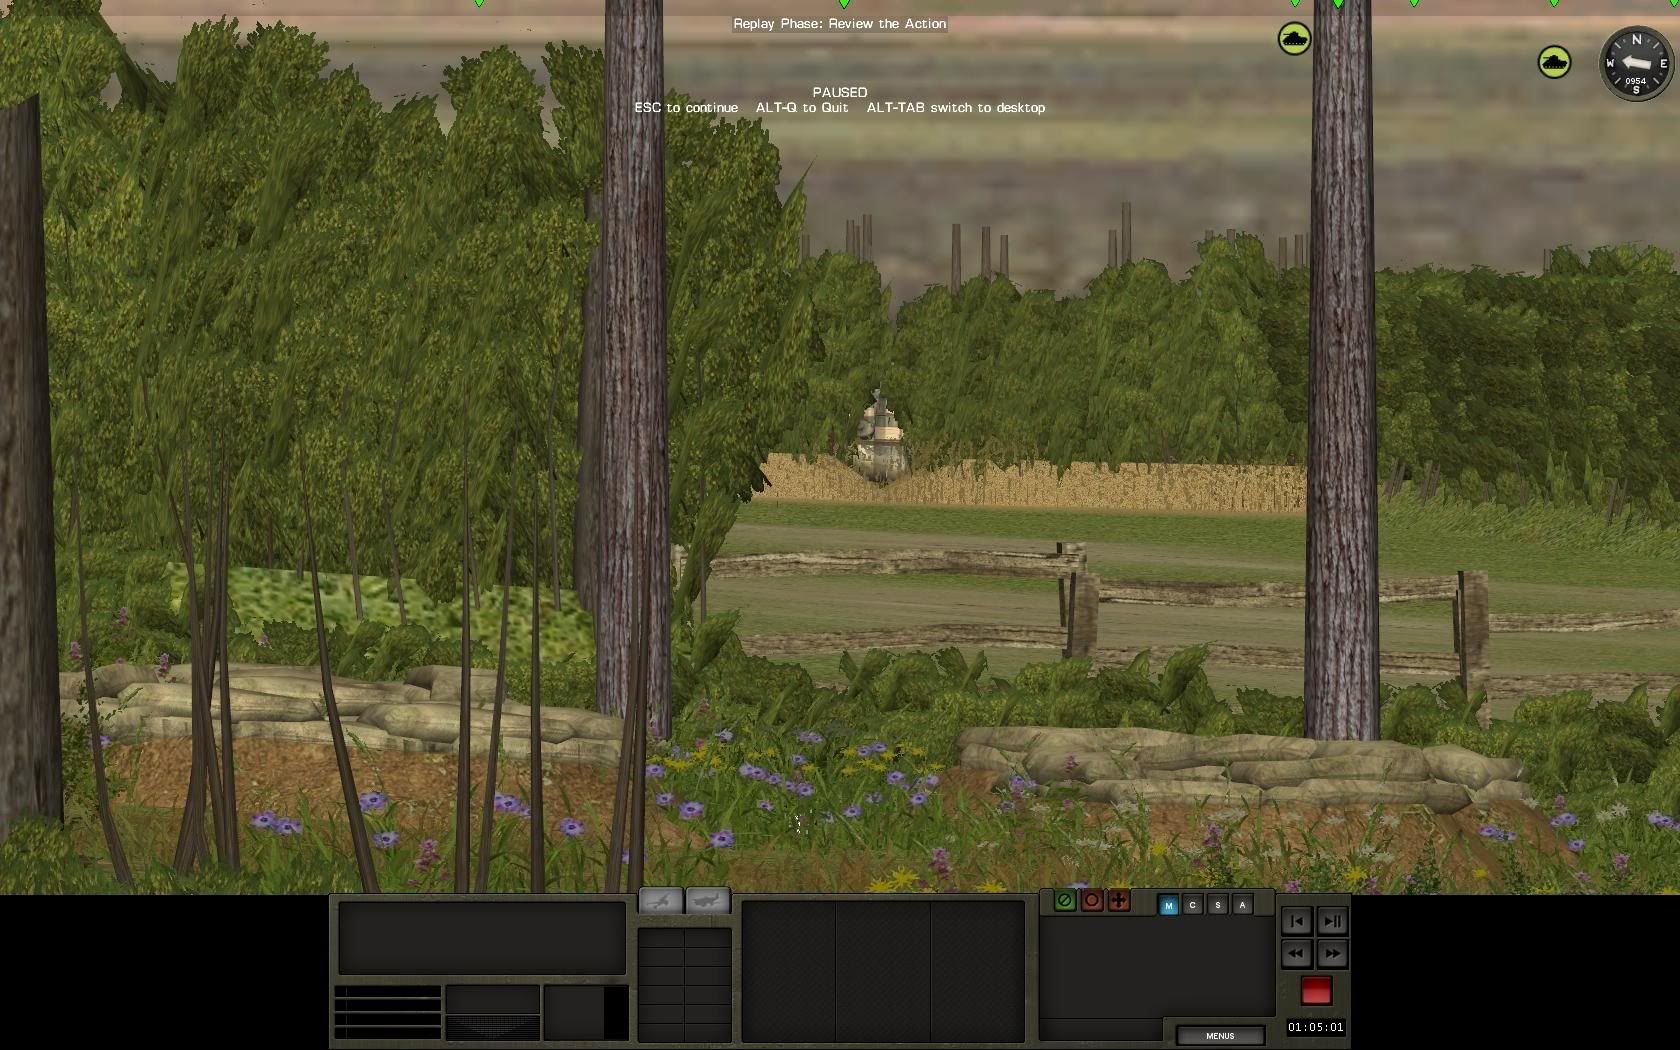
On my right flank, a panzershrek gives me a scare with a near miss on my sherman there. The blast impacts on the hedgerow nearby, cowering Voight team and giving me a jolt. The Shrek has a 300m range? Crickey... He will be evaporated next turn.

28.jpg


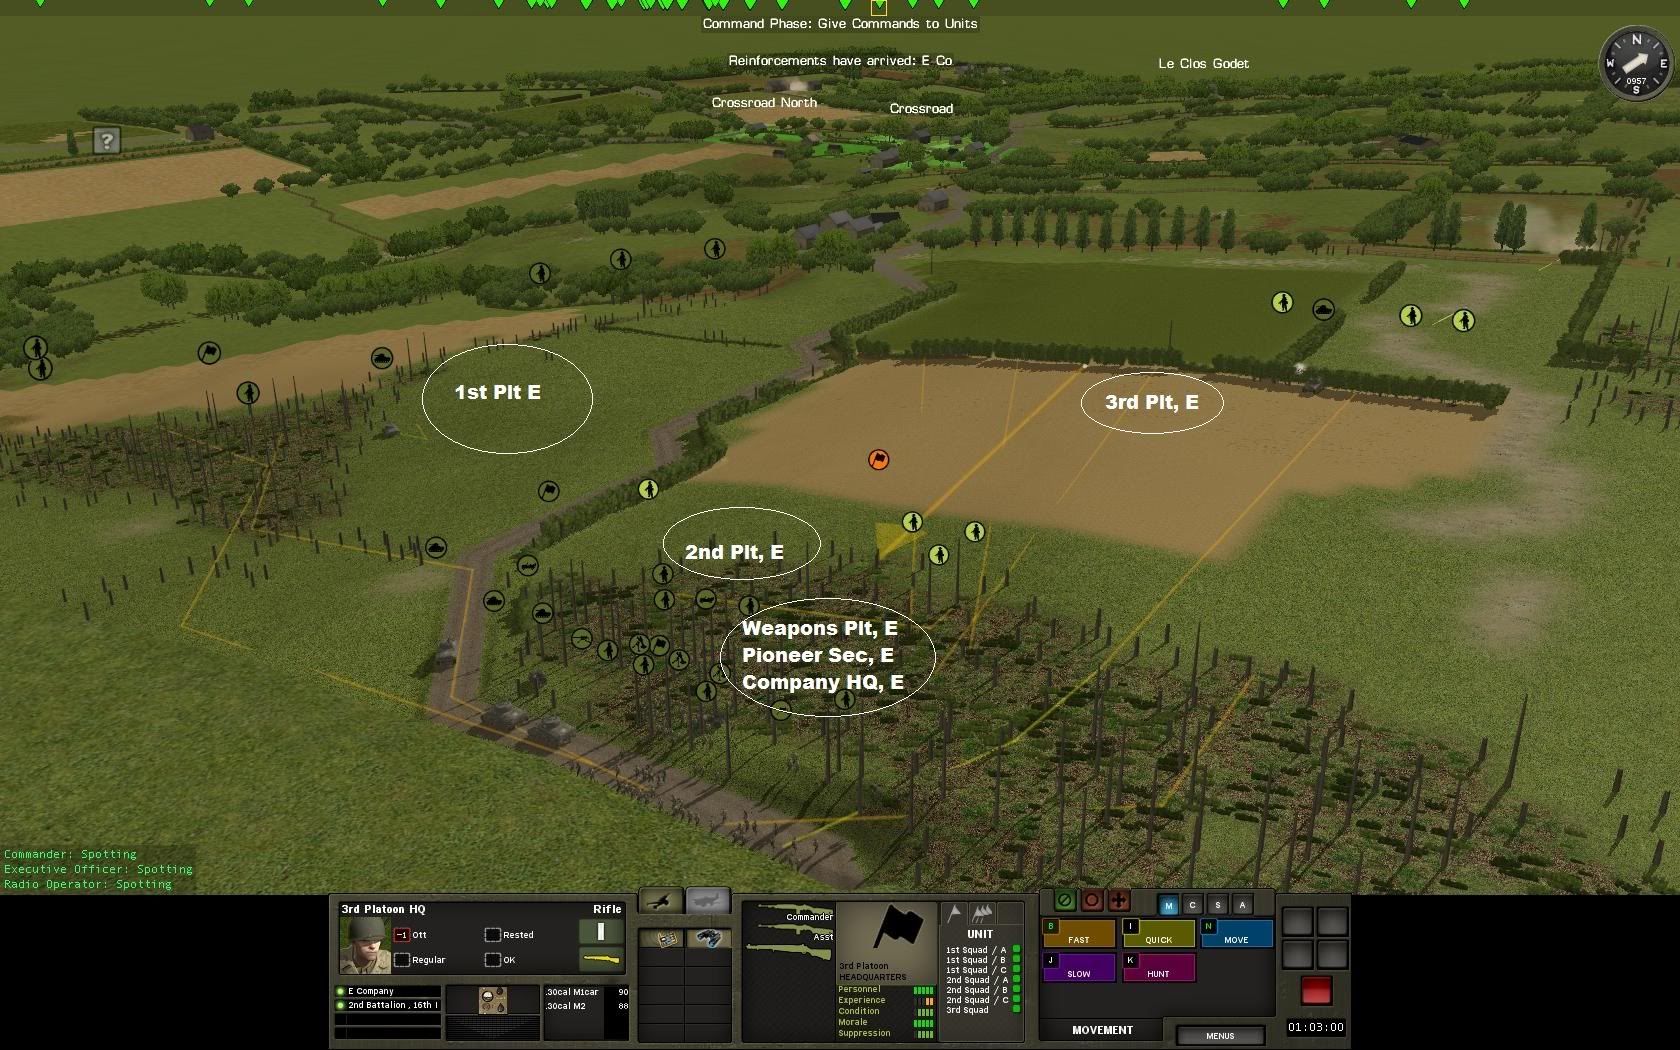
Reinforcements: E Company
The Rest of E company, 2nd Bat has arrive. 2nd squad, and well as the weapons plt (3 mortar, 2mg), and a pioneer section. For now, 2nd squad will remain in the deployment area, with the mortars and mgs move forward to add their firepower to the recon actions of 1st and 3rd plts.


29.jpg


1:03:00 - 1:02:00
The Shrek team is dispatched, but not before getting another shot off under fire. Brave guy. He is cut down by coax tank mg fire. Despite this, his supporting infantry hold their ground, knowing in the next moment, the sherman gun will be swiveling towards them.

30.jpg

32.jpg


More German bravery. The AT gun crew has yet to abandon their weapon, despite being shelled by area 75mm fire for the last 8 minutes. If it takes me another 20 rounds HE, I'll send it. They will be persuaded.

31.jpg
 
Hey Bootie / Dutch Grenadier.

Ya, that AT gun was a lucky catch. Now that the stone wall is knocked down, I should have clear LOS it...

It's single player on Iron difficulty.


1:03:00 - 1:02:00 cont.
LT. Ott of 3rd Plt moves 2nd squad and his HQ up to the hedgerow adjacent to 1st squad.

34.jpg


Spotting rounds from what appears to be German 81mm mortar land on my extreme left flank.

33.jpg


1:02:00 - 1:01:00
The only thing of note this turn was the reveal of a german infantry team in a close hedgerow on my right flank, not 90m distant from my supporting sherman. If the brave late shreck team had been positioned THERE instead of 300m back, I might have had a Ronson instead.

35.jpg


This furthur impresses upon me the need to flank through the woods there, in force. Will do that once defenders are sufficiently suppressed. Mg team deploying on line for that effect.

36.jpg


1:01:00 - 1:00:00
37.jpg


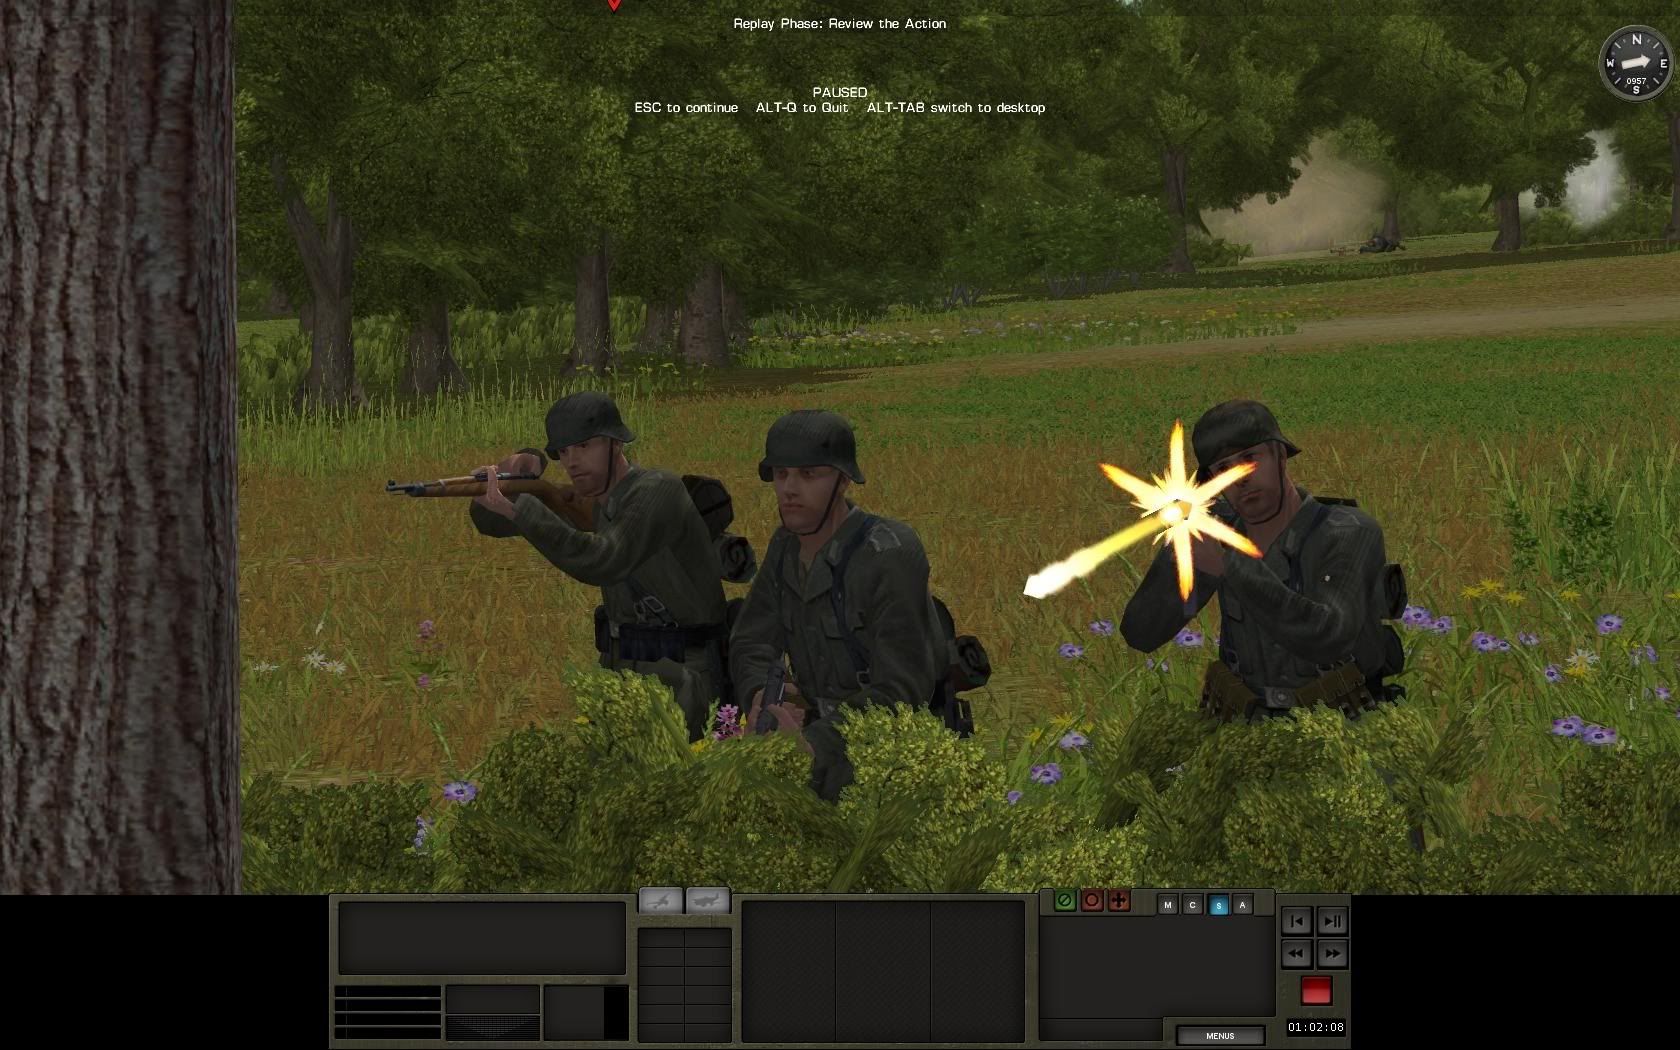
The German position on my right flank is a strong one indeed. Two MG42 start ripping away at my hedgerow, thankfully causing no casualties.

38.jpg


I'm seriously considering bringing up a second sherman to help suppress this position and get the attack moving forward. Yes, I'll do that. In fact, I'll bring forward the Sherman that just now, finally, forced the AT crew to abandon.

39.jpg


1:00:00 - 59:00
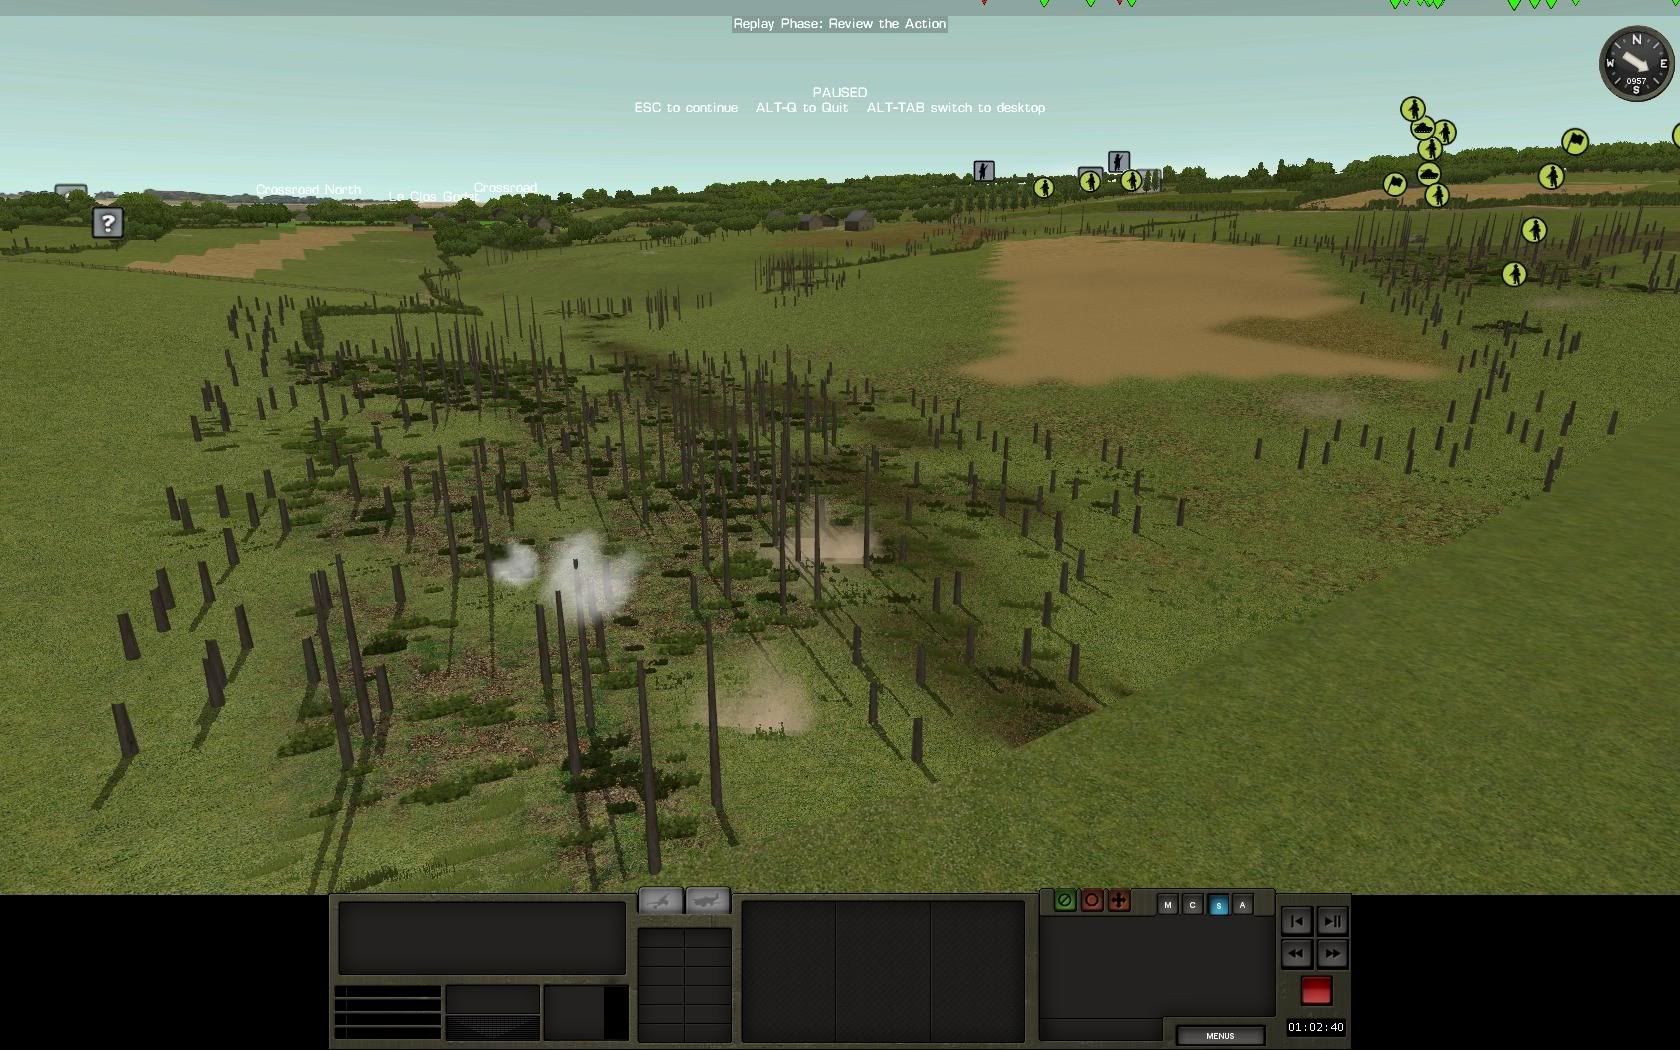
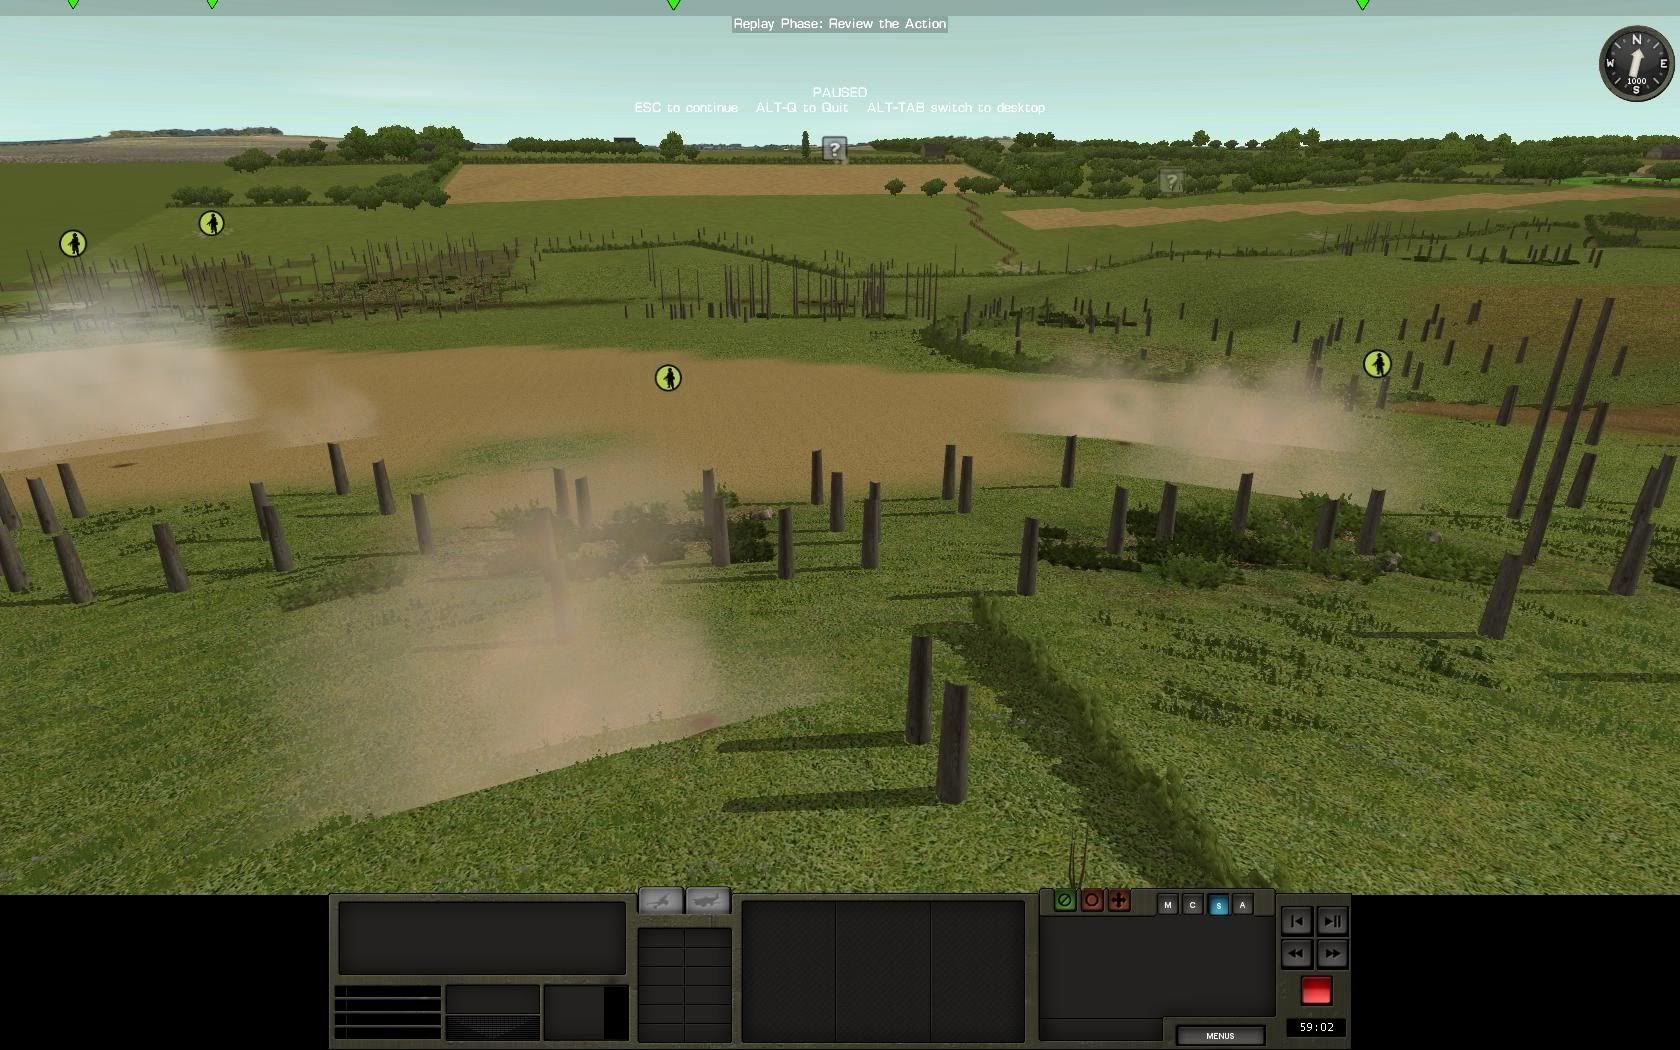
The spotting rounds that had been peppering my left flank have finally found their range, and are landing tightly around 1st platoon, who've been waiting patiently for their commander to give them any orders. Too late now, can't extract them lest they get caught in the open and blown to bits. Nothing for them to do but go to ground and soak up mortar rounds, praying for the storm to lift.

40.jpg


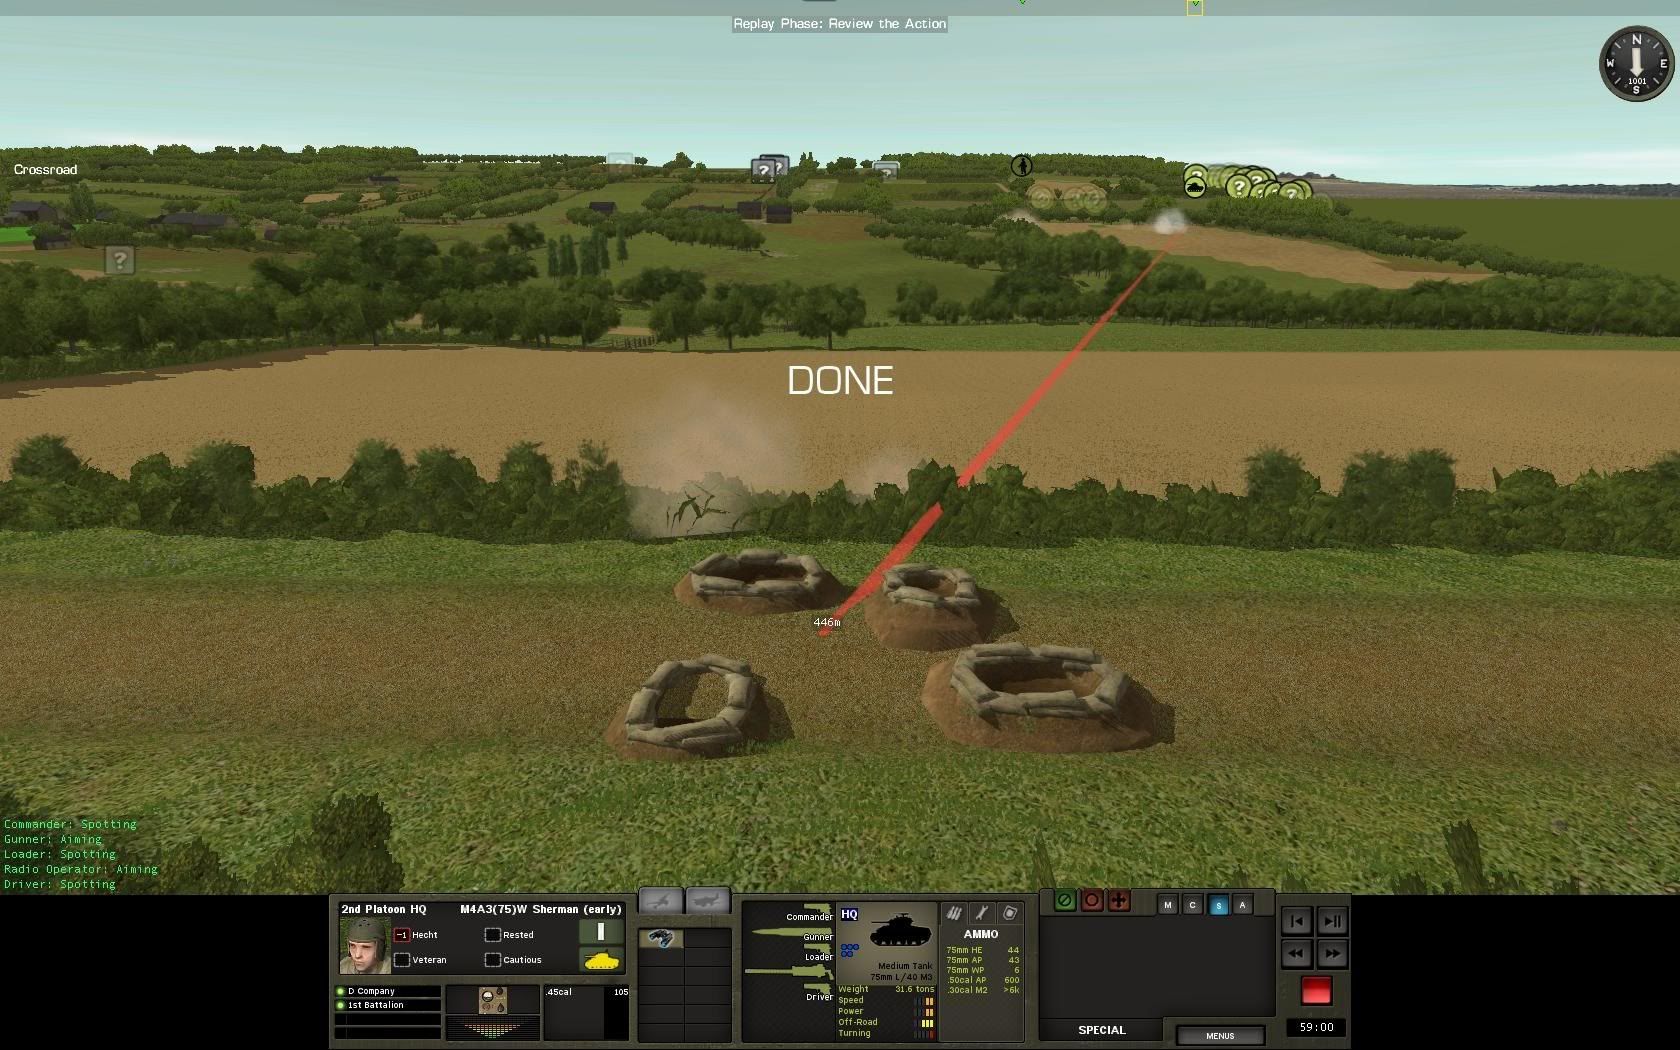
Lt. Hecht may command a tank platoon, but he sure can't shot for sh*t. Every round he's fired so far has either gone harmlessly over this foxhole or impacted upon the hedge in front. Bracket, boys, bracket!

41.jpg


A third Sherman will be brought forward to deal with those MG42's. I'm tired of waiting around, time for some decisive action.

On the far left, 1st plt continues their flanking mission. No major contact so far beyond the hedgeline under fire by the supporting sherman. Probably time to start shifting the final squad of that platoon left, and get some movement going on in that sector... 10 minutes in and I can't say I've made much forward progress... But at least I still have all my HE chuckers intact and haven't suffered any casualties yet. Knock on wood. "Tap, tap"


59:00 - 58:00

42.jpg


43.jpg


44.jpg


45.jpg


46.jpg


47.jpg


48.jpg


49.jpg


End of Chapter 1

I think to finish this DAR I'll post more comic style pictures, they're alot of fun to do, give a more intense perspective.

May be some days/weeks before next installment.
 
In the next post, I'll try to continue the story with captioned pictures and comic style moments, rather then type out "3rd plt, E moved to this hedgerow" etc. Reading about a units movement doesn't convey anything close to what actually SEEING that unit does...

I'll probably drop the unit designations as well, because tactically they're irrelevant, and they don't add anything to the dramatic moments / narrative etc..

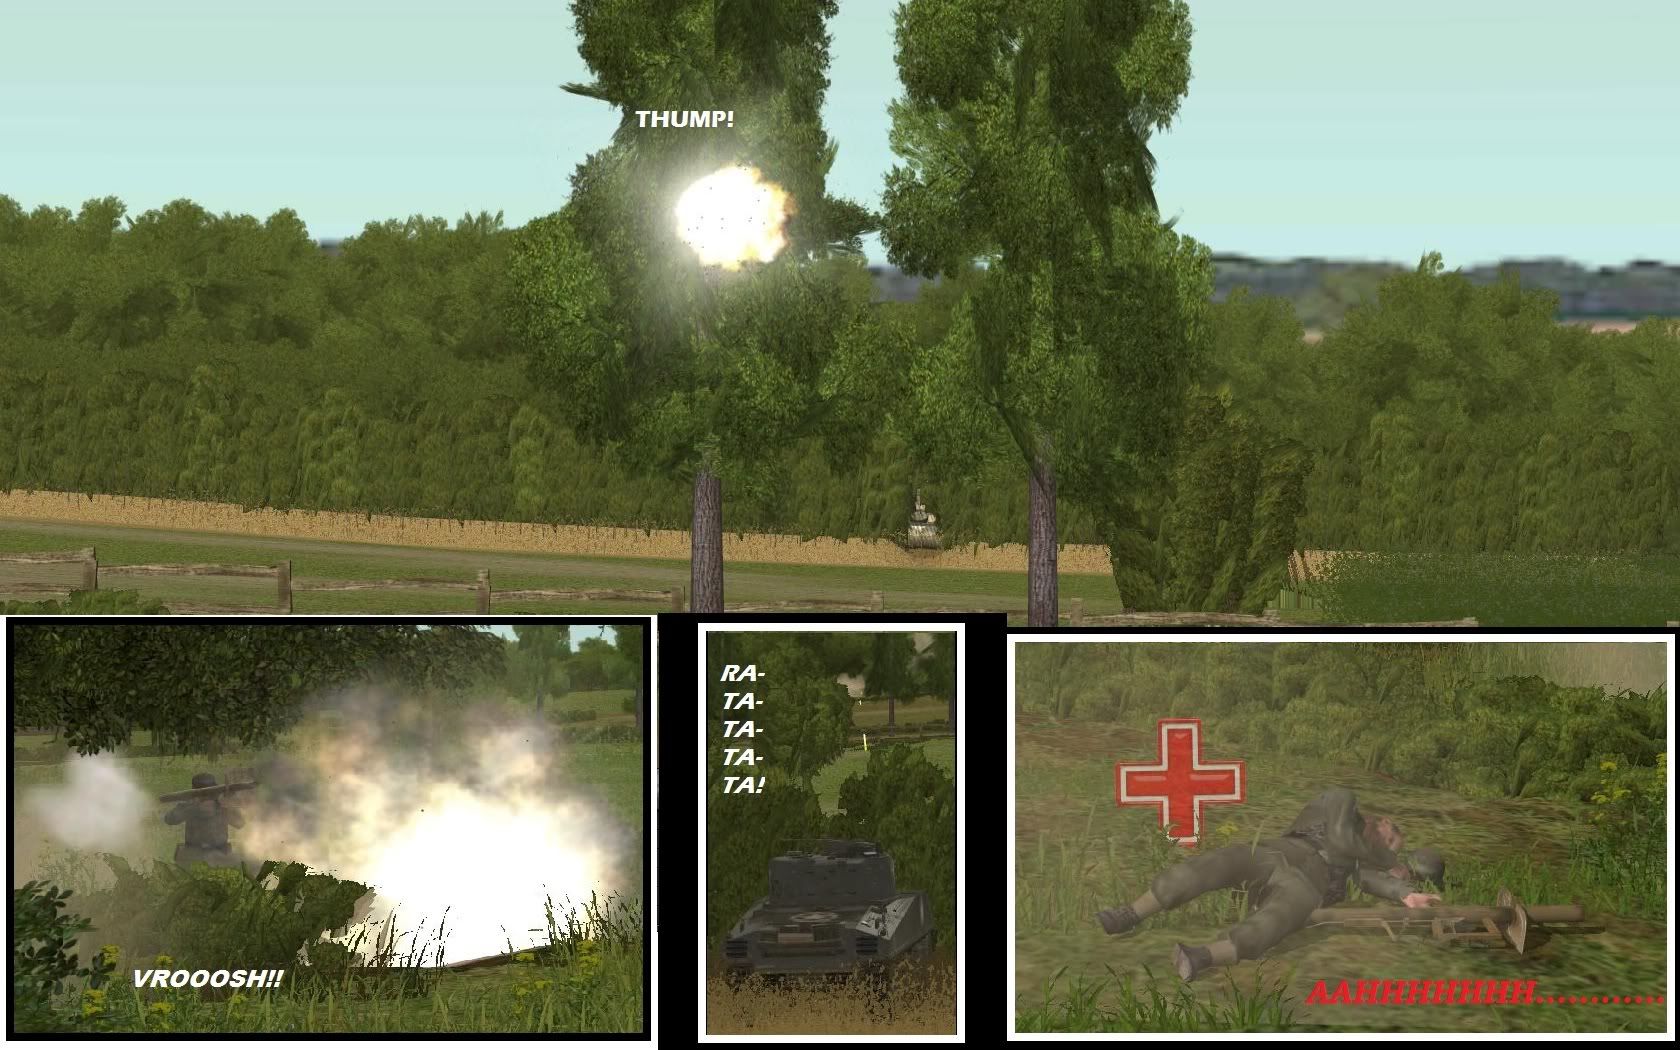
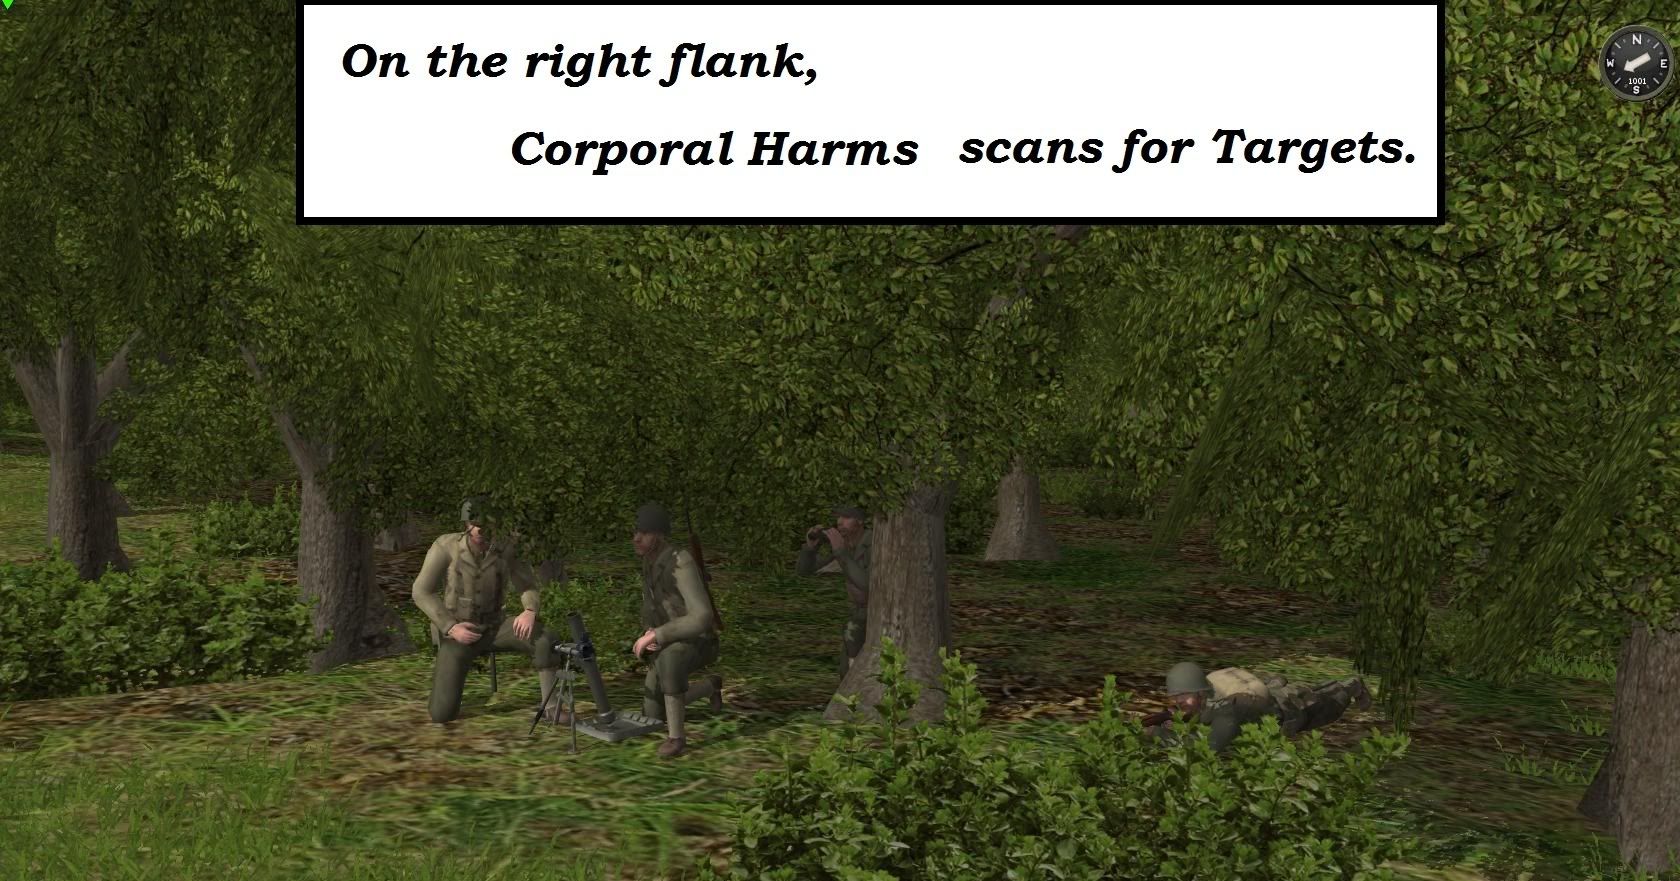
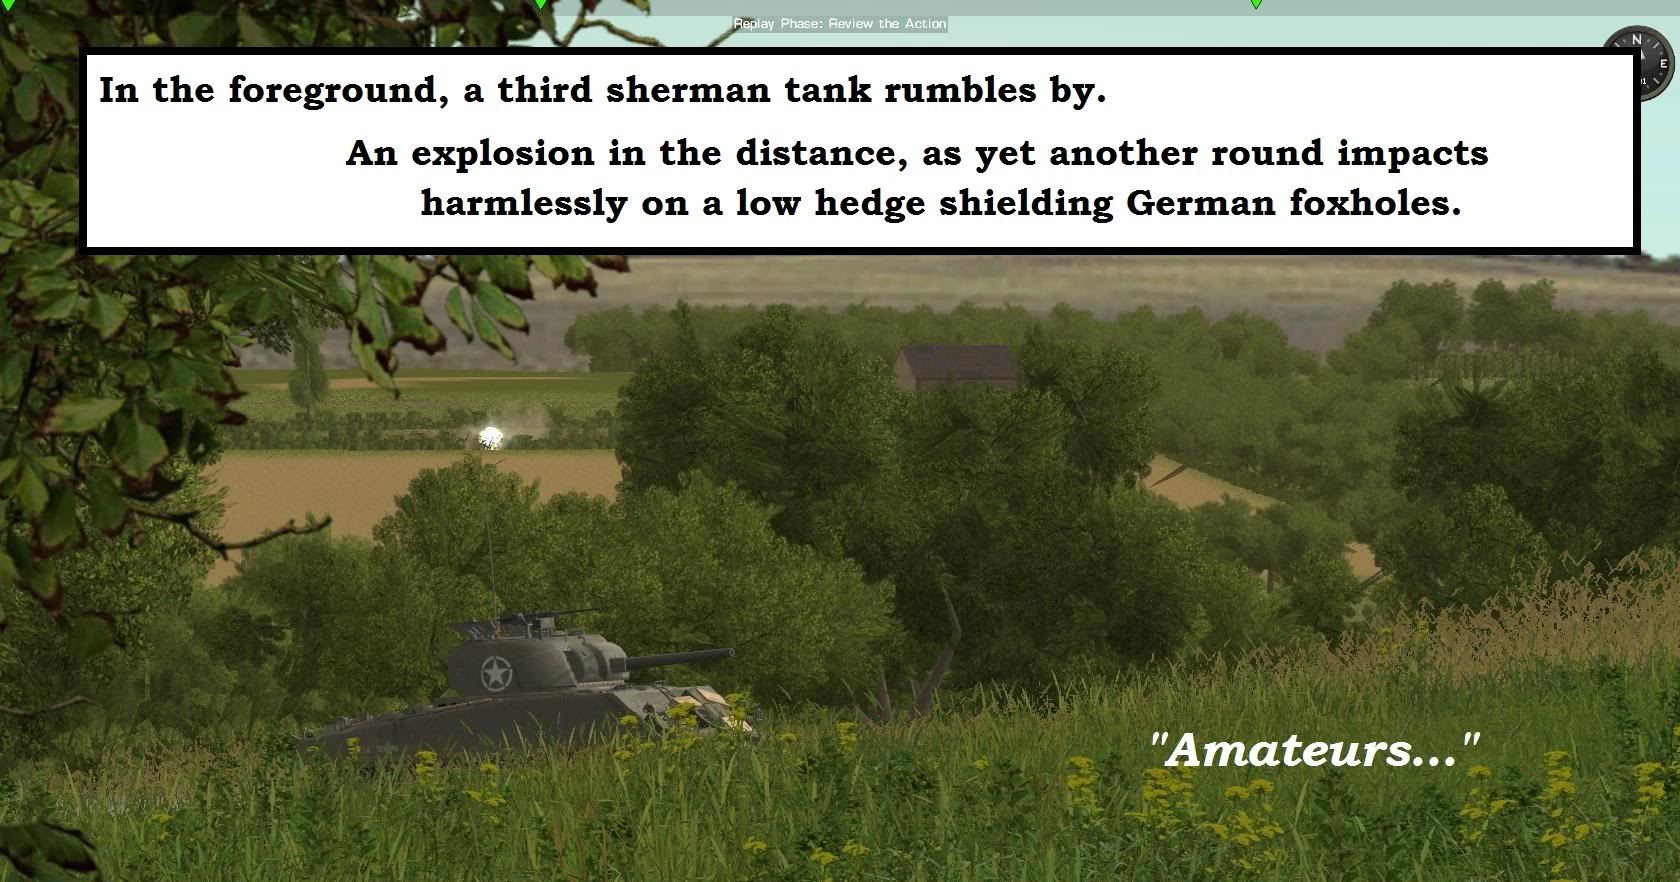
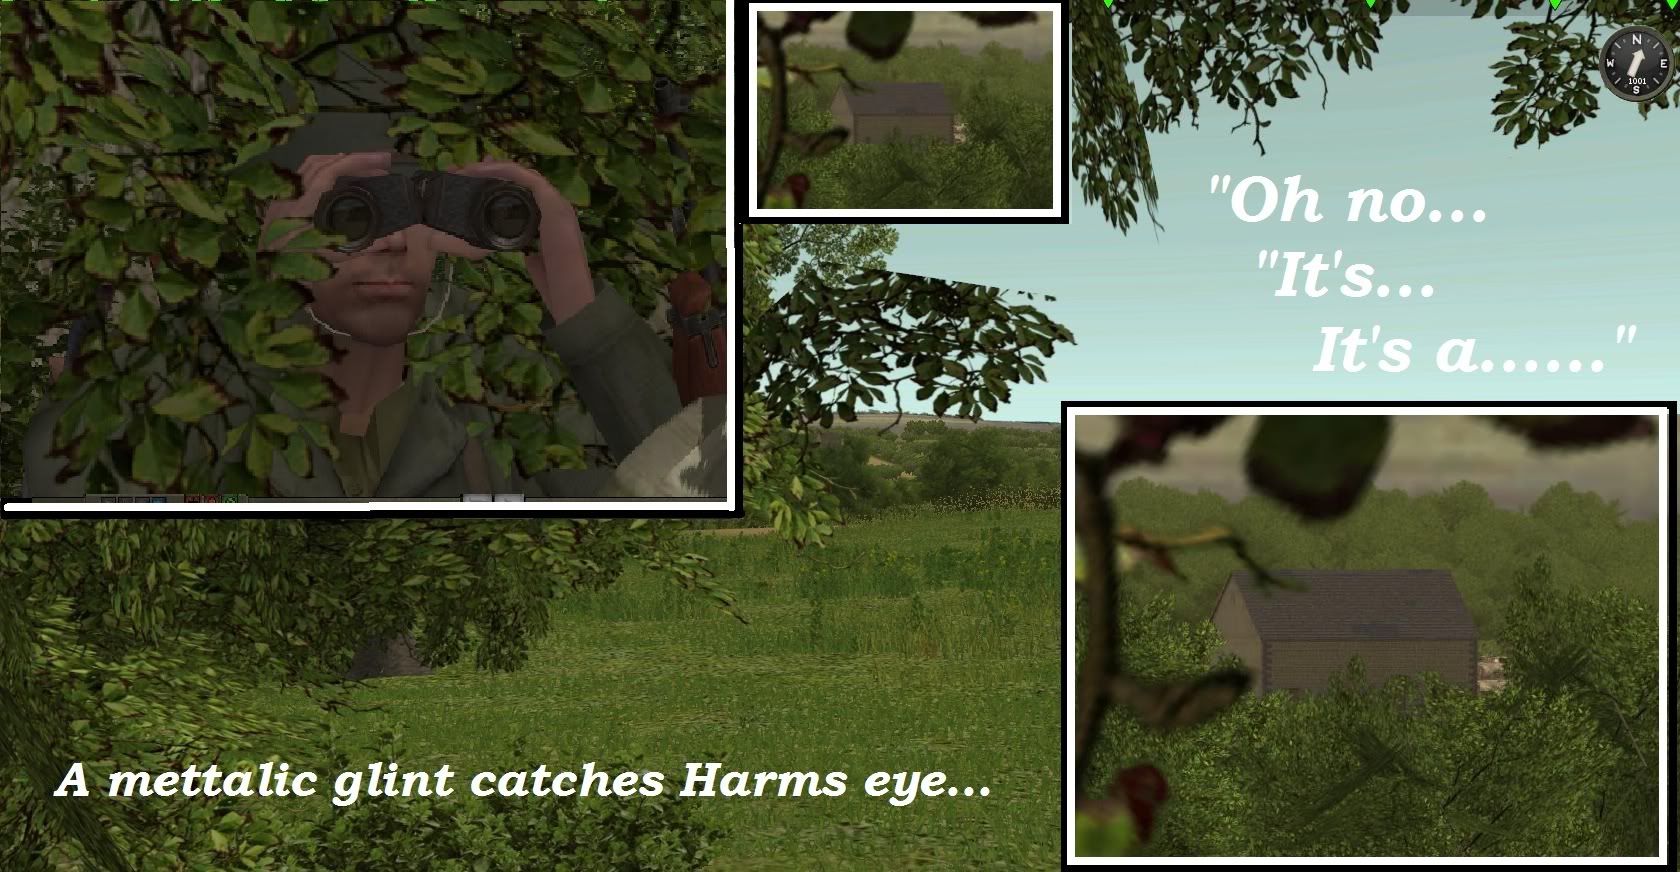
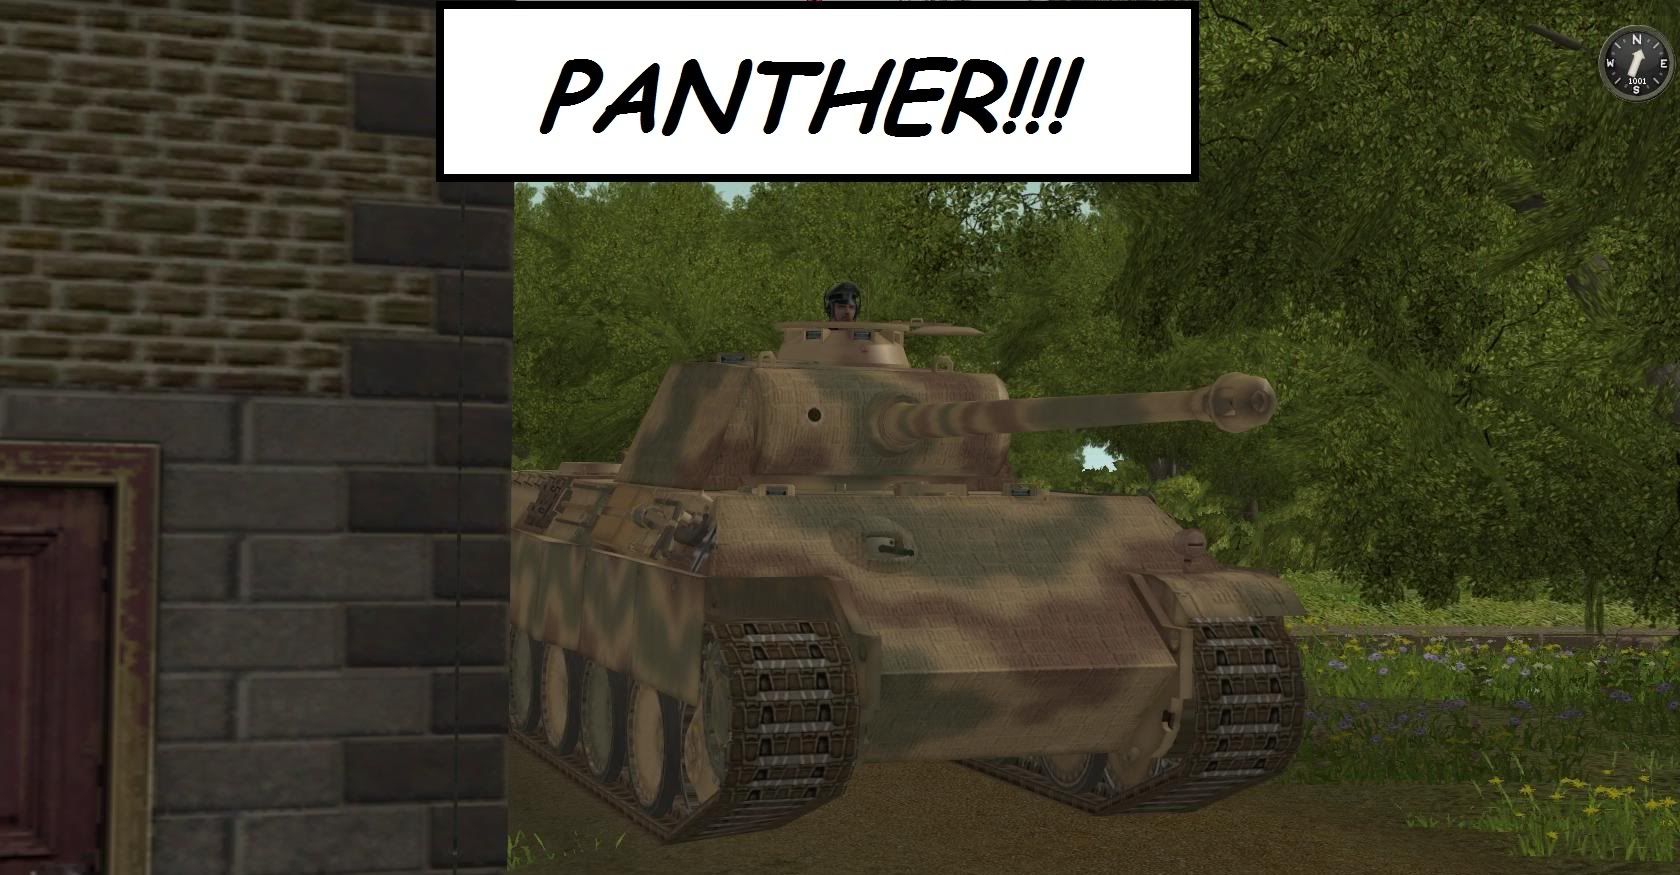
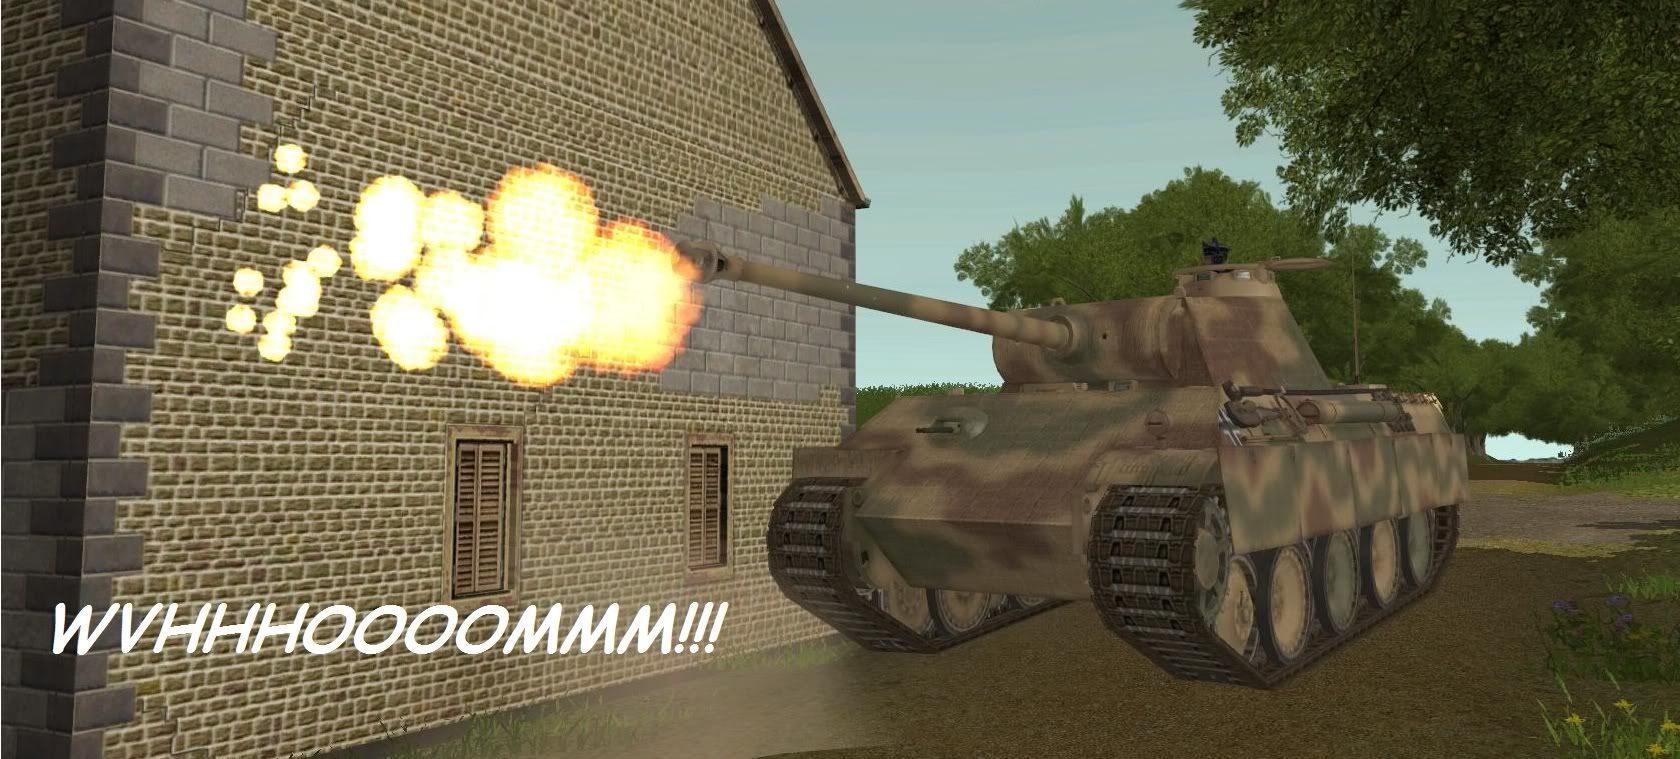
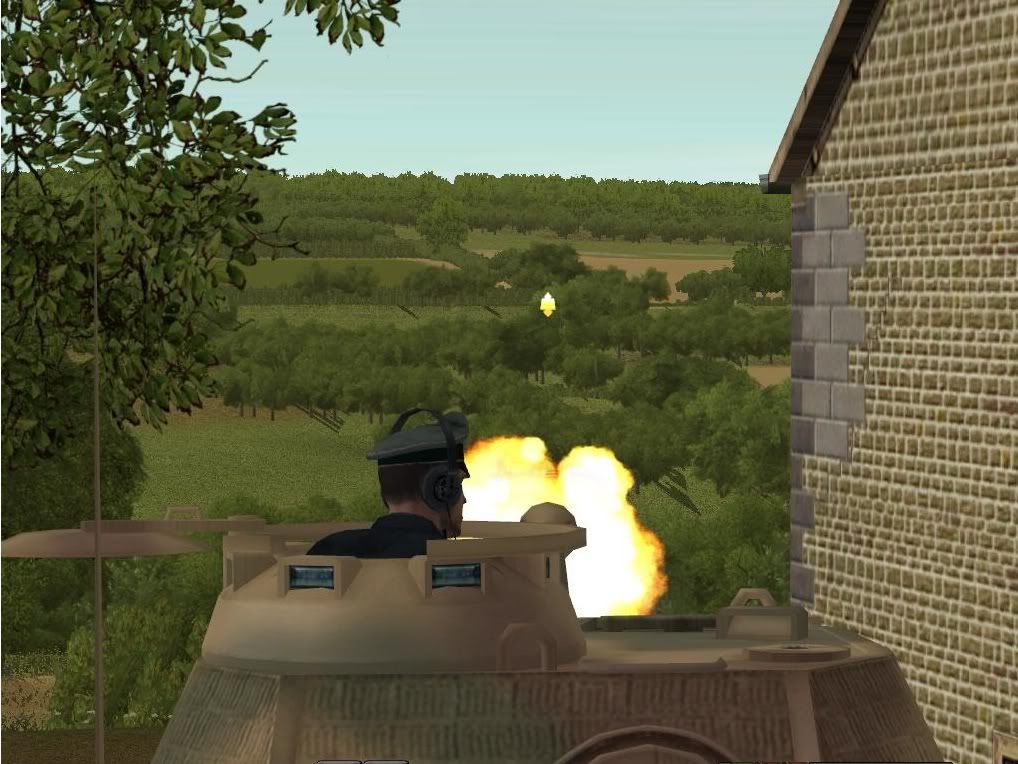
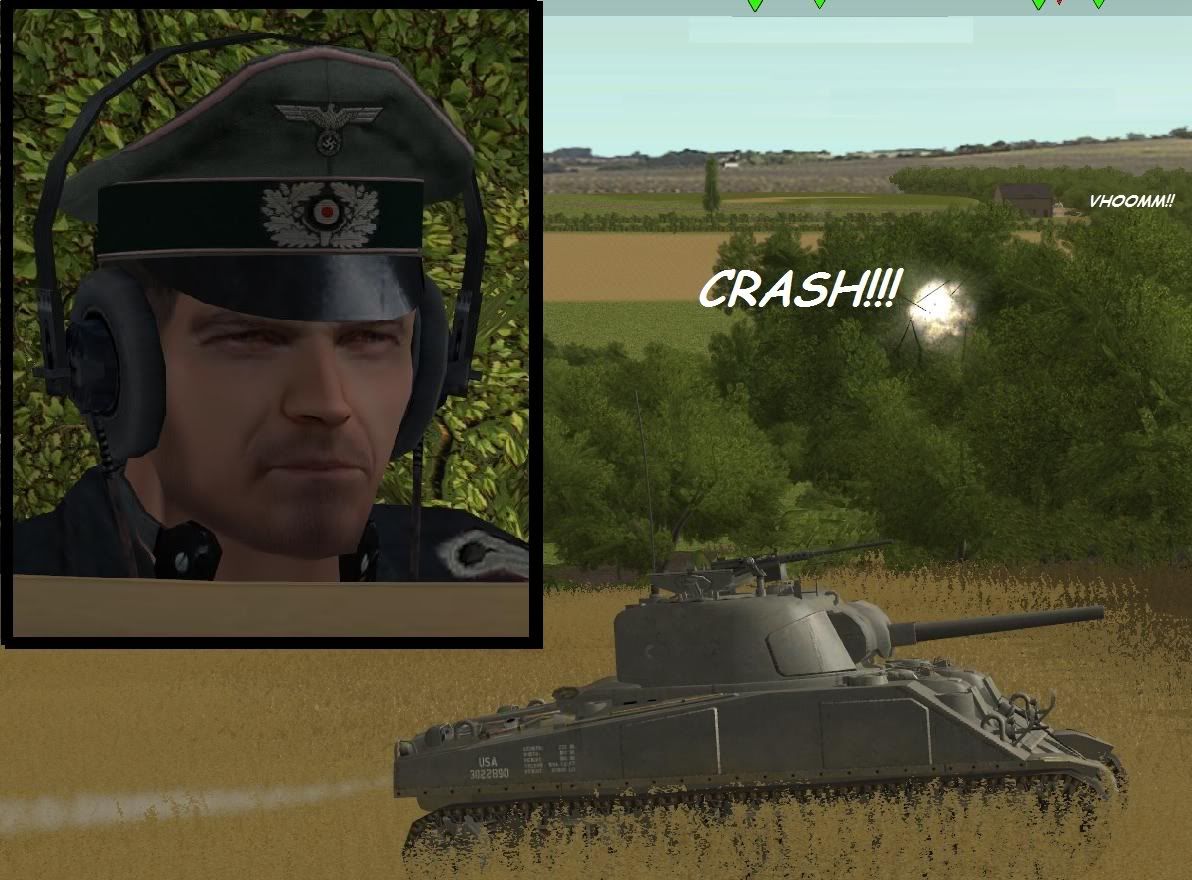
So I'll try to capture more moments like the zook attack / mg42 reveal / panther etc. More interesting. I'll make this DAR more then just a pic dump and more of a collection of intense battle moments.
 
50.jpg


51.jpg


52.jpg


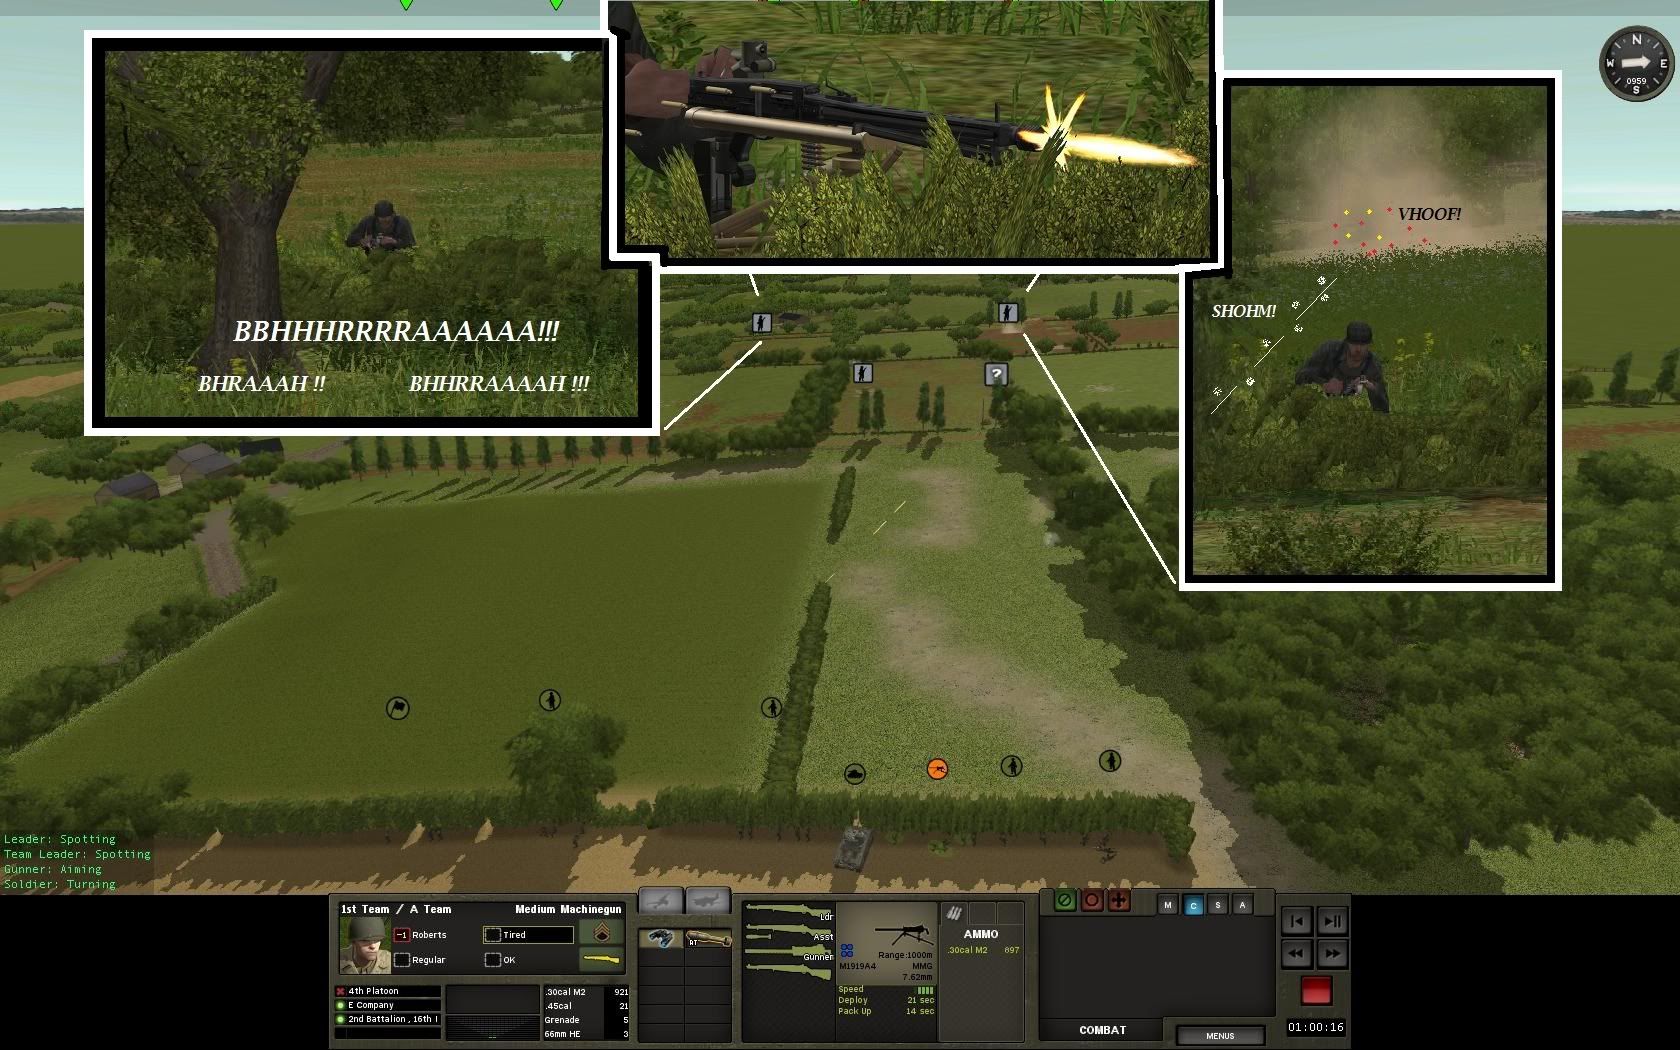
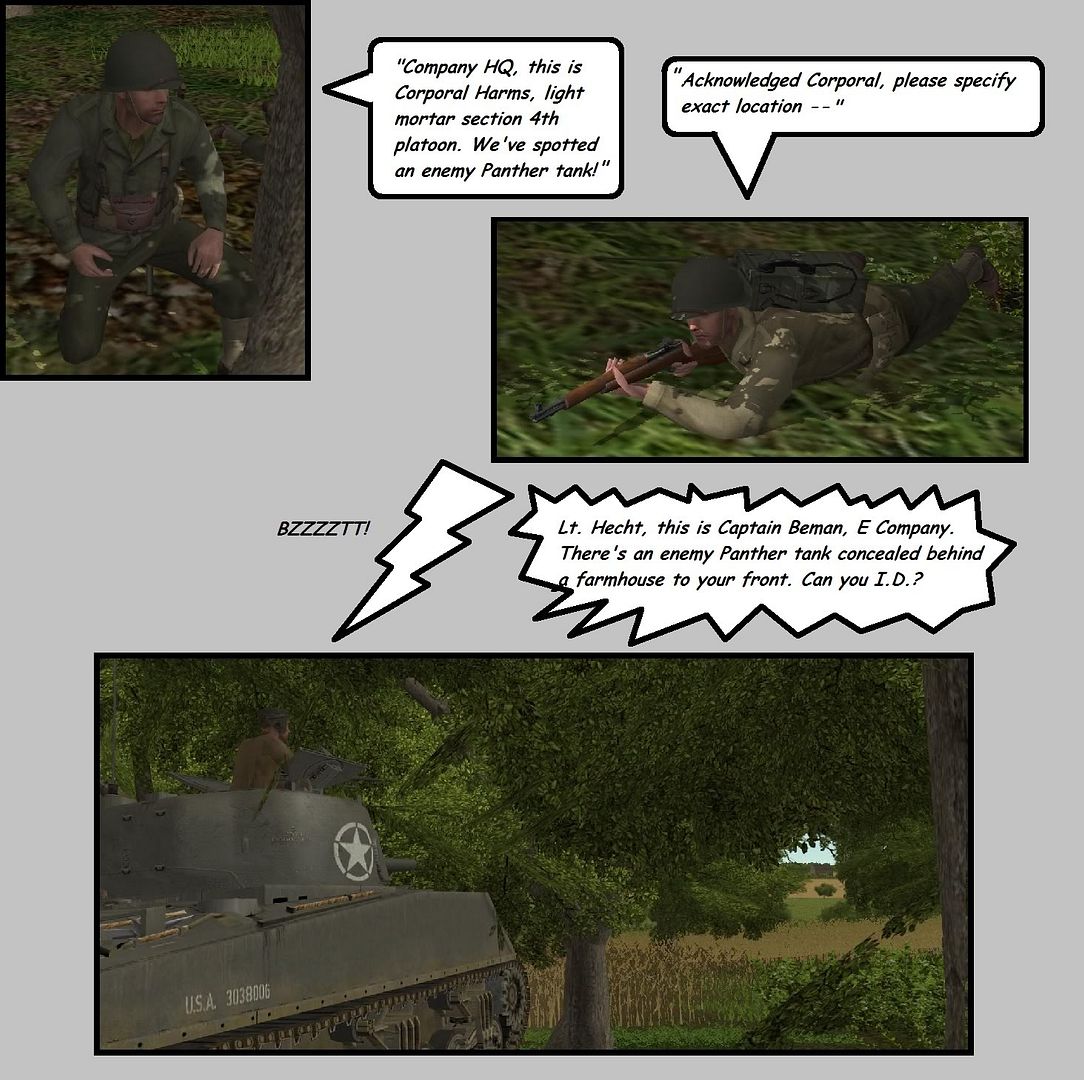
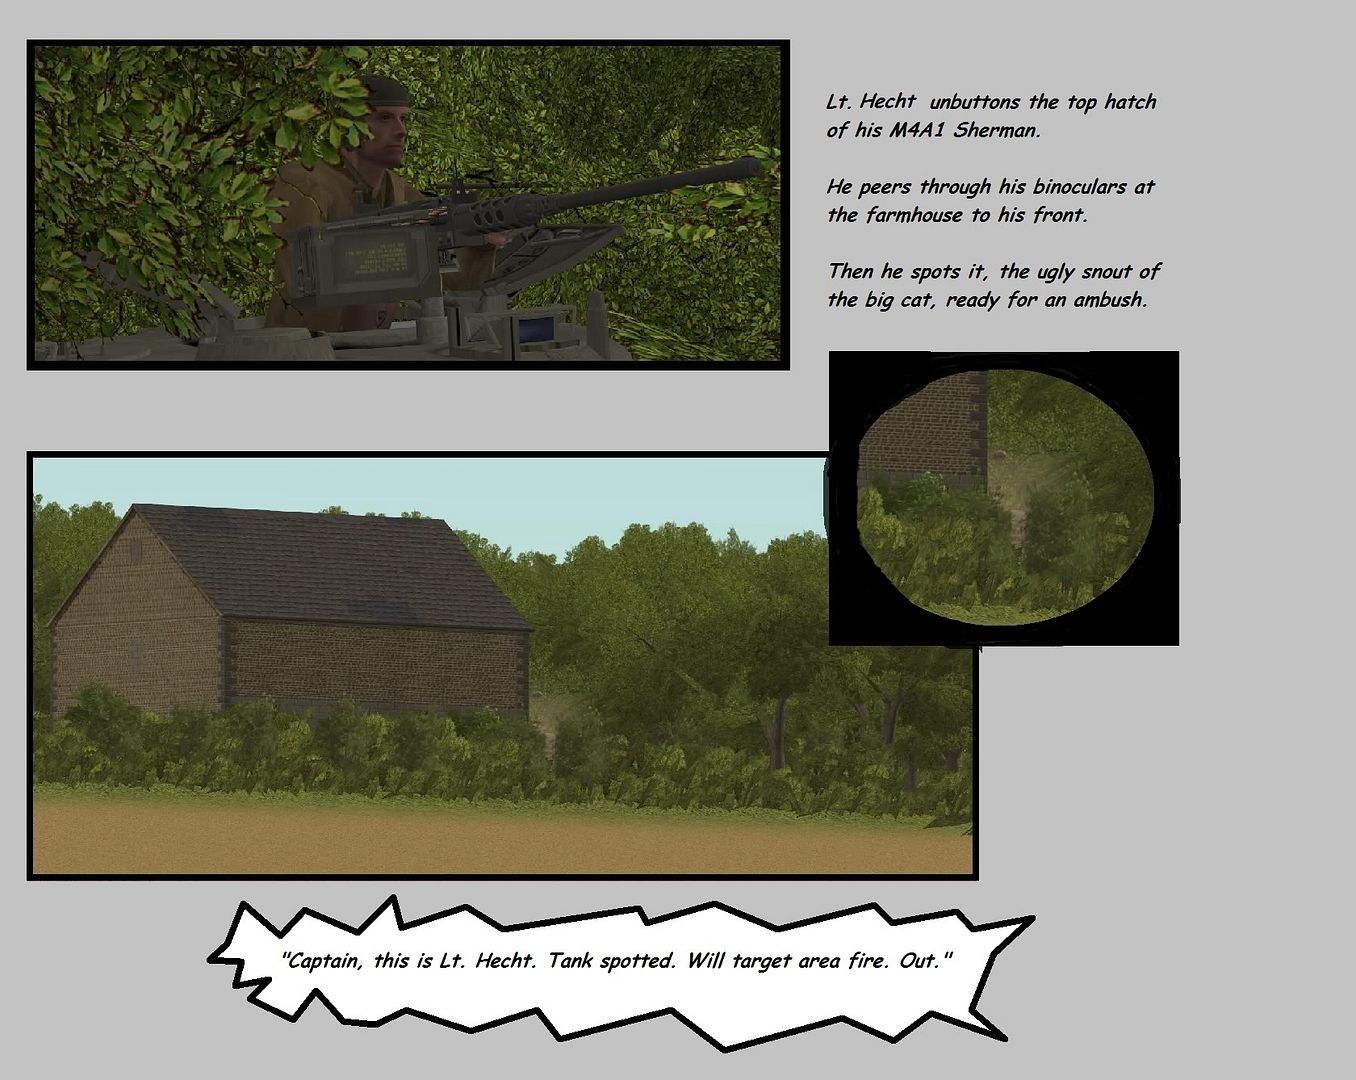
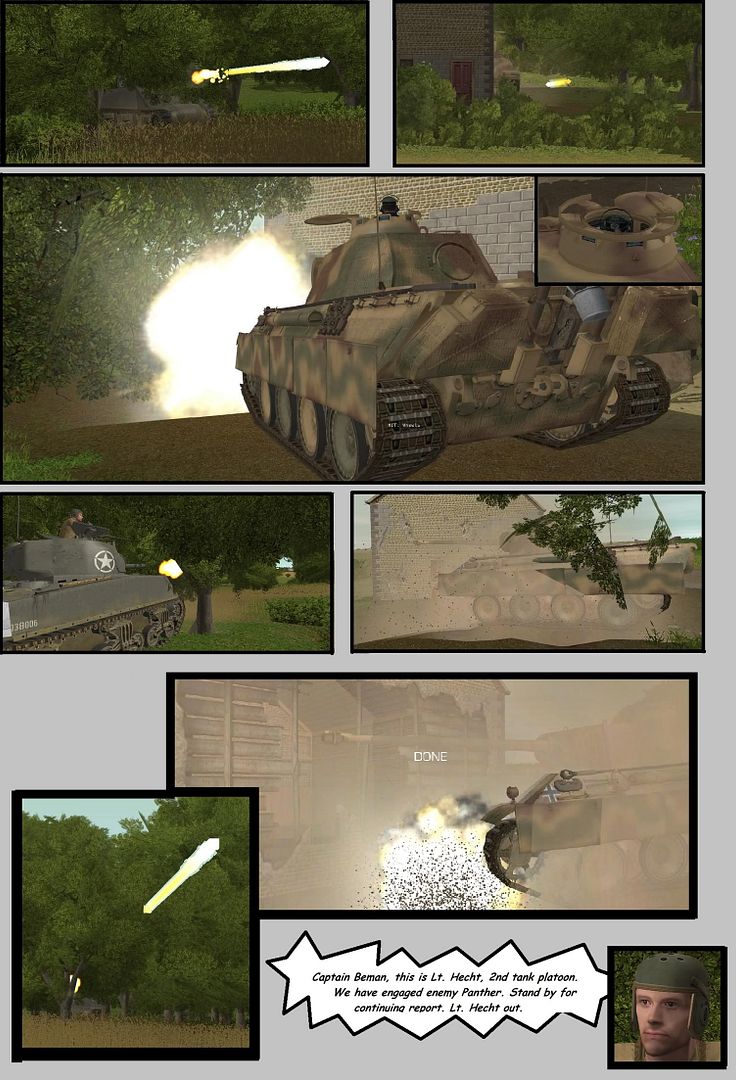
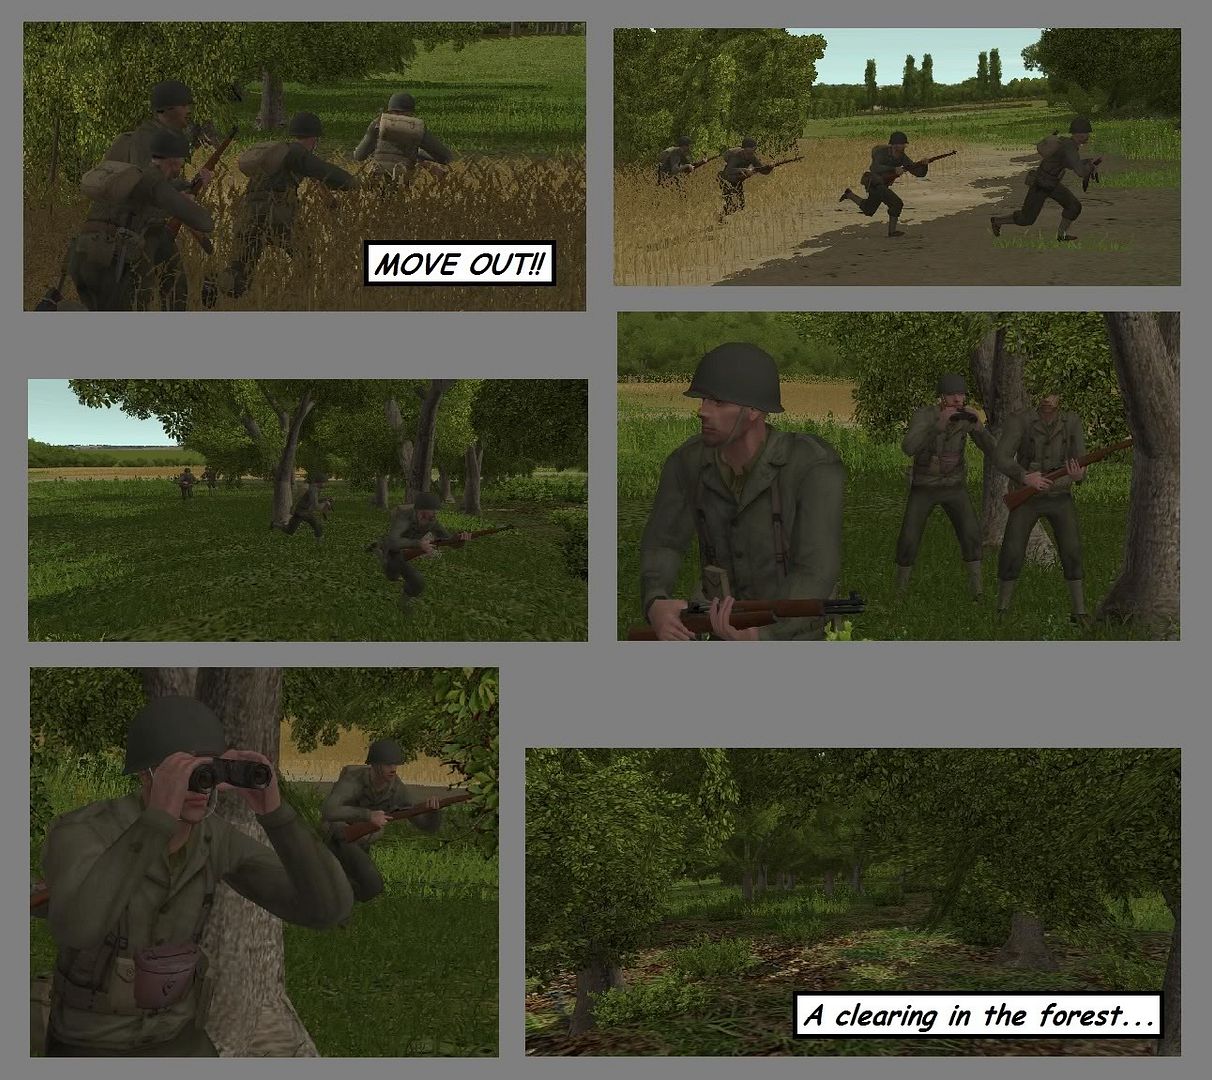
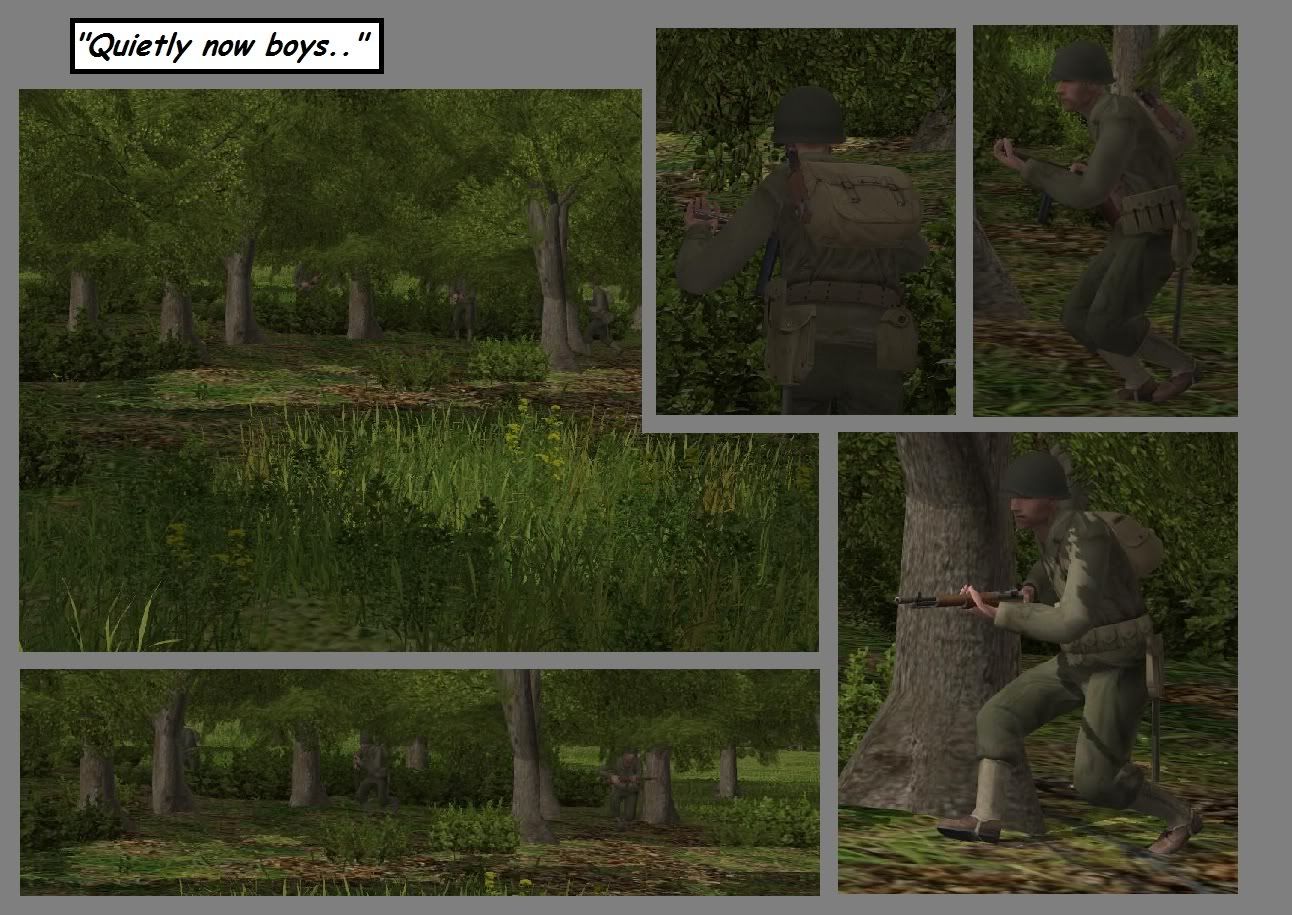
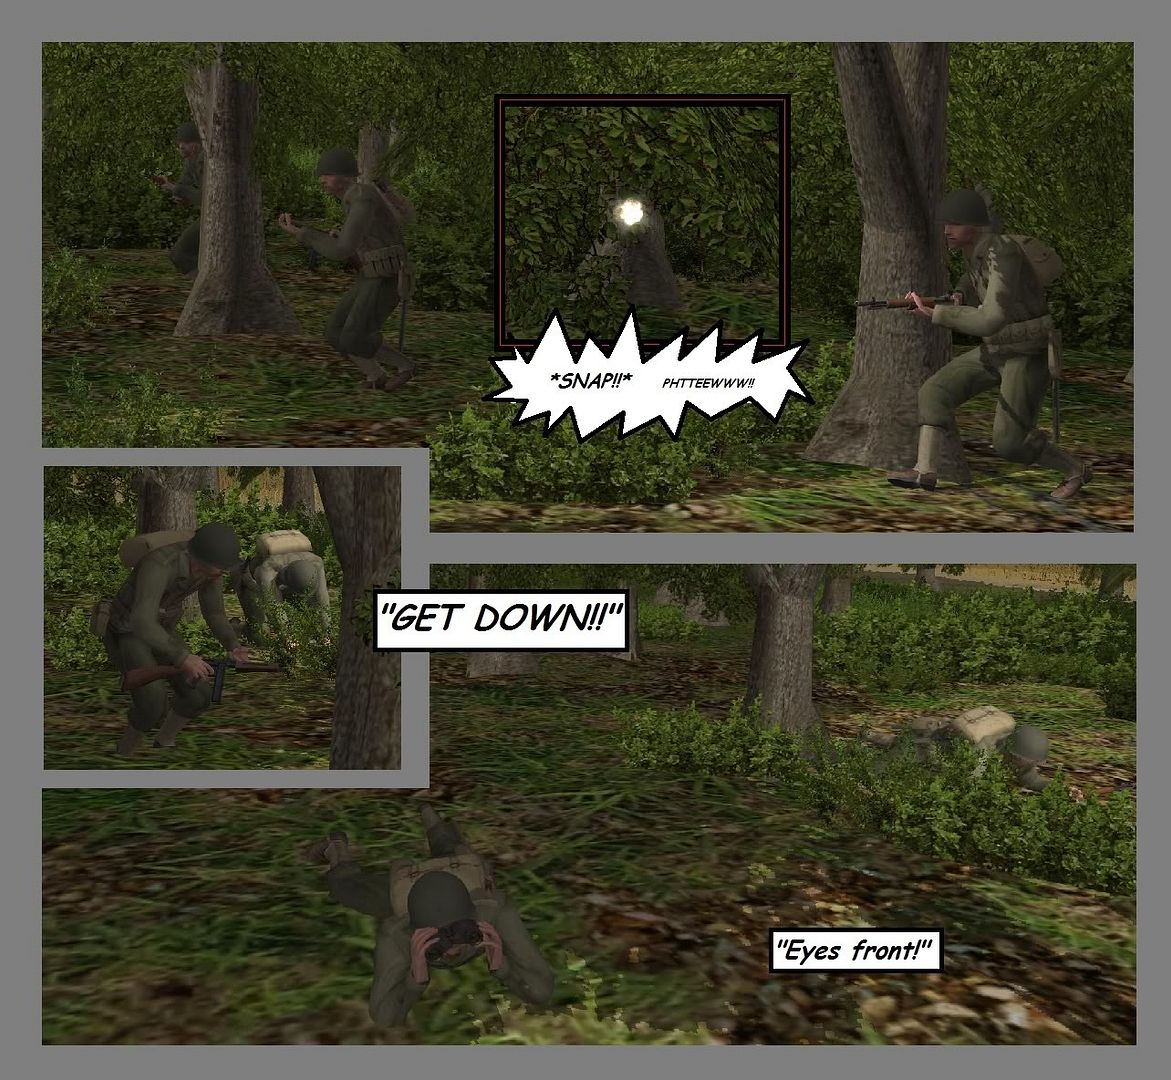
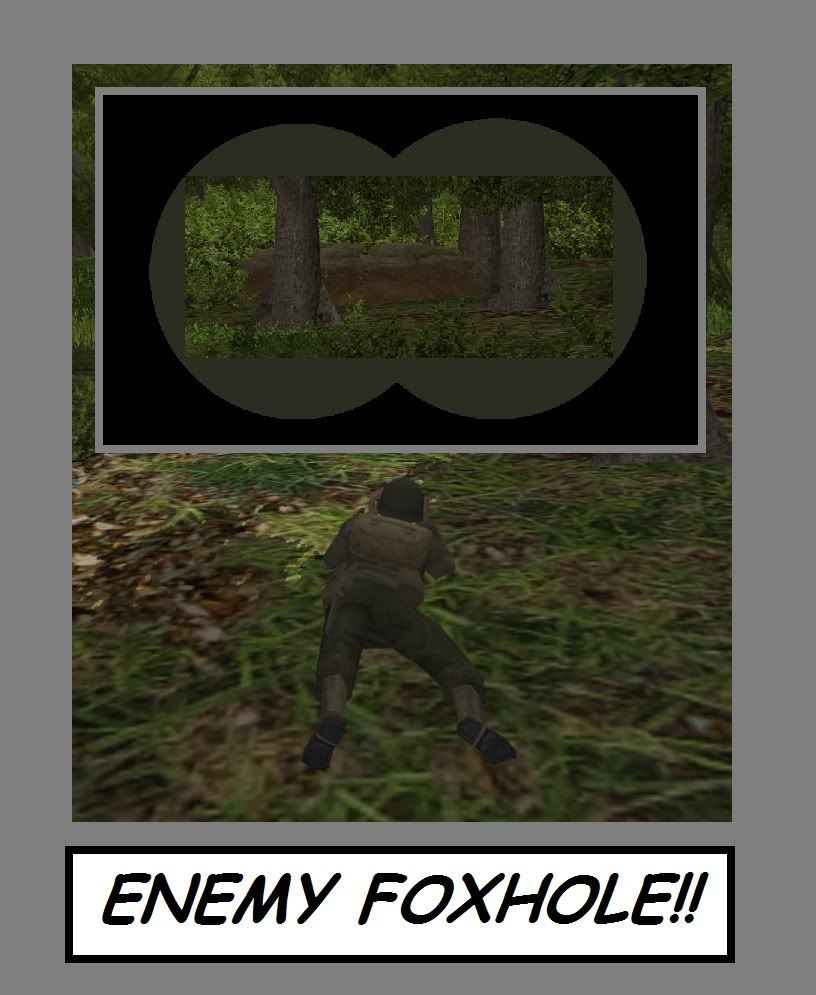
Heh, liked that one. I'll continue in this comic book style, works pretty well to convey the action.

Took some time to get all the shots, layout, drawing etc, couple hours, but not too bad.I think I could knock out something of this size ( 3 pages) every few days.

MS Paint in Windows 7 is actually pretty versatile, to my surprise. Who'd have thunk it. ;-)
 
I wonder if there's a trick to drawing good binoculars in paint. There's no circular/oval shaped select tool which makes it more difficult. I found a technique that works OK that I'm using in the next "episode".
 
While the left flank is locked down until that Panther can be knocked out / area fired into oblivion, there's a story unfolding on the right flank...

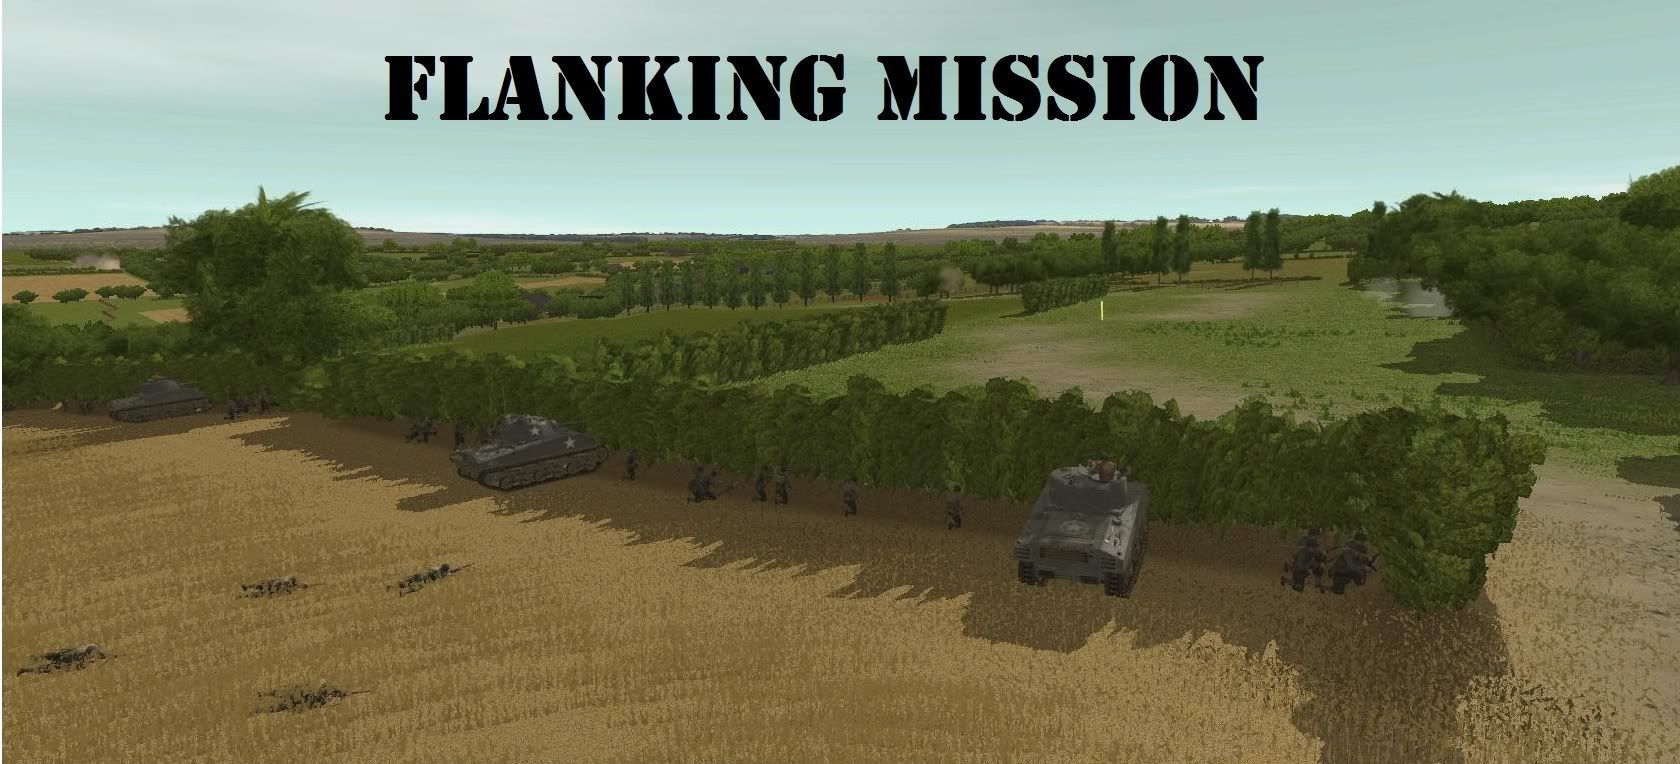
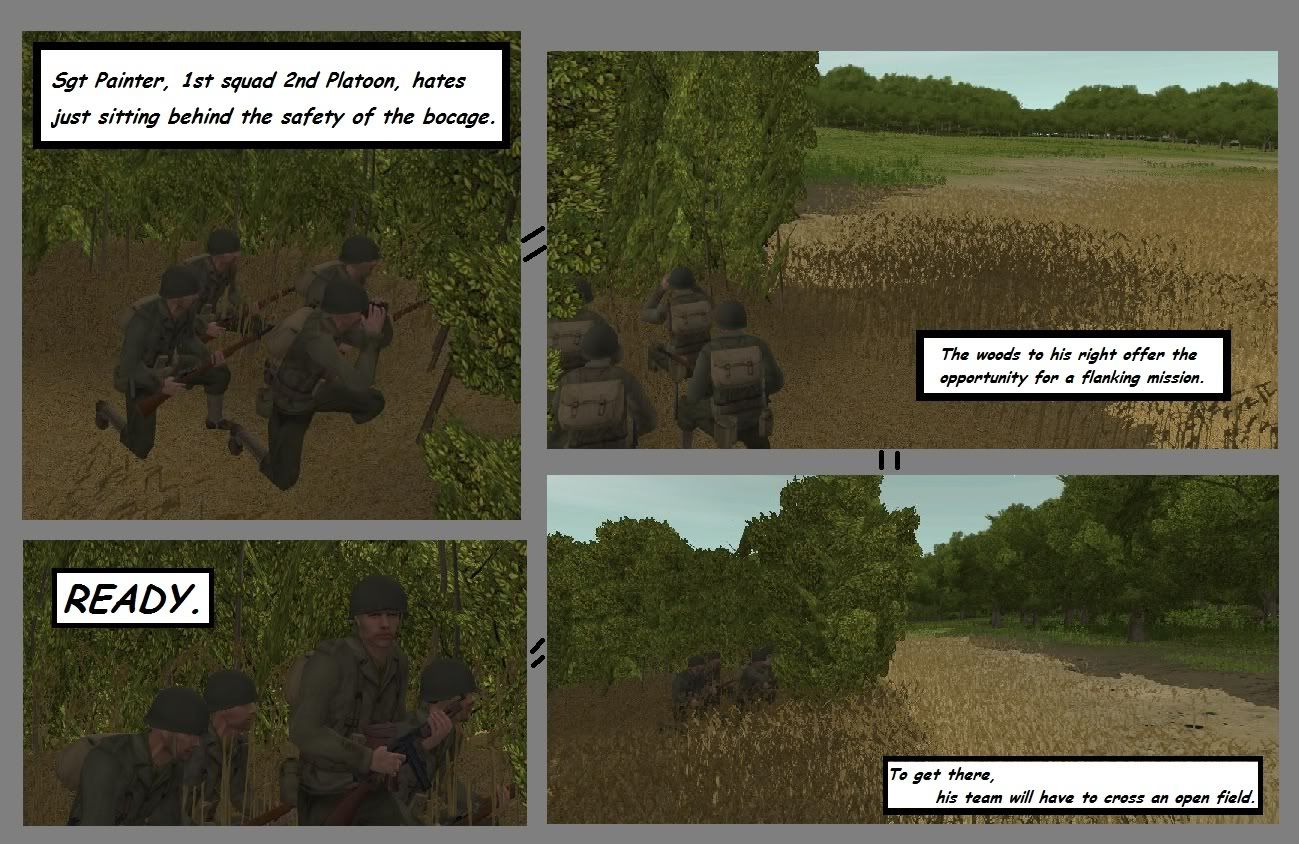
53.jpg


... Or "How I learned to stop worrying and love the bocage."

p.s., if you look closely to the left of the picture, you can see the dust from the shells exploding near the panther. ;-)
 
Back
Top Bottom