Welcome to The Few Good Men

Thanks for visiting our club and having a look around, there is a lot to see. Why not consider becoming a member?

Progress screenshots: FGM Competition "1944" (Finished)2010

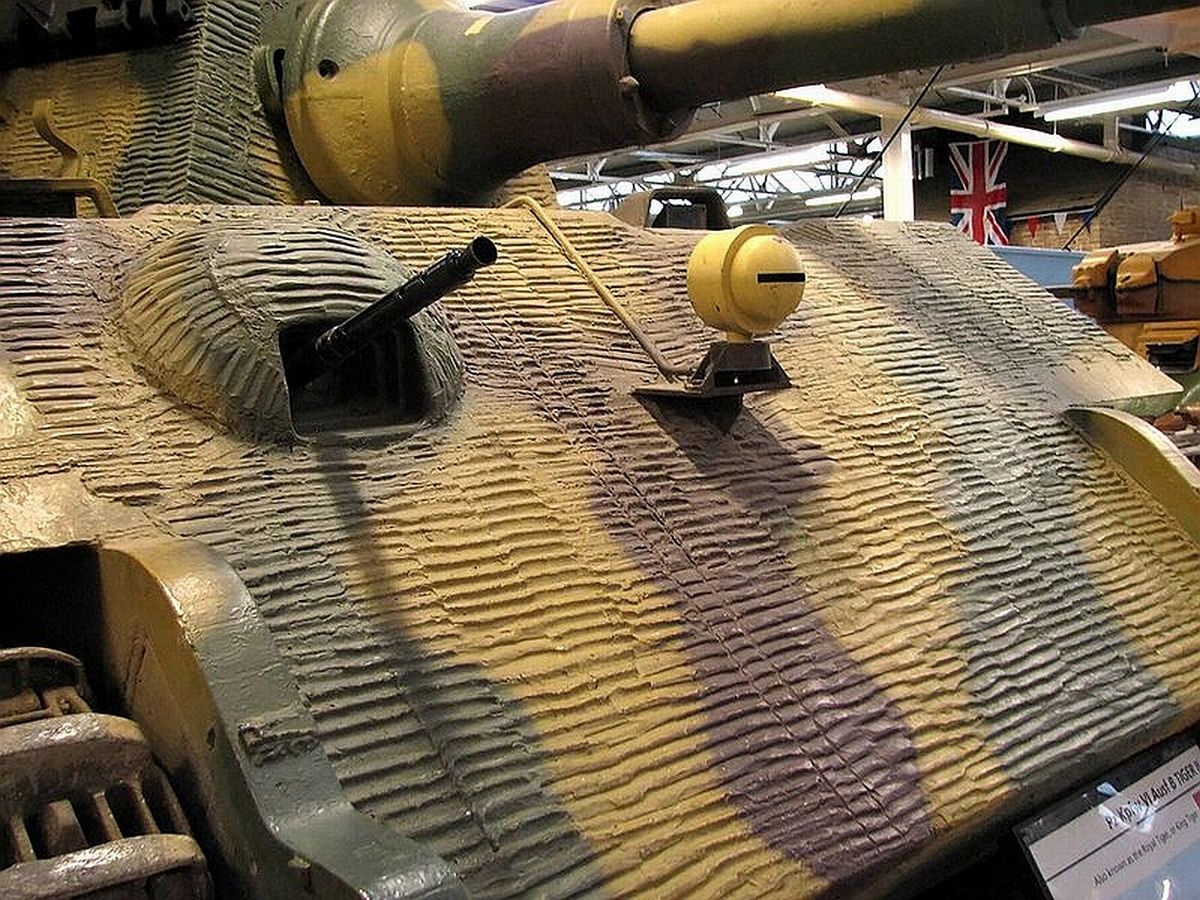
I found this pic on Wiki which I thought would help me:

PanzerV_Ausf.G_1_sk.jpg
 
You can see on the second photo Spike posted just how thin the Zimmeritt is, too....thinner than I had imagined.
 
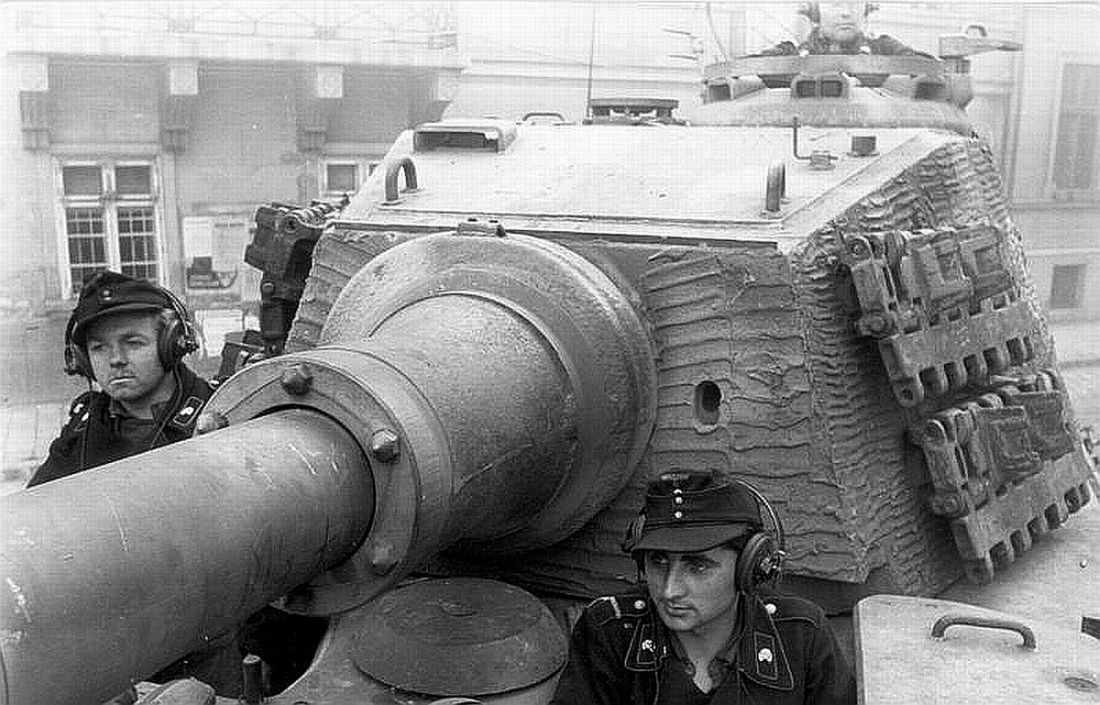
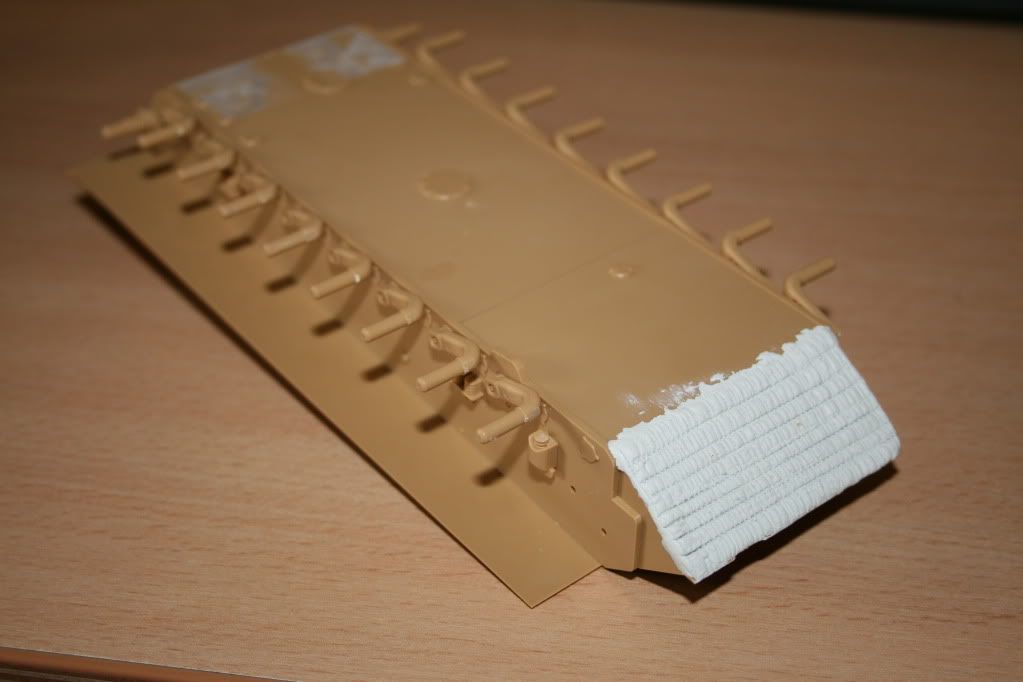
Here's a re-posting of a couple of zim pics that are floating around the forum somewhere-

Kingtiger in a tank museum-

zimmKT.jpg


Kingtiger, Budapest 1944
Ktig-Budap44.jpg
 
I've applied the first section of the model with zimmeritt, it's still drying so I'll file down around the edges when dry.

IMG_3596.jpg
 
I used Milliput, rolled it out to about 1mm thickness, then cut out an appropriate sized section which I fixed to the model.

I scored the Milliput with a knife, I thought I'd use a simple pattern.

On the instrustions in recommends applying zimmerit to the rear section. However this needs to be applied around quite a bit of detail which looks very challenging. So I'm wondering whether just to leave it and only zimmerit the main sections.
 
I would give it a try. Real Zimmerit had a les than perfect appearance so what you might think looks less than perfect may look quite realistic.
 
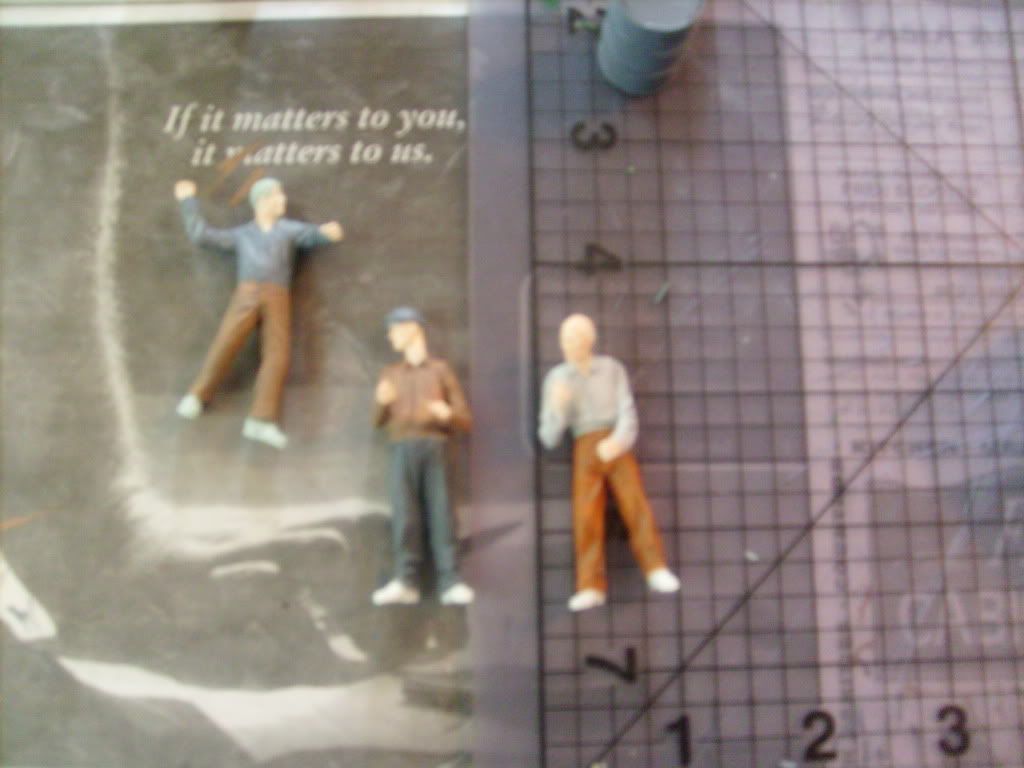
More than a month since the last post ... are you guys sure that you're up for this?

Actually got some work done this week, just need to take some pictures and get them posted. I am still on schedule tutuo meet the deadline. I will try and be more diligent on posting here regularly. I do want this thread to stick around and I definitely want to participate in some more group builds in the future.
 
More work completed tonight. The cab of the truck is nearly complete. Really starting to look like an actual truck now. More work completed on figures as well. My daughter has commandeered the digital camera so pictures will have to wait until I can get it back from her. This is my favorite part of a build, the point where everything starts to look like what it is supposed to be.

Stay tuned for pictures soon.
 
Excellent pictures. I love the use of the paint brush bristles and I have been studying your Celluclay "recipe" on your website.

Thanks for sharing your experience.
 
Thanks AC, I will "reverse engineer" the colours in the groundwork, matching as many of the colours on the camo smocks with the base as possible.
rb
 
OK, managed to get use of a camera so I could post the promised pictures. Cab of the truck is well underway, interior is complete including the German figures placed inside. The grill and exterior accessories need to be attached then nothing but to attach the cab and rear compartment to the frame. More figure painting done as well, a little more to do like shading the flesh areas and painting hair and shoes then addition of weapons. I need some advice on taking better photographs of my work, especially the figures. I can't seem to get a clear, up close shot that really shows the details. Any advice on improving my photography skills would be greatly appreciated.

S7300594.jpg


S7300593.jpg


S7300604.jpg


S7300601.jpg


S7300599.jpg
 
Back
Top