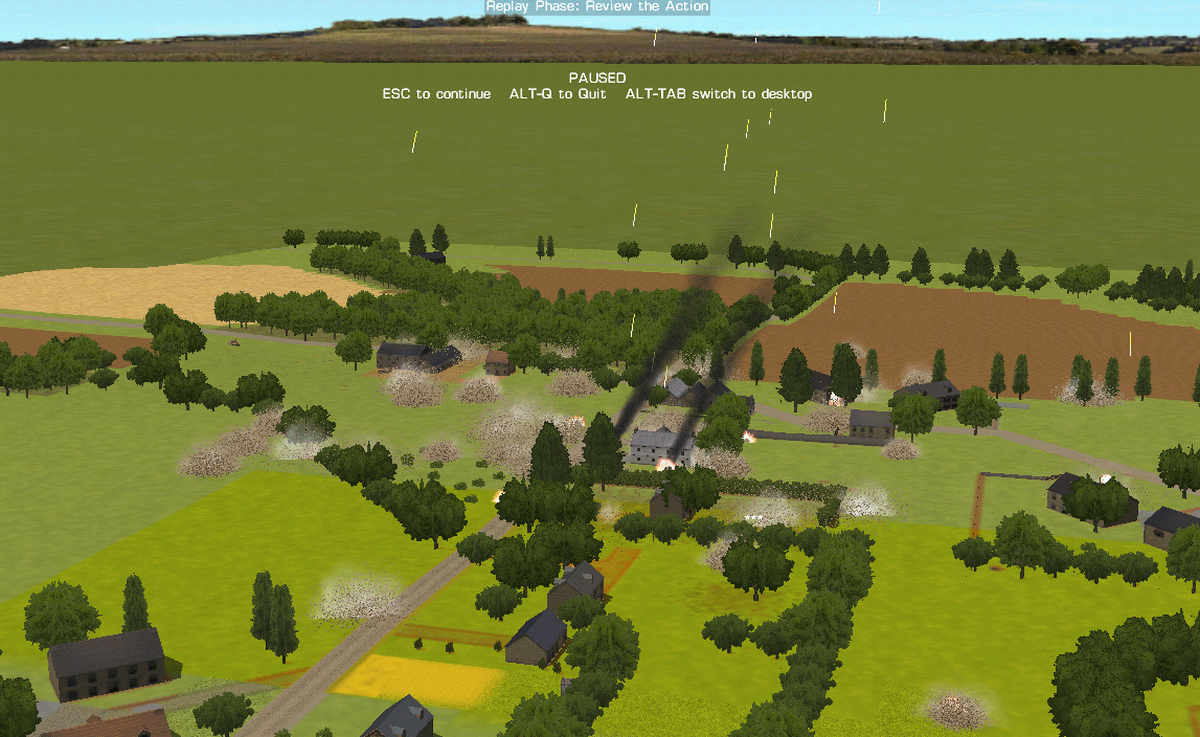
Members screenshots

Nort map, fairly unusual in having 3 obj zones.
I'm still not sure how many points the program awards for occupying zones at the end of the game. the small white stars floating above each zone might give a clue as to what they're worth, the more stars the more points perhaps.
In Cmbn there's no ongoing score readout like there is in Cm1, so it adds to the interest not knowing how well you're doing-
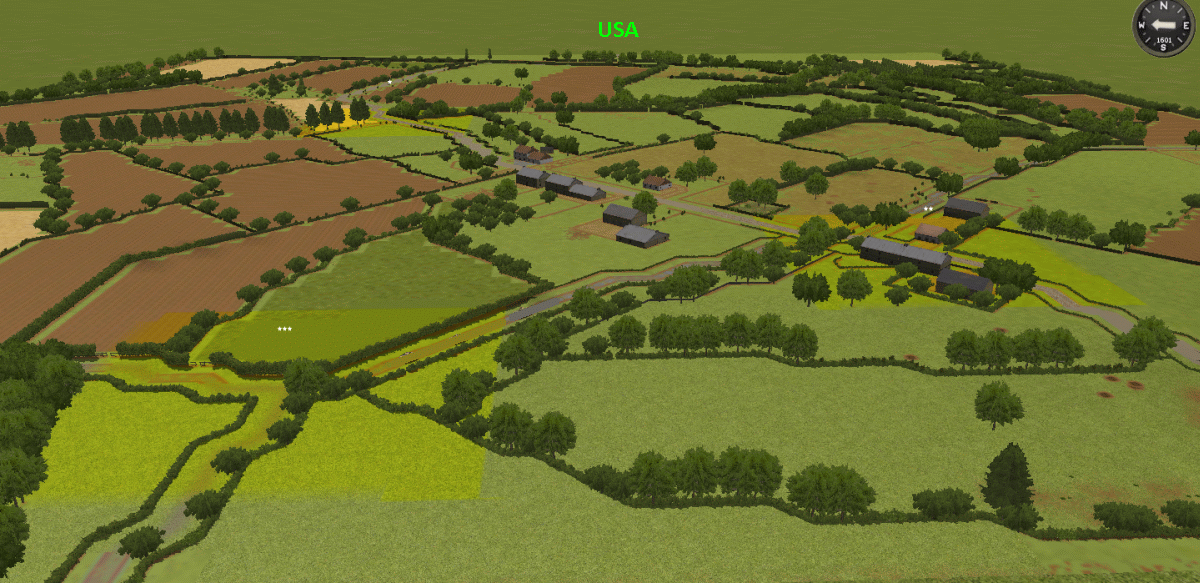
nort-map.gif
 
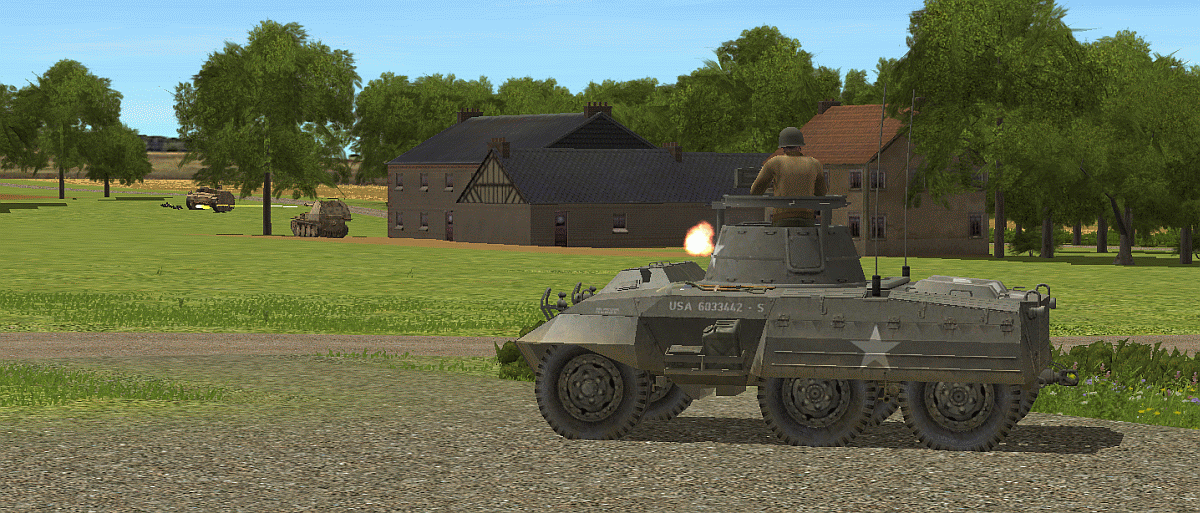
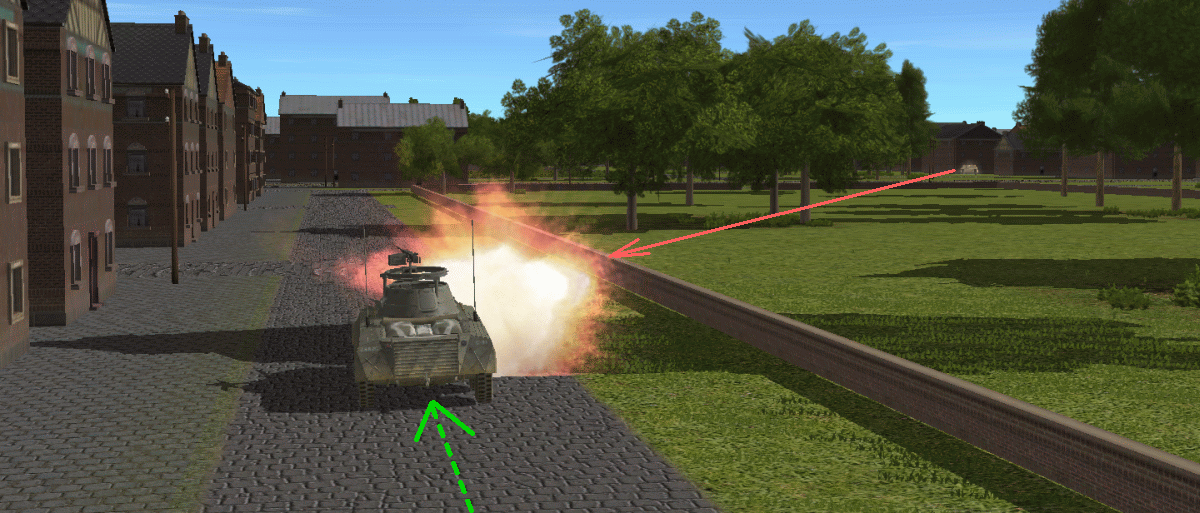
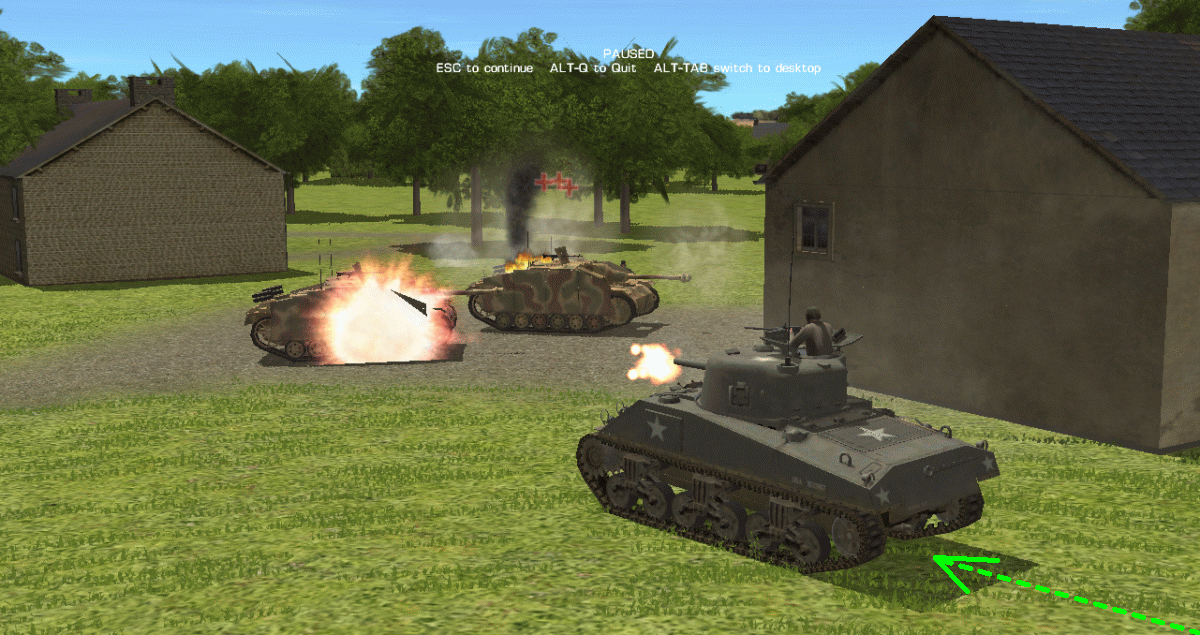
Narsus's M8 probes the village and catches my Marder and Stug napping, quickly killing them both with shots in the back from its wicked little 37mm cannon..

nars-M8.gif
 
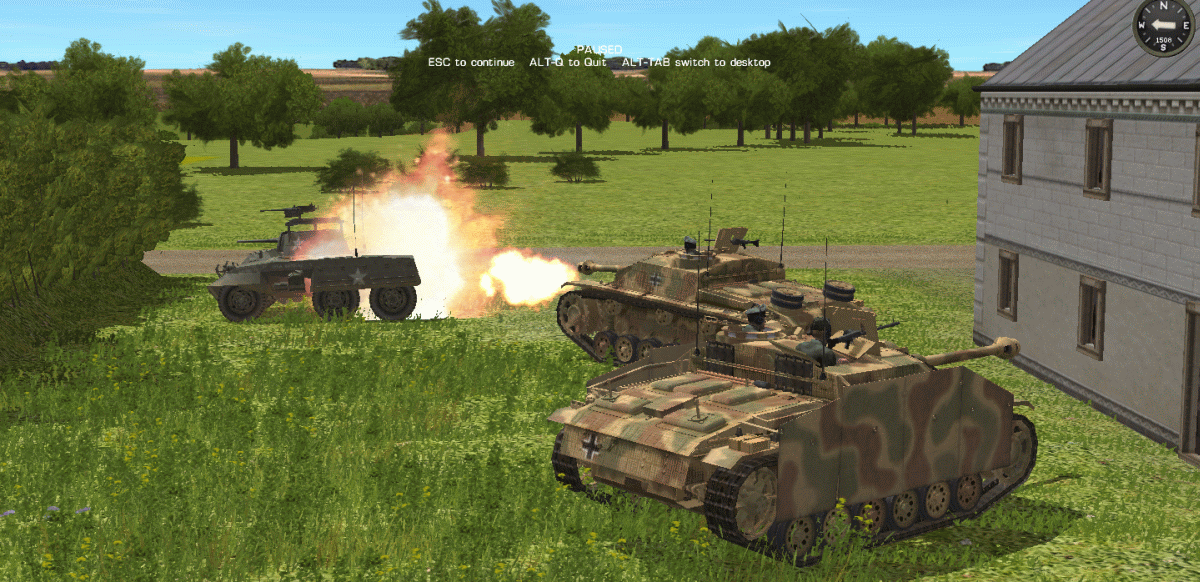
Payback! Next turn Narsus's M8 continues it's probing and crawls slowly by my two Stugs without even seeing them, giving one just enough time to pivot and let him have it-

m8-brew.gif
 
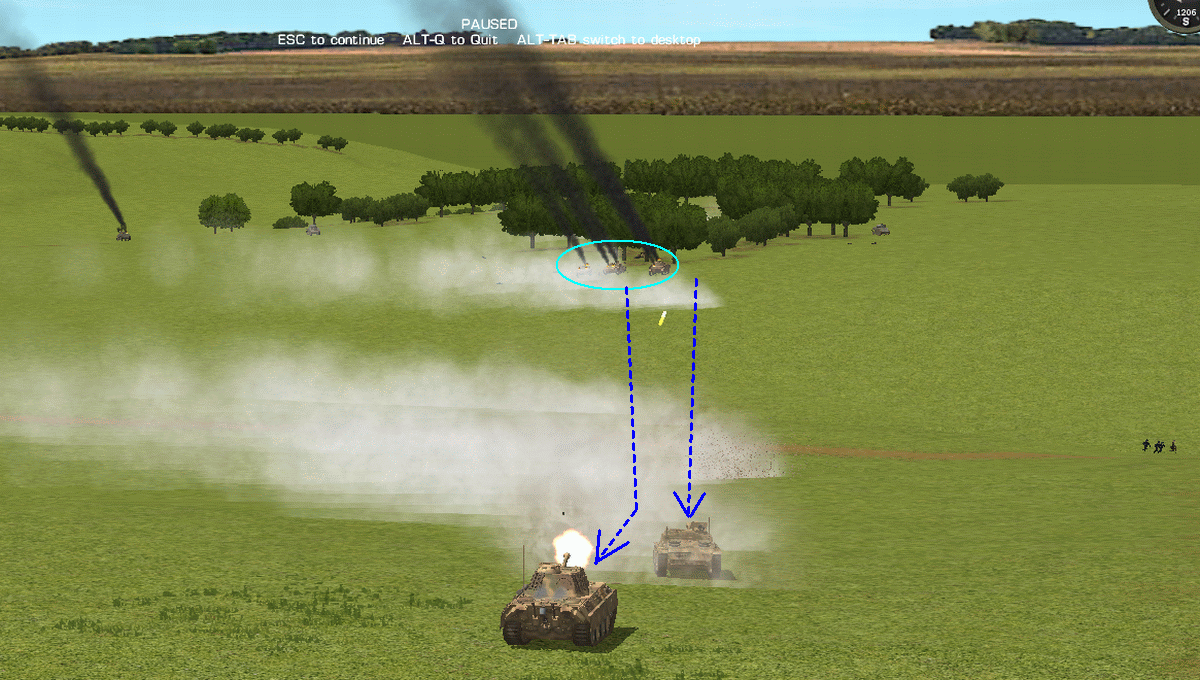
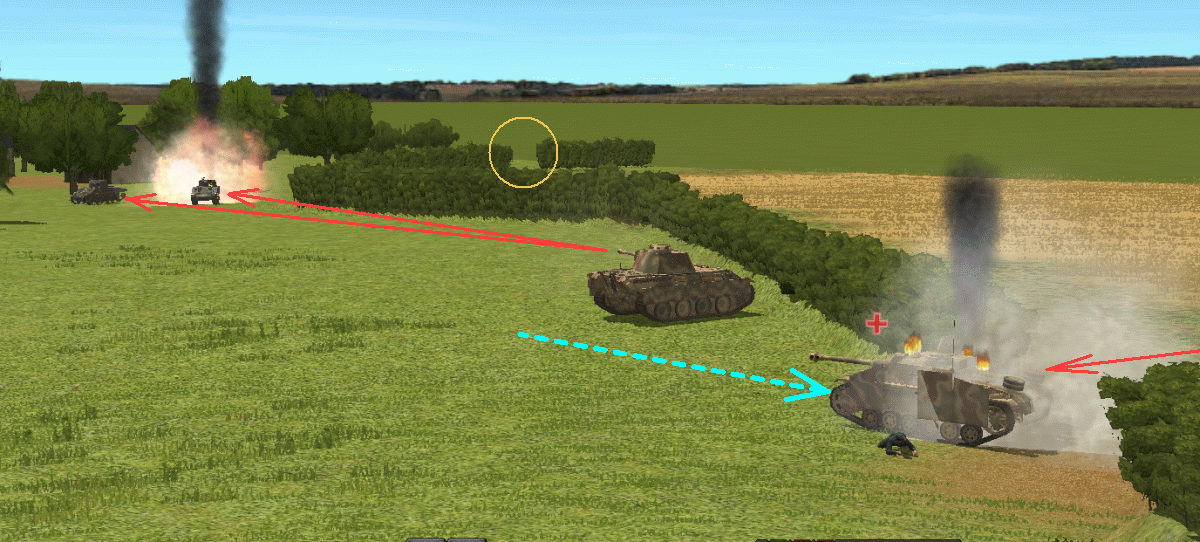
Boff's armor caves in my right flank, killing 2 Stugs and a PzIVH (circled), and forcing me to slam my Panther and surviving Stug into reverse (blue arrowed paths) and flee under cover of desperate smoke-popping.
Note the group of traumatised bailed panzer crewmen on the right in headlong flight-

boff-flank.gif
 
QB v Togisan:
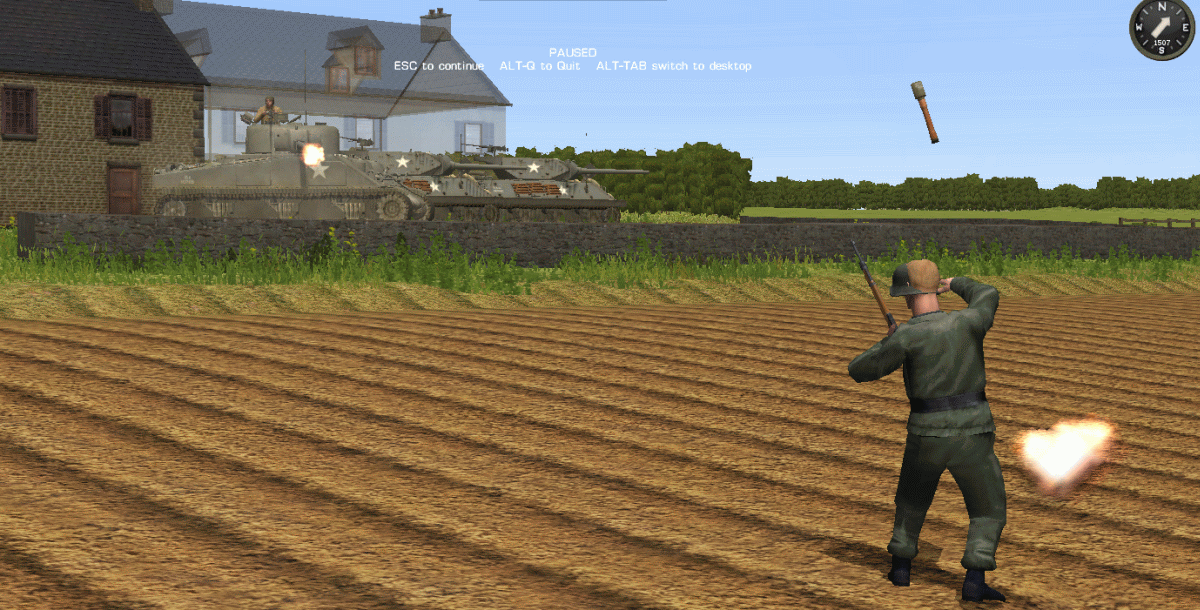
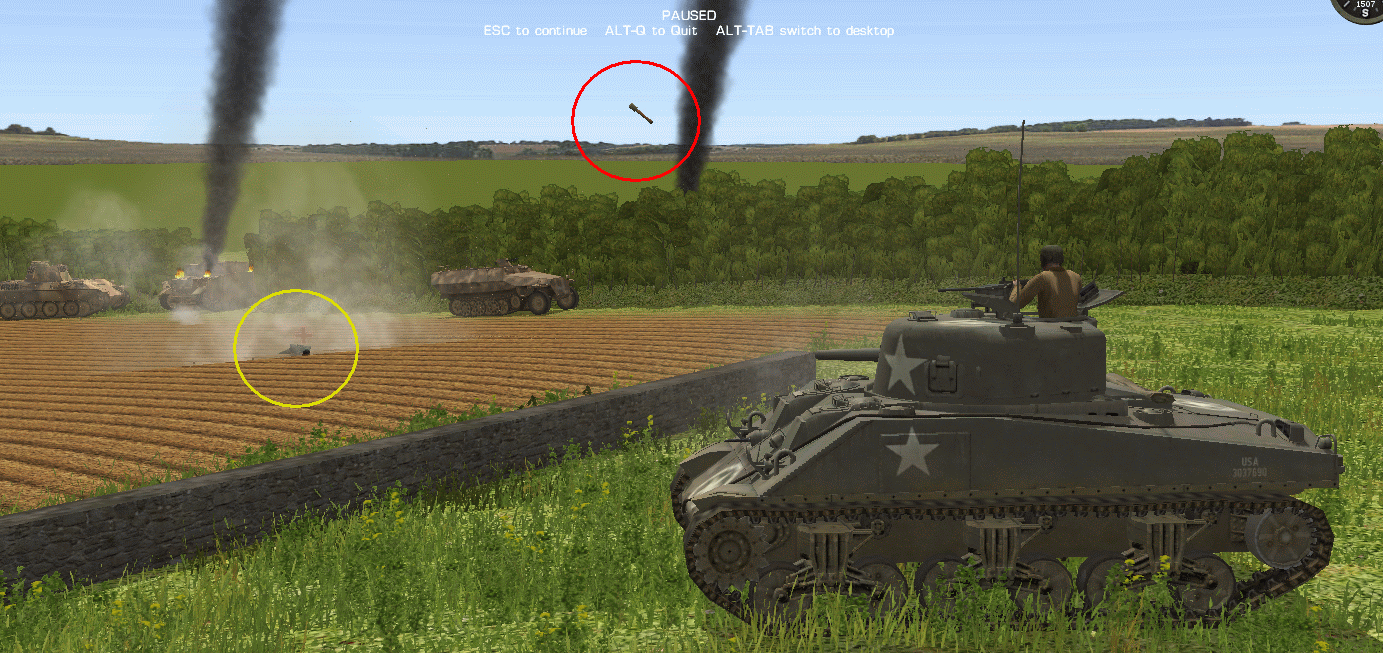
His bailed halftrack crewman throws a potato masher at my Sher while under fire-
gr1.gif


The thrower is shot down (yellow circle) but the grenade sails onward..
gr2.gif


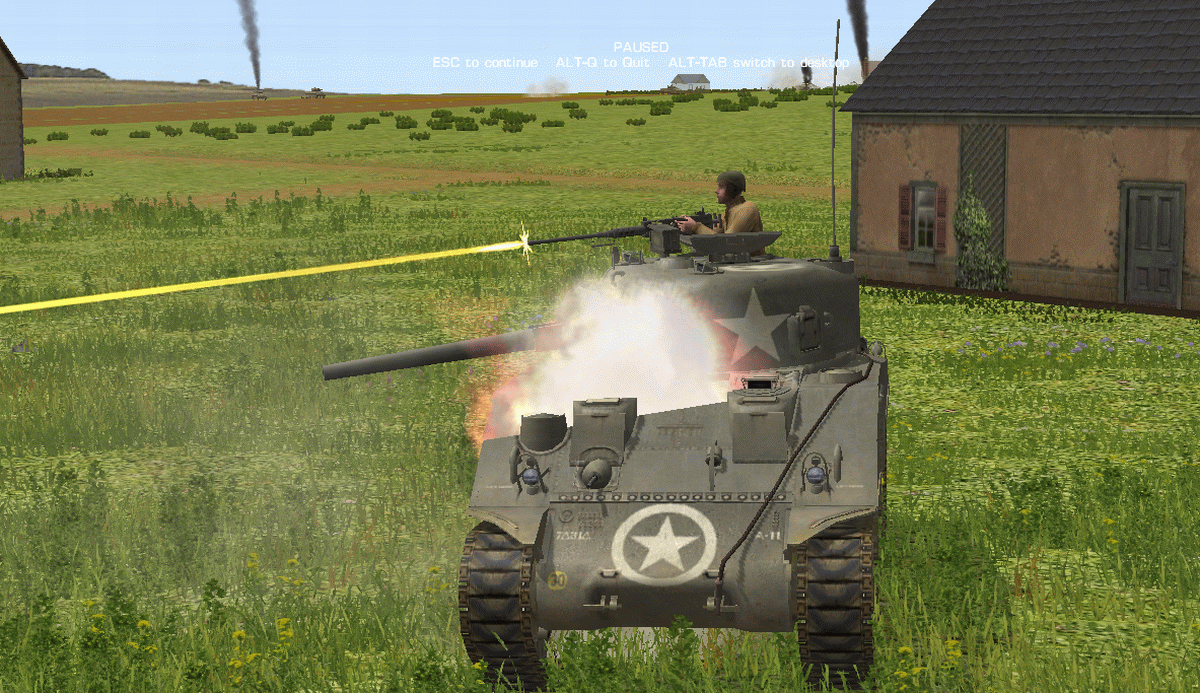
..and detonates on the front of the Sher but causes no damage-
gr3.gif
 
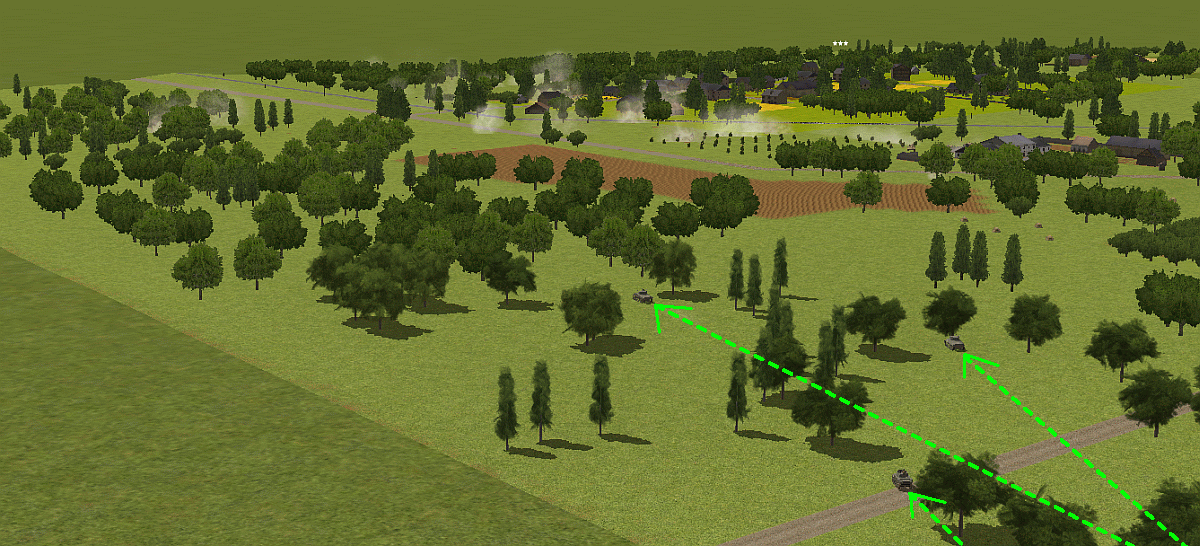
Hiram Sedai bombards the town and orchard as his tanks advance through the scattered trees into my flank-
hir-flk.gif
 
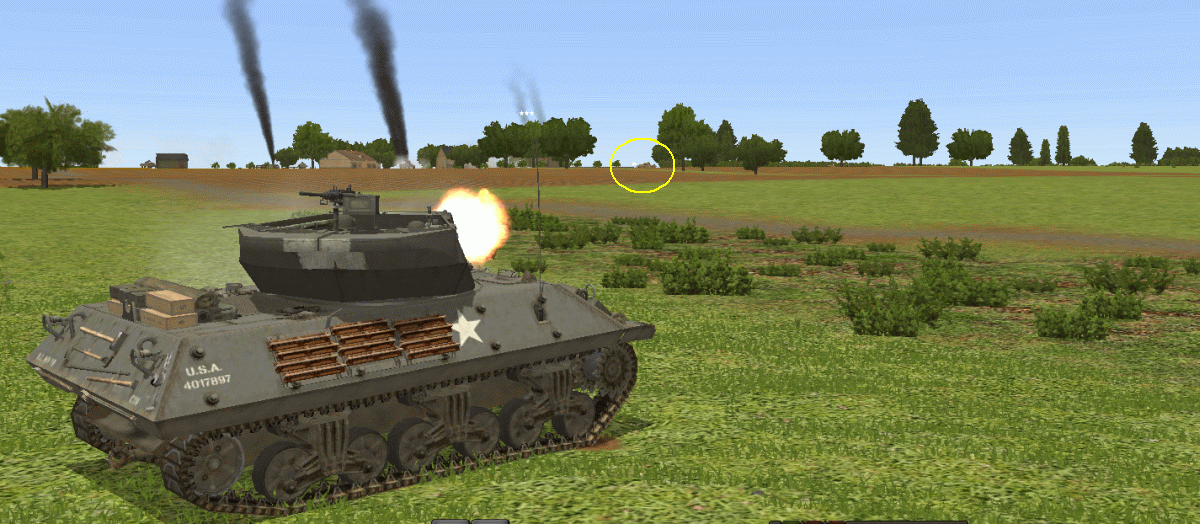
QB: my M10 was immobilised earlier but can still use its teeth, here it lets fly at Togisan's Panther on the skylinr-

togm10.gif


But the shot flies inches over its turret..
togpan.gif
 
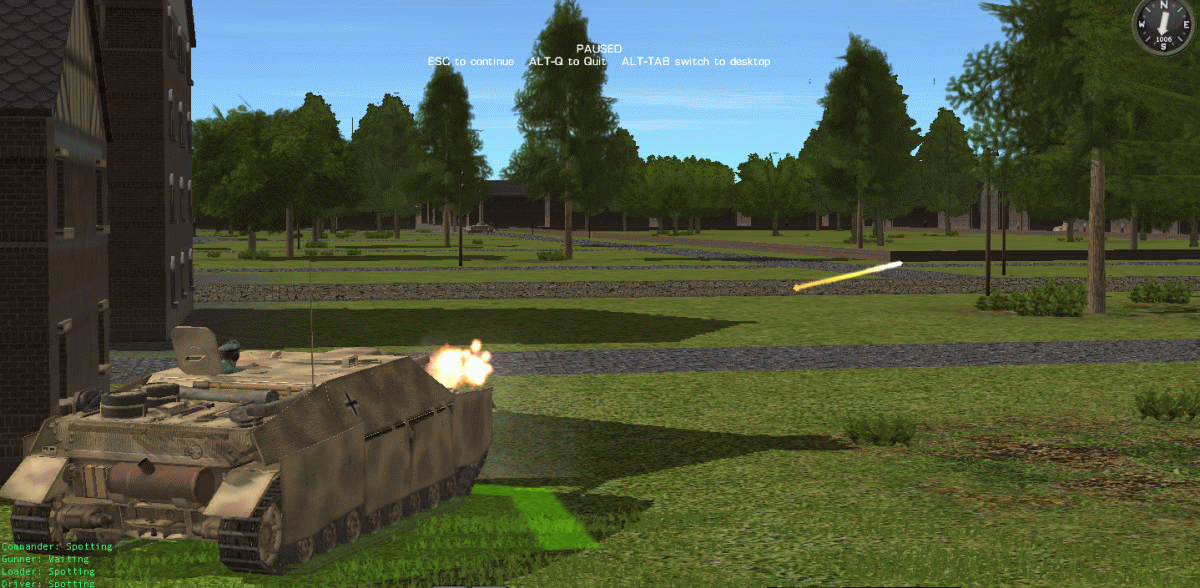
Schutzstaffel's Greyhound has its pleasant evening drive interrupted by a Jagdpanzer IV L/48 firing across the city centre park-

sch1.gif


The Jp's view; it was never produced in as many numbers as Stugs even though it's armour was thicker. Some versions (like this one) sported the same gun as the Stug, but others had the Panthers L/70 gun-
sch2.gif
 
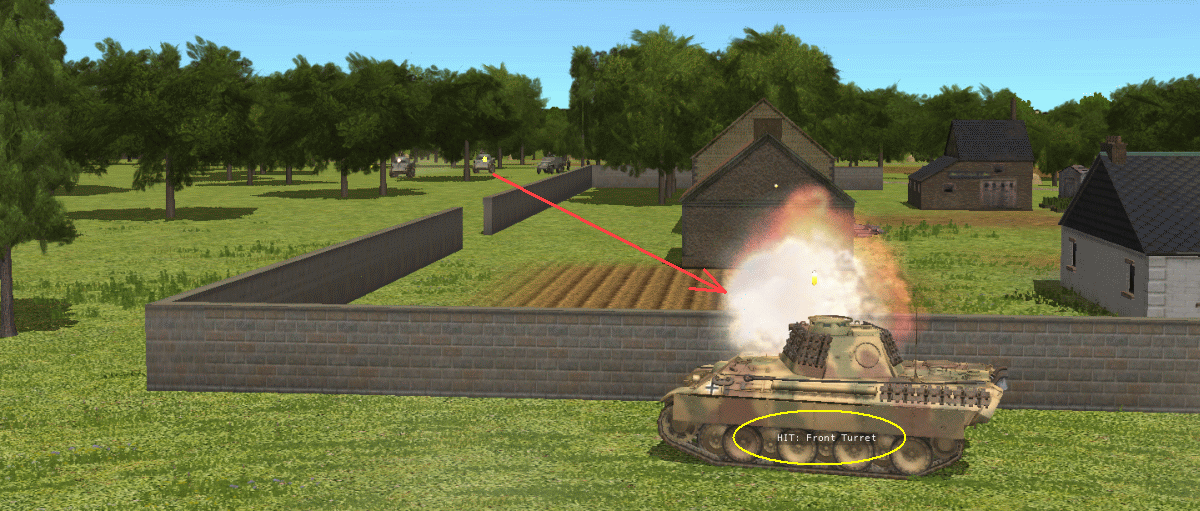
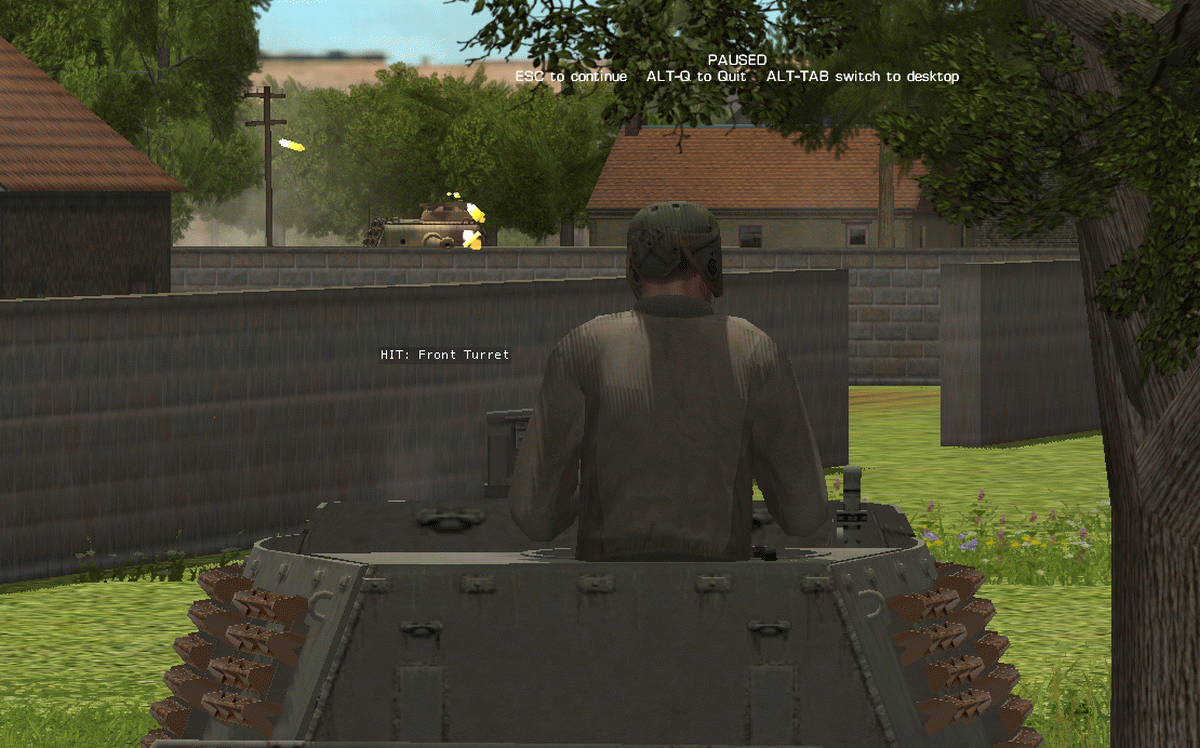
Hiram Sedai's tanks have a go at my Panth, but the high wall shields its weak side and the shot smacks into its turret without damage.
Note I had the 'Hit' text toggled on (ALT-H ,circled) to confim it was the turret that was hit
hir-hmc.gif


The HMC firer's view as its MG tracers rattle off the exposed Panther turret just before its 75mm HEAT shell is about to hit it-

hir-tur.gif
 
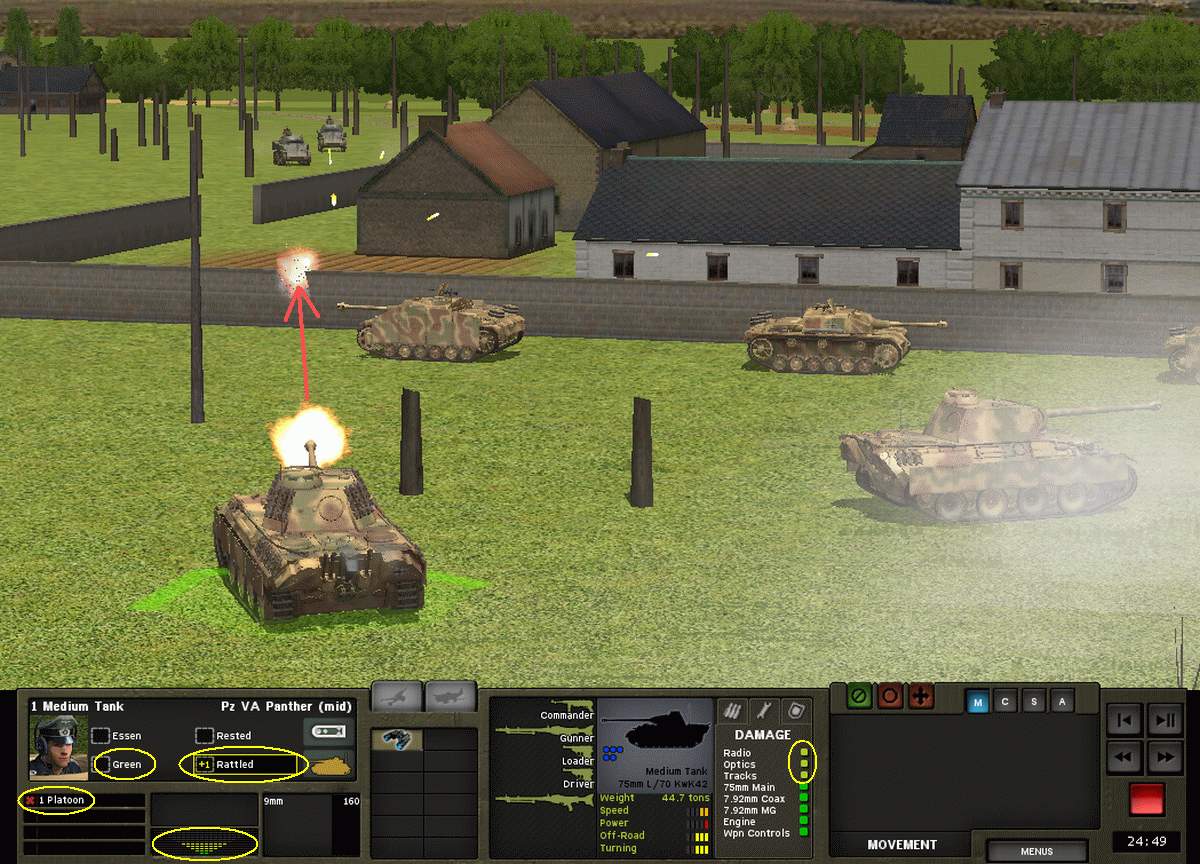
Next turn, Hiram Sedai's tanks forced my Panther to slam into reverse (below) I never ordered it to, so obviously the shot thumping its turret must have given the crew the heeby-jeebies.
They're firing back but the shot hits the wall. (note also tracer rattling off the wall)
A scrutiny of its stats reveal why they reversed, namely they're only a green crew, they're out of command, they're 'Rattled', and their suppression vee is starting to turn a funny rainbow colour.
We also see that its radio, optics and tracks are starting to turn a sickly yellow in its 'Damage' panel. but still working.
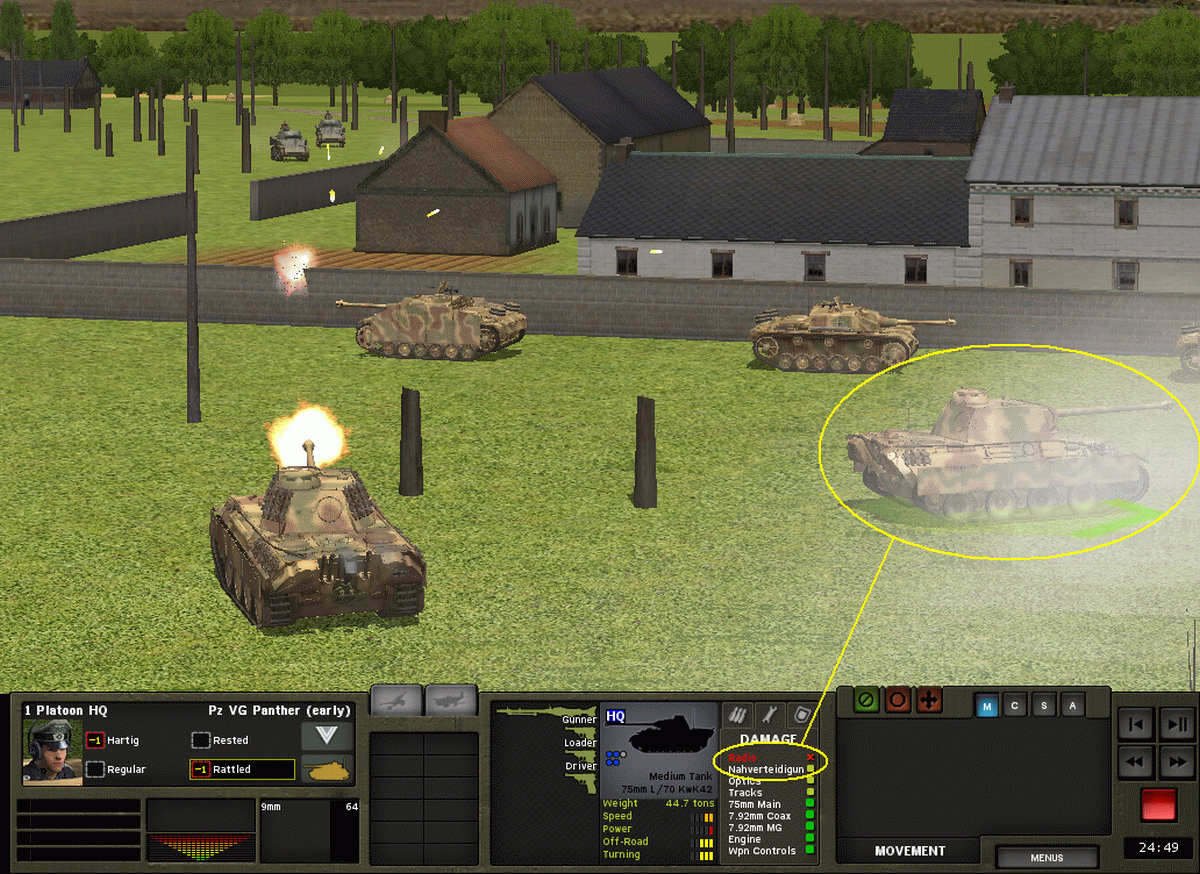
So why is he out of command?

hirwall.gif


This look at the HQ tank (circled) reveals why; namely its radio is bust (red x), so he can't give them any soothing words of fatherly advice to stop them cracking up!
Note too that one of the blue crew dots in the silhouette panel has turned gray, meaning that position is no longer occupied, so maybe it was the radio operator who copped it in combat earlier in the game-

hirwall2.gif
 
You've got a way with screen shots POS, and that is undeniable!!! Can't wait to see if you post any screens from our match. This last sequence shows has CMBNs most important feature (IMHO) In any CMx1 match, I may have tried to engage a Panther with an HMC out of desperation or just for the fun of it. In CMBN, not only can you jack up individual components of the tank, but with a HEAT round in the right spot, you may well just take the big cat down at knife fight range. Just an awesome game this is!!!!
 
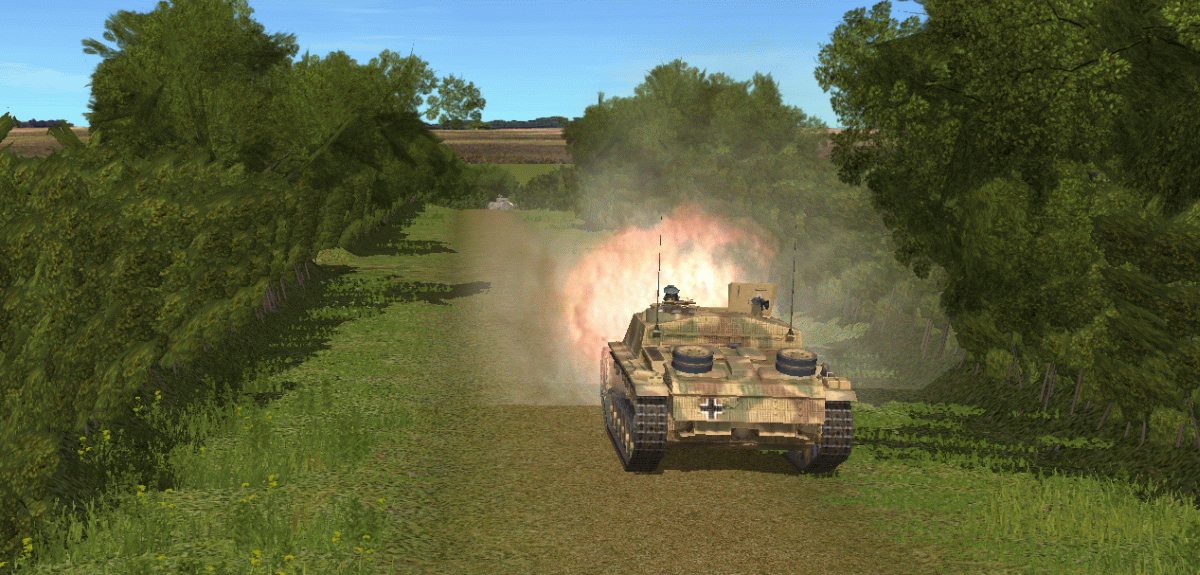
Bootie's Sherman comes round the bend at the far end of the lane and punishes my Stug with this immobing hit-

boo1.gif
 
Narsus's Sherman waltzes up to these desperately-pivoting Stugs and quickly toasts them both, proving yet again the old adage of close-quarter knife-fighting- "No turret, no chance"..

nars-thw.gif
 
You have had some bad luck, two tree hits, or was it three, and a deflection at about 200 meters.

I was half expecting to come around that corner and get shot up by a Panther covering your flank. I know you got one! or is it a Tiger :(
 
Sakai's two Shers take my Panth and Stug by total surprise, they must have looped round through that circled gap, The Panth fights for its life and kills both Shers, but the Stug freaks and tries to reverse through a gap, but gets an AP shot up its khyber from an invisible assailant in the wheatfield-
sak1.gif


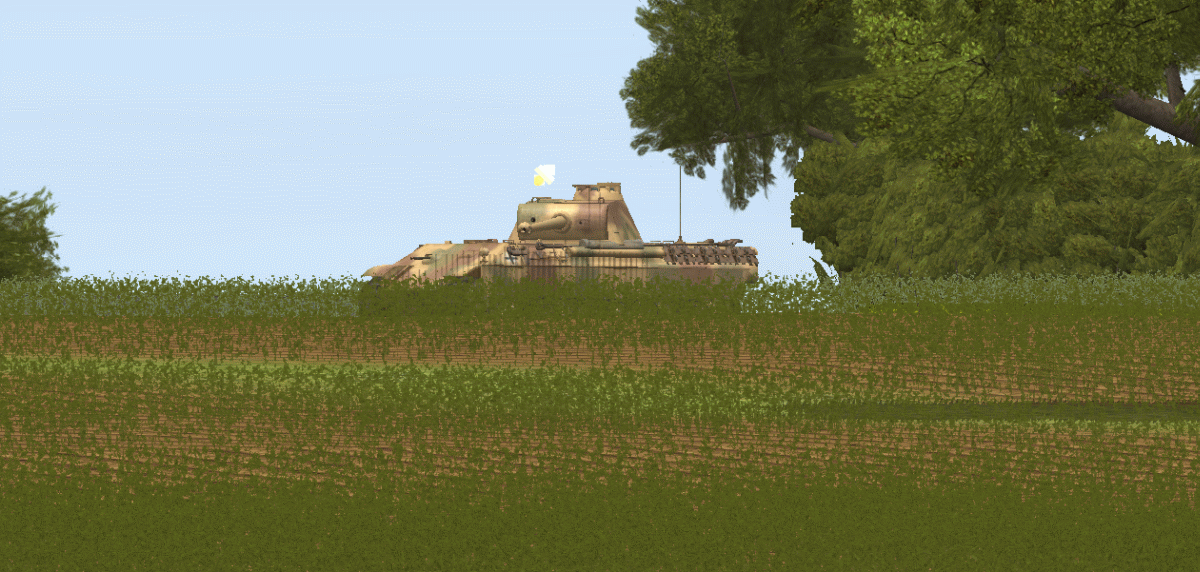
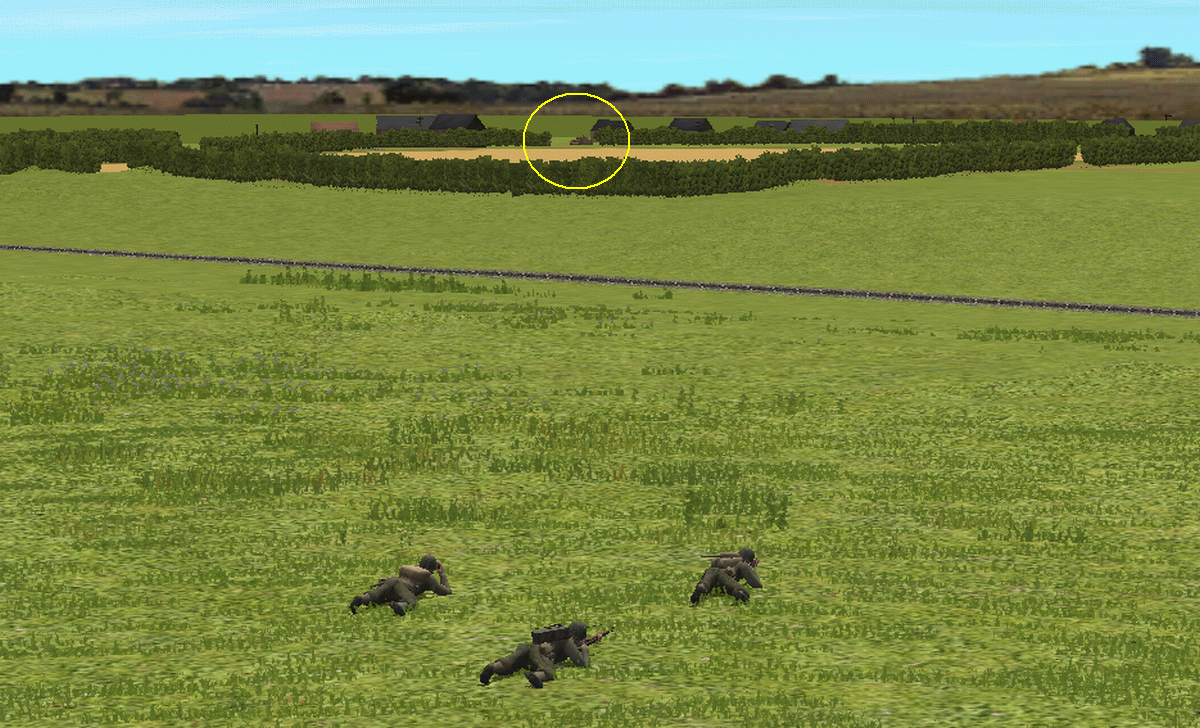
Meanwhile on the other side of the map, Sakai's FO team on a low ridge spot a panzer (circled) over the intervening bocage..
sak2.gif


And dumps some serious bombardment shite on it, and its nearby Panther mate gets it too, serves me right for leaving them sitting static for 5 turns-
sak3.gif
 
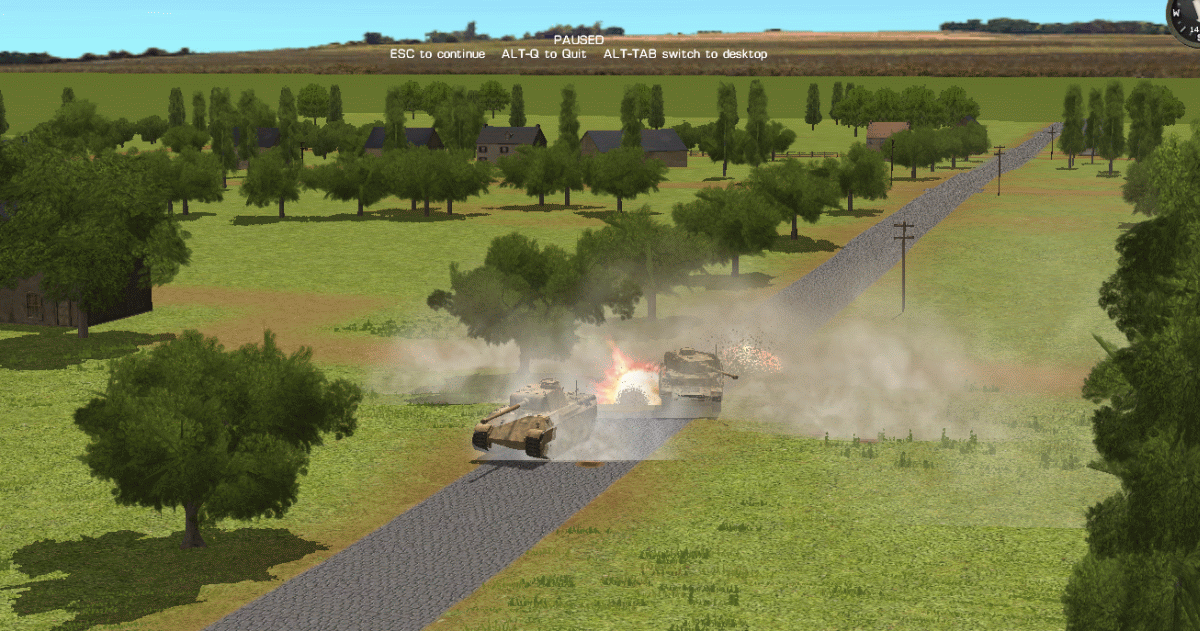
Speaking of fearsome barrages, Narsus drops a rocket attack on this town-
nars-rok.gif
 
I've been playing CMBN all day yesterday, it's the first day I had off work with time to myself since CMBN was released.
My girlfriend and I split up last week so it's a case of "one door closes and another opens" :)

I am playing "Devils Decent" campaign with the 82nd Airborne Mod. Small infantry only battles, I recommend it.
Notice the shoulder patches both 82nd & 101, which is a bit cool considering both divisions troops where mixed up fighting alongside each other.


Airbornemod.jpg
 
Back
Top Bottom